Subscribe to Pleasure in Simple Things via RSS ReaderFollow Pleasure in Simple Things on InstagramFollow @InSimpleThings on TwitterLike Pleasure In Simple Things on FacebookFollow Pleasure In Simple Things on PinterestEmail Jackie

make the most of grocery store flowers

September 7, 2012

friday field trip

Today’s field trip is to the local Stop ‘n Shop to visit the floral department.  I want to show you how easy it is to utilize the florist at your local grocery store.  Why spend a lot at a traditional florist when you can buy flowers for giving at the grocery store for a more reasonable price.  An added perk is that many grocery stores, like Stop ‘n Shop, are open 24 hours!  You can pretty much buy a gift at any time of the day or night that fits into your schedule.

Use these five tips to make grocery store flowers work for you.

1.  STICK WITH THE SAME COLOR OR VARIETY OF FLOWER.  Instead of buying a bouquet that contains a mixture of colors and varieties of flowers, pick one color or one type of flower and stick with it.  You will get much better visual impact for your budget.

2.  CONSIDER A POTTED PLANT.  Very often, potted plants in season are less expensive than cut flowers and look much better/healthier.  Plus, the recipient has the added benefit of enjoying a permanent plant rather than a fleeting bouquet.  Some grocery stores even sell potted herbs – a nice departure from a traditional flower if the recipient happens to be a foodie!  Containers sold in the floral section are very reasonably priced and can be a great alternative to wrapping.

A potted plant is paired with a cute container that was priced at onlyl $4 in the Stop ‘n Shop floral department.

3.  USE YOUR OWN FLOURISHES.  I always use my own ribbon and tissue when preparing grocery store flowers for giving, rather than relying on the limited selection available at the grocery store.  The gift not only looks prettier, but using your own touches helps give your gift a personal flair.

I used two potted plants and a basket from the floral department for a cost of less than $20 (and less than the price of a dozen roses). I added my own tissue paper and ribbon to complete the look and add my own personal touch.

4.  MAKE THE MOST OF SPECIALS.  If roses are $25 and  a special on tulips makes them a quarter of the price…how much nicer to make a combined bouquet of four bunches of tulips!  A potted orchid on sale may be less than a bouquet and more appropriate for the recipient.  Be sure to check all the specials.

Shopping for cut flowers, two bunches of sunflowers on special were less than an assorted bouquet and provide much better visual appeal.

5.  SHOP FOR ADD-ONS.  With all the items available at the grocery store, there are many options available to you to add a little something to your gift, should the occasion or budget warrant it. What a great added feature of doing your flower shopping at the grocery store!   A gift of engagement flowers can include a wedding magazine or some chocolates…flowers to welcome a new baby can include a bib or pacifier…just hop over to the appropriate aisle.  At this time of year, a trip to the produce aisle can mean the purchase of a pumpkin to serve as a great seasonal container for your flowers.  Perfect to house Halloween or Thanksgiving flowers for giving. (I love the white ones!)  Grocery stores also sell gift certificates, so you can also easily tuck in a certificate for a cup of coffee or the latest music.

Whether you are shopping for yourself, or for a gift, remember these five tips when shopping for flowers in the grocery store.

Hope you enjoyed these tips for making the grocery store florist work for you.  Why not pick out some flowers for your own home?

All the photos in this post were taken in the floral department at Stop ‘n Shop.  Thanks for visiting, Jackie

1 comment

fresh tomatoes with penne, feta & dill

September 4, 2012

Best of the season.

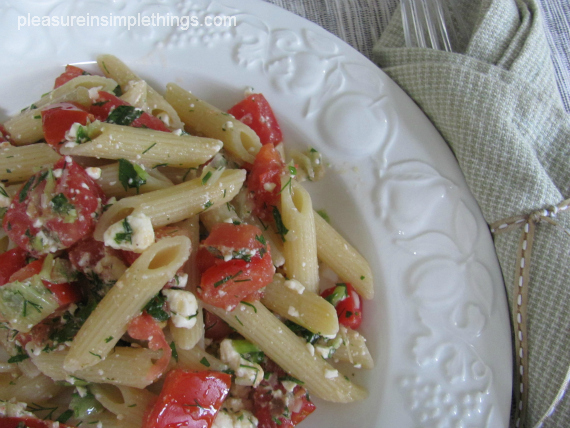
You already know I am a feta fan from my watermelon post   https://pleasureinsimplethings.com/3-best-ways-to-serve-watermelon/.  This time I am adding it to pasta and boy, it is fabulous.  This is my all-time favorite pasta recipe for the summer.  Not only is it wonderfully fresh and delicious just made, but leftovers can be eaten as a cold salad.

This pasta is served with an uncooked sauce made with fresh garden ingredients.  This is the best when tomatoes are at their ripest..use some from your garden or purchase some at a farmers market.  I only make this at the end of the summer when I can get the best tomatoes…usually from a friend’s garden.

I make the sauce in the afternoon and keep in the fridge until ready to use so that all my chopping is done and everything is cleaned up…I just need to cook the pasta to have dinner ready.  (Bring the sauce to room temperature before mixing with the pasta.)

Summertime Pasta with Tomatoes, Feta & Dill

  • 2 pounds tomatoes, halved, seeded, chopped
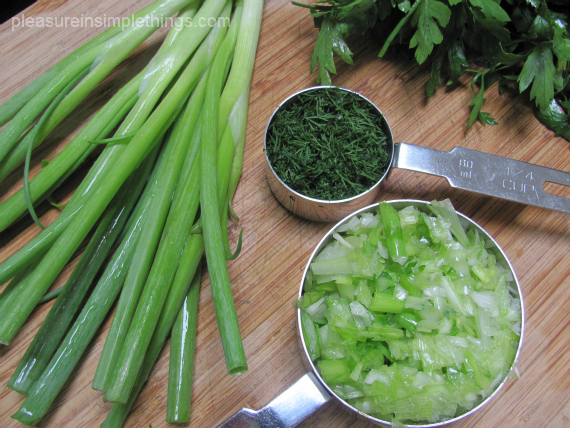
  • 1 cup chopped green onions (white and green parts only) approx. 2 bunches
  • 7 ounces feta cheese, crumbled (if they have the tomato and basil flavored feta, I buy that – adds that much more flavor)
  • 6 tablespoons chopped fresh parsley
  • ¼ cup chopped fresh dill
  • ¼ cup extra-virgin olive oil
  • 16 ounces penne pasta

Mix first 6 ingredients in a bowl.  Set tomato mixture aside.

Cook pasta in large pot of boiling, salted water until just tender but still firm to bite (al dente).  Add hot pasta to tomato mixture and toss to coat.  Season to taste with salt and pepper and serve at once.

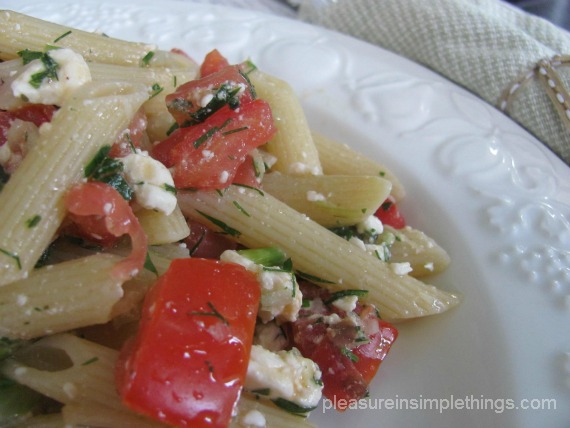
A photo of fresh tomatoes served with penne, feta, and dill…the perfect way to showcase end-of-the-summer garden ripe tomatoes.

Hope you will give this recipe a try…remember to use the ripest, freshest garden tomatoes you can find!

Thanks for visiting, Jackie


3 comments

squash blossoms…farm to table

September 2, 2012

An easy do-it-yourself pictorial.

For the first time this year, I picked my own squash blossoms when I visited Lyman Orchards in Middlefield, CT.  I happened to overhear someone asking directions to the appropriate field to pick them.  I immediately got excited about the prospect of picking some myself.  I have had fried squash blossoms in restaurants and really enjoyed them – even though I am not a big fried food lover.  I decided to take the opportunity to try and cook some up myself.

I originally posted these photos on my facebook page, but have had many requests to put them on a blog post for those that don’t use facebook.  So, here is how I prepared the squash blossoms…it was very easy and they were very delicious!


Easy!  Hope you enjoyed these photos on preparing squash blossoms…farm to table!

Thanks for visiting!  Enjoy your holiday weekend, Jackie

no comments

book giveaway winner for august!

September 1, 2012

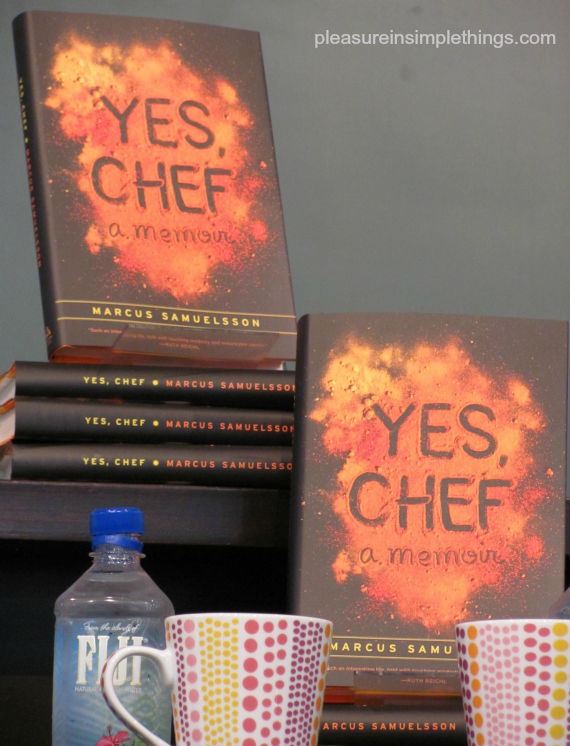
Yes, Chef  by Marcus Samuelsson

Congratulations to Deedee P. from ?, August’s book giveaway winner of the author autographed copy of Yes, Chefhttps://pleasureinsimplethings.com/yes-chef-by-marcus-samuelsson/

Qualify, starting today, for September’s giveaway selection, 1,000 Places to See Before You Die signed by author Patricia Schultz. https://pleasureinsimplethings.com/1000-places-to-see-before-you-die/

A really inspiring book.  Guidelines to win: https://pleasureinsimplethings.com/book-giveaway/

Monthly winners are welcome and encouraged to write a review of the book they received to be included on a future book giveaway post.

Hope you can enjoy a ‘No Labor’ Day weekend.  Thanks for visiting, Jackie

no comments

discovering a sunflower maze

August 31, 2012

Navigating through 350,000 sunflowers.

I have been to many corn mazes in my lifetime, but had never heard of a sunflower maze until last week. I certainly was intrigued by the idea of it. Imagine a field full of sunflowers…it just sounded so Provence. Not caring so much about the maze, but more about the sunflowers, I decided to make the trip to Middlefield, CT to check it out. It was my first trip to the 1,100 acre Lyman Orchards farm.

A photo of a sunflower at the Lyman Orchards sunflower maze in Middlefield, CT.

I had imagined a field of yellow. But, as I approached the field, I discovered that there were many varieties and colors of sunflowers that made up the maze. My favorites were not the yellows at all, but some of the varieties in the darker hues. They were all beautiful. It didn’t even bother me when I got so terribly lost in the maze… I was too busy taking in all the varieties of sunflowers and trying my darndest to avoid all the bees. (I felt lucky to only sustain one bite.)

A photo from the sunflower maze. The flowers are ‘sterile’ meaning there is no pollen…this discourages the bees from hanging around for very long.

I have included a very short piece of video at the end of the post that I took with my son’s GoPro camera, hoping to capture a little of the experience for you…needless to say, a very rookie job…what can

I say…it was my first attempt! It is very tough to take video without a viewfinder!

A photo of one of my favorite sunflowers at the sunflower maze. Lyman Orchards is the 12th oldest family-owned business in the U.S., operating since 1741 and currently run by the eighth generation!


My first visit to a sunflower maze was a wonderful experience. Please enjoy the photos of this truly lovely place.

Thanks for visiting, Jackie

2 comments

blueberry sauce & trifle

August 28, 2012

Enjoy the last of the season.

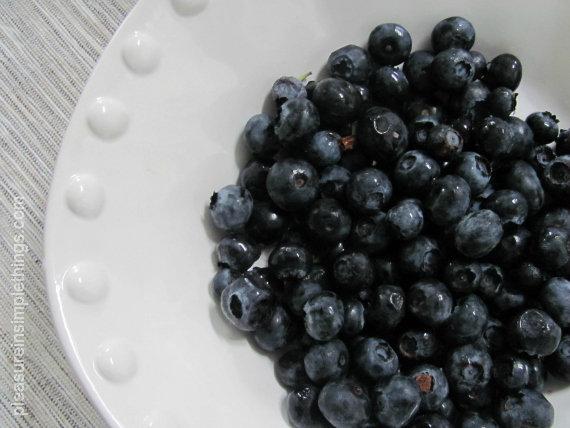
At a recent visit to a farmer’s market in Westport, CT, one of the booths passed out a blueberry ginger sauce recipe.  I had a sample and thought it was great.  As I was speaking to the woman at the booth, we were both speculating on what a great trifle it would make.  Sure enough, I went home and gave it a try!

Blueberry ginger sauce

  • 4 cups blueberries
  • 1 cup agave
  • ½ tsp. peeled, finely grated fresh ginger
  • Finely grated zest of 1 lemon

Place ingredients over high heat to bring to a boil, then reduce heat to low.  Simmer until thick and shiny, about 30 minutes.  Let  cool.

For trifle

  • Combine 2 cups of ricotta cheese and ½ cup powdered sugar
  • Roughly chop ½ cup gingersnaps
  • Make or purchase a pound cake

Cut pound cake into small cubes and line the bottom of a trifle dish.  Cover the cubes with half of the ricotta mixture.  Next, add a layer of the cooled blueberry sauce.  Repeat once more, then top with the chopped gingersnaps.  I made mine in a 6” trifle dish (filled to the top – it really should have been made in a larger dish) and also made an individual serving in a mason jar as a taste for a special friend.

A photo of an individual sized serving of trifle packaged in a mason jar…perfect as a gift or a party favor.

Making an individual serving in a mason jar is also a great idea for a picnic, outdoor party, or as a favor…just make a mini version of your original dessert.

A photo of an individually packaged trifle in a mason jar…cut a small square of scrap fabric to place on top before screwing down the outer lid and add scraps of ribbon. Here I added a sand dollar as a symbol of summer :)

After making the trifle,  I had plenty of sauce leftover – a great topping for pancakes, waffles or a good vanilla or ginger ice cream :)

Enjoy!  Thanks for visiting, Jackie
no comments

1,000 places to see before you die

August 24, 2012

field trip friday

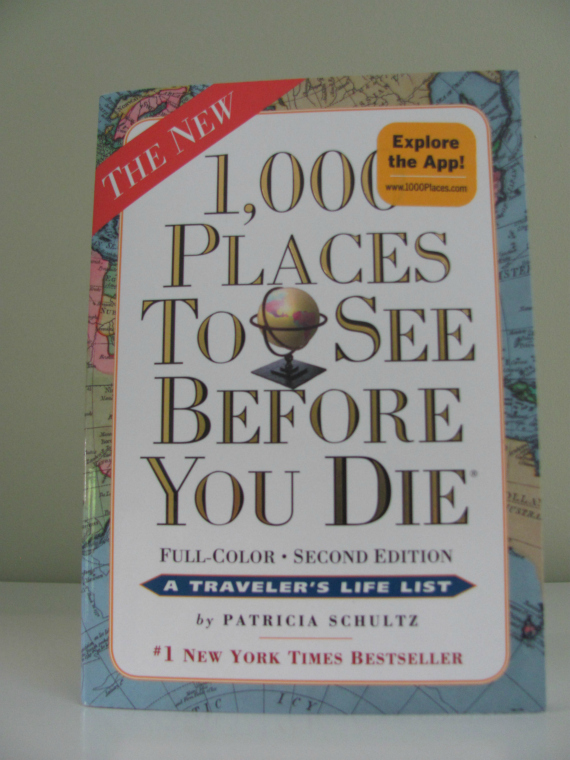
This week’s field trip is to the bookstore.  Have you heard about the book 1,000 Places to See Before You Die?

In my very wildest dreams I could not visit the 1,000 places listed.  Who could?!   Who has the time, or more importantly, the resources to accomplish it?  Flipping through the book certainly makes me feel inadequate – I have seen very few of the places even listed in the U.S….heck, I haven’t even seen one of the four places listed in my state!

We live in a global society and I have seen very little of the globe.  I am lucky to live in a time when technology affords me the opportunity to discover many places I can’t visit.  I know watching television documentaries or reading a book is not the same as actually experiencing a destination with all five senses.  This was very obvious listening to Patricia Schultz talk about her travels at RJ Julias in Madison, CT where I saw her promoting the second edition of her New York Times bestseller, 1,000 Places to See Before You Die.  Admittedly, she hasn’t seen all 1,000.  Although, I really started to believe she may have while listening to her, almost breathless, excitedly sharing all her knowledge of faraway places. It definitely seems like she has been everywhere!

As I sat waiting for the evening to start, I was sure I would be depressed knowing how many of these marvelous places I haven’t been.  But, it did not take long listening to Ms. Schultz to realize her presentation was more a reason to develop a love for travel, rather than a motivation to create a checklist of places visited.  Instead, she provides a list of opportunities…hoping to whet the reader’s appetite to discover someplace new.  Her enthusiasm is contagious.  And, although I don’t have much of a budget for travel, I came home inspired to try and visit more places.

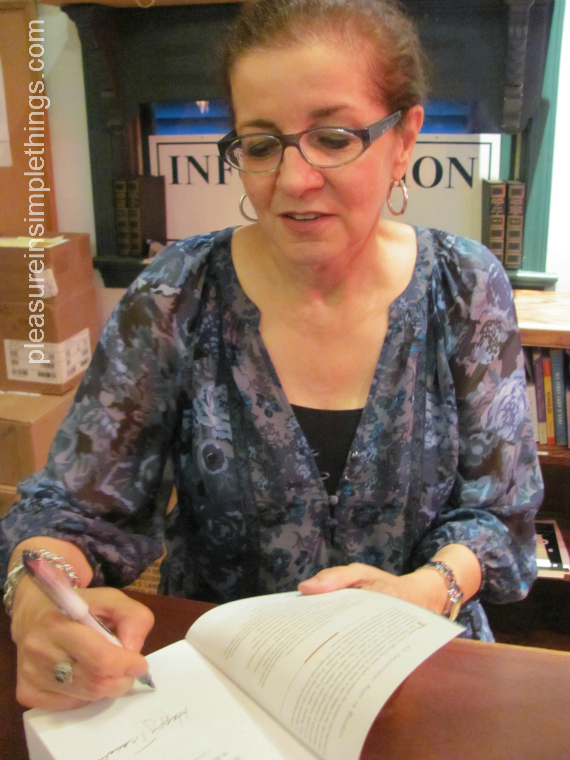
A photo of Patricia Schultz discussing her book “1,000 Places to See Before You Die”…a signed copy will be Septembers giveaway selection.

Ms. Schultz decided to pick 30 of the 1,000 places from around the globe listed in the book and present them in the form of a slide show.  Yes, the photos were incredible….but, equally incredible was the knowledge and love Ms. Schultz has for travel..and her thirst for learning about other lands and cultures.  She tours the world extensively. ..a  far cry from the first journey she credits with the start of her love to travel…instilling a desire  for adventure – Atlantic City!  As a child, from her home in New York state,  she couldn’t wait for the annual family journey to the shores of New Jersey.

So, I didn’t come home depressed at all….I came home exhilarated.  Ms. Schultz was enchanting.  And her presentation left me with a feeling of wanting to experience so much more.  So, even if many of my ‘visits’ are merely reading from her book, I feel motivated to experience more of the world.

Like I did, I want you to share some of Ms. Schultz’s enthusiasm for world travel.  If she is in your area, be sure to see her.  A signed copy of her book will be the giveaway book for September…so you too can catch some of her love for travel.  It may just give you the inspiration to visit a place nearby that you were always meaning to visit….or you may just book that faraway place you always wanted to see – it will open your mind to 1,000 possibilities.

‘Like’ my facebook page, follow me on twitter, or leave a comment on a post anytime during the month of September for a chance to win a copy of 1,000 Places to See Before You Die, signed by Patricia Schultz.  (During August is a chance to win Yes, Chef signed by Marcus Samuelsson)

Happy trails!

Thanks for visiting, Jackie
1 comment

diy nautical chalkboard

August 21, 2012

repurposing an old skim board

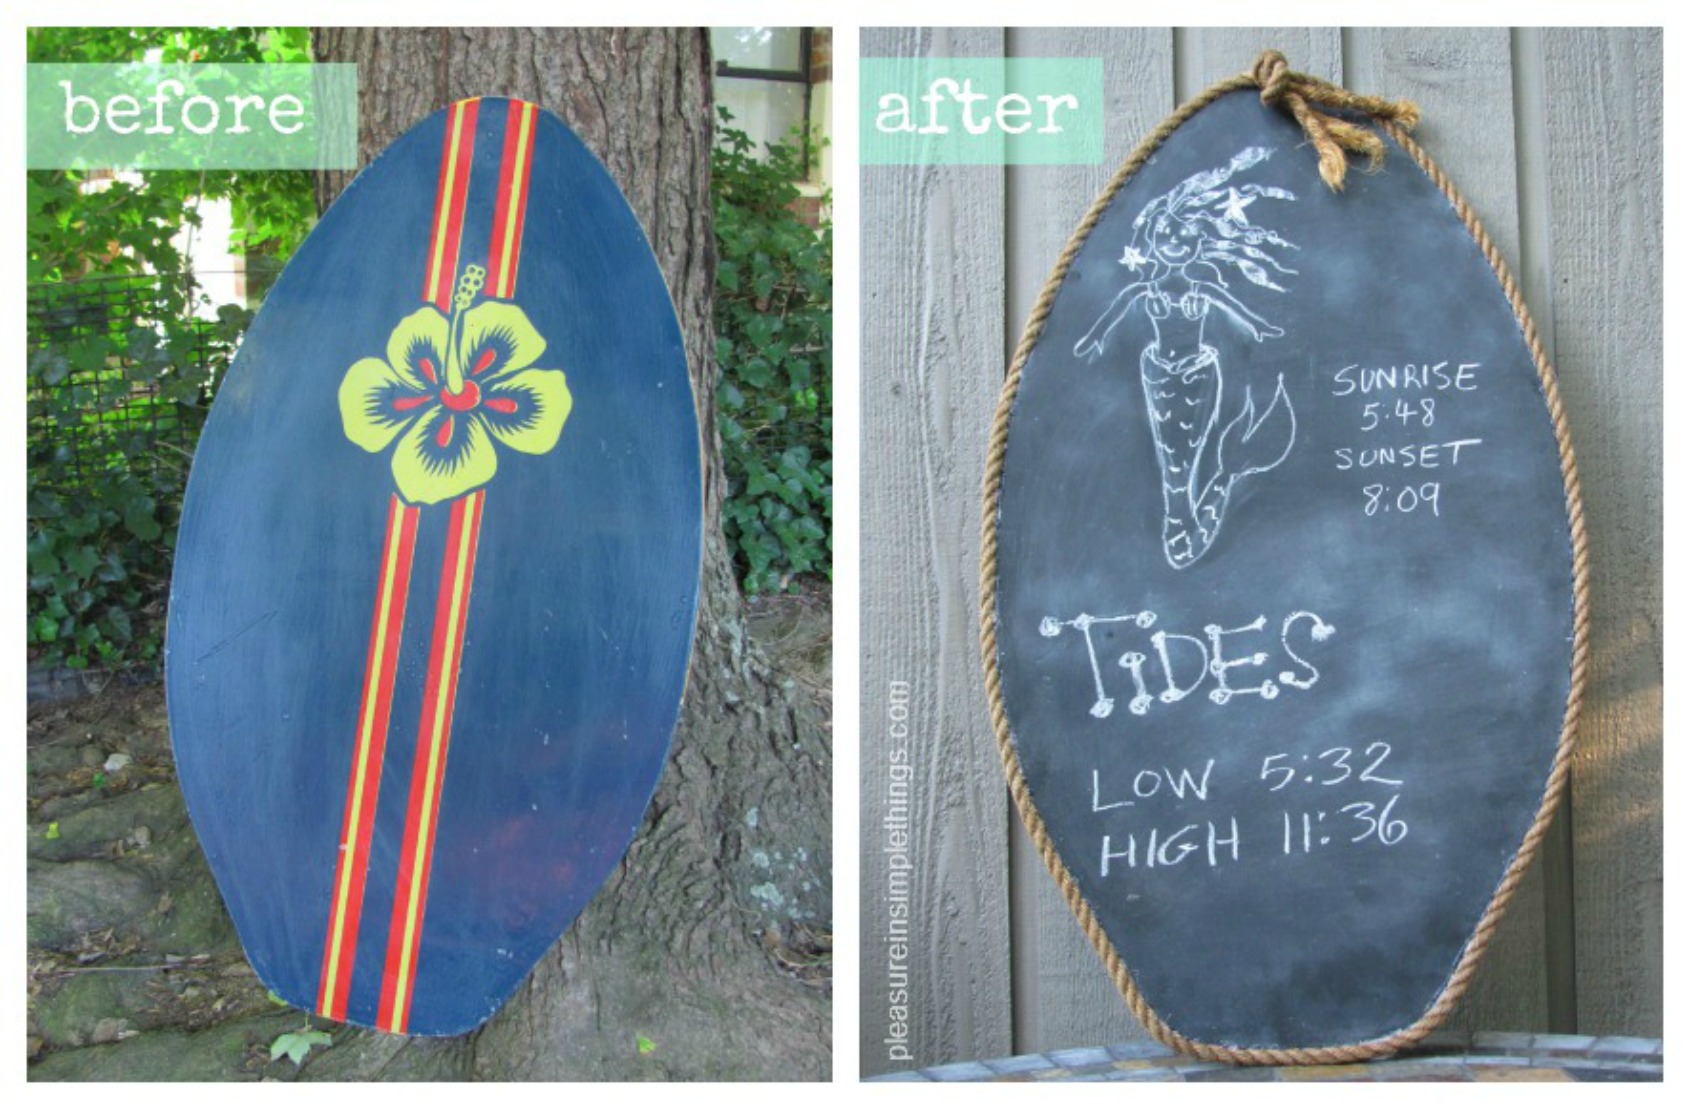
Creating a ‘beachy’ looking chalkboard from an old skim board was a lot of fun!  You can easily create one too…just follow my simple diy directions.  I completed this project spending $0.  I used all materials I already had at home.

When I saw my daughter throwing out her old skim board, it gave me the idea to turn it into a chalkboard.  (Is there anything that hasn’t been turned into a chalkboard lol!)  It would make the perfect birthday gift for my sister!  She lives on the beach and is a weather fanatic…I wanted to make a chalkboard that she could use as a tide chart.  She has an outdoor patio and I could picture the perfect spot for it in a protected area.  It would also make a great menu board… an option when she entertains.

Supplies needed for project:

  • An old skim board check tag sales, Goodwill, or a sports consignment shop for an old one.  New ones probably go for $35 – $40 dollars at Target…at this time of the year, here in the East, all the summer items are on clearance, so you many find one for much less
  • Can of chalkboard spray paint
  • Glue gun and glue sticks I used 4 or 5 of the small sized sticks
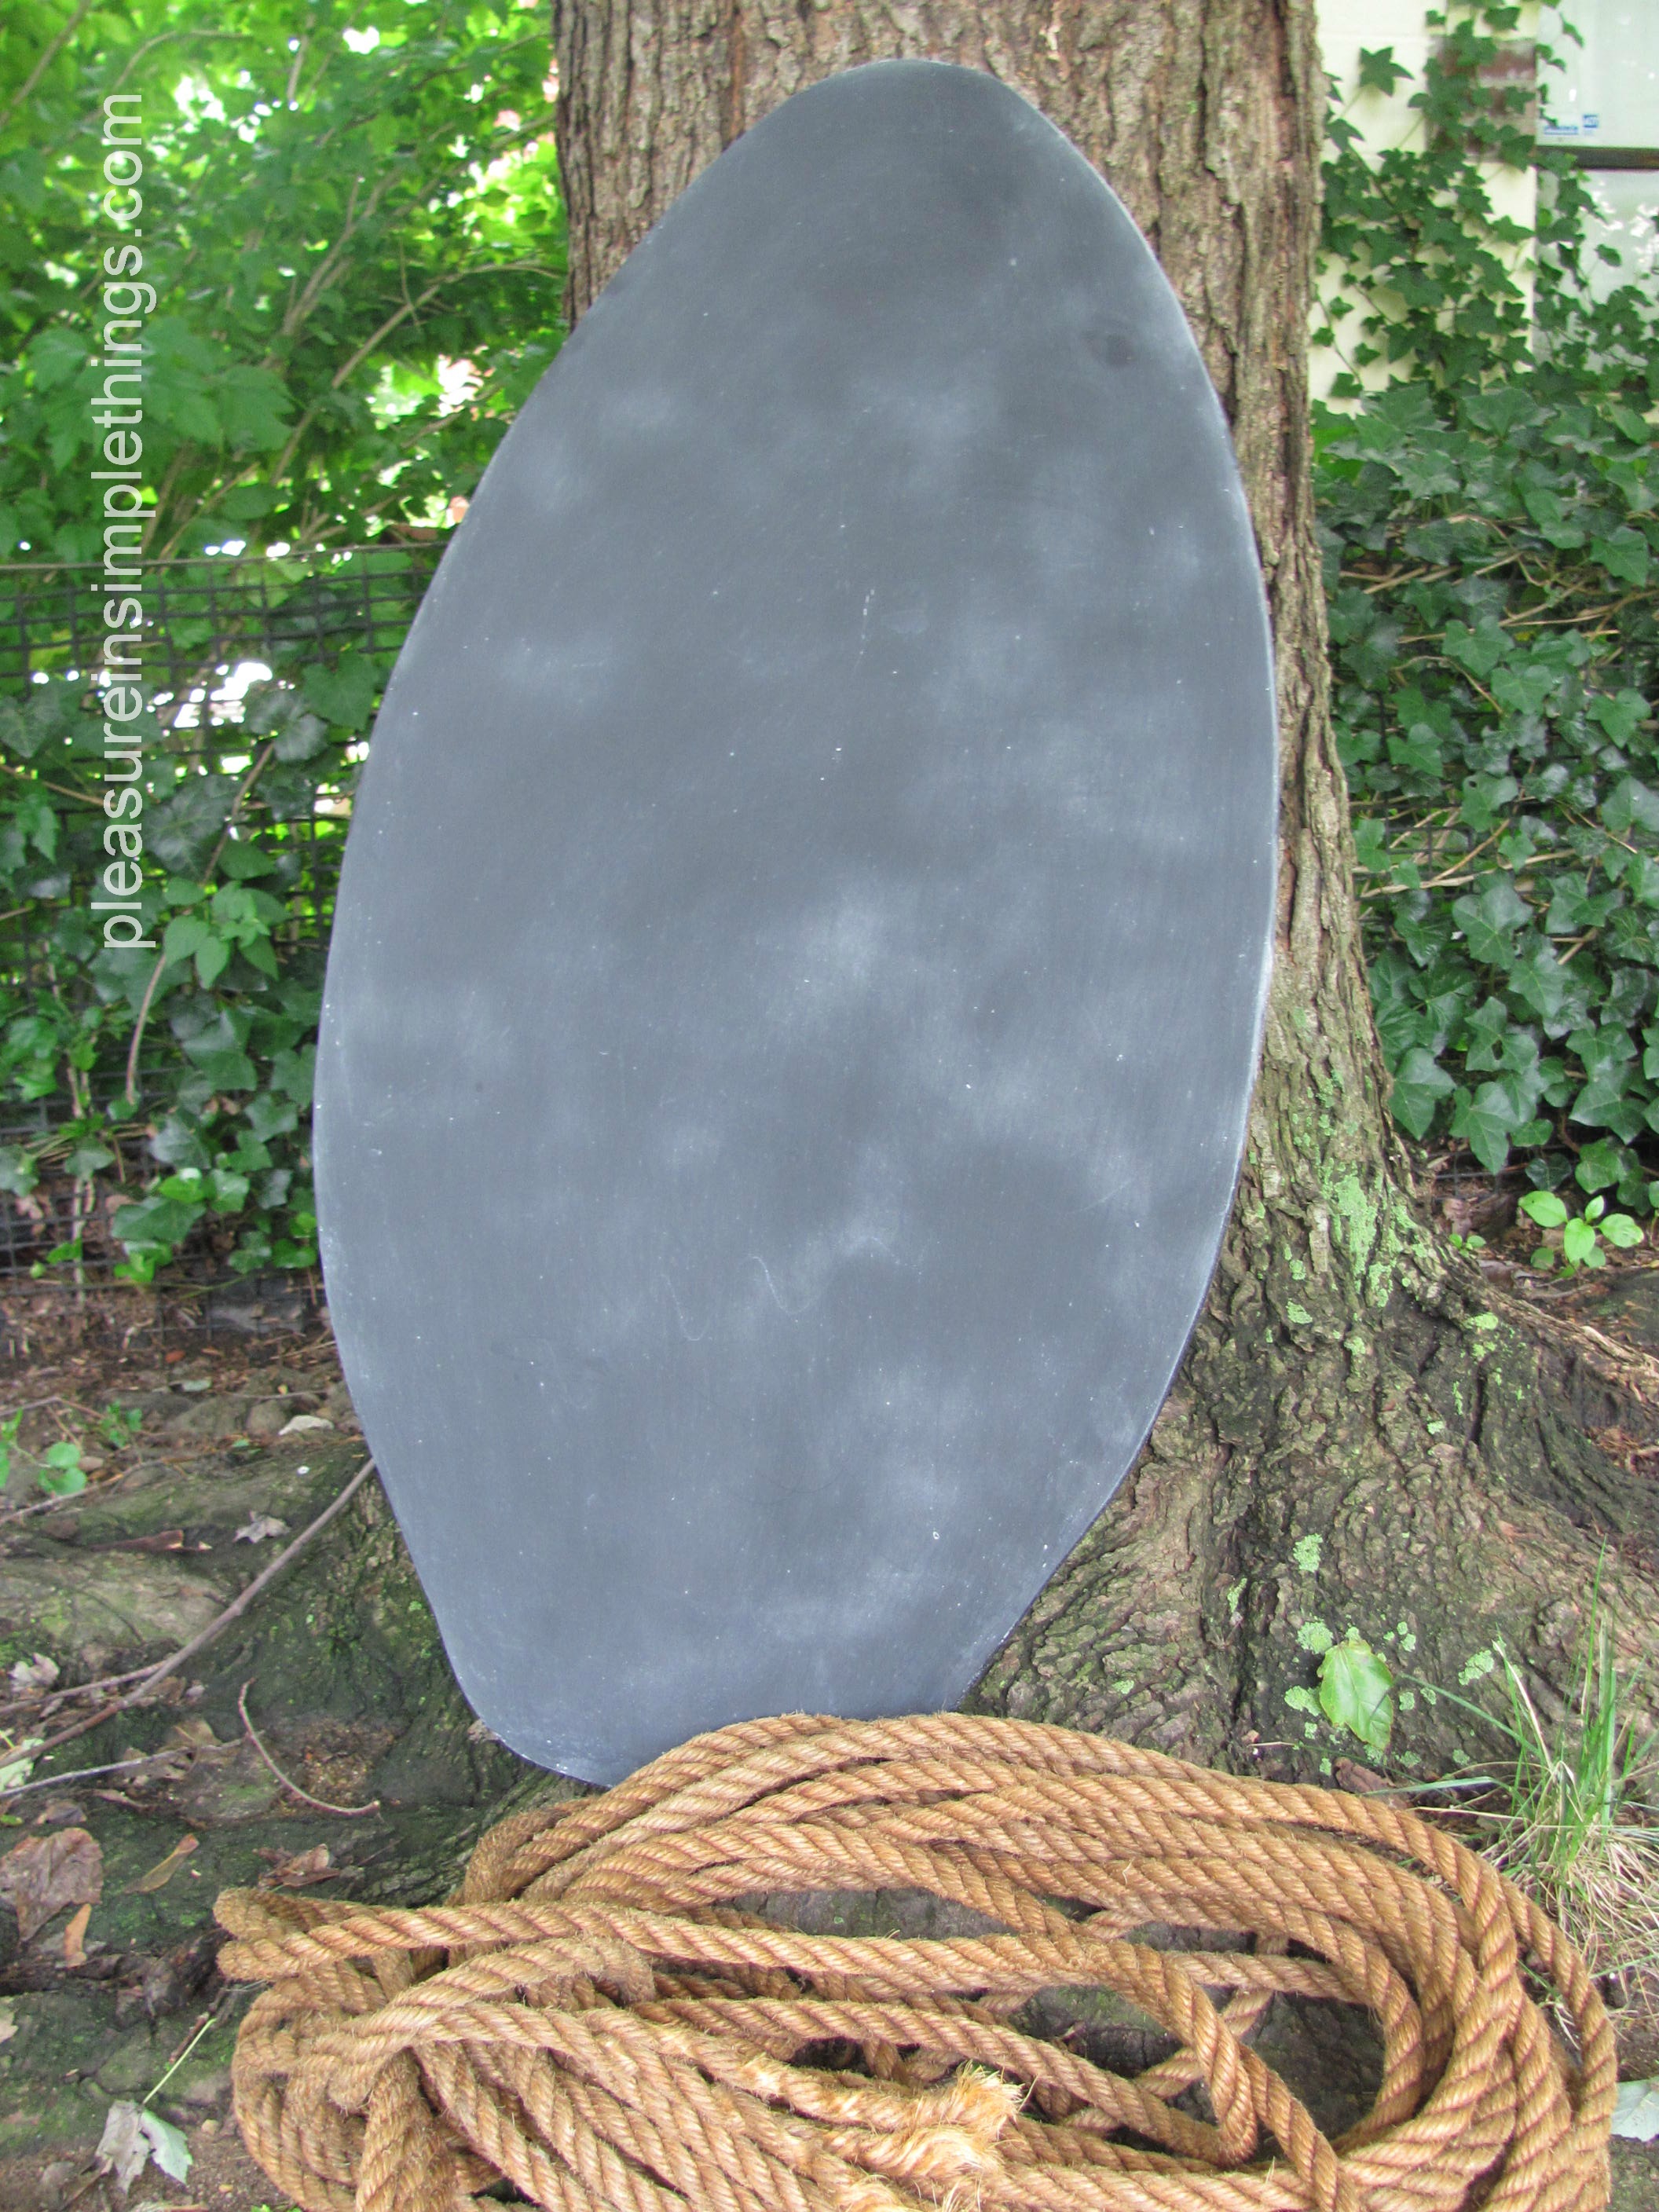
  • Old rope approximately 3 yards – measure around the outside of your skim board to come up with the yardage you will need, remembering to add some extra if you want to tie a knot at the end like I did.  I had intended to look for rope at a marine store, but when I found this old one in the garage I thought it had more character (and it was free)
  • Drop cloth or old sheet to put the skim board on while painting
  • 1 piece of white chalk

I did the spray painting outside…if you choose to, make sure it isn’t a windy day or you will have trouble with the spray paint.

A photo of the top detail on the skim board chalkboard. I knotted the end of the rope before glueing to add some visual interest.

  • Assemble your supplies. 
  • Prepare skim board.  I lightly sanded the surface figuring the paint would adhere better.  I also washed it down with ammonia. 
  • Paint skim board.  Place the skim board on a large drop cloth or sheet.  Spray the top side of the skim board according to the instructions on the chalkboard spray paint.  Even though it suggested two coats, I did four – repeating the process a second time.  It was probably overkill, but it was hard to tell after the first coat if I had covered every spot with the second coat.
  • Prepare skim board surface.  As per instructions on the paint can, after waiting 48 hours, I took a piece of chalk on its side and covered the surface.  Then, wiped it off.

A photo of the skim board after I sprayed it with the chalkboard paint and put on and wiped off the white chalk. The rope is an old one I found in the garage that I glued around the edge for a finishing touch.

  • Glue rope around edge.  Just painting the skim board didn’t look finished to me, so I decided to glue a rope around the edge.  I knotted one end as a decorative touch, and glued it near the top of the board.  I continued using the glue gun to attach the rope all the way around.  I glued a small section at a time holding the rope firmly to the skim board until it dried.

Done.  THAT’S IT!  And, it looks great, right?  I chose to write on it before I gave it to my sister to show her what I thought she could use it for.  I love it.  And, I didn’t even spend one cent!  Be on the lookout for old skim boards!  There are plenty of ways you can add your own personal touches to it.  You can add shells, driftwood, etc. or stencil on an anchor or a personalization.  Happy skimming!

Thanks so much for visiting, Jackie

This project is being shared with Craftberry Bush Outdoor Linky Party and  Celebrating Everyday Life for their recycled & repurposed diy project link party.

9 comments

dessert shooters

August 17, 2012

friday field trip

Target trips are very different with my daughter away and settled in her own apartment.  It had become a weekly routine when she was living at home for her and I to make a Sunday trip to Target.  Sometimes we would have a specific item in mind to purchase…most times, not.

So today I had a little gap between work and an appointment and decided to look around in Target without my daughter …and it wasn’t even a Sunday.

Walking through Target at this time of year is sad for me…no school supply lists to purchase from or dorm room items to choose.  Of course, most of the aisles are flooded with back to school items – I avoided all these aisles like the plague.  Instead, l looked at stationary products (love)…home items…then  finished up in the food section.

As I walked through the dairy aisle on this particular Target excursion, I was shocked to see a product I apparently totally overlooked – chocolate cream cheese!  What a great idea!  I know the stores carry many chocolate spreads now (thanks Nutella!), but I did not know about Philadelphia Indulgence chocolate cream cheese spread!

Target had a package of four individual tubs for $1.70…they had milk or dark chocolate.  I immediately thought of the strawberries back at home in my refrigerator.  What a quick and easy last minute dessert…to be able to just fill some fresh strawberries with this product.  Could I be this excited for a purchase that didn’t even amount to $2.!

I got home and immediately filled some strawberries with the chocolate cream cheese.  They needed more…I wanted to dip them in chocolate…well, wouldn’t adding that step ruin the whole point of being quick and easy?  Chocolate cream cheese on chocolate chip bagels….pretzels dipped into chocolate cream cheese…my mind wonders…okay, back to the task at hand!  Quick…simple.

Then, I had the perfect idea…’shooters’…I would make little shot glass-sized indivdual desserts.

A photo of  s’mores shooters.  A great single serving dessert made with Philadelphia Indulgence chocolate cream cheese spread.

As it turns out, this is the PERFECT way to use the package I bought since it comes in little cups that are the optimum size (1.25 oz. cups) to make this dessert.  It is a great way to indulge in a dessert without going crazy…a great dessert that is easy to create variations with little fuss.

I started with a s’more shooter – a nod to the Girl Scout’s  100th anniversary this year.  After that, I just couldn’t stop with the variations.  And, I went back and picked up the other two flavors.  Using the milk chocolate, dark chocolate, and white chocolate product there really are infinite possibilities.

I started with a graham cracker crust.  I mixed a cup and a quarter of graham cracker crumbs with 3 tablespoons of unsalted butter.  (This will make about 12 desserts.)   I used this as my base and put 2 tablespoons in the bottom of a straight–sided clear glass shot/cordial glass.  Use a 2 ounce or 2 1/2 ounce size.  If you want disposable (Labor Day picnic?), 2 ounce clear plastic cups are inexpensive and readily available (this is the size used for jello shots).

The s’more one was layered as:  1 tablespoon of the graham cracker mixture, 1 tablespoon of fluff,  1, 1.25 oz tub of milk chocolate Philadelphia Indulgence chocolate cream cheese spread.  I garnished the top with a marshmallow that was cut in half and toasted.  (You can toast this quickly under your broiler.  Don’t put the shot glass under the broiler if it is not oven safe – toast the marshmallow by itself and then add to the top of the dessert.)

A photo of a s’more shooter…a dessert made with Philadelphia Indulgence chocolate cream cheese spread, graham cracker crumbs, and marshmallow fluff.

 Some of my favorite combinations:

  • 2 tablespoons of crumbs, 1 tablespoon of coconut, 1 tub of milk chocolate Indulgence, almond garnish
  • 2 tablespoons of crumbs, 1 tablespoon of peanut butter, 1 tub of milk chocolate Indulgence, peanut butter cup garnish
  • 2 tablespoons of crumbs, 4 or 5 raspberries, 1 tub of dark chocolate or white chocolate Indulgence, raspberry & mint garnish
  • 2 tablespoons of crumbs, 4 or 5 blueberries, 1 tub of white chocolate Indulgence,  blueberry & mint garnish
  • 2 tablespoons of crumbs,  2 or 3 banana slices, 1 tub of milk chocolate Indulgence, banana slice garnish

It is very easy to gauge how much cream cheese you need to purchase since each indivdual tub makes one serving or  ‘shooter’.

A quick, easy, and fun dessert…mission accomplished!

Enjoy!

Thanks for visiting, Jackie


3 comments

caviar nails

August 14, 2012

college girl style trends

My college student daughter and I are always trying to recreate the latest fad.  We love working together to find an easy and inexpensive way to figure out the latest trends.  We figured out how to find the materials to attach feathers to the hair without the assistance of a salon…and, yes, we tried out hair chalking…our most recent project was caviar nails.

While shopping at Sephora together, we saw a caviar nail kit that was selling for $25. It provided all the materials necessary to create one of these caviar manicures.  It is a 3-D effect where caviar-like beads sit on the nails.  The nail sample next to the product was really neat looking.  We loved the white one.  I thought it would be a great manicure for a wedding.  But, $25!  It didn’t look like something that could be that hard to recreate…we were on a mission!

We scanned the craft stores to find some type of small bead to use as the ‘caviar.’  At the third craft store we visited, we found something called microbeads.  They sell for $2 or $3 a bottle.  Wow!  They looked just like the ones on display at Sephora!   The beads were located in the scrapbooking section, so apparently they are used in scrapbooking.  They come in a huge assortment of colors.  Even though we really liked the white, we decided to buy a set so we could experiment with different colors.  The box of 6 bottles had an assortment of six colors and cost under $10.

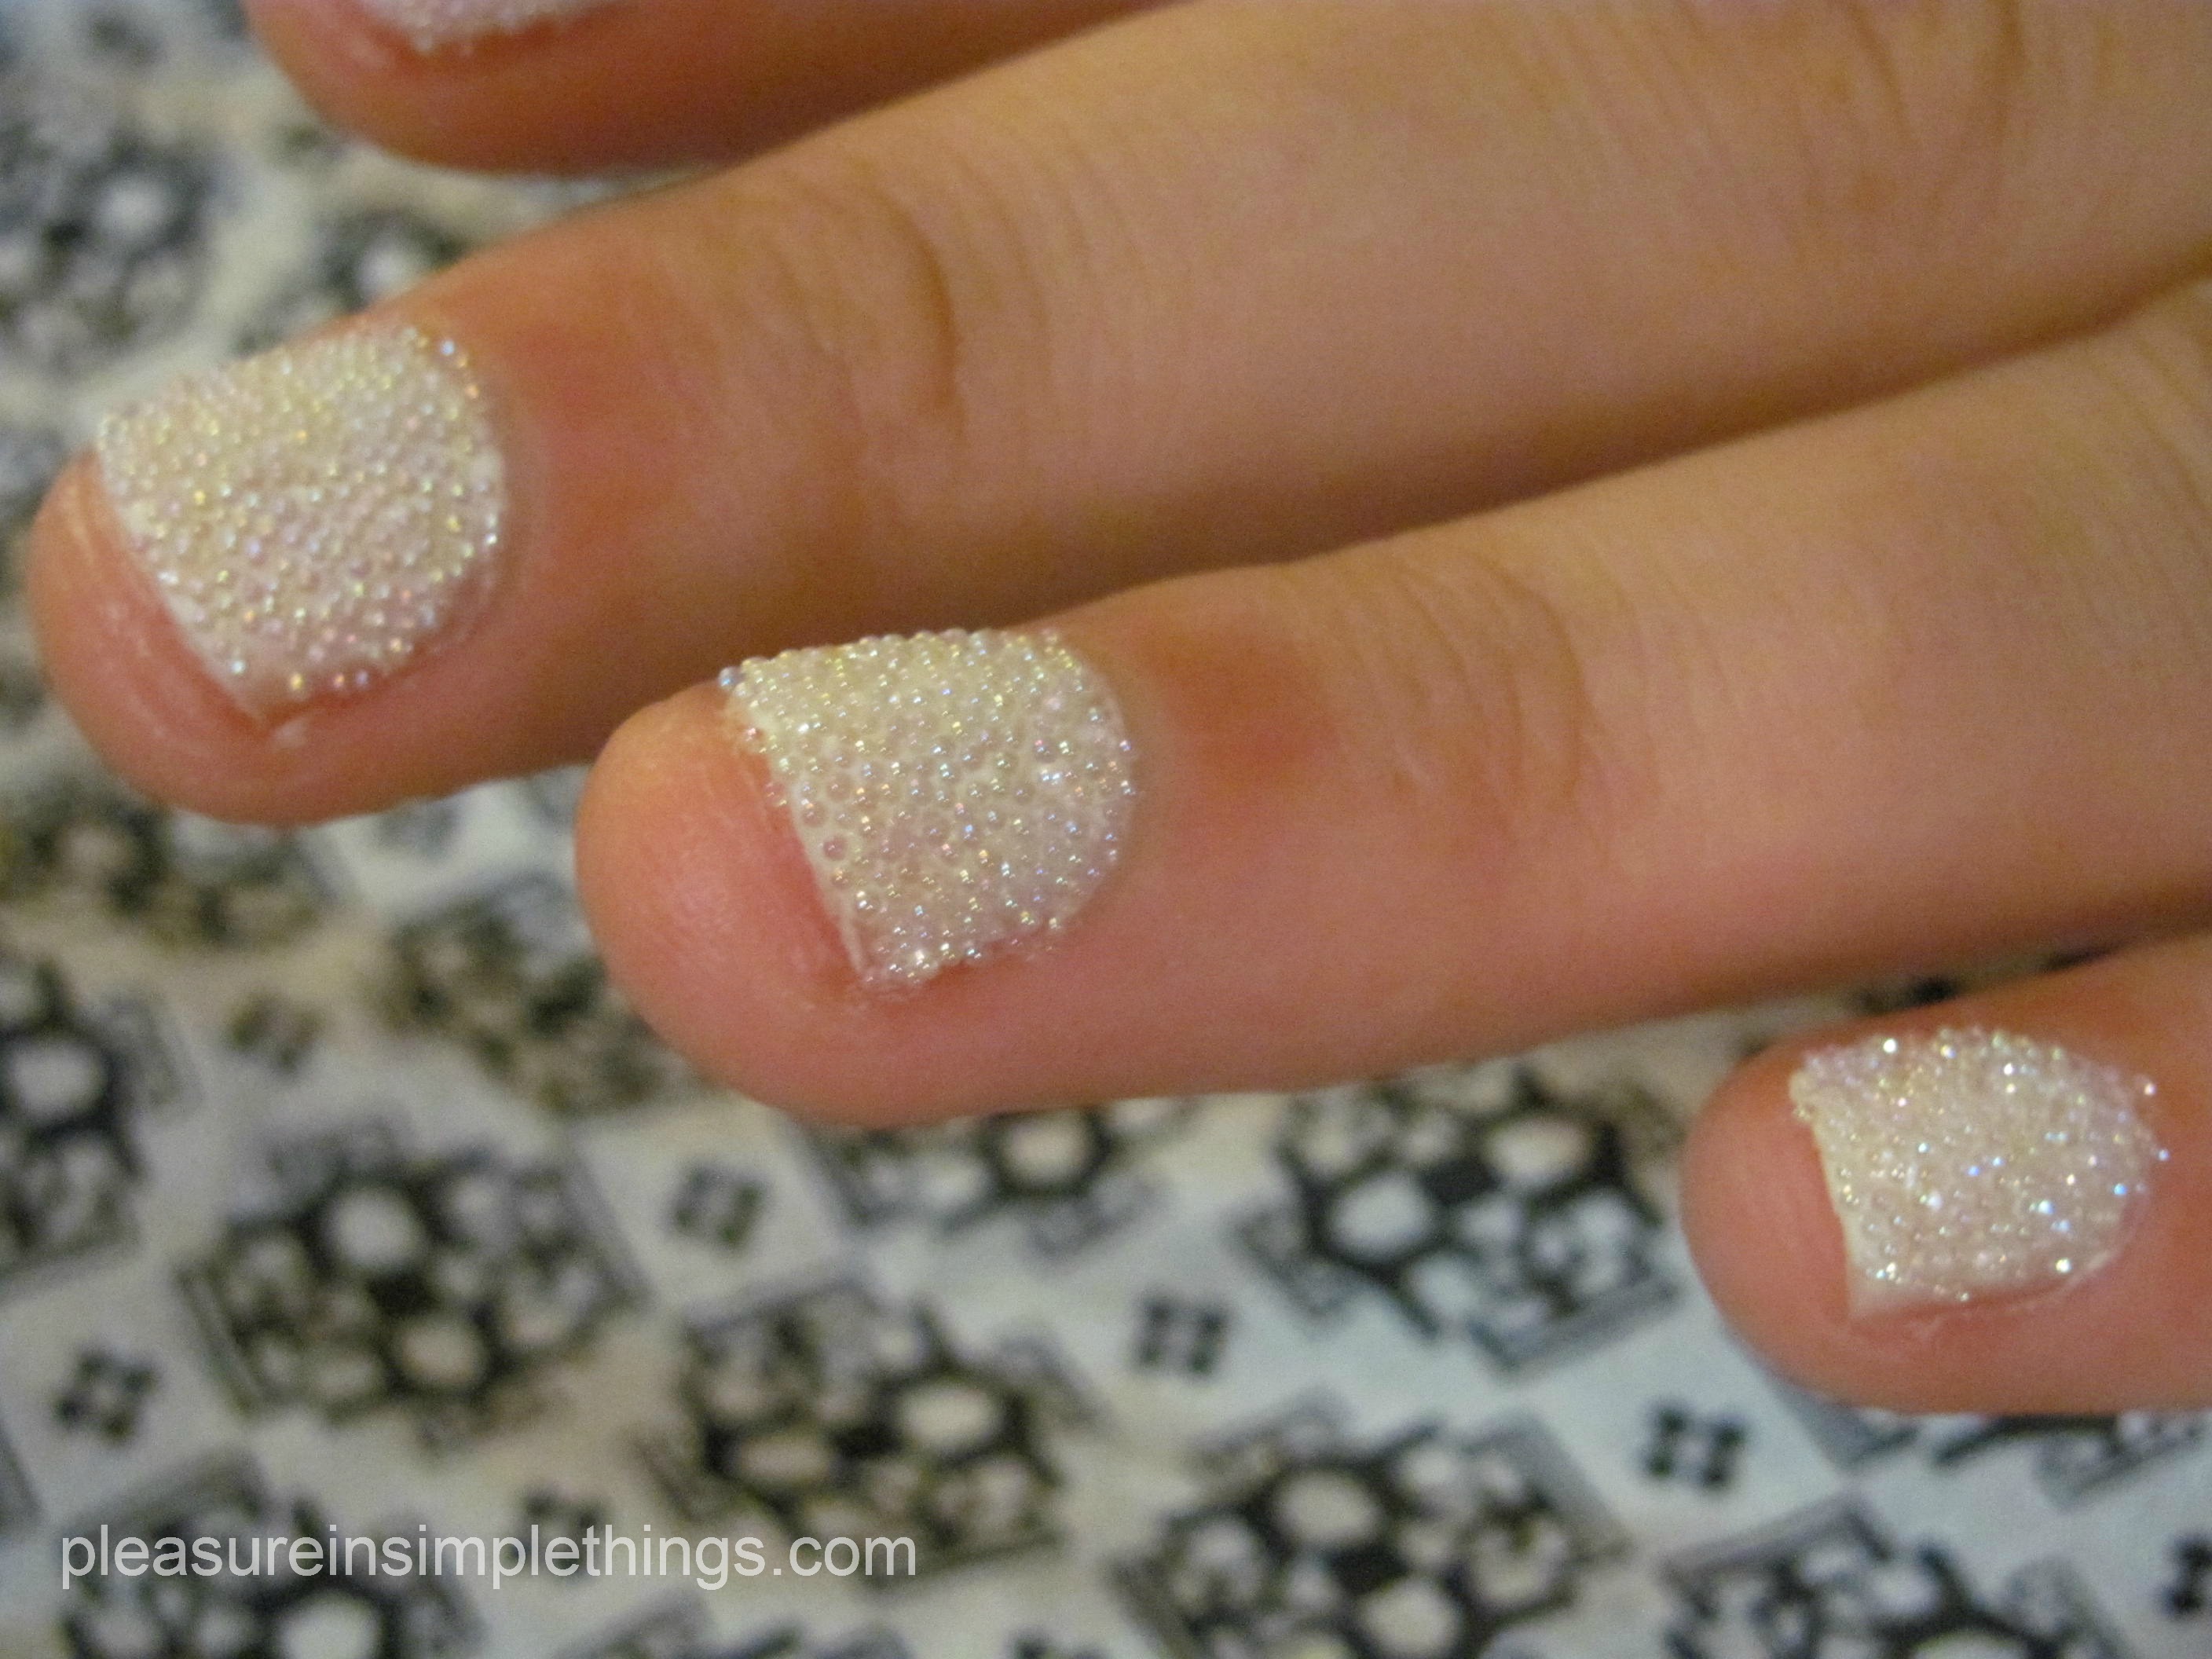
A photo of microbeads used in creating a caviar manicure.

Well, our first attempt created the white manicure with very little effort.  It only required some nail polish and the microbeads!  Easy.  Since we already had the polish and used a very small amount from one bottle of microbeads, it probably only cost pennies to create the caviar manicure.

This is how we did it:         

FIRST applied white polish to nails.

THEN poured clear microbeads onto wet polish (putting a little bowl underneath to catch the extras – we just put these right back into the bottle) 

That’s pretty much it.  We put clear polish on top to protect the beads ( that changes the color a little bit).

We decided the caviar manicure was cool but should either be used for a special occasion, or just for one accent nail, since it doesn’t last more than a couple days before the beads start coming off.  For best results, use a color polish that matches the bead color you decide to use…then any gaps between the beads aren’t noticeable.  We tried black right away because we had some black polish on hand.

Caviar nails….conquered!  Our next project:  ombre hair!

Glad these trends are experimented on my daughter and not me ;)

Have you tried any trends with your daughter?   Would love to hear about it!  Thanks for visiting, Jackie

5 comments

Back to top