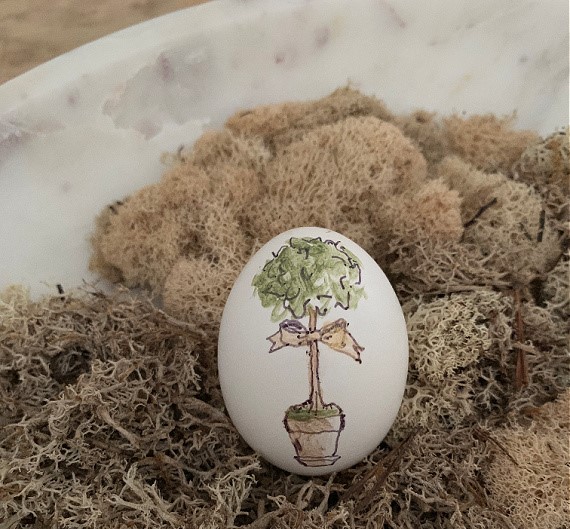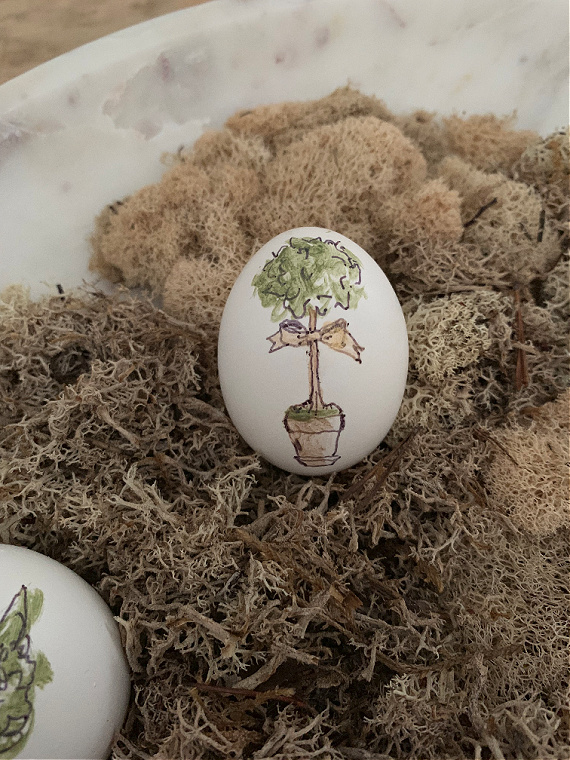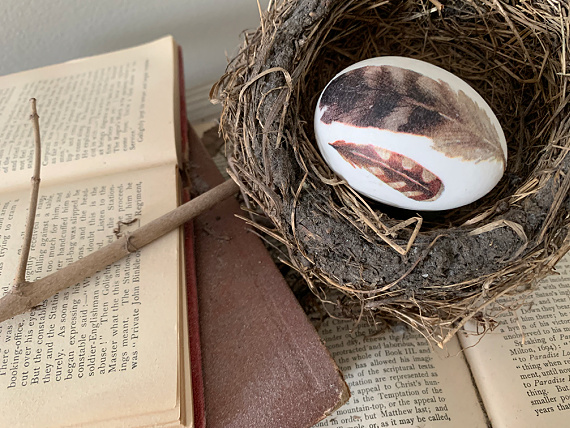
This year the theme for my Easter egg decorating is feathers. The medium I decided to use is decoupage.
I have done a lot of decoupage and I have shared many of my decoupage shells with you over the years but I think this is the first year I have used decoupage on my Easter eggs.

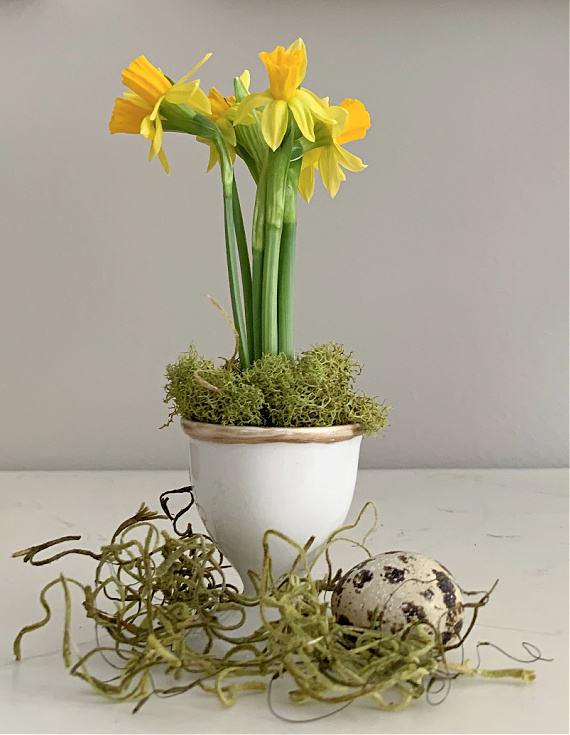
Eggs, nests, feathers – these are all motifs I really love. I’m actually surprised I’ve never painted feathers on my eggs in the past.
Decoupage is so easy to do and it is especially great for anyone who doesn’t feel comfortable hand painting eggs. Decoupage gives such a great result with very little effort!
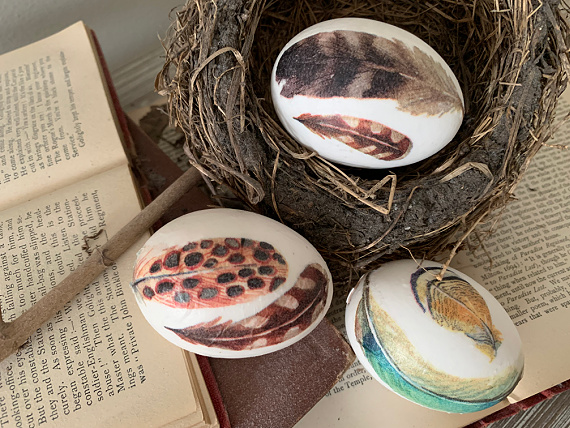
Start by choosing a pattern you wish to use on your egg. Just like my decoupage shell instructions, I am suggesting you use paper cocktail napkins because there are so many to choose from and they are inexpensive and easy to use. Home Goods or Marshalls is a good place to look for purchasing paper napkins.
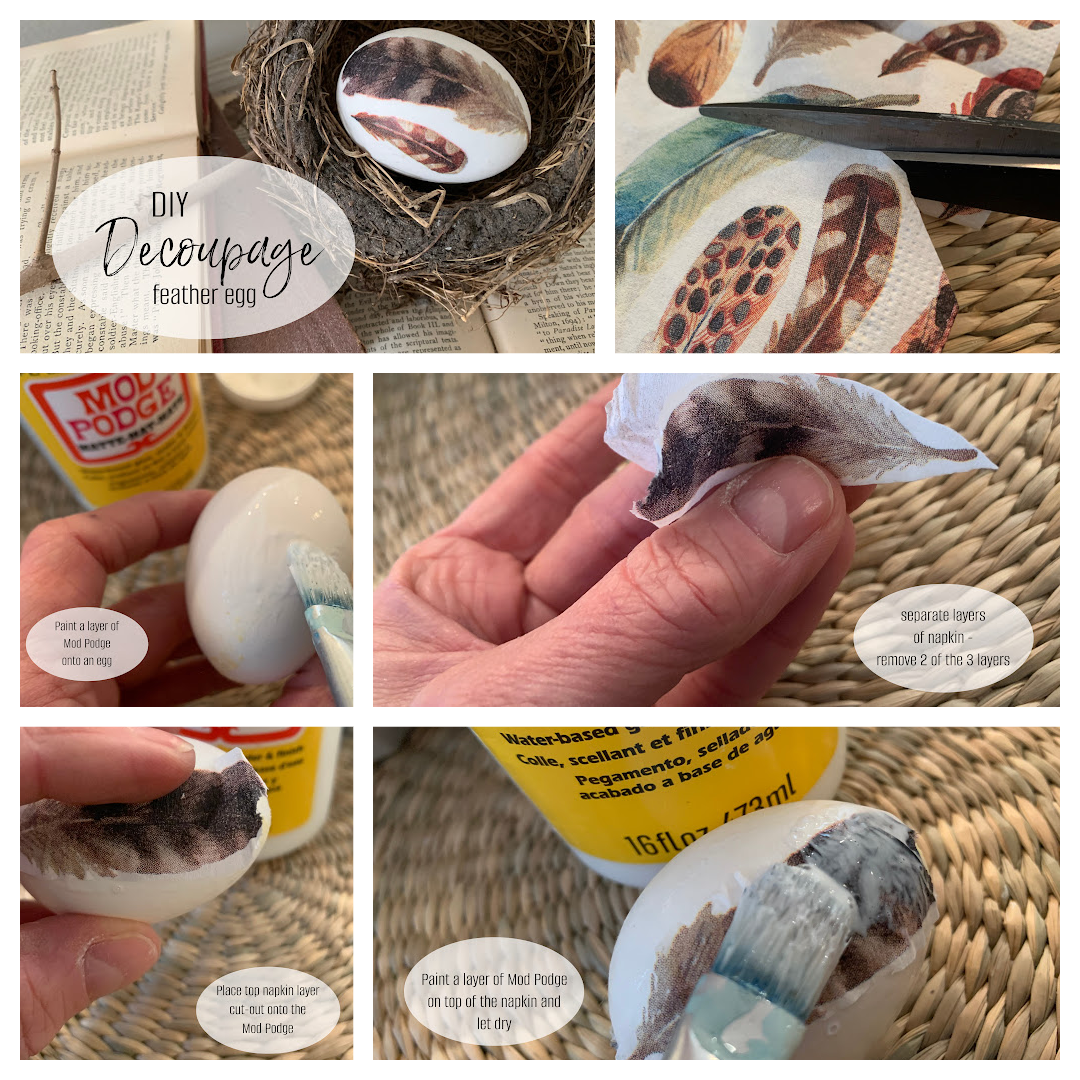
You will need the napkin of your choice, Mod Podge, a paint brush, and some eggs! I like to empty out my eggs first so I can keep the finished product year to year.
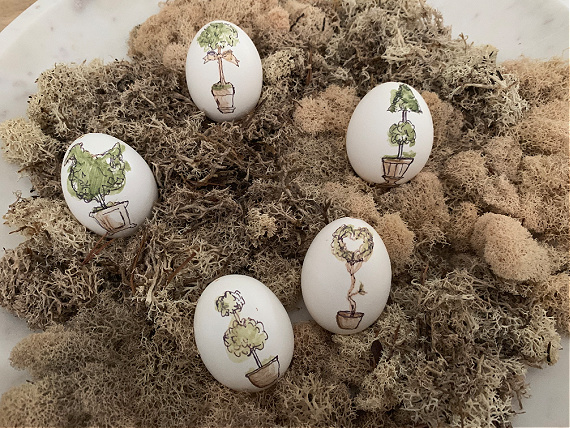
Start by cutting out the shape(s) you want to use on your egg. Then, separate the layers of the paper napkin; removing the back two layers. Paint some Mod Podge onto the egg and carefully place your paper shape onto the Mod Podge. Once in place, brush another layer of Mod Podge over the top of the paper. Let dry and that’s it!
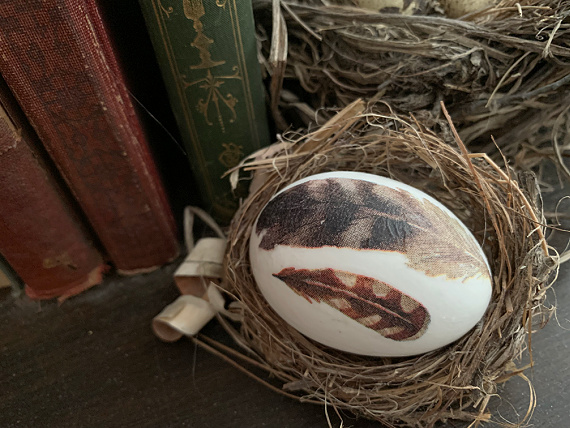
I hope you have some fun creating some decoupaged Easter eggs this year!
Thanks for stopping by!
Remember to take pleasure in simple things, Jackie