Subscribe to Pleasure in Simple Things via RSS ReaderFollow Pleasure in Simple Things on InstagramFollow @InSimpleThings on TwitterLike Pleasure In Simple Things on FacebookFollow Pleasure In Simple Things on PinterestEmail Jackie

gourmet s’mores

August 10, 2012

friday field trip

August 10th is National S’mores Day!  This week’s Friday field trip is to the campfire to officially celebrate National S’mores Day!

No one can not dispute that s’mores are an American icon.  For so many of us, they bring back floods of childhood memories…for me, memories from throughout my lifetime.

In honor of National S’mores Day, I am sharing some ‘gourmet’ s’mores combinations my family has enjoyed over the years at campsites throughout New England.  I hope you will try them and get inspired to come up with some of your own creations!  S’mores to me are all about camping and Hershey’s chocolate bars.  Both of these things bring back so many great memories from my childhood.  I am a second generation camper.  I camped my entire childhood; as did my children.  There are many traditions involved with camping…that’s what makes it such a treasured family experience.  Making s’mores has always been one of our traditions.   As my children got older and schedules became more complicated, we gave up our annual camping trips…but, not making s’mores.

A photo of one of my family’s ‘gourmet’ s’more flavor – adding peanut butter to the traditional s’more combination.

A photo of our ‘gourmet’ s’more….adding peanut butter.

Of course, the most important component of a s’more is the Hershey’s chocolate bar.  When I was a kid,  I got the chance to visit the Hershey’s factory in Hershey, Pennsylvania…it was a trip I never forgot…who could forget an entire town that smells like chocolate?!  The Hershey’s kiss shaped street lights in town gave an immediate sense of whimsy to the visit.  In the days of my childhood, it was still possible to view the huge vats of chocolate as part of the Hershey’s tour – very impressive…the image (and smell) are still very vividly etched in my memory!  Don’t miss the opportunity to visit Hershey’s if you are ever in the Hershey, PA area. ( I am not only in love with the Hershey’s products, but also in the great works they are involved in.   Check out their website www.thehersheycompany.com to learn more about Hershey’s social responsibility and the Milton Hershey school.)

A photo of my family’s ‘gourmet’ s’more…in this version a Cookies ‘n’ Creme bar replaces the regular chocolate Hershey’s bar.

A Hershey’s bar, a couple graham crackers, a just-cooked marshmallow…the components everyone immediately recognizes as a s’more.

A photo of creating the traditional s’more.

A photo of the Peppermint Pattie ‘gourmet’ s’more. A York Peppermint Pattie replaces the chocolate Hershey’s bar.

Now, I am not knocking all the traditionalists out there, but over our many years of camping, my family has  come up with many different variations of the standard s’more.  I would like to share some of our favorites with you…they are affectionately referred to by my family as the ‘gourmet’ s’mores.

My favorite is to substitute a Cookies ‘n’ Creme bar for the chocolate.  We also substitute the chocolate with a Peppermint Pattie.  Both are great variations.  The other popular combination in my family is to add peanut butter to the traditional combination of marshmallow and chocolate.

So, go find your perfect toasting stick.  Celebrate National S’mores Day.

Create a s’more…create some memories :)

Thanks for visiting, Jackie

6 comments

3 best ways to serve watermelon

August 7, 2012

3 recipes included

1. plain & coooold

You really can’t beat a piece of cold watermelon in the summer, come on!  My family prefers it cold and all on its own.  I recently tried to serve it to them grilled and it didn’t go over at all.

2. with feta cheese

My favorite way to eat watermelon is with feta cheese…what a combination!  I like to make what I call watermelon salad.

This is when I combine watermelon with feta cheese.  I really love the taste of the two together.   Just combine 1 part feta to 3 parts watermelon.  It is delicious.  If you want to punch it up a little, you can add red pepper flakes, or add a drizzle with a little spice…

Watermelon salad

  • 3 cups seedless watermelon, cut in chunks
  • 1 cup feta cheese, crumbled
  • Black pepper (or use red pepper flakes if you don’t use the optional drizzle and want some punch)

I sometimes also add fresh basil (or a fresh herb on hand)

Optional Drizzle:

(I wish I could remember where I orignially got the recipe for this drizzle.  I think it was a recipe from a hotel, but I can’t remember which one..if anyone recognizes it, please let me know so I can give proper credit.)

  • 1 cup extra virgin olive oil
  • 2 Tablespoons fresh lime juice
  • 2 Tablespoons vinegar
  • 2 teaspoons thyme
  • 1 small shallot
  • 1 serrano chile
  • Season with salt

I have served this salad in a watermelon basket for a party.  On Memorial Day or 4th of July, cut the watermelon into star shapes with a cookie cutter to add a patriotic flair.  Watermelon stars can go on skewers to decorate your table.  A piece of watermelon and a piece of feta on a skewer make a great appetizer….they can be drizzled with the optional drizzle or you can provide drizzle in a little ramekin on the side.

A photo of cookie cutter watermelon pieces…a great way to add some fun to a watermelon salad!

3. in a drink

Watermelon is great as a drink component.  If you want a frozen drink, freeze chunks ahead to use in your blender.  The frozen chunks also make great ice cubes for wine.

I love it with citrus…like watermelon lemonade…try this recipe for a refreshing watermelon drink:

Watermelon lemonade

  • ¼ cup lemon juice
  • ¼ cup lime juice
  • ½ cup sugar
  • 8 cups cubed seedless watermelon
  • 1 cup strawberries
  • 2 cups crushed ice

Blend all ingredients in a blender.

A photo of watermelon lemonade…a refreshing summer drink.

Enjoy your watermelon :)  Thanks for visiting, Jackie

9 comments

ending with ice cream cake

August 5, 2012

happy twenty-four!

I sure did have an exciting week.  I went to my first BlogHer – a conference designed for women who blog and other social media professionals…over 4,500 of them!

During the course of this three day conference, I … took a dance class with the Rockettes at Radio City Music Hall…was addressed by the President of the United States…sang Happy Birthday to Martha Stewart… admired Katie Couric in person…and, listened to Soledad O’Brien, Christy Turlington Burns, and Malaak Compton-Rock discuss their great nonprofit works.  No wonder I am so tired!

It was an exciting three days…I was able to meet some really interesting people and attend some great social media classes.  The best part of my week?  That would be today, when my first born turned twenty-four years old and our family was all together to celebrate.

So, I will not be posting the photos I took of all the celebrities I saw in New York City…I am posting a photo of my first born son taken this weekend by his sister, documenting him doing one of his favorite activities on his birthday weekend.

And, I am posting instructions on how to create my son’s one-of-a-kind birthday cake…since, per tradition, he dreamed up the cake he wanted…

 Twenty Fourth Ice Cream Cake Recipe

  • 9 ½ “ springform pan
  • package of oreo cookies (you will use appoximately 10 oz.)
  • half gallon chocolate chip ice cream
  • half gallon coffee ice cream
  • 8 oz. bag Heath Bar bits
  • 1 container Reeses shell topping

Put a little coating of cooking spray or butter in the bottom of a 9 ½ “ springform pan.  Crush up  10 ounces of oreo cookies and spread on the bottom of the pan (you don’t need butter since the white filling provides moisture).  Soften the chocolate chip ice cream slightly and pack over the crumbs.  Next, spread the bag of Heath Bar bits evenly over the ice cream.  Your next layer will be softened coffee ice cream.  After arranging that into the pan, drizzle Reeses shell topping over the top of the cake.  Store in freezer.

Happy twenty-fourth, my son :)

Thanks for visiting, Jackie

4 comments

butterfly habitat

August 3, 2012

friday field trip

Do you like butterflies?  I’m not a big fan.  I could never understand the attraction.  I never ‘got’ the ‘releasing them at the wedding thing’ or why someone would tattoo a drawing of one on their butt!   Of course,  if it were a shell or a starfish, I might understand ;)

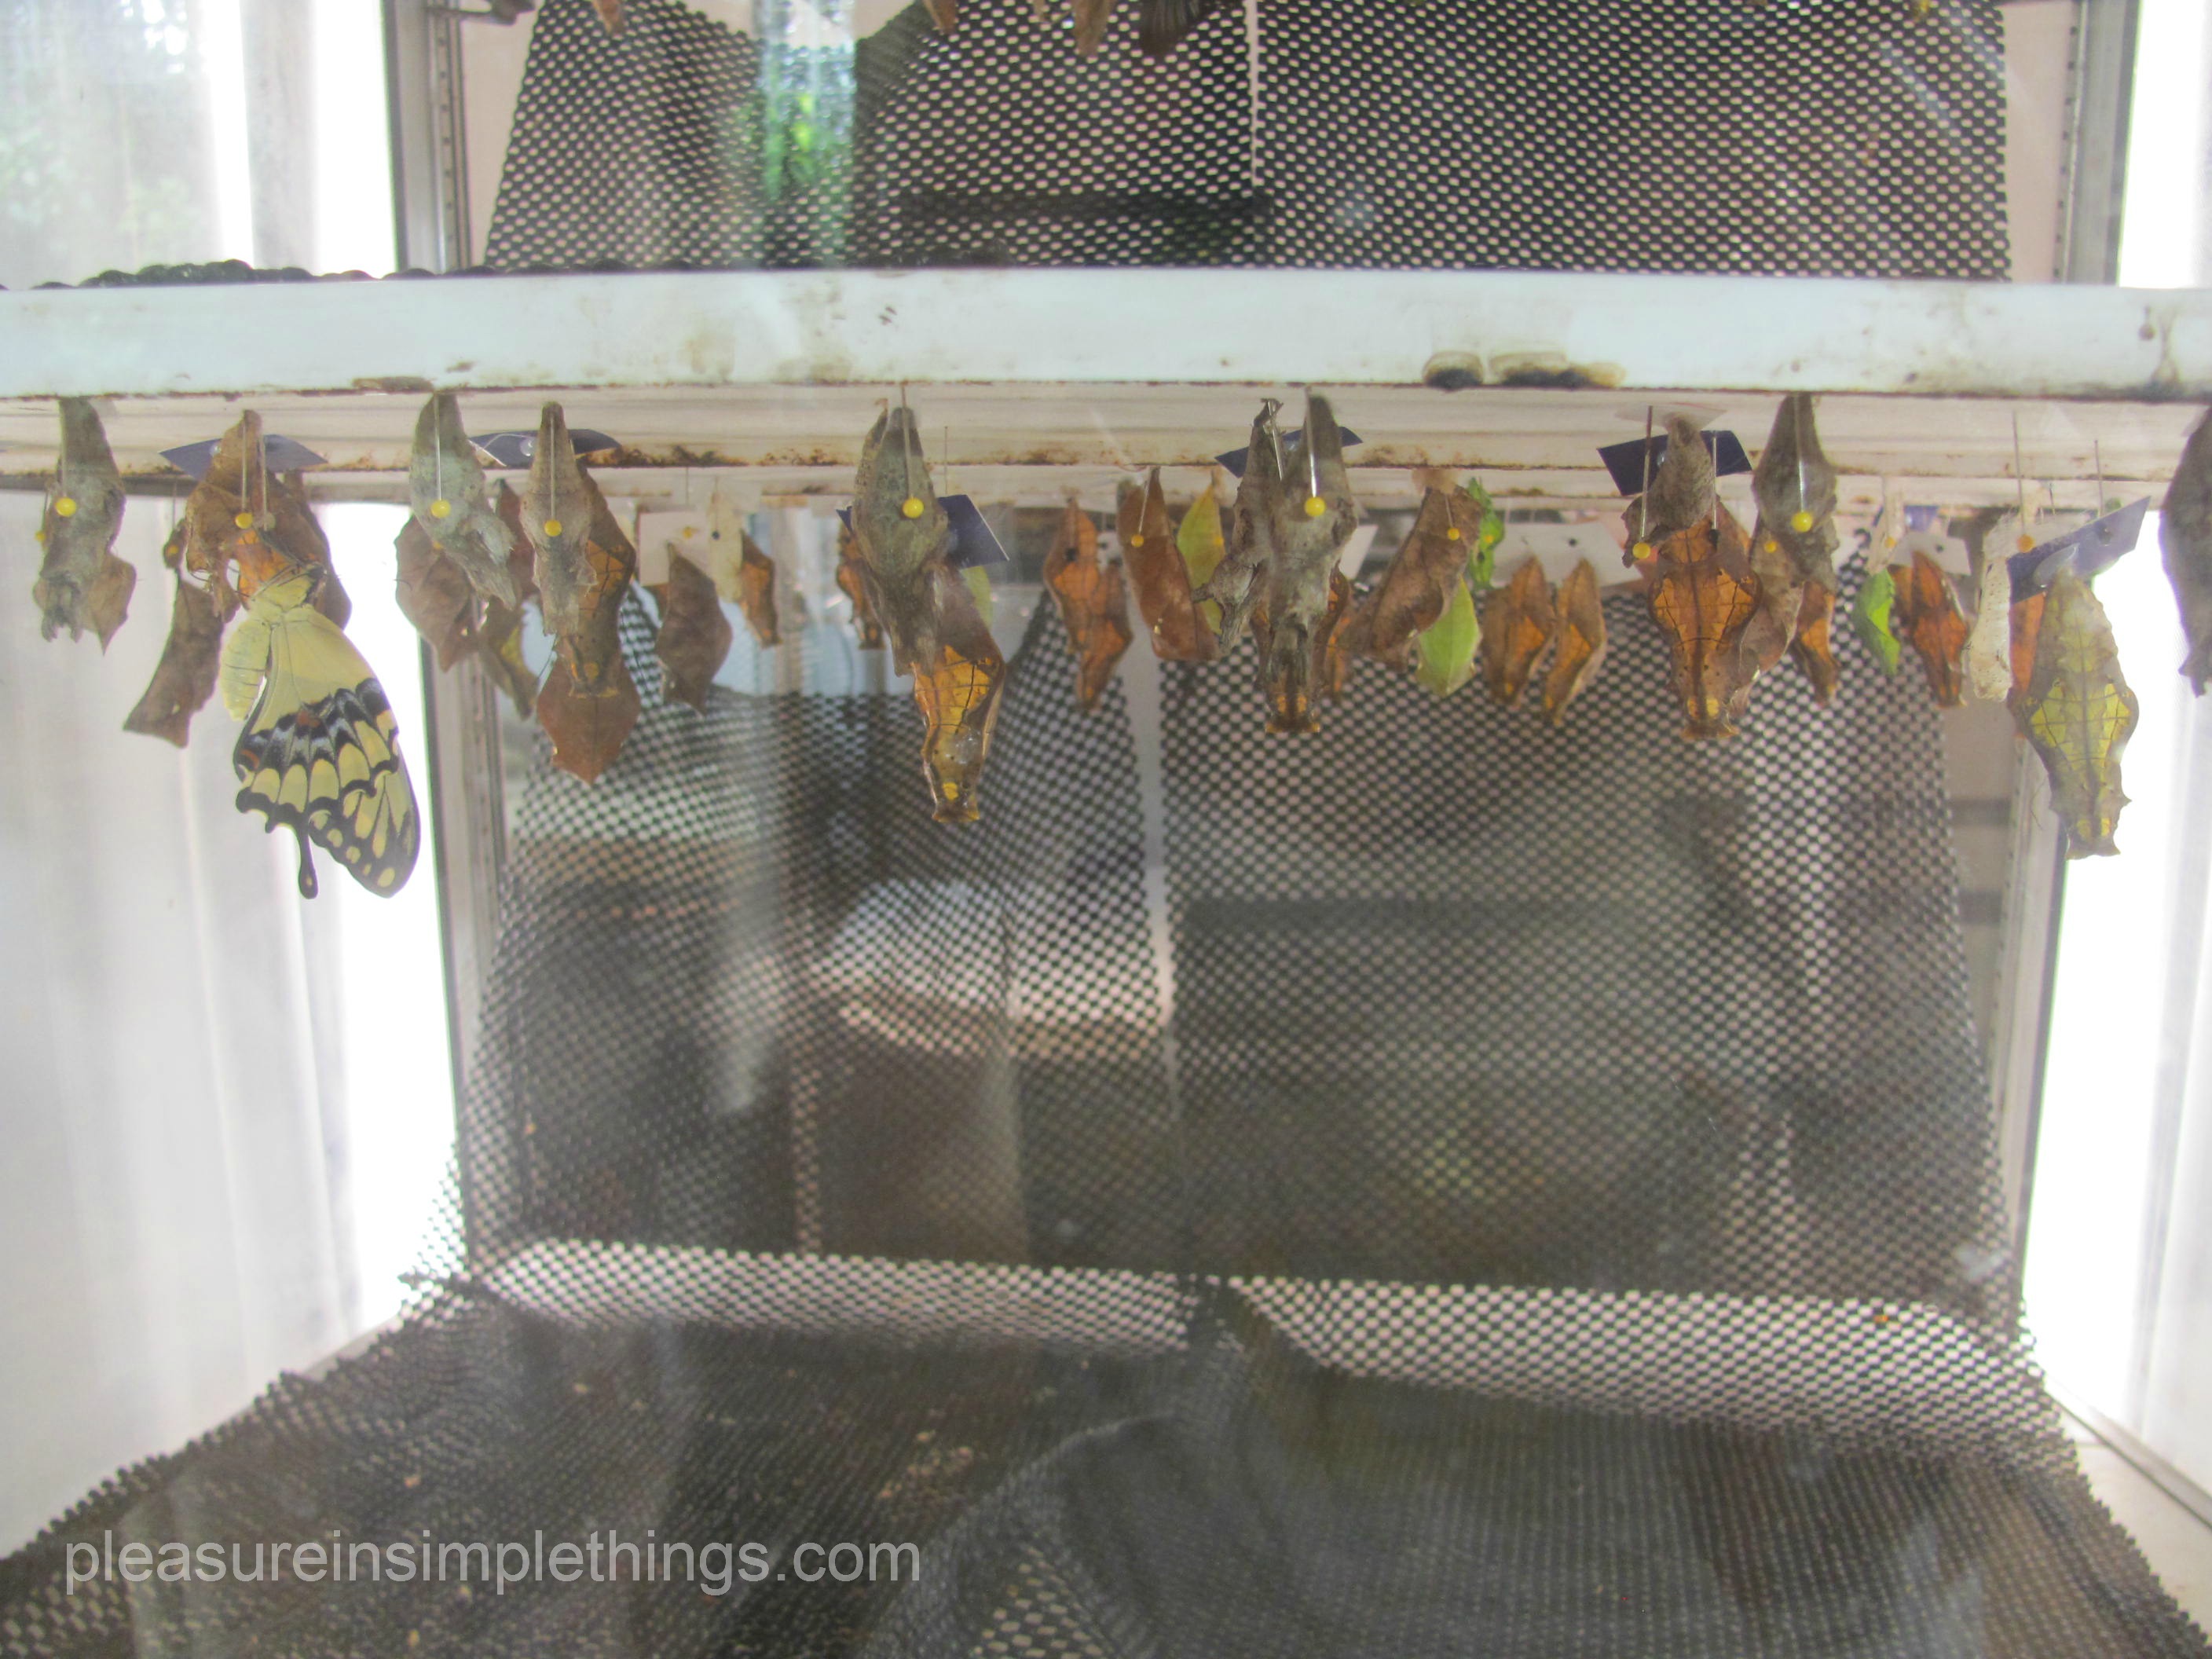
Raising butterflies as a kid was solely an accident.  I would capture a caterpillar in a jar…taking it out periodically to let it crawl up my arm.  I would soon loose interest.  Coming across the jar in the garage much later, I would find the caterpillar had transformed.  Sometimes I would end up with a butterfly – most times, with a scary looking moth.

Even though the idea of visiting the Butterflies! exhibit at The Academy of Natural Sciences in Philadelphia was met by me with lukewarm enthusiasm, I actually enjoyed it.  Probably because the coolest butterfly in the habitat landed on me!  The tropical garden that houses the Butterflies! exhibit is filled with colorful plants and a multitude of live butterflies from Central and South America, East Africa, and Southeast Asia.  There are an estimated 60 to 150 butterflies and 20 to 40 different species on any given day.  Adult butterflies usually live one to two weeks (this I didn’t know) and the museum receives new butterflies from around the world each week.  I honestly didn’t think any of my photos would come out since a misting of water was constant in the environment, creating a hazy look.

At first, I was really more interested in the plants than the butterflies.  Instructions were given upon entering the (very hot and humid) habitat to ensure all the specimens were treated gently.  All that enter are instructed to ask for assistance if a butterfly should land on your person, because a museum worker is required to remove it.  I had to seek someone out to remove the one that planted itself on my hand.

It wasn’t until that one butterfly landed on me that I became interested in really looking at them…aren’t they attracted to sweet things? ;)

 If you are ever in Philadelphia, check out The Academy of Natural Sciences.  It is located at 1900 Benjamin Franklin Parkway  www.ansp.org

Thanks for visiting, Jackie

1 comment

book giveaway winner for july!

August 1, 2012

in the garden by stacy bass

Congratulations to Cynthia S. from Connecticut, July’s book giveaway winner of the author autographed copy of In the Garden!

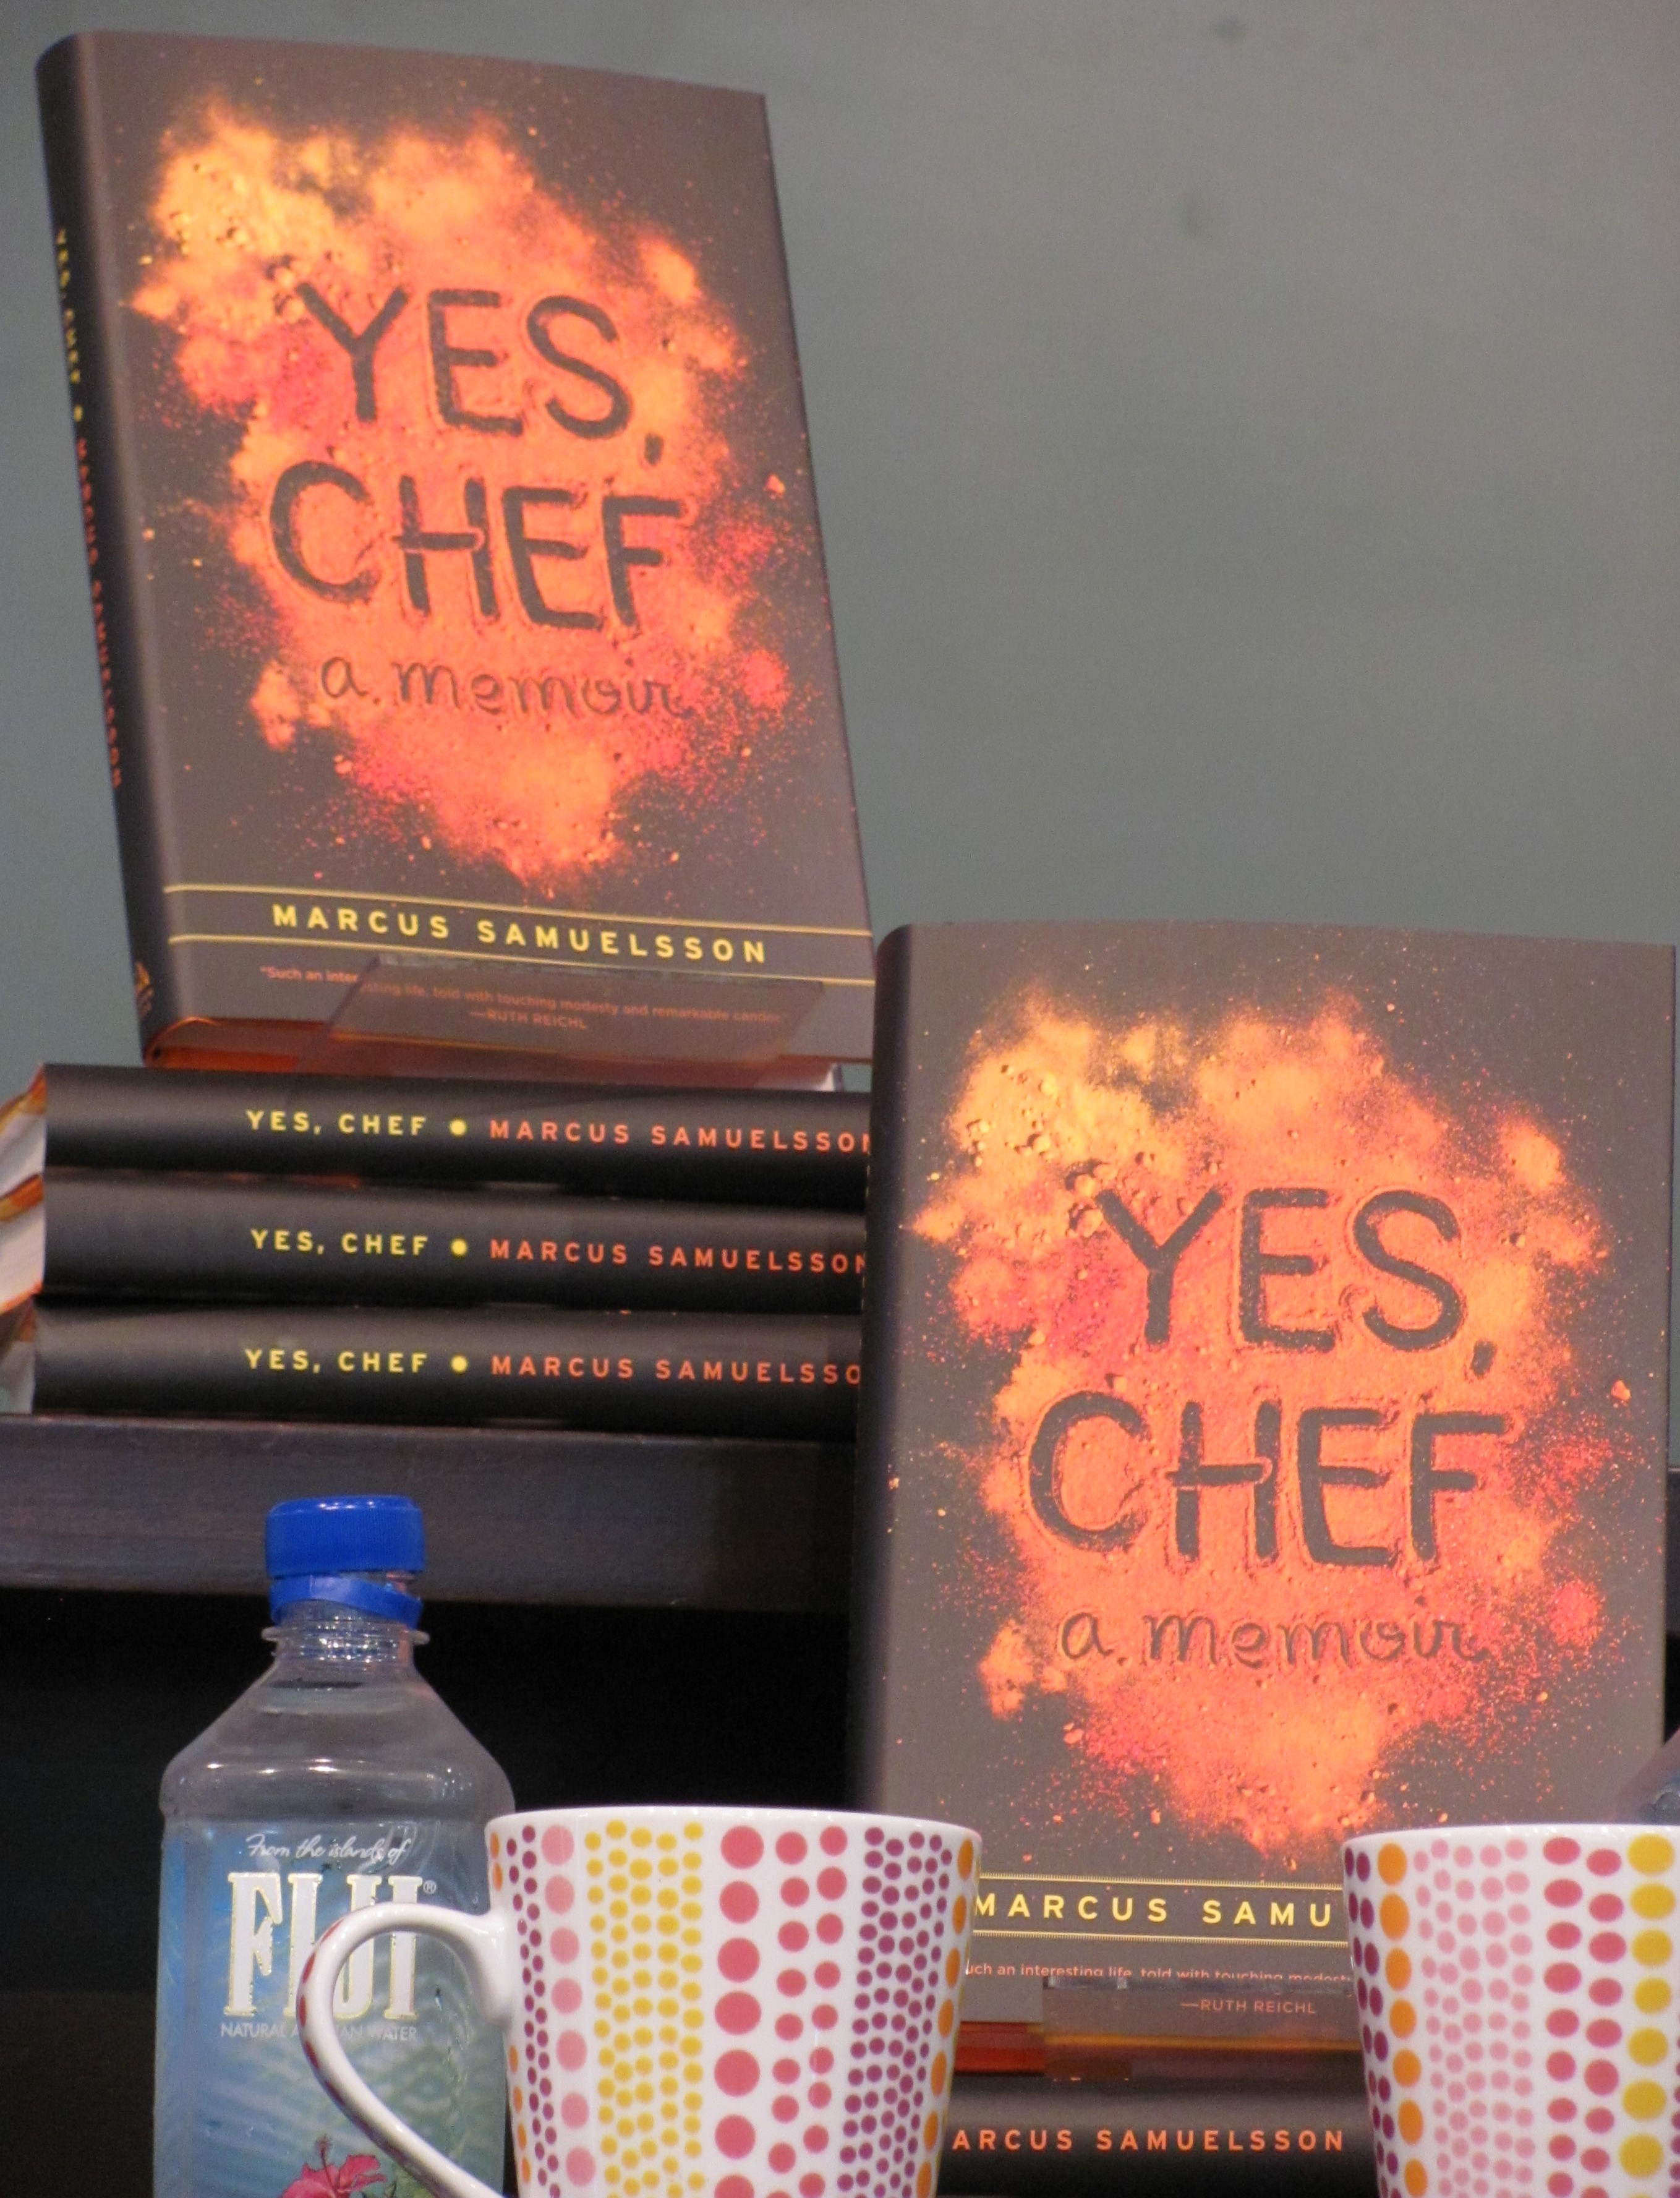
Qualify, starting today, for August’s giveaway selection, Yes, Chef, signed by author Marcus Samuelsson.  https://pleasureinsimplethings.com/yes-chef-by-marcus-samuelsson/

Pleasure in Simple Things August giveaway book signed by Marcus Samuelsson.

A great read!  Guidelines to win  https://pleasureinsimplethings.com/book-giveaway

Winners are welcome and encouraged to write a review of the book they received to be included on a future monthly giveaway page.

no comments

5 great ways to use sea glass

July 31, 2012

“One cannot collect all the beautiful shells on the beach.  One can collect only a few, and they are more beautiful if they are few.”
—Anne Morrow Lindbergh

Okay, after spending countless hours searching for sea glass, you are pleased with your collection this season.  Are you tempted to add it to that one big jar you have in some nondescript location?  Don’t do it!  There are better ways to put these beautiful treasures on display.  Here are five great and easy ways to use your favorite pieces of sea glass…no drill, glue, or special talent required.  (Be sure to click on the photo collages below to see the sea glass treasures full screen.)

IN YOUR GARDEN  Sea glass looks great as a decorative touch in your garden.  It gives a fresh look to a birdbath or garden container.  It is also a neat way to finish off a potted plant by covering the top of the soil.  Maybe the thank you gift for the weekend you spent at your friend’s beach house is a plant finished off with the treasures you collected while visiting. 

ON A SHELF  A great way to display favorite pieces in your home is on a shelf, bookcase, or coffee table.  Just use a couple favorite pieces to highlight them as special, or group them by color for some great impact.  They look wonderful used in combination with other natural items like driftwood or a bird’s nest.  A unique piece can look great under a small dome on your mantle.

AS A VASE FILLER  Using sea glass to fill a vase is always a great way to bring the beach into your home.  Pieces can be used in a vase with fresh flowers or to anchor a candle in a jar.  Putting pieces in a mason jar and adding an old nostalgic black and white beach photo is a great addition to a summer mantle.  If you have a large collection, filling a glass lamp is another option.  I like to use a filled vase to serve skewered summer appetizers or desserts.

MAKE AN EASY AIR FRESHENER  Gather some pieces of sea glass into a small dish or teacup to use as an air freshener.  Just add your choice of fragance oil.  I found some really great oils at a local herb store, but most craft stores also carry it.  You can pick a floral scent or something reminiscent of the sea and surf.  Yard sales or Goodwill stores are great sources for pretty dishes that are sure to sell for under a dollar.  Or, use that odd teacup you haven’t been able to throw away.

TO CREATE WRAPPING PAPER  Take a photo of some pieces of your collection.  Get a color print of it on your home printer or at the local copy center to use as wrapping paper.  An easy way to add the beauty of the sea to a gift.  Use raffia or pretty sea-colored ribbon and tie on a shell to complete the look.  Use your new giftwrap for any occasion.  It is a great departure from the giftwrap typically used for the holidays..using it brings recollections of  warm memories of the sand and sea no matter how cold it may be outside :)

Thanks for visiting, Jackie

This project is being submitted to Celebrating Everyday LIfe recycled & repurposed diy project linky party

5 comments

just coffee, donuts & chicken in philly

July 27, 2012

friday field trip

They only sell coffee, donuts, and fried chicken.  My interest was in the donuts.  I heard there were some imaginative flavors offered and I wanted to check it out.  I looked up the address of Federal Donuts…1219 South Second Street.  Great.  I usually go everywhere in Philly by walking or by public transportation, but we would save time by driving…I heard these donuts sell out early!  My sister, daughter, and I headed out early morning.

The store turned out to be a very unassuming, tiny little shop, with six counter stools and no parking in a Pennsport neighborhood.  I guess we lucked out that there was only one person in the shop when we arrived, so we were able to sit at the counter.  Lucky because we could take our time analyzing our treats…each of us eager to decide our favorite variety.

Not wanting to miss tasting any of the unique flavors, we ordered one of each from the menu of nine flavors offered…just to sample, mind you.  That included three ‘hot’ donut flavors made to order:  indian cinnamon, appolonia spice, and vanilla lavender.  These donuts were coated while hot in a sugar/spice mixture.  The other nine flavors, called ‘fancy’ donuts,  were the same great, very light cake-type donut, coated with a flavorful glaze.

A photo of Federal Donuts’ current ‘fancy’ donut flavor offerings.

The flavors offered – definitely imaginative.  The taste – awesome!  I talked to the woman working in the store and the one regular customer seated at the counter.  I wanted to know about other donut flavor offerings…could I just be happy with the nine I was trying?  No.  I had to know what flavors I may have missed.  Torture!  Flavors are changed regularly.  Some past flavors included chocolate covered banana, pina colada, mandarin-coffee, s’mores, and root beer float.  So, even after deciding my favorite flavor, it could change on my next visit when different varieties may be offered.

At first I thought donuts and chicken were a wierd combination of food items to sell, but after thinking about it, both are fried.  Plus, Federal  covers both with unique seasonings and glazes.  Chicken seasonings include harissa and za’atar (no idea what these taste like!) and the glazes are chili-garlic and honey-ginger.  Although I am not crazy about fried chicken, after tasting the donuts, I DO want to try the chicken sometime!

My favorite this visit?  My favorite ‘fancy’ donut was the fig on fig.  My favorite overall was the vanilla lavender.  (My daughter chose strawberry rhubarb pie and vanilla lavender.) I asked at the shop for the current hot seller.  Can you guess?  Chocolate coconut.  I was surprised.  The shop thought the reason was because it was the most familiar flavor to customers.

As you can see by my ‘after’ photo of the leftovers, we basically only took ‘a little bite’ of each flavor as research!

I realized after I got home that I didn’t even get a photo of my favorite flavor…I guess it just wasn’t around long enough!

Thanks for visiting!  Don’t forget to ‘like’ my facebook page https://www.facebook.com/insimplethings  or leave a comment for a chance to win this month’s giveaway book!  Only a few days left for July’s selection…a beautiful ‘coffeetable’ garden photography book.  August 1st starts the giveaway for Yes, Chef.

4 comments

great ice cream sandwiches

July 24, 2012

rice cakes & ice cream?  Oh, yeah!

This time of year, you can always find an abundance of ice cream and ice cream related recipes.  I loved Real  Simple magazine’s recipes on ice cream sandwiches made from cookies that they featured recently.  Like s’mores, these treats are a summer standard in the dessert category.  Unfortunately, Real Simple  left out the two BEST combinations…the nerve!  Here is a glimpse of my two favorites…


A photo of one of my favorite diy ice cream sandwiches: ginger cookies filled with key lime ice cream and rolled in coconut. The ginger cookie recipe is included at the end of this post.

The first combination is ginger cookies filled with key lime pie ice cream and rolled in coconut. To be really decadent, white chocolate can be drizzled on the top.  There are a lot of good ginger cookie recipes.  I usually don’t have crystallized ginger in the house, so I use the recipe I included at the end of this post because it doesn’t require it.

A photo of the ginger cookies used to make the ice cream sandwiches…the recipe is included at the end of this post.

I think the key to a good ginger cookie is a good ginger spice.  I use Penzy’s spices.  There is no spice like it.  It is amazingly flavorful.   If I have crystallized ginger in the house, I use Ina Garten’s recipe, which is really great and calls for the crystallized ginger.  The ice cream, if store bought, really needs to be Ciao Bella, Key Lime Graham.   No other brand or flavor compares.  Of course, if you have a shop that makes homemade nearby, that is a great option.

The second  ice cream sandwich I adore uses rice cakes in place of the cookies.  It is a combination of rice cakes, smooth peanut butter, and a good quality vanilla ice cream (or frozen yogurt).  I used Breyers.  I first came up with this combination during one of my pregnancies, and I thought the pregnancy cravings were what made it taste so good.  I was wrong.  I like them just as well when I am not pregnant!

A photo of one of my favorite ice cream sandwiches…rice cake, peanut butter, and vanilla ice cream!

I have a store locally (Stew Leonards) that makes their own rice cakes and, in recent years, also sells them with drizzled chocolate…I used the chocolate enhanced ones for this post  :)  Just spread the insides of both rice cakes with the peanut butter  before sandwiching the vanilla ice cream in the middle.

The ginger cookie recipe follows.  Hope you enjoy my favorites and hope this gets your creative juices flowing to come up with some of your own favorite combos!  Let me know if you come up with some good ones!  Thanks for visiting.  Enjoy, Jackie

Ginger Cookies

Ingredients

  • 1 cup unsalted butter, room temperature
  • 1 cup light brown sugar
  • 1/4 cup unsulphured molasses
  • 2 large egg whites
  • 1/2 teaspoon pure vanilla extract
  • 2 2/3 cups all purpose flour
  • 2 teaspoons baking soda
  • 1/4 teaspoon salt
  • 1 teaspoon ground cinnamon
  • 1-2  teaspoons ground ginger
  • 1/2 teaspoon ground cloves
  • 1 cup white sugar (for rolling)

Directions

In the bowl of your electric mixer (or with a hand mixer), beat the butter and sugar until light and fluffy (about 2 – 3 minutes). Add the molasses, egg whites, and vanilla extract and beat until incorporated. In a separate bowl whisk together the flour, baking soda, salt, and spices. Add the flour mixture to the butter mixture and mix until well combined. Cover the batter with plastic wrap and chill in the refrigerator for about 60 minutes.

Preheat the oven to 350 degrees F.   Line two baking sheets with parchment paper.

Place about 1 cup of white granulated sugar in a medium sized bowl. When the dough has chilled sufficiently, roll into 1 inch balls. Then roll the balls of dough into the sugar, coating them thoroughly. Place on the baking sheet, spacing about 2 inches apart and, with the bottom of a glass, flatten the cookies slightly. Bake for about 8 – 10 minutes or until the cookies are firm but are still a little soft in the centers. (The longer the cookies bake, the more crisp they will be.   For the purposes of an ice cream sandwich, you don’t want them crisp since that would make them hard to eat.)  Cool on a wire rack.

Makes about 4 dozen cookies.

Recipe adapted From:  Mendelson, Susan & Cruz, Joey. The Lazy Gourmet. Whitecap Books. Vancouver/Toronto: 2000.

3 comments

kitchen of the year 2012

July 20, 2012

field trip friday

I had the greatest rainy day in New York City!

Have you heard of House Beautiful’s Kitchen of the Year?  Each year, a designer is chosen to create the ultimate kitchen in Rockefeller Center and the public is welcome to visit.   It is such a fun event.  It runs for five days and there are associated activities throughout the week.  This year,  I attended on the last day because I planned to be in the city on that particular day anyway.

The 1,000 square foot, 2012 kitchen was designed by Mick De Giulio.  My three favorite things in the kitchen did not even relate directly to cooking!  Not the stove, oven, or any of the appliances…my favorites were:

1.  The butler’s pantry.  WOW.  I have always dreamed of having one of these.  Every show house I go to seems to have one and I WANT ONE.  Too beautiful considering it is not a room your company would ever see!  The best part about the 100 square foot space was the cove ceiling with venetian finished gilded iron lights.

2.   Another thing I loved was the fireplace in the kitchen.  Could you imagine making s’mores in your kitchen?  Great item.  I am also a huge fan of white,  so I loved the white seating and table in front of it.  I guess it may not be real practical for some families…but,  who is talking about practical?

Photo of the fireplace in the 2012 Kitchen of the Year.

3.  Probably my very favorite thing in the entire kitchen wasn’t even a permanent part of the display…I am talking about Executive Chef Michael Ferraro from Delicatessen.

Photo of Executive Chef Michael Ferraro from Delicatessen

He was giving a presentation on preparing a pan roasted herbed chicken with shaved brussel sprouts.   A very informative presentation and a super guy.  I was so glad I got the chance to meet him.  I was just disappointed I could not fit in a visit to his restaurant this trip – a rainy day would have been a great time to have some great comfort food…next time.

Can’t go wrong with truffle oil! Photo of Chef Ferraro from Delicatessen giving a demonstration at the 2012 Kitchen of the Year.

A photo of Chef Ferraro during a demonstration at the 2012 House Beautiful Kitchen of the year – inserting herbed butter under the skin of a chicken to be pan roasted


A photo of the pan roasted herbed chicken and shaved brussel sprouts prepared by Chef Ferraro at the 2012 House Beautiful Kitchen of the Year. I got to taste!

If you want to see more photos of the 2012 Kitchen of the Year, you can check out the House Beautiful website  www.housebeautiful.com/koty     To see more about Chef Ferraro and Delicatessen http://delicatessennyc.com/

Any other day, visiting the Kitchen of the Year would have been the highlight of my day – not this day…I had the chance to spend time with my great friend  Lisa, and also had the opportunity to watch her lovely and talented daughter perform in the Rockettes Showcase!  Bravo Regan!  :)

Thanks for visiting!  Enjoy your weekend, Jackie

no comments

diy painted glass vase

July 16, 2012

easy color-coordinated vase

Have you painted the inside of an old jar yet?  It seems to be very popular right now.  When I first started seeing them around, I had to laugh, because when I was young, painting old jars was something my friends and I  would do at the summer playground when we ran out of all other craft materials…after exhausting all the supplies for making tile ashtrays and gimp keychains.

Over the years, I have painted an occasional jar as a nostalgic activity.  I haven’t really been motivated to do it lately…not, that is, until I was in Anthropologie the other day and saw the many jars the store was using as props for their in-store displays.  They had painted the insides of mason jars.  But, rather than painting each jar a solid color, several colors were used in each jar.  The result was almost a tie-dyed look.  Using pastel colors in similar hues, I thought the effect was really beautiful.

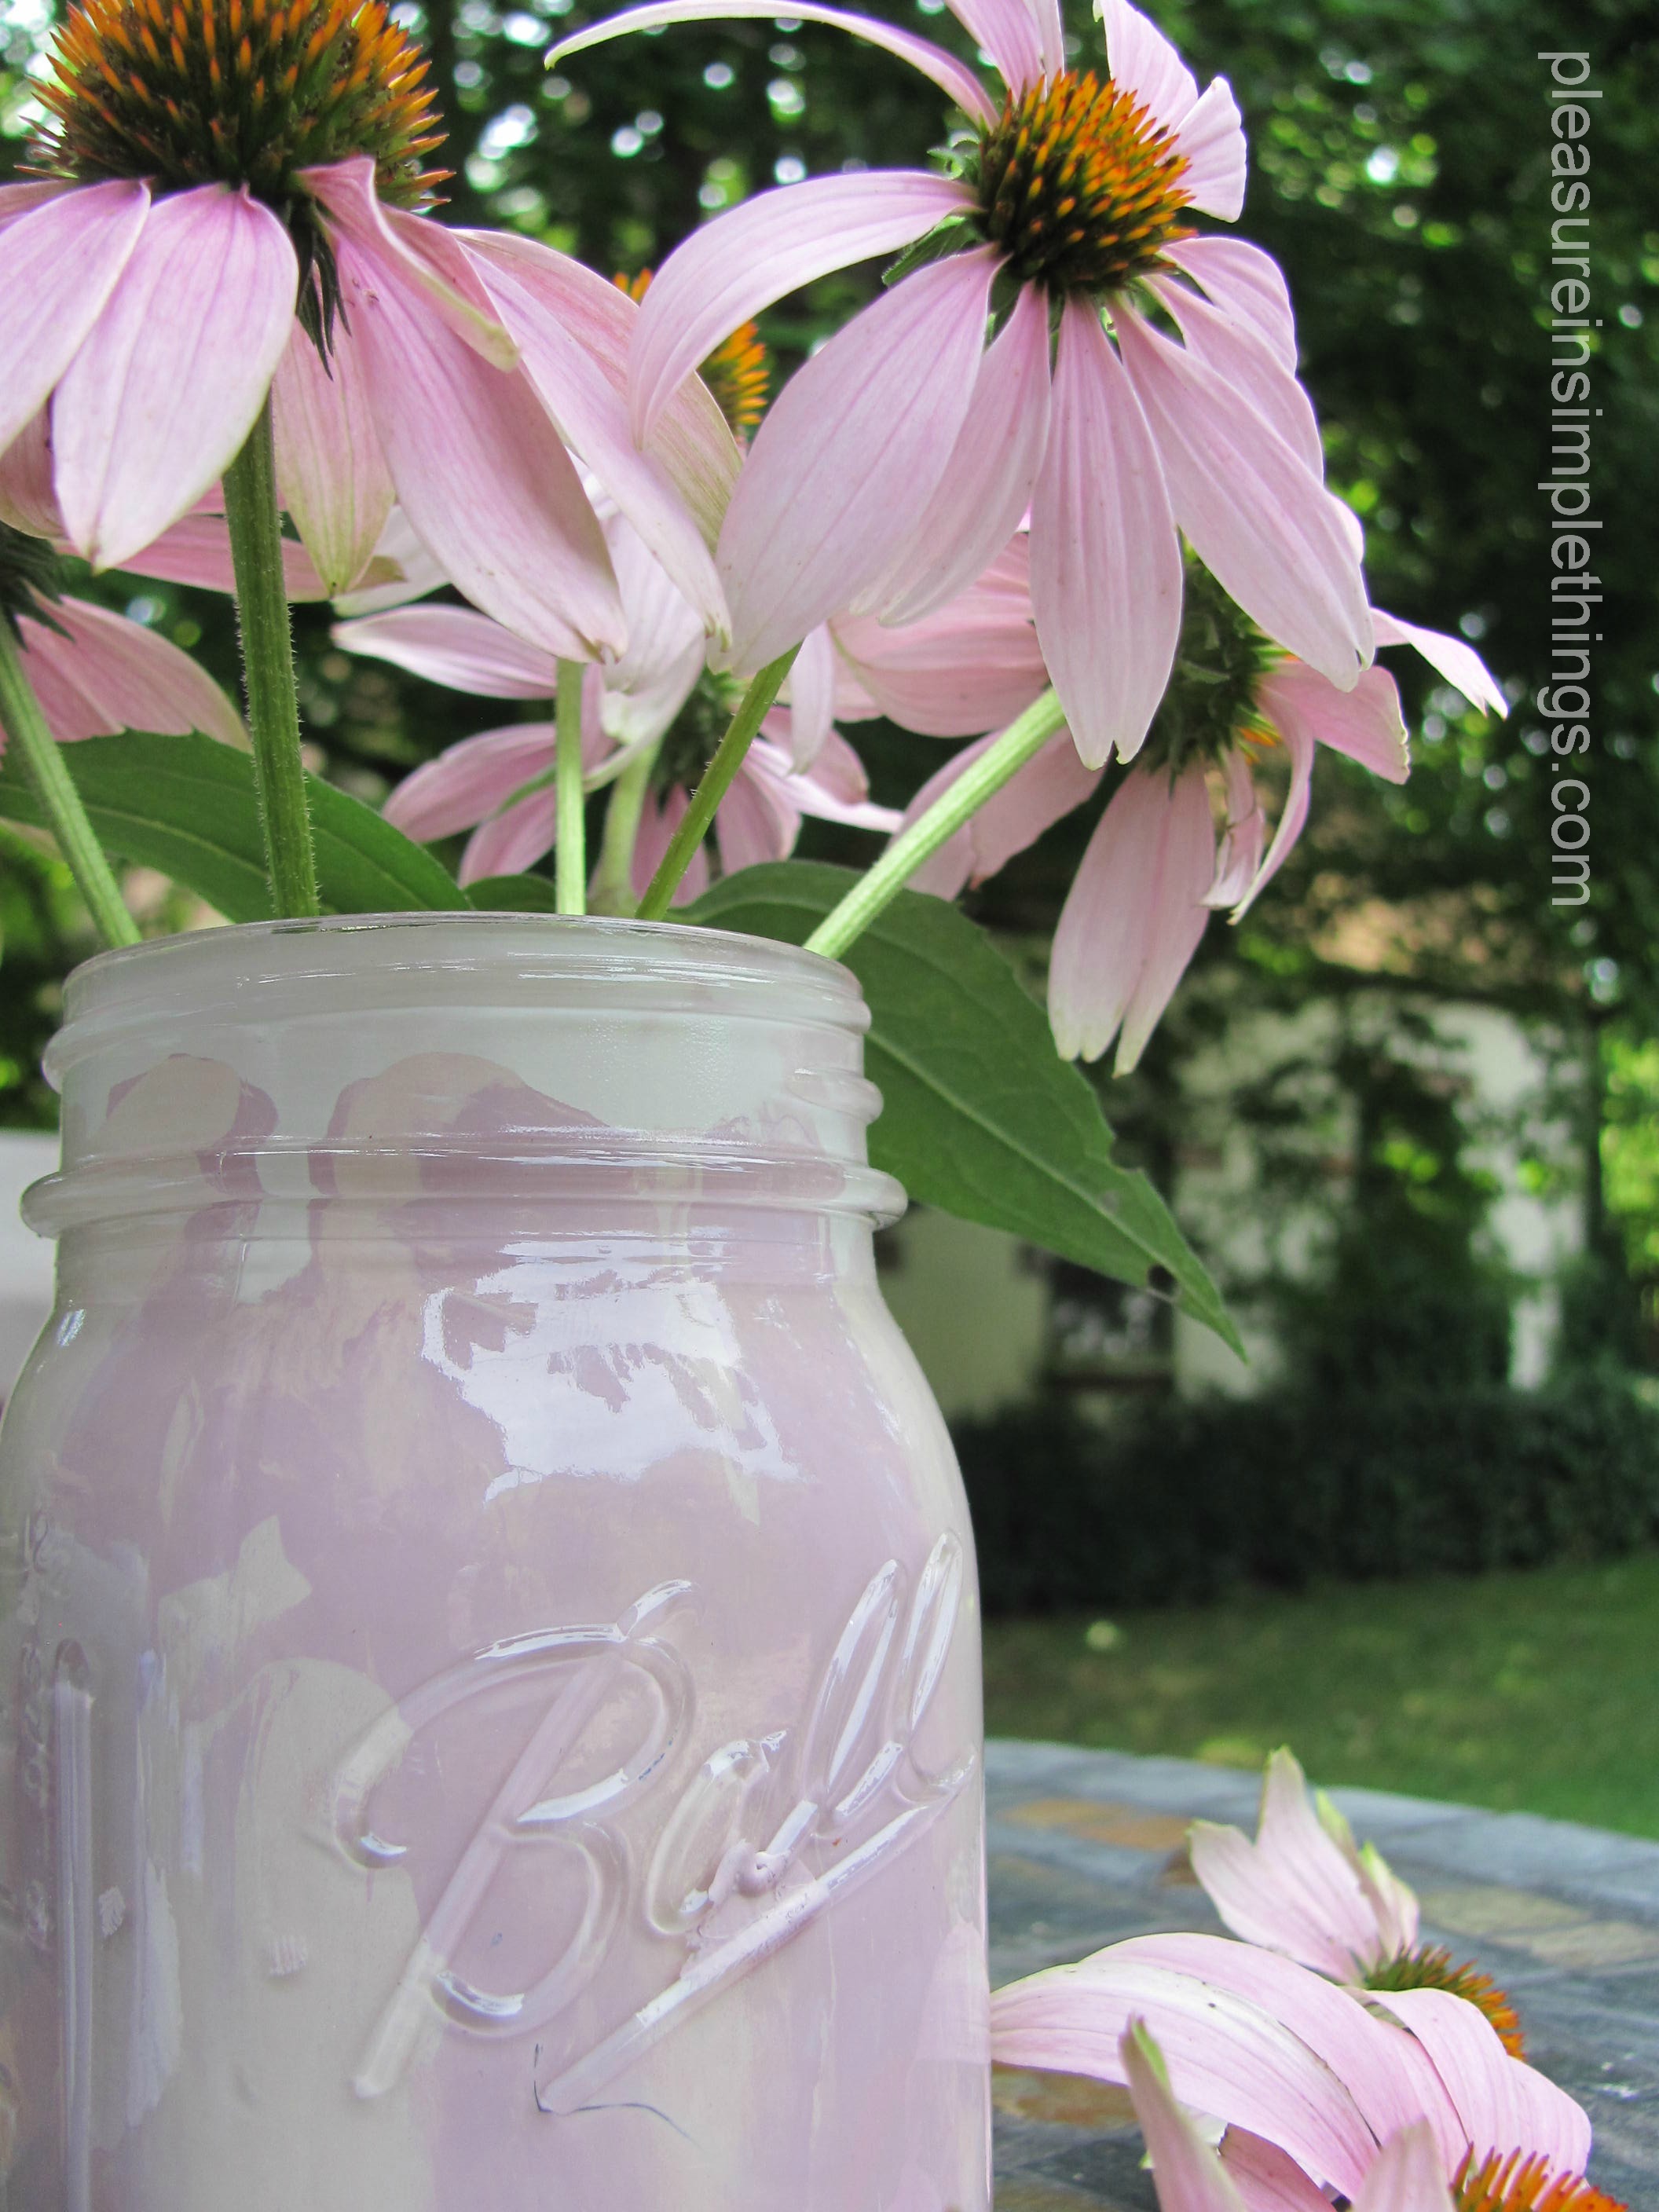
With my coneflowers in full bloom, I decided to paint a jar in colors to coordinate with the color of the coneflower  blooms.  I have purple coneflowers, so I would use subtle shades of lavender and gray.

It is such an easy process…if you haven’t yet tried it, don’t feel intimidated.  You can’t mess up :)  Simply pour a little paint into the jar and swirl it around to cover the inside of the glass…that’s it!

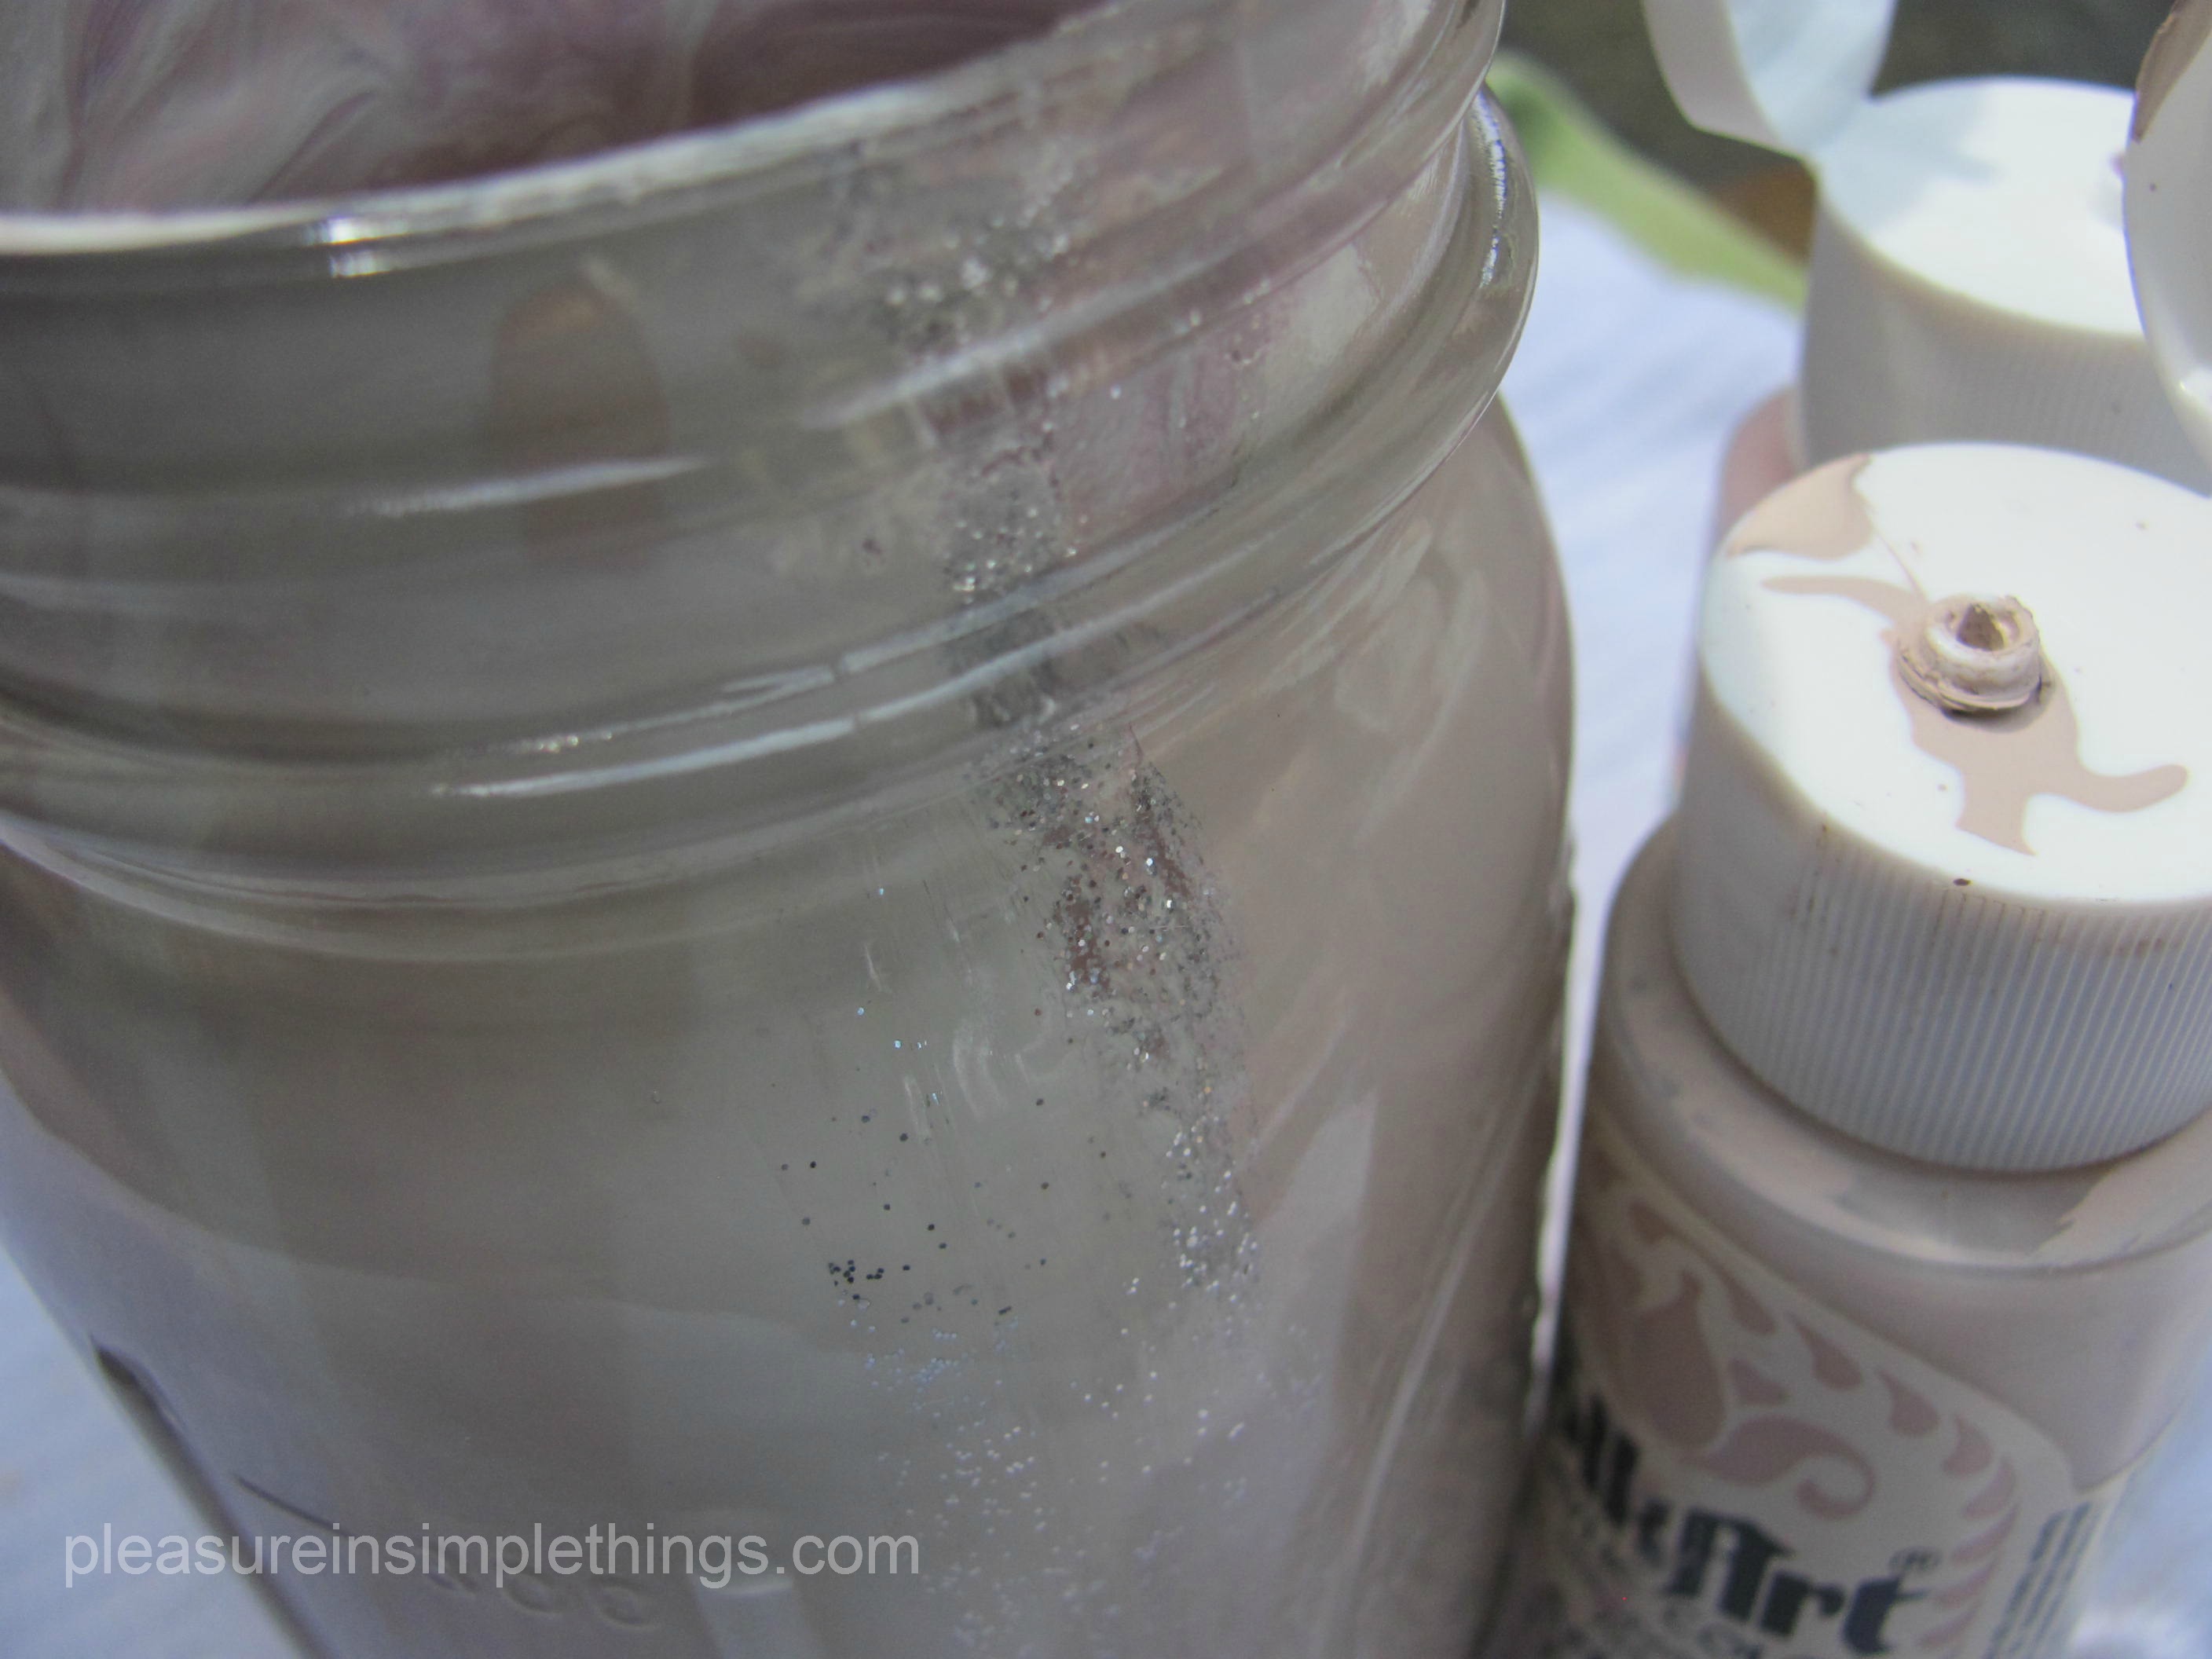
I found out that my craft store plastic paint bottles were perfect for the multi-color application.  I just squeezed the various colors into the jar and swirled them around.  I added a little splash of silver too, just to add a little sparkle.  You can control the pattern the paint creates by controlling which colors hit the glass first.  Let some paint drip from the top to the bottom of the glass.  Then, pour some paint in the bottom of the jar and swirl it around, tipping it to cover the sides.

If you make an experimental jar first, you can get the feel for how you can control the pattern of the paint covering the glass.  I experimented on a couple of Snapple jars that were in my recycling bin, but I saved a mason jar for the vase I intended for the coneflowers.

The great appeal of this project is being able to create a vase in any color scheme you choose, at virtually no cost – repurposing old jars and leftover paint.  It’s easy to instantly create a vase to match a color scheme for a party or a room in your home.

Give it a try!  Please post a photo of your creation on my facebook page:    https://www.facebook.com/insimplethings

Note:  I put a plastic cup inside the jar to contain the water.  I don’t think the water sitting in the paint would provide a happy result ;)

3 comments

Back to top