
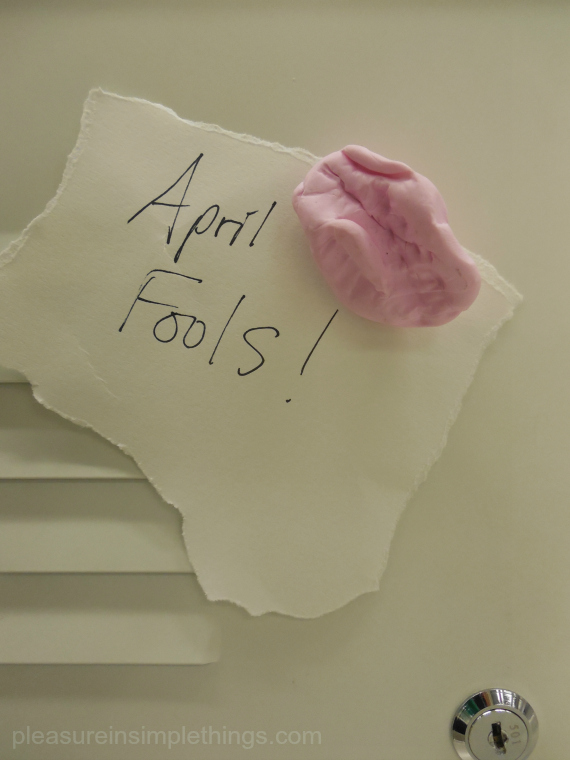
This April Fools’ Day, I am creating some fun fake gum magnets!
Years ago, I found similar magnets in a novelty shop and gave them as a gift. They were such a hit! I knew I could come up with a way to make some on my own and I quickly found they were super easy and very inexpensive to recreate.
Because these are great magnets for school lockers, they are perfect to slip into your child’s lunch bag on April Fools’ Day.

To make these you will need:
- modeling clay
- ¾ inch round magnets
- glue (I used Gorilla Glue)
- rubber bands
- your oven
That is it! Other than some protective covering for your teeth and hands (yes, I did say teeth – read on)…
In the interest of safety, I was extremely cautious in handling the modeling material. I used protective gloves when handling it and never let it come in contact with my body. I encourage you to do the same. My teeth marks may have not come out as prominent as they could have, because I had several layers of plastic between me and the modeling material! I didn’t want to risk having any of it touch my mouth!

I used round ¾ inch diameter magnets. Remember, the magnet will determine the size of the ‘gum’ since the modeling material will need to be large enough to conceal the magnet.
Gum comes in all colors these days, but I ‘stuck’ to the more traditional colors – white and bubblegum pink. As an added bit of fun – the white modeling material I used was also glow-in-the-dark!
So, just pinch a gum-sized piece (wads) of the modeling clay and shape it into a rough oval shape. You know what chewed gum looks like and that is the look you are trying to simulate. Look at a real piece of chewed gum if that helps! I may have exaggerated the size of my pieces a little bit, but I thought that made it fun!
The only thing you have to do, is to put a couple bite marks into the material…like I said, I did this with several layers of plastic over my teeth. Then, use a magnet to mold the spot where it will later be attached – you will be gluing this on after you set your ‘gum’ pieces in the oven.

After I got the pieces looking the way I wanted, I followed the directions on the modeling material and put my pieces of ‘gum’ in the oven for half an hour to make the shapes permanent. I put them directly on the oven rack on a piece of parchment paper.
After the pieces were cooled, I used glue (just a bead or two of Gorilla Glue) to attach the magnets – holding them snug with elastic bands since the glue swells as it dries – and let them dry overnight.
Cool, right?
I think they make a great April Fools’ Day surprise…very practical and sure to leave a smile on the recipient’s face!
Thank you so much for stopping by. Remember to take pleasure in simple things, Jackie
Sharing at Crafts a la Mode, Craftberry Bush, and Silver Pennies.
[…] april fool’s day gum magnets […]
[…] Click here for the original instructions to make gum magnets. […]