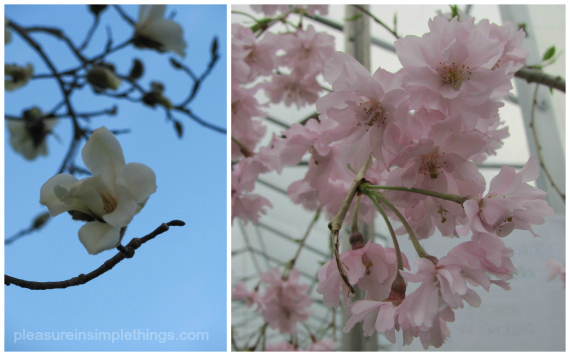
We won’t be going very far for Friday field trip today…just outdoors! The weather this week in Connecticut has been amazing, and any free time I had this week was spent on planting preparations… It didn’t help that I had a garden club meeting this week…during the lecture portion of our meeting, I was furiously writing notes of all the things I want need for my garden. My thoughts have been consumed with plants!
Planting isn’t done around ‘these parts’ until Mother’s Day (my traditional planting day), but that hasn’t stopped me from planning and dreaming. It is going to be a particularly tough year to make the yard look nice since we had a couple really bad storms this year that destroyed much of the garden – particularly large shrubs and trees.
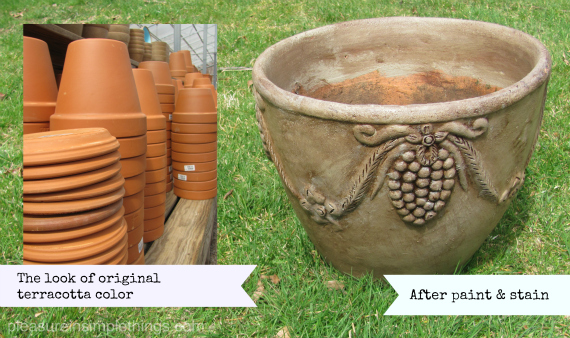
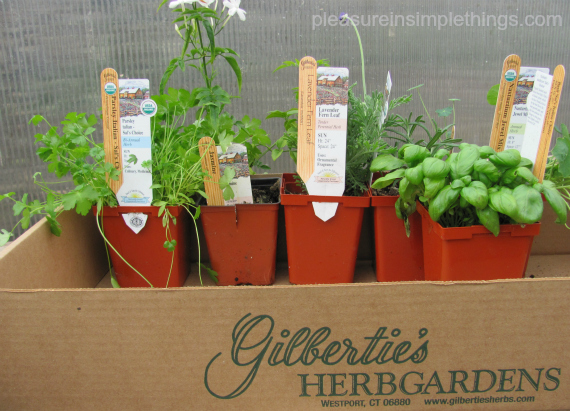
Because of this, there is so much more I want need than my budget will allow. One thing I was determined to replace this year was the ugly terracotta pots that we use to plant some of the herbs. I say ‘ugly’ because I really dislike that new terracotta orange (you know how I feel about orange) look. For me, they are an eyesore. I thought they may ‘accidently’ break in the garage before planting season this year, but I want to use my garden budget to buy more living things, not to replace pots.
So, I decided to see what I could do to transform the terracotta pots I already have into something I could enjoy looking at! I found it was a really easy fix and I wanted to share the process with you in case there are others out there that are cringing over the look of their terracotta!
Certainly there are plenty of methods to ‘weather’ terracotta or to create moss, etc. I did not do that. I went on a ‘hunt’ around the house to find things I could use for the transformation without making a purchase.
And, I found I needed very little. Some leftover house paint, stain, and a rag did the trick!
First, I simply painted the (bright terracotta) pot with some house paint (it happened to be Benjamin Moore Kingsport Gray). This color will coordinate nicely with the exterior of my house which is sided in cedar and stained with ‘driftwood’ (of course my house is painted a color with a ‘beachy’ name…what did you expect lol).
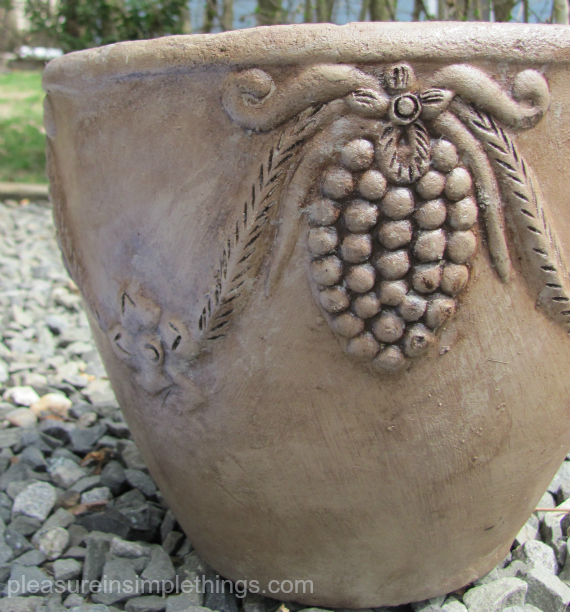
After that dried (I left it overnight), I used some gel stain (Minwax in Hickory that I had left in the basement) on a rag to give some dimension to the look. I rubbed some on, and using the rag, rubbed it off…pretty easy, right? My pot had a design on it and I made sure to get a lot of stain on the design part so that I could have it settle into the crevices. Although my pot had a bright, new look, it was a few years old which made it even better for this process since any cracks or scratches looked great when the stain settled in. You can do this same process repeatedly if you want more color or depth. After I was done, I dabbed a little of the paint onto the highest part of the design…just as a highlight.
What an easy way to give terracotta pots a little more interest without making any purchases! If you don’t have these items in your house, you can do a simple whitewash. Everyone has some white paint left somewhere…just thin it down a little bit and paint it over your pot to get rid of the new orange look. These pots may be the least expensive, but they don’t have to look that way! You can easily transform them with some leftover paint and/or stain. Have fun with it! I can’t wait to add some plants to my new creation :)
Have a wonderful weekend!
Remember to take pleasure in simple things, Jackie
Sharing at Crafts a la Mode, Craftionary, and The Well Crafted Home.


I’ve stain plain terra cotta pots before but I really like the contrast that your textured pot has. Love the grapes!