Subscribe to Pleasure in Simple Things via RSS ReaderFollow Pleasure in Simple Things on InstagramFollow @InSimpleThings on TwitterLike Pleasure In Simple Things on FacebookFollow Pleasure In Simple Things on PinterestEmail Jackie

Tag: holiday


diy snowberry glass tree ornament

21
December

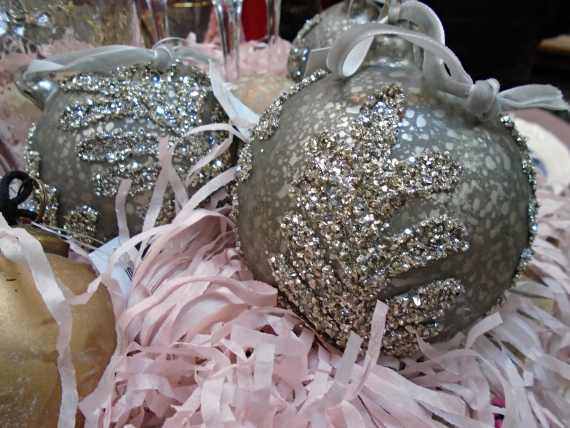
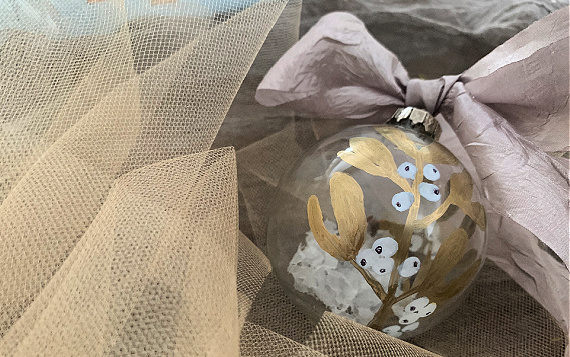
gold and gray snow berry ornament

There certainly are an infinite number of ways to decorate homemade tree ornaments.  The best thing about making some is tailoring them to individual taste and décor!

I recently saw a box of clear glass ornaments on clearance at the craft store and decorating them to my taste and décor was my exact plan.  Actually, the box of ornaments was the only holiday item left in the whole Christmas section of the store on the day I stopped in!  People definitely were shopping earlier this year!

snowberry ornament gray ribbon

I had to purchase the box because it ended up costing less than $2. after the sale price and with a coupon!  Since a snow storm was predicted for Connecticut, I thought coming up with four ornament designs would be a good indoor project while housebound.

And, as a special fun holiday countdown, I am posting the four DIY ornament designs I came up with as a four- day countdown!  For today and the next three days, I will put up a post each day on how I created one of the four ornaments I designed from the plain glass balls!  Today marks day number one of four.

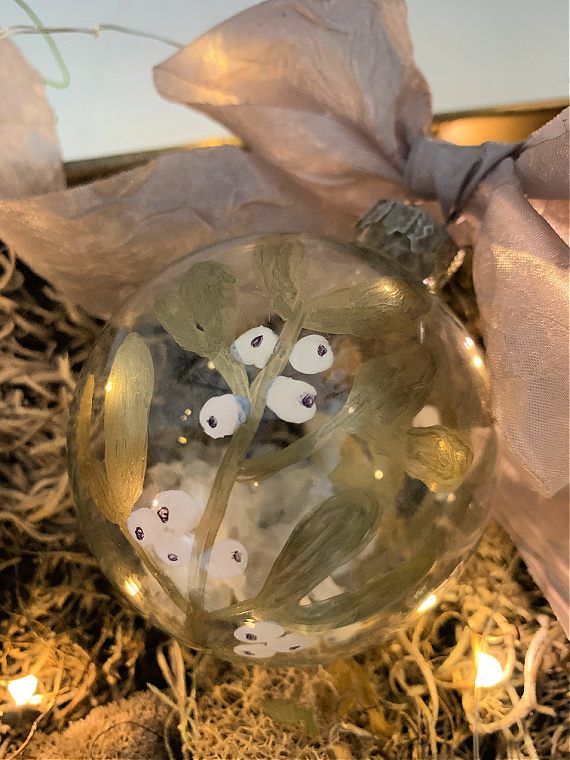
golden and gray clear snowberry ornament

The first design I created uses a paint marker to decorate one of the clear glass ornaments.  (Remember my pussy willow ornament from years ago?  Click here for easy DIY instructions.  That post also shared how to fill a glass ornament to create a cute book club themed ornament.)

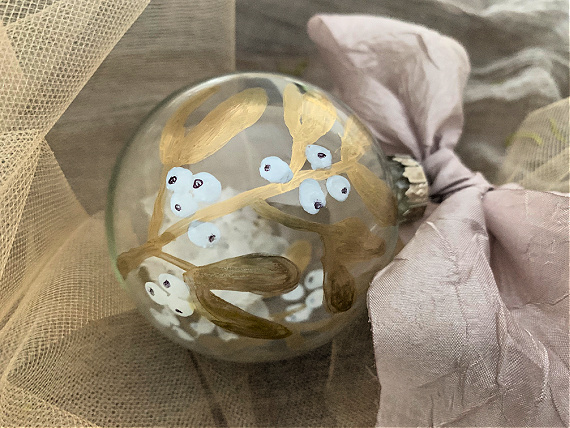
I am calling the design I created for the first ornament ‘snowberries.’  I simply drew some ‘stems’ with a gold paint marker.  Then, I used a white paint marker to add white circles.  To make a suggestion of berries, I used a black permanent marker to add a little bit of definition to each white circle or ‘berry’.

To finish it off, I just put a little bit of ‘snow’ inside the ornament…just a little…keeping the clear look, but suggesting a little iciness with the added snow!

That’s it!  Pretty simple!
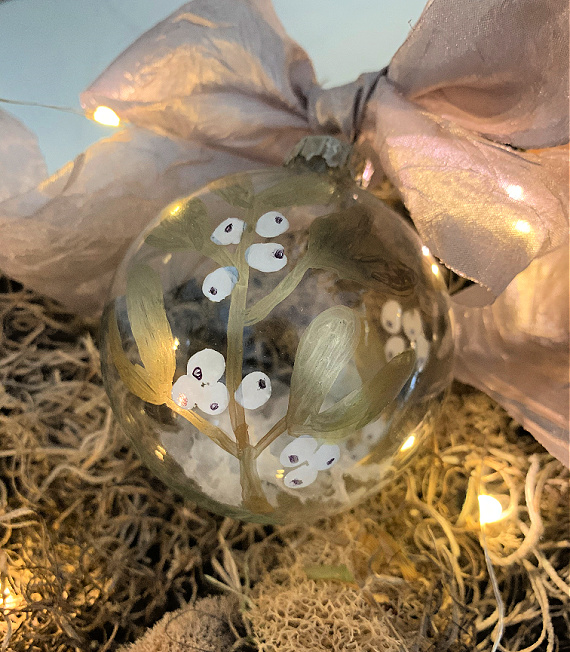
white berry ornament
One thing I did in advance was to spray the top of the ornament.  I didn’t like the look of the original silver top so I removed the top and sprayed it a champagne gold and let it dry before replacing it.

I hope you were inspired by ornament number one!  Check back tomorrow for ornament DIY number two!

Thanks for stopping by!

Remember to take pleasure in simple things, Jackie

Comments Off on diy snowberry glass tree ornament | diy, holiday, inspiration

christmas oyster shell dishes

18
December

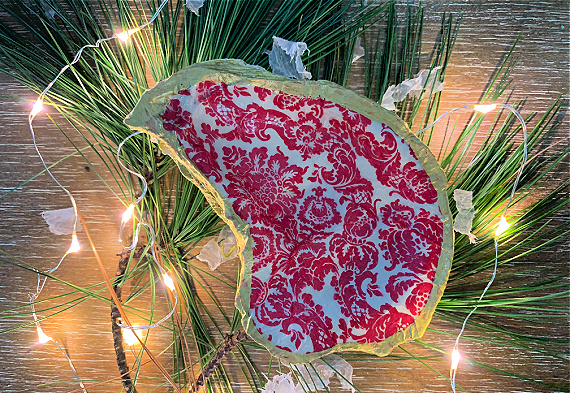
red toile oyster dish

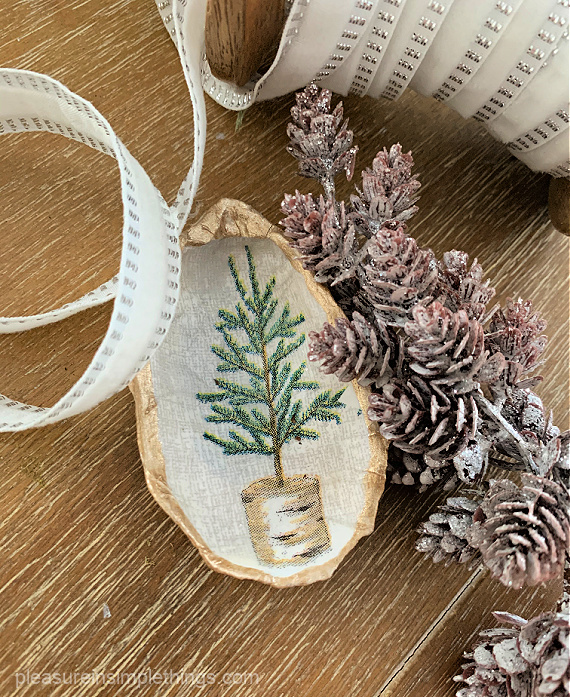
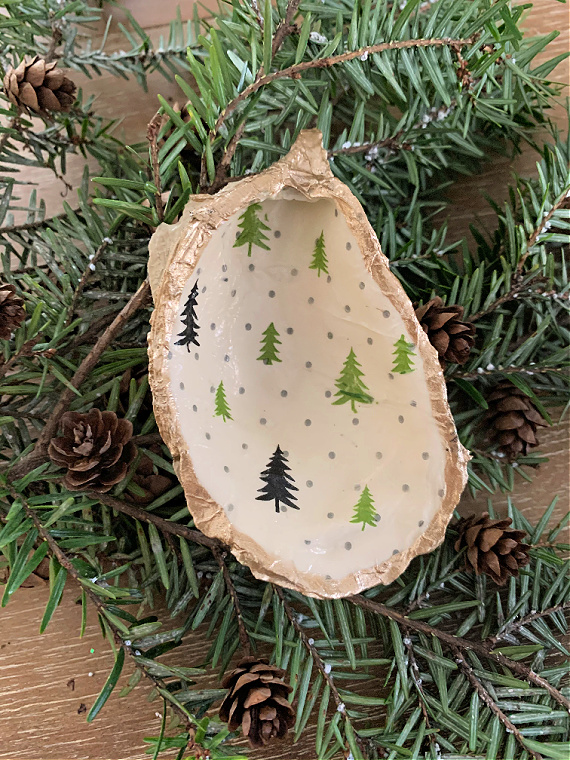
You have seen decoupaged oyster shells on my blog before, but today I am including a few honoring the Christmas holiday.

oyster shell with topiary tree

I decided to make some as gifts and thought I’d share the pretty holiday patterns with you on today’s post.

oyster shell with tree pattern

tree oyster gift

Shown here are a few of my favorite decoupaged Christmas patterns.

oyster shell with holly pattern

If you are inspired, you still have time to craft a few of your own!  You can get to the link with my original DIY instructions by clicking here. 

oyster shell with palm tree design

Living on the coast, I salvage shells from the beach, but if you need them, most craft stores have some in stock.

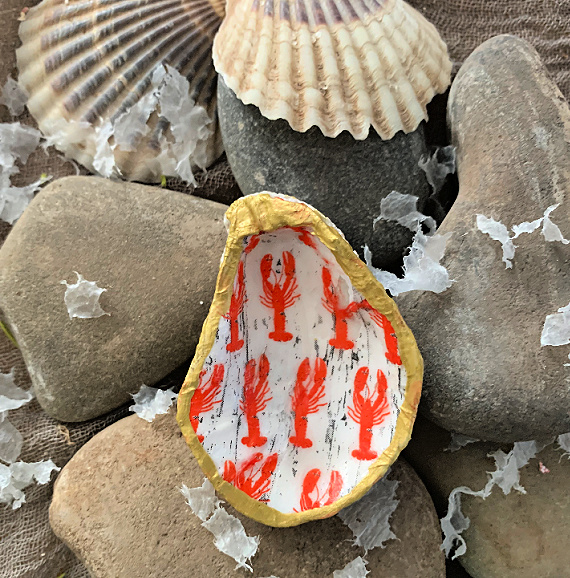
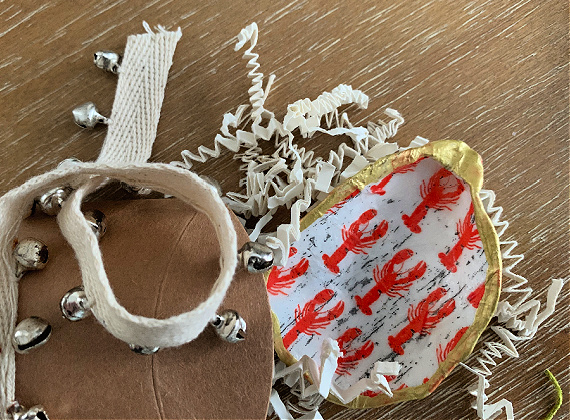
oyster shell with lobster pattern

Remember that other types of shells will work also, but a heavy, hard-to-break shell is best – I like oyster, clam, and scallop for good- sized, smooth surfaces.

oyster shell gift

Seas and greetings!

oyster shell xmas gift

Thanks for stopping by!

Have a great weekend and remember to take pleasure in simple things, Jackie
2 comments » | diy, holiday, sand & sea

diy holiday paperwhites

20
November

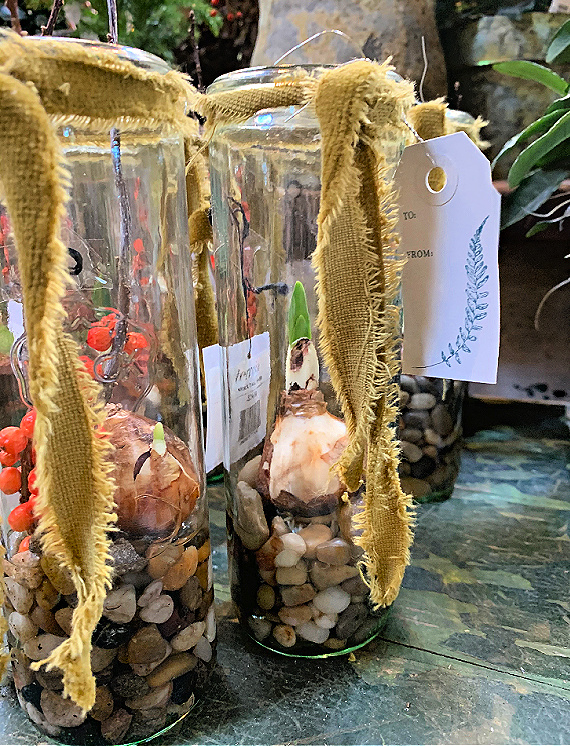
bulbs in pretty jars

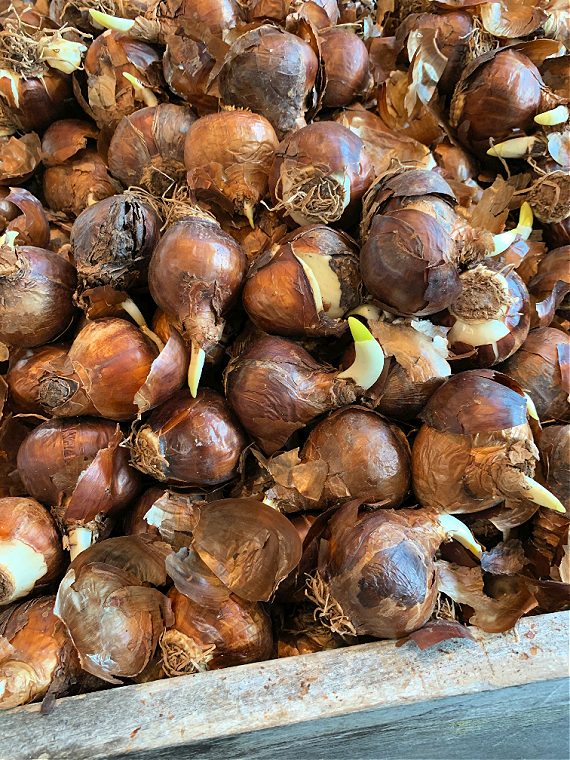
Paperwhites are great for the holidays!  All that white flower goodness and it just requires a simple procedure of putting the bulbs in some water and waiting for them to bloom!  It takes 4-6 weeks for them to burst into flower, so planting some now will probably provide a Christmas week bloom!

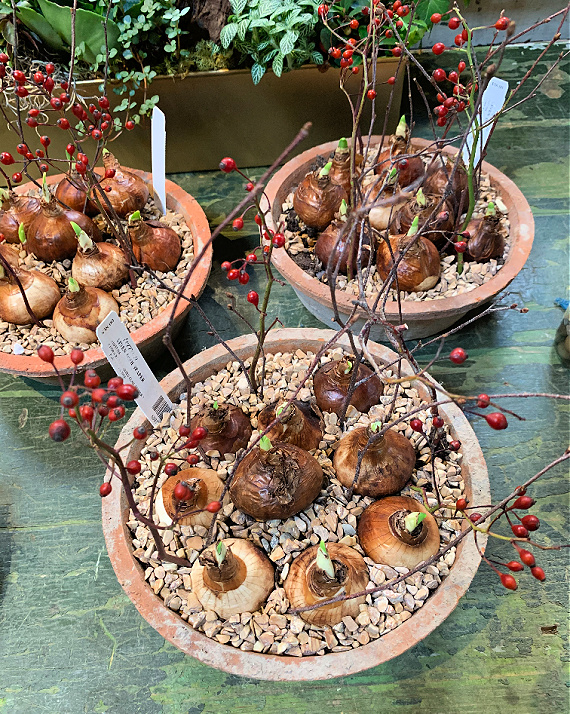
A few stones in the bottom of a container help keep the bulb from laying directly on the water and rotting.

bulbs in jars with ribbons

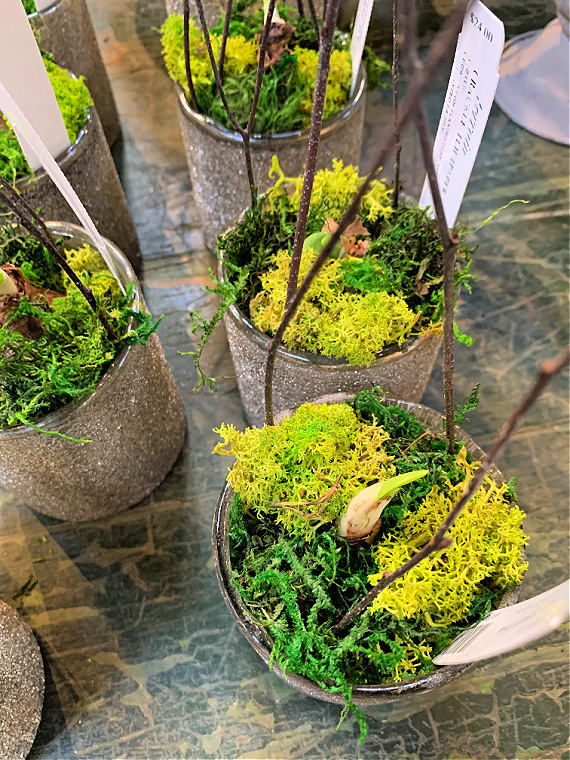
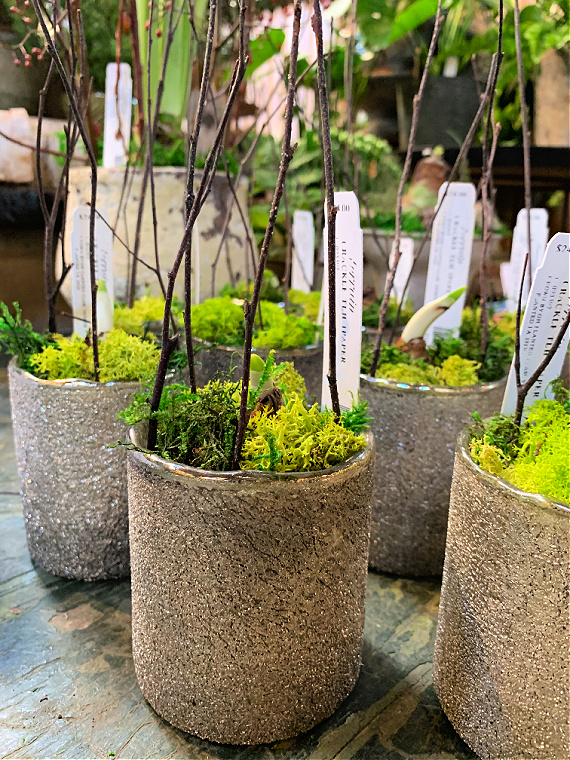
Here, I have included some of the bulb plantings created by Terrain in Westport.  I hope it serves as some inspiration for you to design some plantings of your own!  Choosing a pretty container for the holidays is certainly half the fun!  With the cost of a paperwhite bulb under $2. a piece, you can have plenty of creative fun for very little cost.

The one annoyance of paperwhites is that they grow quite tall and all their weight is on the top.  To avoid this, you can stunt the growth of the paperwhites height by using alcohol!

paperwhite bulbs

By using this method, the bulb will only grow 1/3 to 1/2 its normal height, but the flowers remain normal size!

dishes of bulbs

After planting your paperwhites, the same as you usually would, you make a watering switch after the roots begin growing and the green shoot is 1-2 inches tall.  At this time, pour off the existing water and replace it with a solution of water and alcohol.  You can either use vodka and water (7 parts water to one-part vodka) or rubbing alcohol and water (13 parts water to one-part 70% rubbing alcohol).  Then, just use whichever solution you have made to water the bulb for the remaining time.

pots of bulbs

I hope you are inspired to plant some paperwhites this week!  Check your local garden store for some individual bulbs for sale.

Thanks for stopping by!

Remember to take pleasure in simple things, Jackie
Comments Off on diy holiday paperwhites | diy, garden, holiday

terrain holiday 2020

13
November

outdoor at Terrain holiday

The holiday decor is out early this year and I think it is a great idea!  I would hope the early start would help eliminate crowds that could contribute to unhealthy shopping experiences.  In the interest of safety, I am sure many people are limiting their shopping to online.  I need to see things up close – I want to use all my senses when I experience holiday shopping!

white holiday at terrain

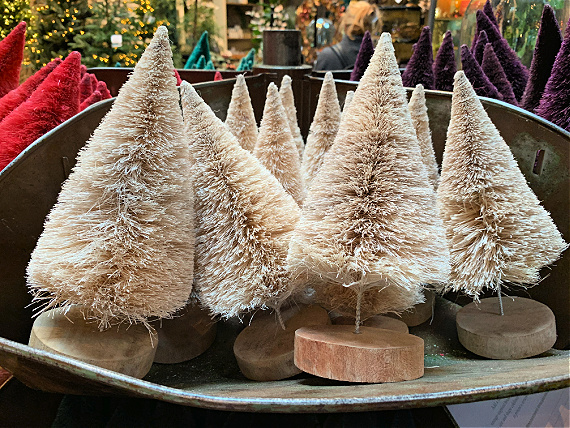
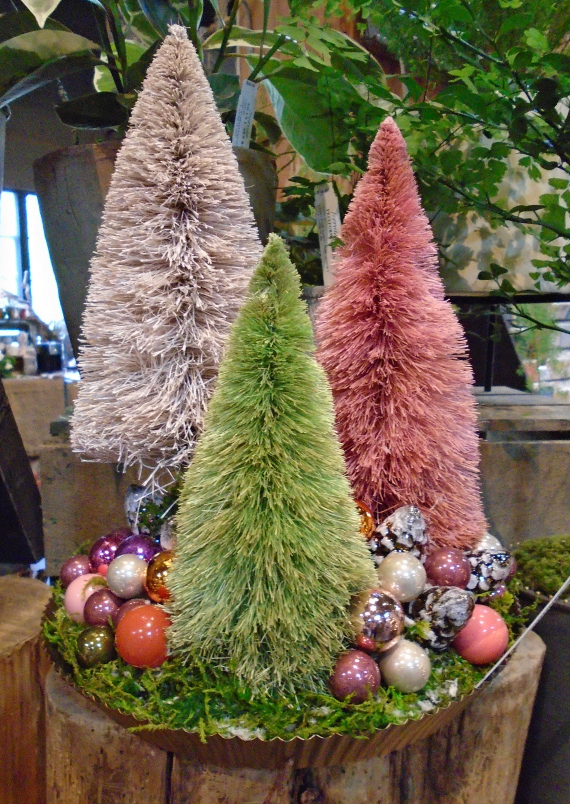
white bottle brush at Terrain

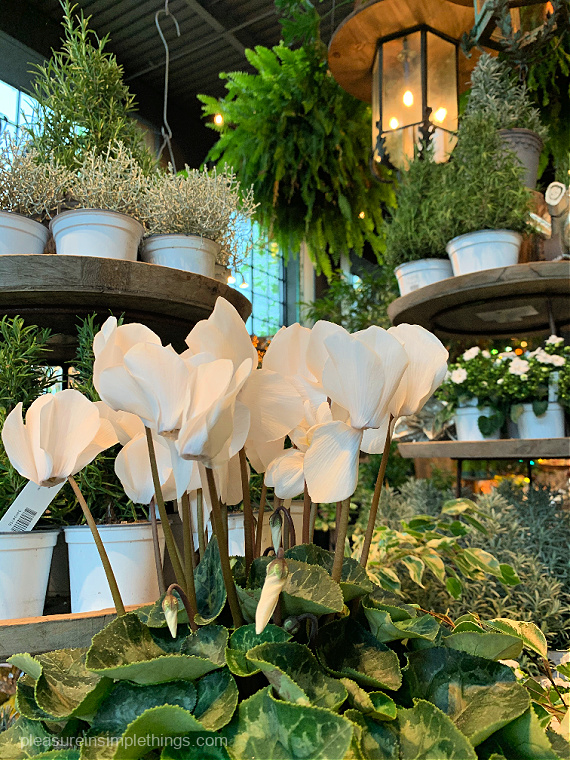
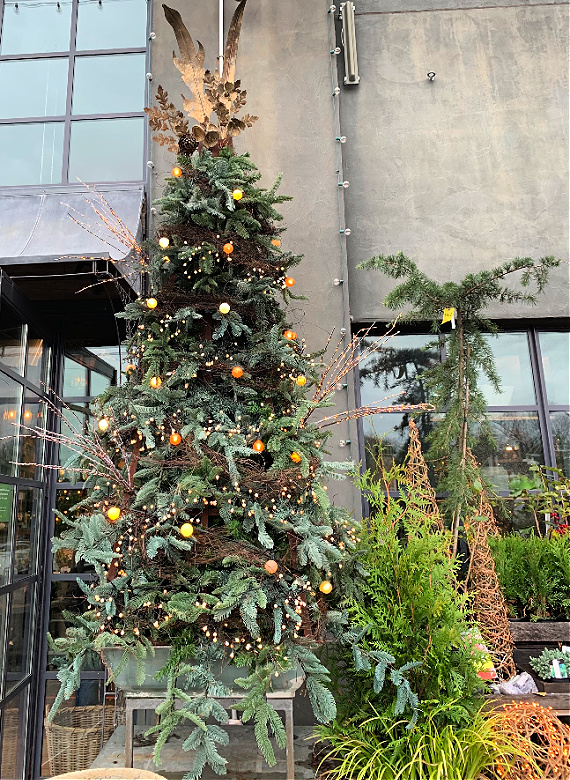
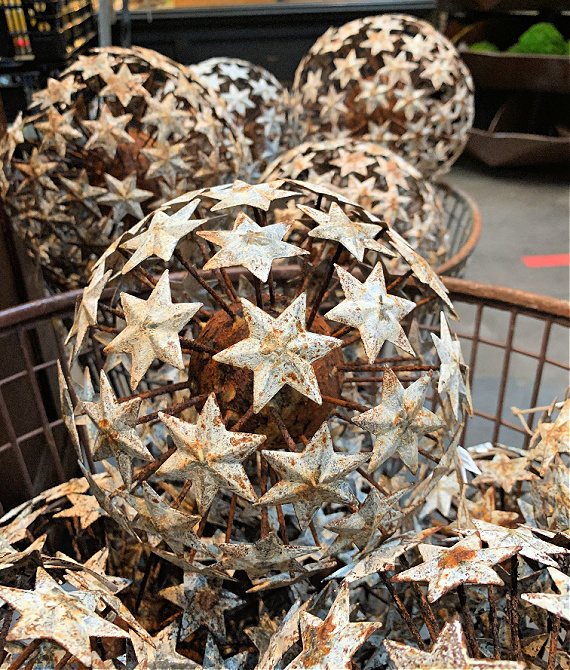
I have friends in different parts of the country who can not experience one of my favorite stores to visit at the holidays – Terrain.  And, Terrain really needs to be experienced in person to fully appreciate it!  So whether you would rather not visit a store right now, or you just don’t live near a Terrain to visit in person – enjoy today’s photos.  These are some favorite glimpses of holiday from my last Terrain visit.

terrain holiday entrance

wreath towel at Terrain

star spheres Terrain

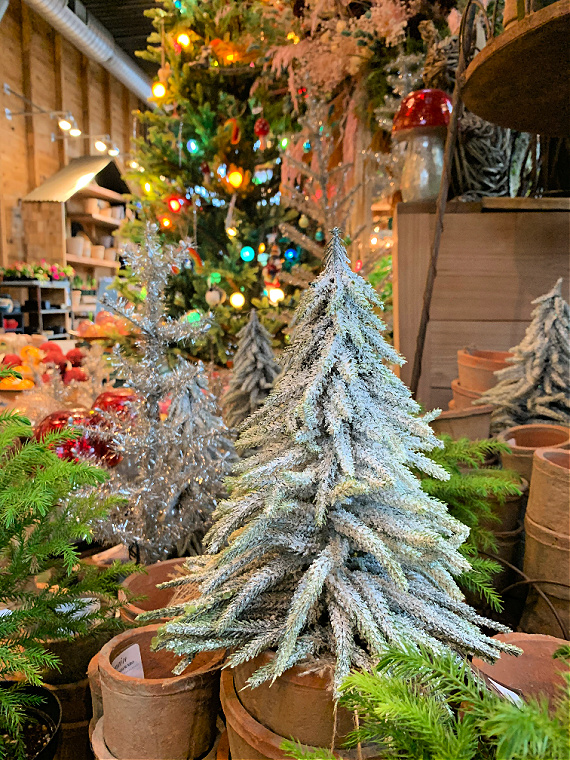
terrain trees holiday

12 days towels Terrain

bubbly at Terrain Westport

green trees in pots at Terrain

holiday xmas terrain

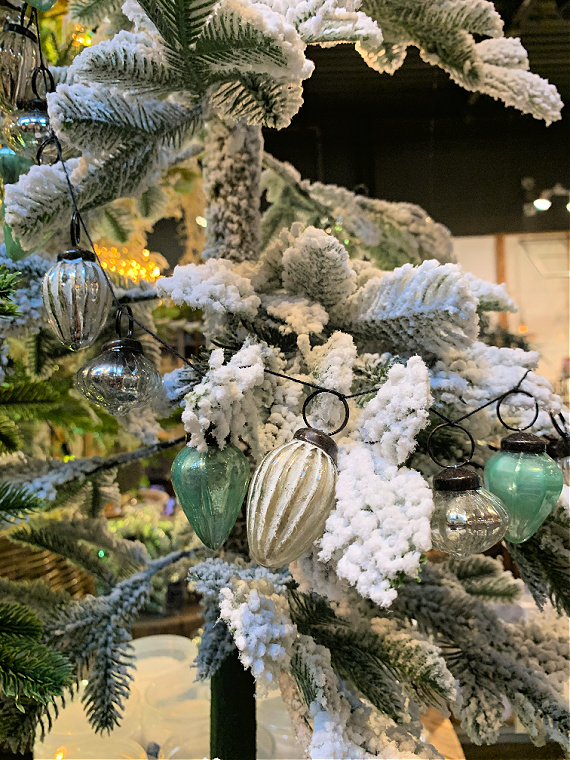
tree trimming at Terrain

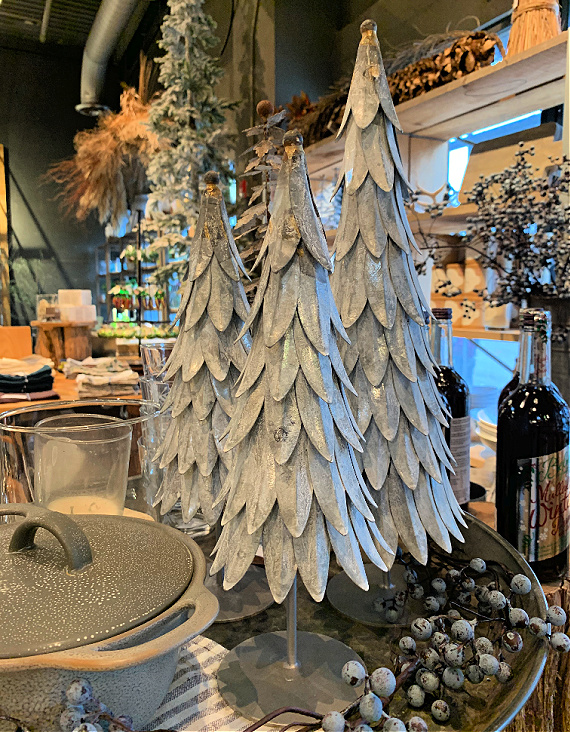
metal trees at Terrain Westport

I hope you are inspired to start on some of your holiday decorating!

Thanks for stopping by!

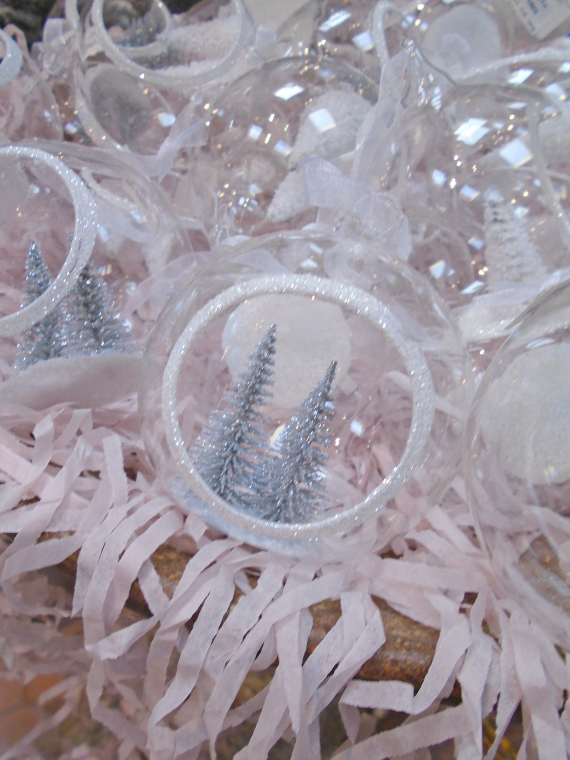
icy trees at Terrain Westport

Have a fabulous weekend and remember to take pleasure in simple things, Jackie
1 comment » | field trips, holiday, inspiration

the perfect white santa mug

26
November

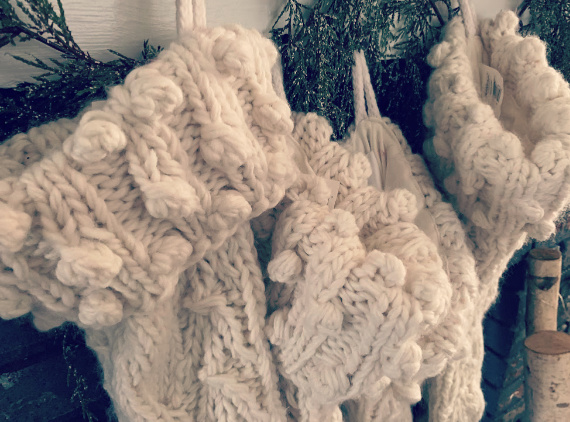
white stockings

You take your life – or at the very least, the well-being of your car – in your hands when parking at our local Walmart.  I never go to the store for that reason!  I am way too particular about my car to chance a nick or ding in it by parking in the Walmart lot!

Well, recently I was driving through another town and happened to see a Walmart ahead – noticing the parking lot was roomy and well-marked – so very different from the one at my local store!  As I got close, I remembered hearing someone tell me I was crazy not to buy cereal at Walmart because it was a full dollar less than the grocery store.  Remembering this, as I got closer to the store, I pulled in!  I thought I would pick up some of that bargain cereal and maybe some bulk paper goods.

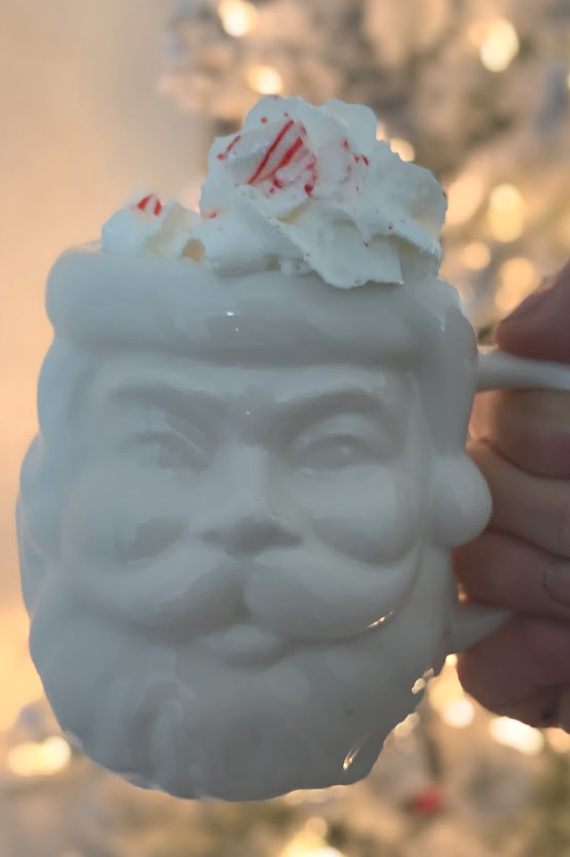
santa mug

Well, I was so glad I stopped!  As I walked down the main aisle headed for the cereal, I saw all-white Santa mugs!  Perfect for my neutral holiday palette!  In addition, they were less than $3. a piece!  Wow!

I had to let you know about this fabulous find!

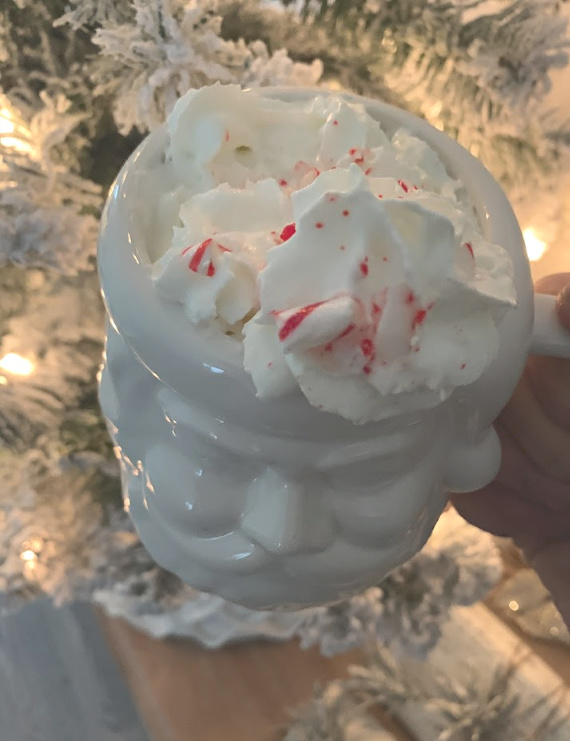
peppermint cocoa

Because it was a cold, rainy day, as soon as I got home, I christened one of the mugs with some peppermint white hot cocoa!

I hope you are inspired to shop somewhere out of your comfort zone this holiday season – you never know what you might find!

Thanks for stopping by!

candy cane of white

Remember to take pleasure in simple things, Jackie
Comments Off on the perfect white santa mug | food & festivities, holiday, inspiration

pretty in pink at terrain

22
November

ornament with pink at Terrain

I promised to share some pink holiday accents from Terrain in Westport today…I am a gal of my word!

pink bottle brush at Terrain

Check out this ‘pretty in pink’ holiday décor inspiration!  Enjoy!

pretty in pink

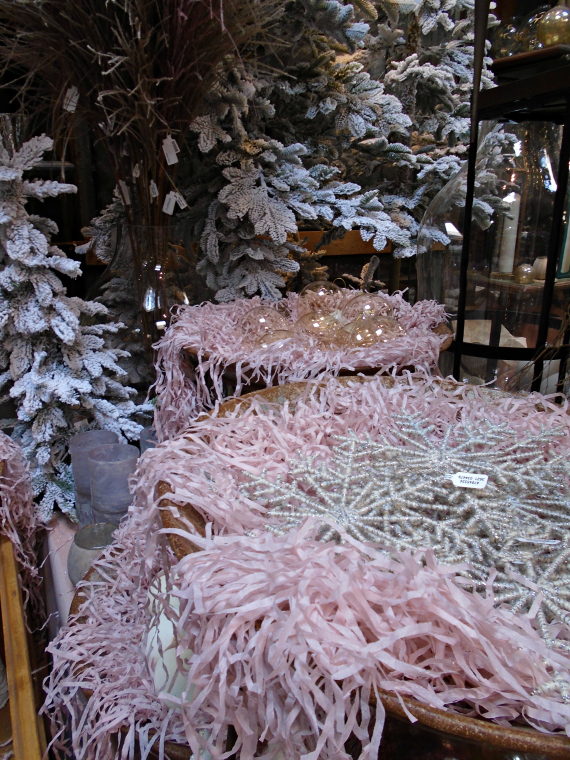
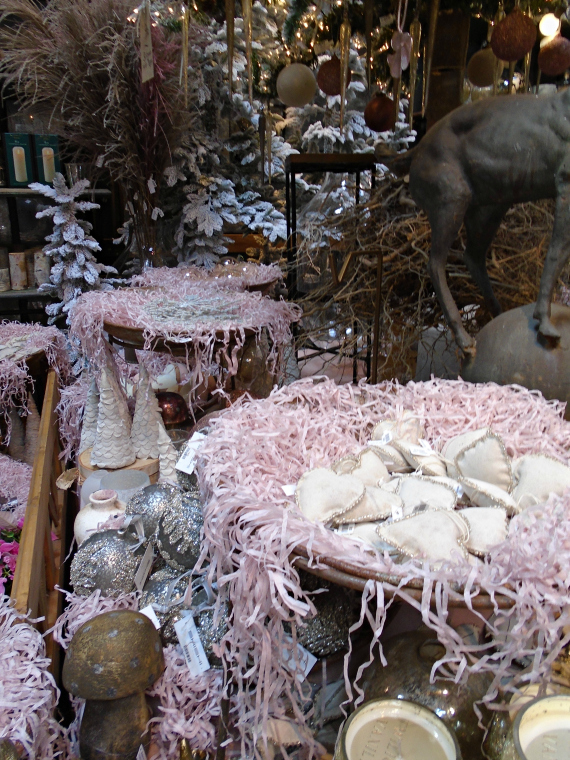
shreds of pink


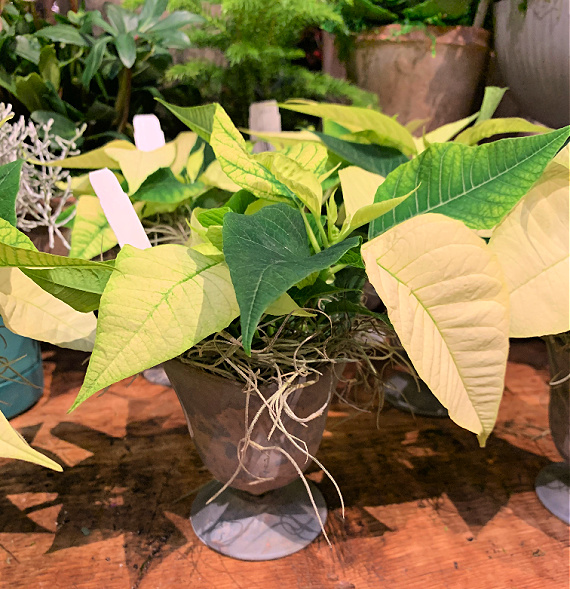
pinkpoinsettas

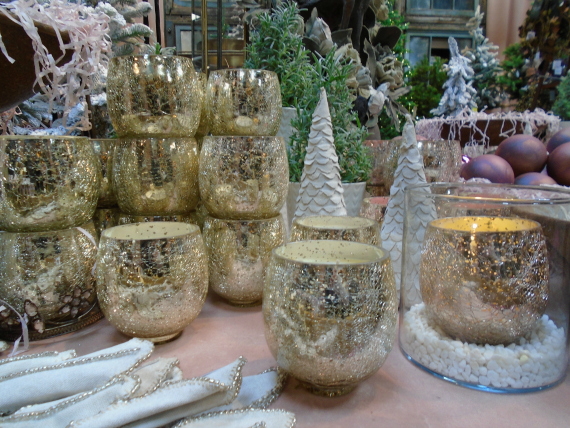
metallic candles

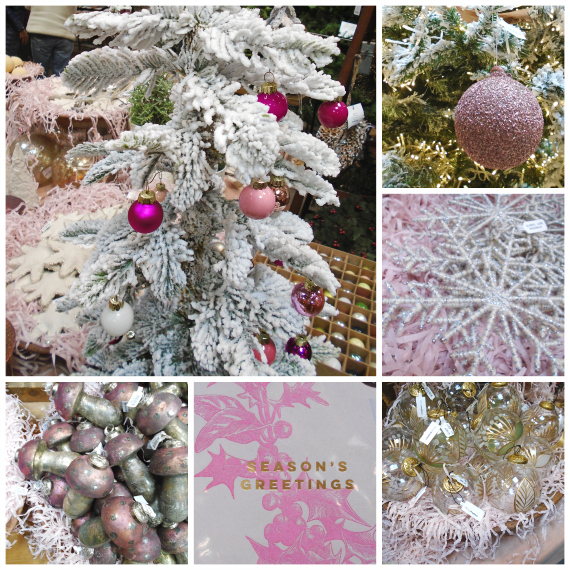
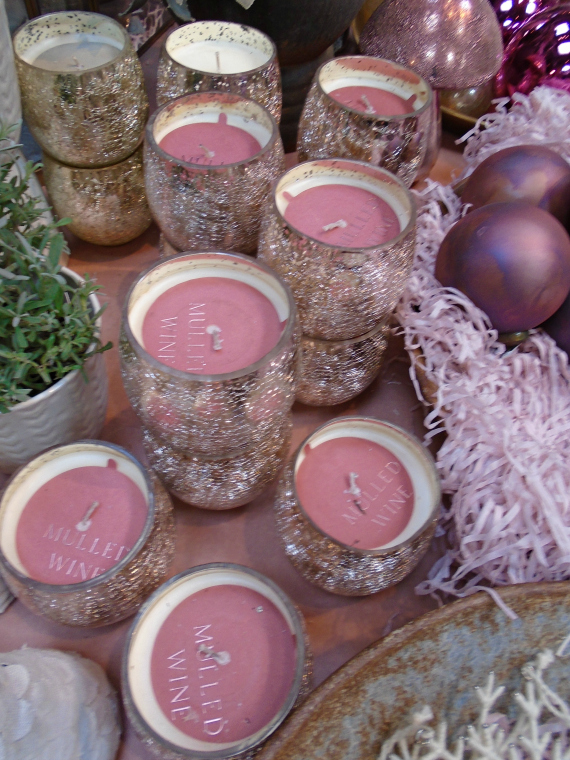
Terrain collage of pink xmas

Terrain in pink

pink candles

I hope these photos have inspired you to incorporate an unexpected color into your holiday décor!

baskets with pink

Thanks for stopping by!  Have a fabulous weekend!

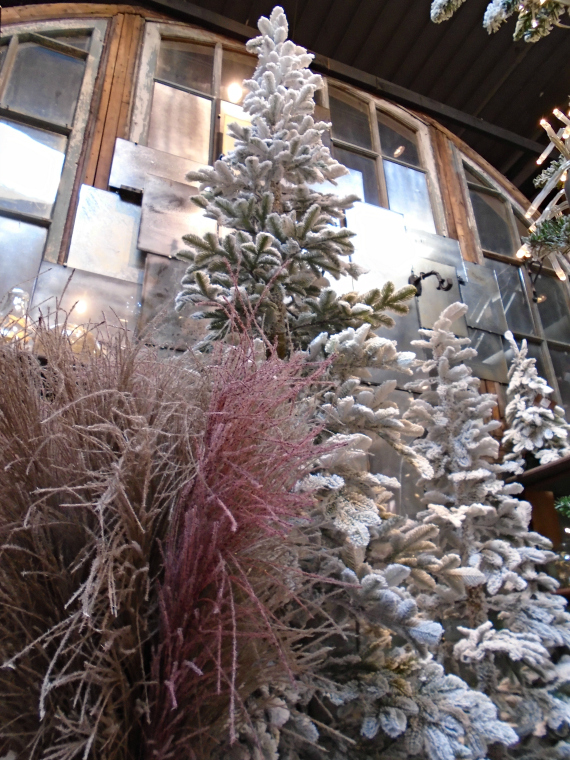
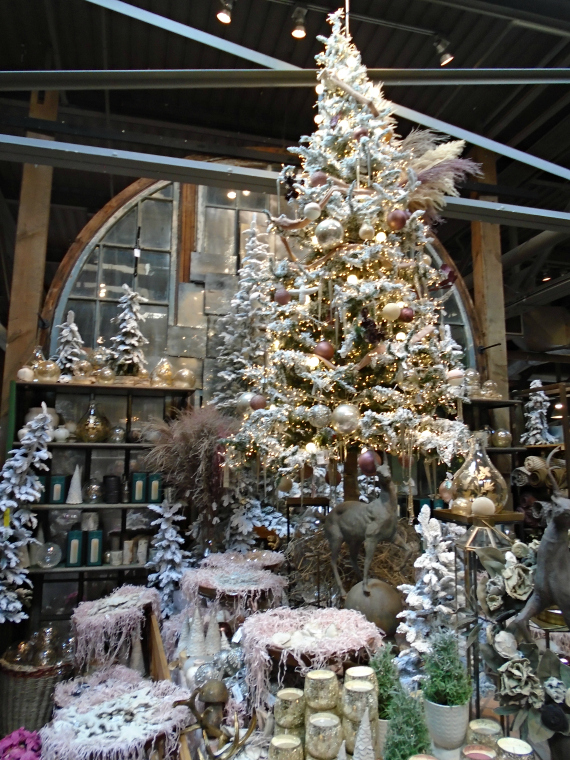
tree with pink at Terrain

And, remember to take pleasure in simple things, Jackie
Comments Off on pretty in pink at terrain | field trips, holiday, inspiration, style

‘sprucing’ things up

15
November

basketdetail

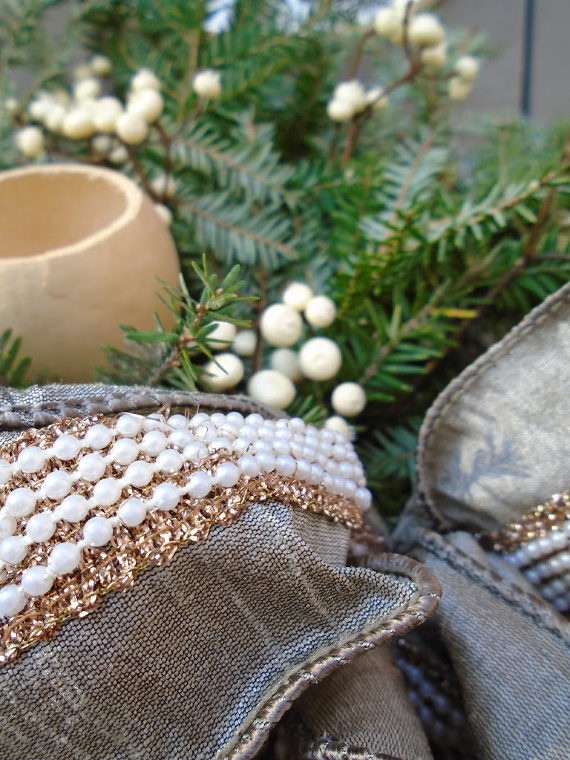
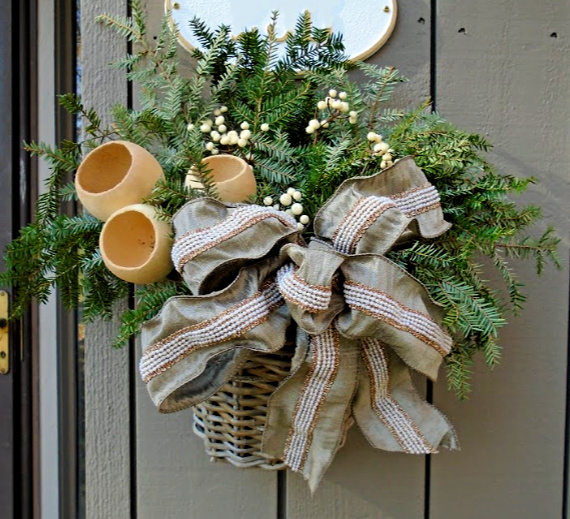
After my outdoor mum arrangement died with the recent frost, my friend Wendy suggested I cut some greens from an outside tree to make something to replace it.  So, that is what I did!

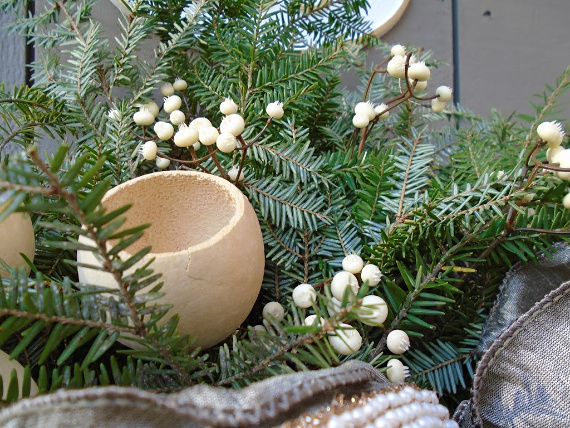
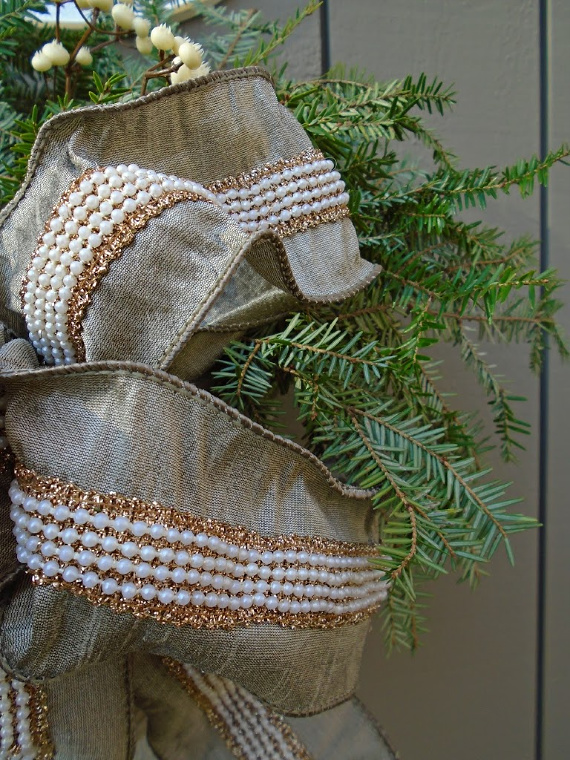
I collected a few items to create my arrangement – some white berries I had in with my gift wrapping supplies, a ribbon I had saved from an old wreath because the colors were so great – so neutral!   I thought I needed a little something else so while I was at the craft store, I looked around and found these pod-like things in the natural element section and picked them up.  They were the size I thought I needed to fill the space and they were a nice neutral shade.

basket closeup

With what I already had, my supplies cost me under $3. Actually, the worse part of the project was cutting the greens – not that it was hard to do, but it was so cold outside when I did it!

bow closeup

The small basket that contained the mums did not need many greens to fill it.  I kept the dirt in the basket from when the flowers were planted in it and simply poked the greens in!  Then, I shaped the ribbon the way I wanted it  – securing it with a bent-up paperclip (I know – but I couldn’t find any wire so I had to MacGyver it!) and attached it to the basket.

outside decor

I love the way it came out!  Simple and natural looking!  Thanks for the tip Wendy!

I hope today’s post will inspire you to create something of your own for your holiday décor, using materials from outdoors!

Have a fabulous weekend!

Remember to take pleasure in simple things, Jackie
Comments Off on ‘sprucing’ things up | diy, holiday, inspiration

edible birdhouse ornament

12
November

finished bird house feeder

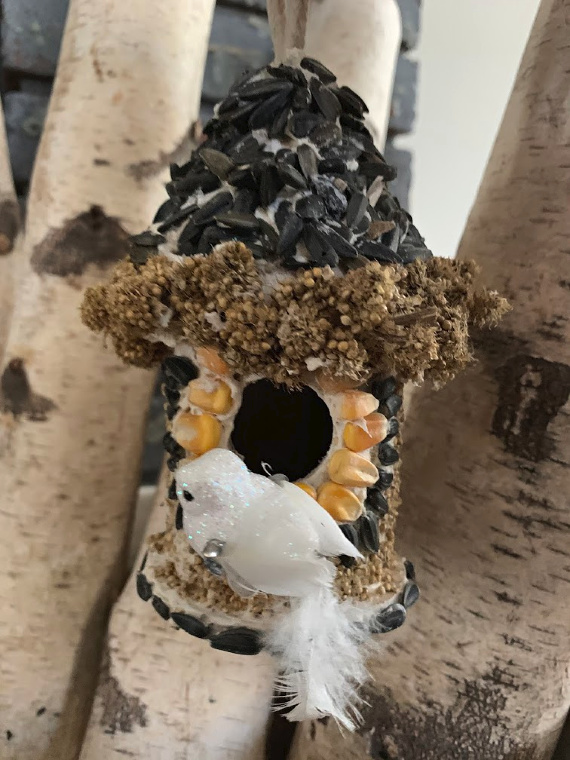
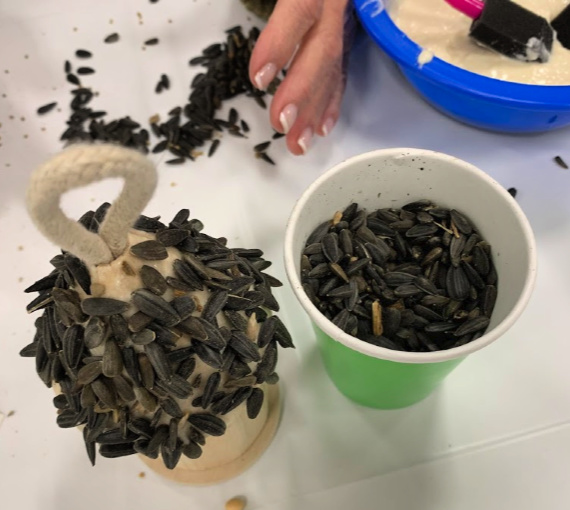
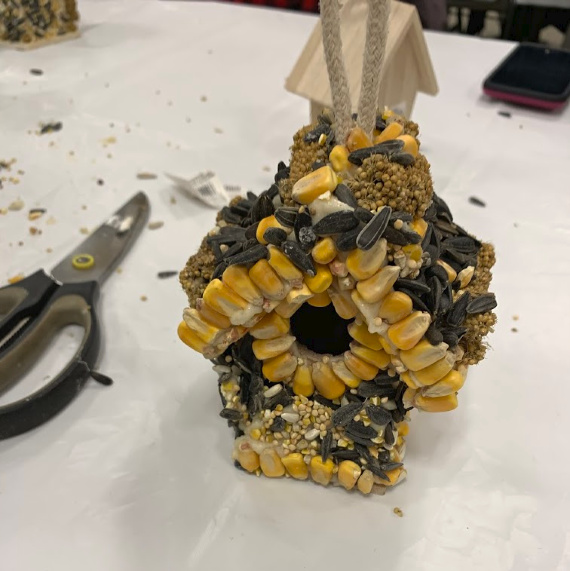
I recently had a fun evening creating birdhouse ornaments with a group and today I am sharing this super cute idea with you.  This is a great activity to schedule in place of a cookie swap or a wonderful craft to make with children (though a wee bit messy).

These ornaments are simple to create.  Decorating a small, inexpensive wooden birdhouse from the craft store with seeds, corn, and millet creates a feeder for the birds when placed outdoors.  Use your creation as indoor décor on your holiday tree.  I put a little bird on mine!  Or, use it to decorate a holiday wreath – it would look sweet in the middle of a wreath!  After the holidays are over, place it outside as a treat for the birds!

bird feeder

Purchase small wooden birdhouses from the craft store.  In addition, you will need bird seed to decorate the houses.  Also, disposable bowls to make ‘glue’ to adhere the decorations to the house and disposable foam brushes to apply the glue.  Here is the recipe for the ‘glue’ – totally edible for your fine feathered friends!

Edible ‘Glue’ recipe is: ¾ cup flour, 1/2 cup warm water, 3 Tablespoons corn syrup, and 1 package of Knox unflavored gelatin.

To make the ‘glue’, pour the flour into a disposable bowl.  Add the water and mix.  Add the corn syrup and mix again.  Stir in the gelatin and whisk together until the lumps have smoothed out.  Reminiscent of paper mache paste, this mixture adheres the decorations to the birdhouse.

Smear the mixture you have created heavily onto the birdhouse and attach your decorations, aka bird food.  We used sunflower seeds, dried corn, and millet.  (Millet is sold at pet stores for parakeets).

creating a bird feeder

If you cover your workspace, use disposal bowls for the ‘glue’ and apply the ‘glue’ with small disposable foam brushes, cleanup will be simple!

Let your creation air dry for 24 hours.

I hope you are inspired to create an edible birdhouse ornament!

Have a fabulous week!

Thanks for stopping by.  Remember to take pleasure in simple things, Jackie

Comments Off on edible birdhouse ornament | diy, holiday, inspiration

a tasting of sweets

8
January

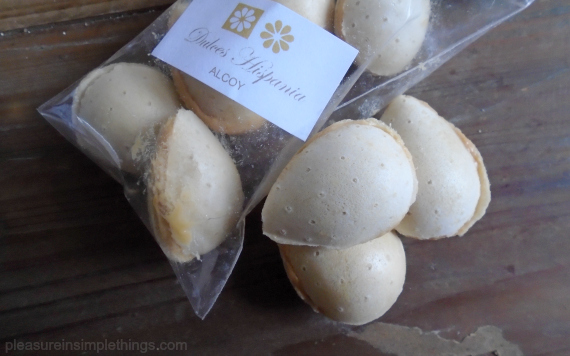
sweet candy collection from Spain

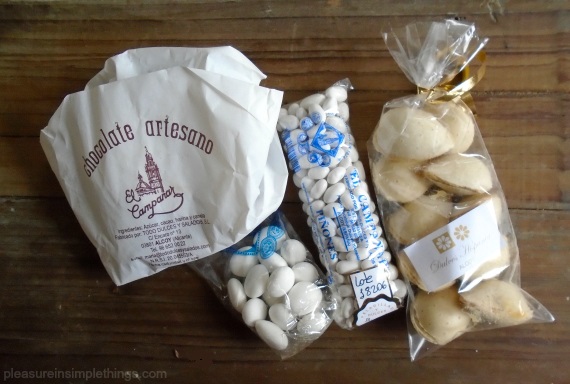
One of the best things to happen to me during the holidays was visiting with a family I know from Spain who were in the U.S. on vacation.  It had been a long, long time since we had been together and the visit was fabulous!  If the time spent together wasn’t gift enough, I was also given some gifts brought from Spain by my friends.  One of these gifts was an assortment of sweets from the area of Spain where my friends live.  Very different from the typical candy consumed by Americans on a day-to-day basis, I’d like to tell you a little about the four tasty sweets I received from Spain!

enjoying candy pignoli

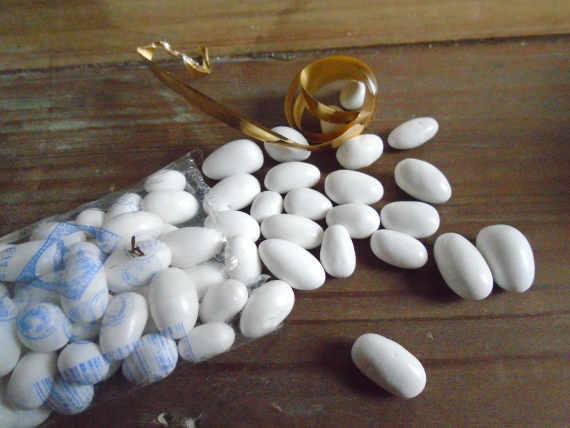
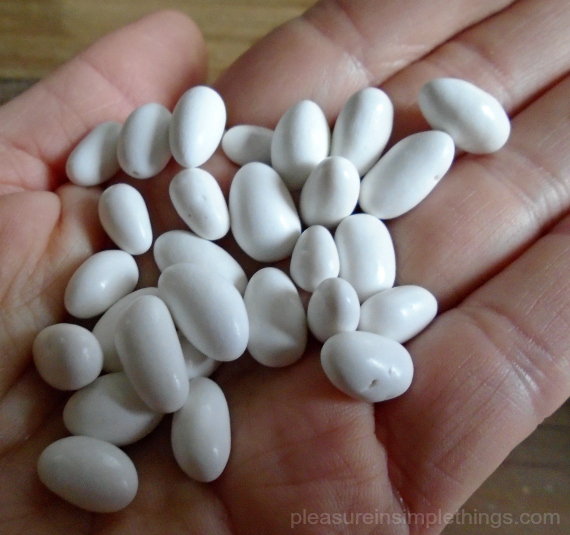
These little white candies are labeled pinones.  I knew right when I tasted them that they were pine nuts with a candy shell.  Pine nuts (also called pignoli) are the edible seeds of pine trees.  The most popular use of these teardrop-shaped, delicious little nuts here in the U.S. is in pesto.  You may also see them adorning the tops of Italian almond cookies.  If you’ve ever purchased them, you know they are one of the most expensive nuts on the market!  Why so expensive?   the answer lies in the time involved to grow the nuts and the effort to harvest the seeds from their protective encasement.

I have to think pine nuts are much more affordable in Spain than the U.S.  I know pine nuts produced in Europe mostly come from the stone pine (Pinus pinea), which has been cultivated for its nuts for over 5,000 years, and harvested from wild trees for far longer.

candy from my friends in Spain

In addition to pine nuts, the list of ingredients translated from the package of my candy pinones are just three – sugar, cinnamon, and corn starch.  They are very tasty!  Because of their texture and size, they remind me a little bit of candied sunflower seeds.

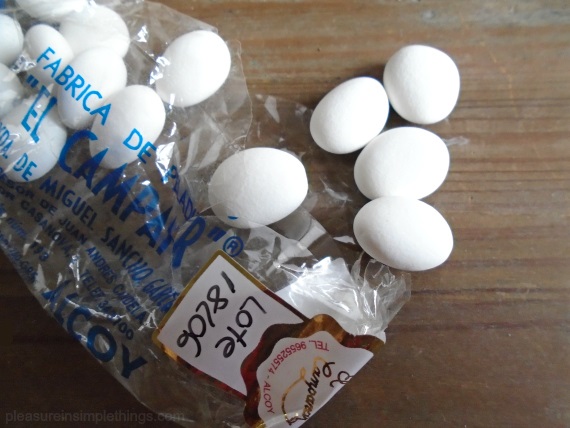
The second candy was easy to identify without tasting – probably because of its popularity at Italian weddings!  These are candied almonds.  Almonds are synonymous with Christmas throughout Europe.  I found out that this is most obvious in Spain where almost every conceivable Christmas dish is a potential candidate for the addition of almonds.  Spain is a large producer of extremely good quality hard-shelled Mediterranean almonds.  They are harvested just a couple months before Christmas and the reason they are used so much is because they are fresh and must be eaten!   The protein value in the nuts is recognized – there is a saying in Spain that a handful of almonds is worth a small beef steak!

bag of almonds

The typical candied sweet, made from almonds coated in sugar, originates in Valencia and is often present on the Christmas table.  The major producers of sugared almond in Spain are found in the towns of Casinos in Valencia and Alcoy in Alicante, where sugared almonds have been manufactured and exported from, using a traditional manufacturing process, for a least 2 centuries.  My friends live in the town were the almonds were originated!  I feel so lucky to taste the candies created from where they originated and made from recently harvested almonds!  The freshness was so obvious and the sugared almonds were the first of the four packages of candies to disappear!

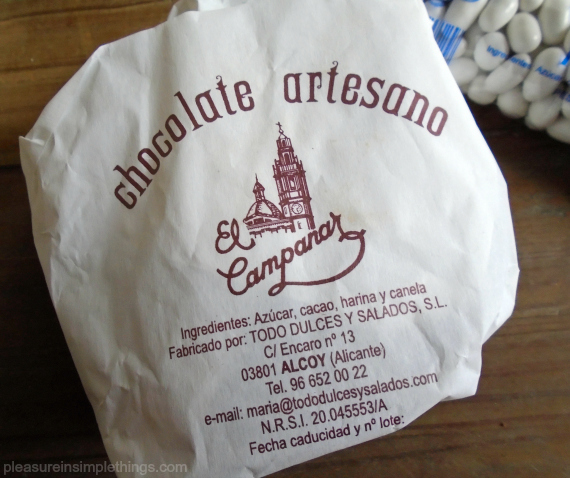
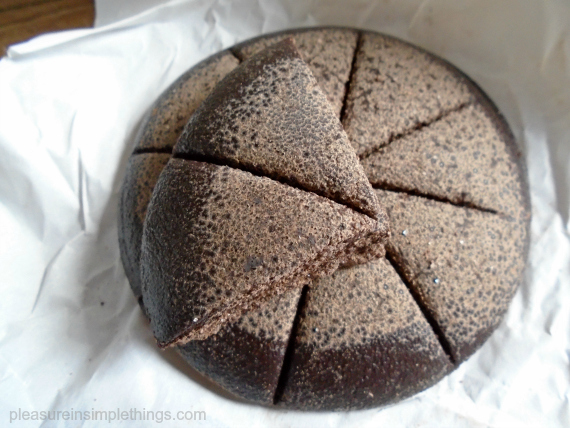
Since Spain is the birthplace of modern chocolate, I was excited to have some chocolate included in my collection of sweets from Spain.  Spanish explorers first brought chocolate to Europe more than 500 years ago and they were the first to mix cocoa with sugar.  The translated ingredients listed on my package of chocolate is sugar, cocoa, flour and cinnamon.  The taste of this candy is nothing like what you would call chocolate here in the U.S.  It has a very grainy consistency and a subtle flavor.

Spanish chocolate

chocolate from Spain

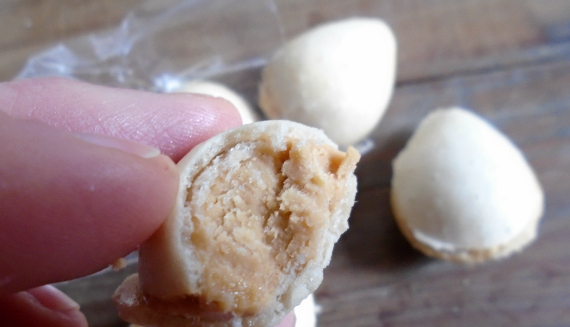
This last candy in the selection had no ingredients or description other than ‘Dulces Hispania’ or Spanish sweets.  Reminiscent of old-time space saucer candies (remember those?), they have a wafer-like exterior and a soft, subtle almond flavor filling.  It seems to me the filling must be marzipan.  Because of the abundance of almonds, marzipan (almond paste) is popular at the holidays in Spain.  The contrast of the textures in the candy is very appealing.

marzipan filled candy

inside marzipan filled candy

Thanks to my ‘sweet’ friends from Spain for all my gifts, but most importantly, for getting together with me. :)

Thanks for stopping by.

Remember to take pleasure in simple things, Jackie

Comments Off on a tasting of sweets | food & festivities, holiday

pick a wish

18
December

quote

With all the craziness going on in my life during 2018, I didn’t design an Advent calendar as I usually do each year to kick off the holiday season.

So, this year, rather than inspire you with one of my creations, I want to show you something wonderfully inspiring I saw at one of my favorite gift shops.

wish quotes

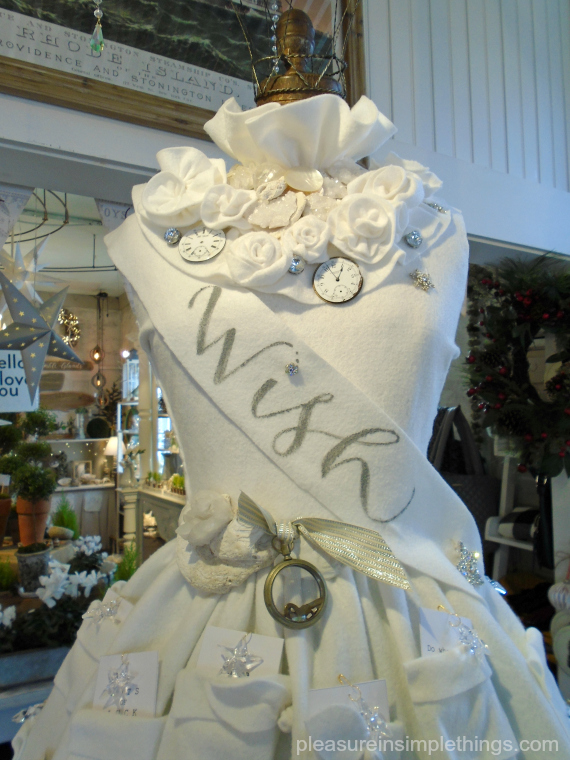
It is not exactly an Advent calendar, but I am inspired to create an Advent calendar using the idea from this beautiful ‘grab a wish’ display at Taken for Granite in Stonycreek, Connecticut.  What a beautifully executed way for the shop to give each of their customers an individual holiday wish!

close up wish quotes

Each pocket contains a written sentiment with a clear star ornament attached.  The wish I chose was absolutely perfect for me!  It read:  Have the courage to step off the ledge so you may realize you’ve had wings all along.

pocket with a wish

I hope this inspires you, as it does me, to create something similar.

Thanks for stopping by!

wings

Remember to take pleasure in simple things, Jackie

Comments Off on pick a wish | inspiration, sand & sea

Back to top