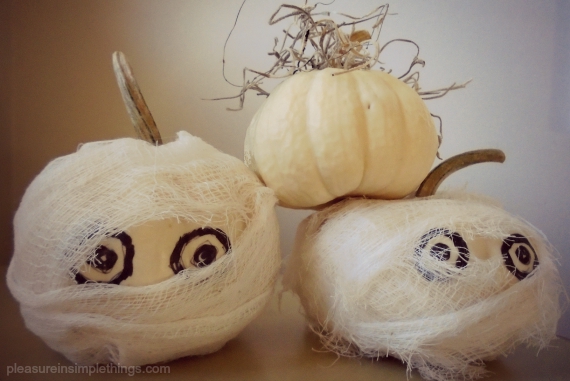
I was inspired by a Pottery Barn pillow to create some pumpkin mummies for a child’s Halloween display.
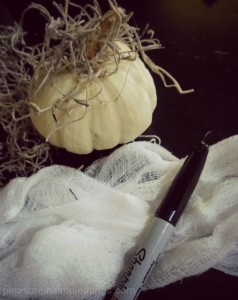
They are super simple to create and so darn cute! All you need are a few baby boos (mini white pumpkins), cheesecloth, a glue gun, and a black permanent marker.
Start by using the permanent marker to draw two eyes on the pumpkin – reference the photos here to guide your placement.
Next, cut a long strip from the cheesecloth, approximately 1” – 2” wide. This can be adjusted based on the size of the pumpkin.
Wrap the cheesecloth around the pumpkin, keeping it in place by attaching it with beads of glue from the glue gun as you wrap. Be careful not to burn yourself – don’t push down the cheesecloth with a bare finger – because the cheesecloth is so porous, the hot glue will go right through to your fingers!
Also, be sure not to cover the drawn eyes completely! They need to peer through the cheesecloth!
There you have a pumpkin mummy! It is sure to add some whimsy to a Halloween table! Make one or a whole bunch! Wouldn’t they make adorable favors for a Halloween party? Or, a great gift for a favorite teacher?
Have fun with it!
Thanks for stopping by! Remember to take pleasure in simple things, Jackie


