I usually don’t have a lot of patience for decoupaging, especially on a small surface like a shell since I could just as easily paint a pattern with a brush! But, the challenge of finding an interesting pattern/color to use on the shell makes it a fun project for me – similar to picking out yarn combinations for knitted scarves! Although, the current quarantine situation has strictly limited my choice of materials since I have to make do with what I currently have on hand.
Decoupaging is pretty easy. A decoupage material is used to attach paper to a surface and is brushed on top of the paper as well to provide a protective surface. Decoupaging shells is a little trickier because the surface you are applying the paper to is irregular. This is the reason why using tissue paper or a napkin is a much better choice for this application over a heavier paper – it won’t show wrinkles as much when applied. To get the best possible result when decoupaging a shell, use a paper napkin – removing the back layer and just using the top, thin layer with the imprinted design.
Decoupage material is widely available at a craft store or Target – it is basically just a white glue mixed with enough water to make a thick, spreadable consistency. When I was a kid, I would make it myself using the large container of white glue my dad kept in the garage.
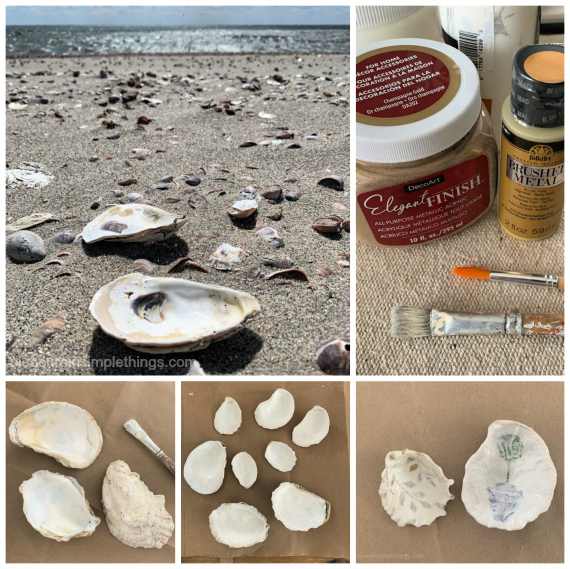
To make decoupaged oyster shell trinket dishes you will need:
- decoupage material (Mod Podge is a popular one)
- 2 paint brushes – one with soft bristles (1/2” wide) and a smaller, detail brush
- paper cocktail napkins in designs of your choice (separating them so you are only using the top layer of designed paper)
- white acrylic paint
- gold metallic acrylic paint (or gold leaf – but acrylic paint is less expensive) I prefer a more subtle gold color like antique gold or champagne gold rather than a bright gold.
- oyster shells (or shells of your choosing) – any size but in general, the larger the pattern on the paper used, the larger the shell
The decoupage process can get a little messy, so be sure to cover your work area. The shells should be clean. If you plan on using light colored napkins, be sure to use some white acrylic paint as your first step – to cover the dark spots on the inside of the shells so they will not show through the napkin material after decoupaged. It is probably easiest just to paint the inside of all the shells white to start with nice, clean canvases.
After the white paint is dry, use the soft bristled paint brush to cover the entire inside surface of the shell with the decoupage material. Then, take the desired napkin (top layer only) that has been cut to a manageable size and press it onto the inside of the shell (pattern side up), being careful not to move it (to prevent tearing). Once it is in place, you can use your finger or the end of the paintbrush to gently push out any obvious wrinkles in the paper. Next, use the paint brush to very gently brush a thick coat of the decoupage material onto the entire surface of the napkin you have just attached to the inside of the shell.
Once it is completely covered, you are going to carefully tear the excess paper away from the shell. This is accomplished by gently using a pulling down motion while tearing. The sharp edge of the shell makes it pretty easy to tear the thin paper. The surface will look very milky – that is how it should look. At this point, let your shell(s) sit overnight. You will be pleasantly surprised to see how great the dry shell looks when you return the next day!
Clean your brush using very hot water – remember the decoupage material is basically glue! (For the same reason, you may have to put the top of the decoupage material container under hot running water to loosen the glue when you next reopen it.)
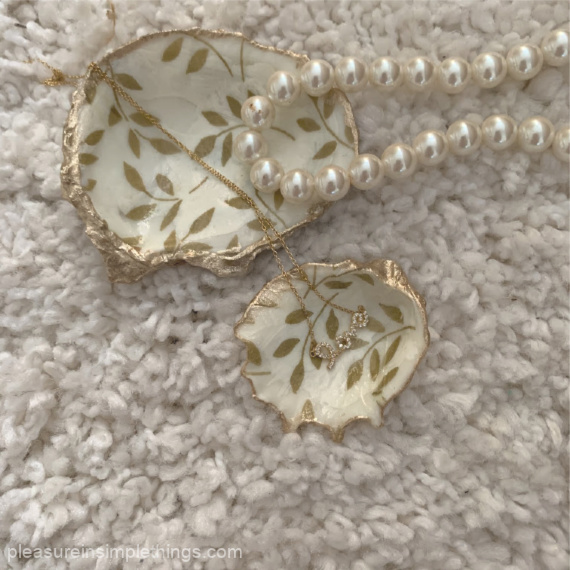
For the finishing touch, when your shells are completely dry, you can add a thin gold edge by brushing the gold paint along the edges of the shell with the detail brush. A thin border of gold accentuates the beautiful organic shape of the shell – each one unique!
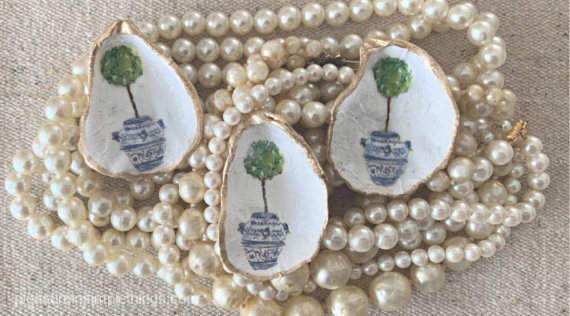
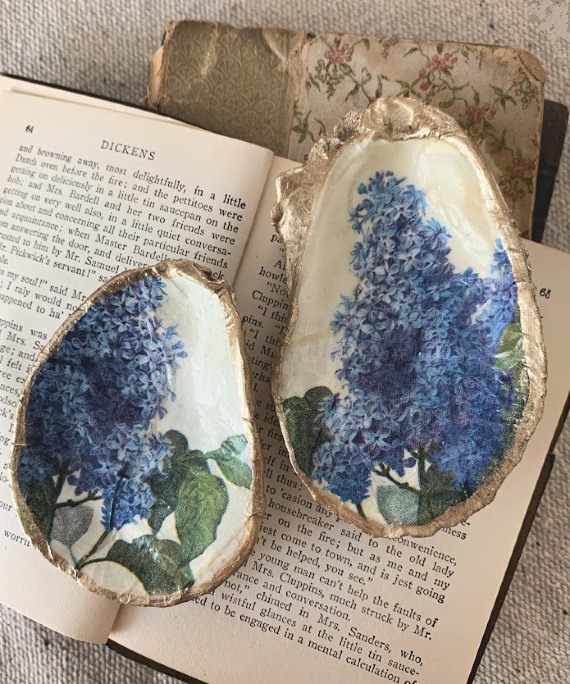
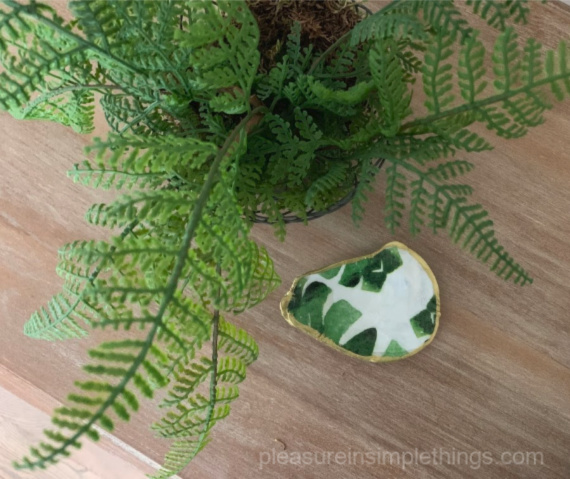
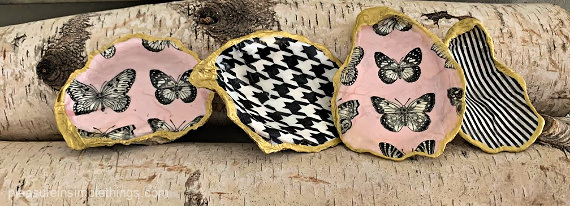
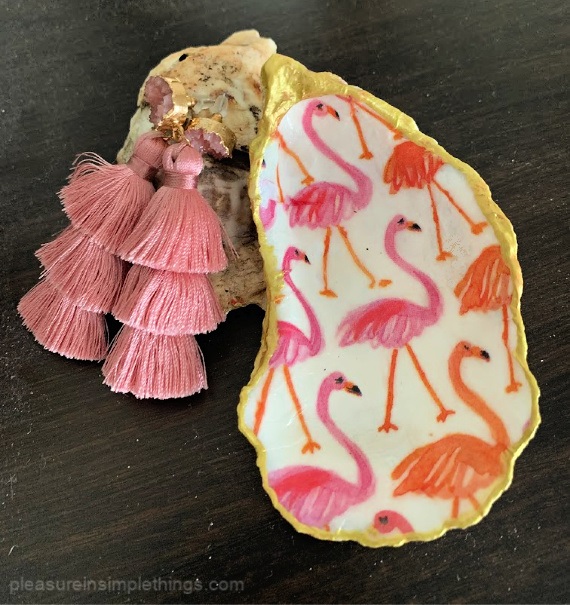
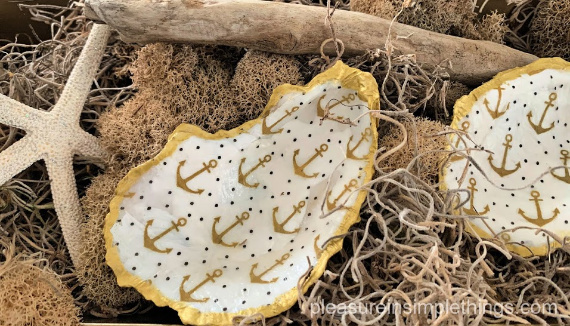
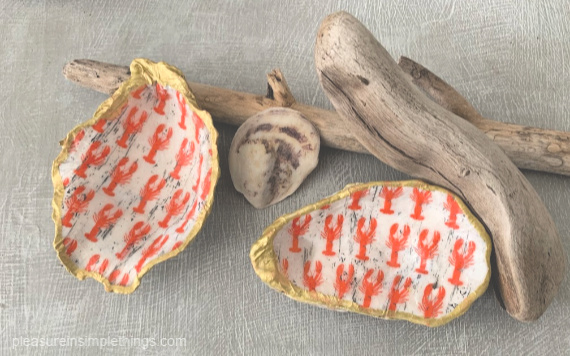
And that, my friends, is how to make a decoupaged oyster shell trinket dish! As you can see, I did my best to explore different colors – using most all the cocktails napkins I happened to have on hand! (I think most of the napkins I used came from Home Goods or Christmas Tree Shops. I know the one with the rope motif came from Ikea.)
Thanks for stopping by! Remember to take pleasure in simple things, Jackie
P.S. Please note that a Dremel can be used to add holes to the shells if you would rather use them as ornaments and/or hang them. I plan on using some to make necklaces. If you are interested in other shell DIYs: for another oyster shell project, click here. For shell candles, click here. For a monogrammed shell tie-on, click here.


very pretty!