
The best place to plant Easter grass? In an eggshell of course!
Planting grass in preparation of Easter has become a tradition in my house. Containers of many types and varieties have been hijacked over the years for the annual planting, but eggshells remain the favorite vessel of choice!
It is easy to get beautiful results with just a little preparation. First, decide how many eggs you want to use as planters. Buy the number of extra-large white eggs you wish to plant. Obviously, extra-large eggs give you the most room to plant, but you can use any size. I prefer to use white eggs since I dye them in various colors before I plant in them.
To prepare the egg, use a sharp pointed knife to pierce the pointy end of the egg – this works best with a quick, sharp jab to make a hole. Once the shell is broken, use your fingers to carefully remove some of the shell to make room for the planting. (If you prefer, you can turn the egg horizontally, making a hole in the side and planting the grass the long way in the egg.)
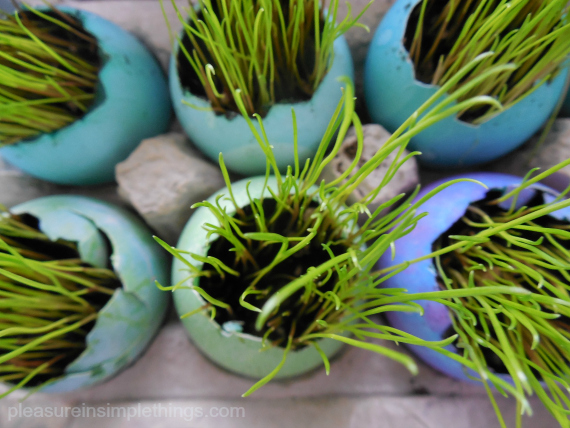
Empty the contents of the egg. You can also carefully remove the thin white membrane inside the shell (optional). Treat the shell gently. Next, dye the egg as you would any Easter egg. It is easy to match any décor based on the way the egg is dyed/decorated. Put the egg in the dye very gently – filling the inside of the egg with the dye so it will sink down and completely submerge into the dye. (You can dye the eggs before you empty them if you find it easier…I don’t – in case I should ruin one in the emptying process, I haven’t wasted the time dyeing it!)
There is no need to go out and purchase a dye kit…dye is easily created at home with food color. I like to use paste food color, because it comes in a wide variety of colors and is very vibrant, but liquid food coloring works just as well. This is the dye I used:

Once the eggs are dyed and dry, you can start the planting process. You will need potting soil, grass seed, and a spoon. If you need to purchase grass seed, go to Home Depot and purchase the smallest bag you can find. Pick the fast growing seed that is sold for repairing existing lawns – it really does grow fast!
Spoon potting soil carefully into each prepared egg. I put the eggs in the original carton for the growing process…it is an easy way to keep them in position and it makes for an easy clean up. Next, spoon grass seed to cover the dirt surface in each egg. Then, spoon a little more potting soil on top.

For your first watering, use about 4 teaspoons of water in each egg. This will give your soil the initial moistness it requires. For every day forward, add one teaspoon of water each day and keep the carton(s) in the sunniest spot in the house you can find.
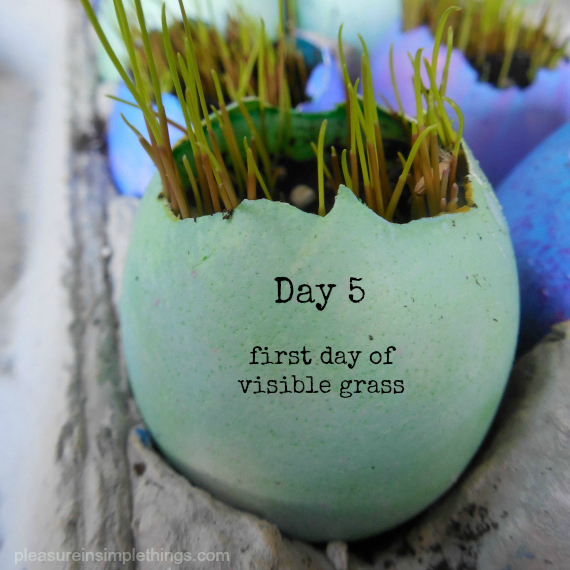
It is amazing how fast the grass will grow once it is sprouted. The day grass begins to show, it will gain quite a bit of length. The photos I am showing here were taken the first and second day the grass started to show. The grass will be visible in less than a week, so plan accordingly.

Like any grass outside, this grass can be trimmed – just use scissors.
The same planting process can be used for any container…just be sure to protect any surfaces that are not waterproof…I line containers with a plastic sandwich bag if needed.
And that is it! Very satisfying results in under a week! What am I planning for these cuties? I will share that with you in an upcoming post. Meanwhile…give it a try!
Thank you so much for stopping by!
Remember to take pleasure in simple things, Jackie
Sharing at Craftberry Bush, Crafts a la Mode, Coastal Charm and We Call it Junkin.


