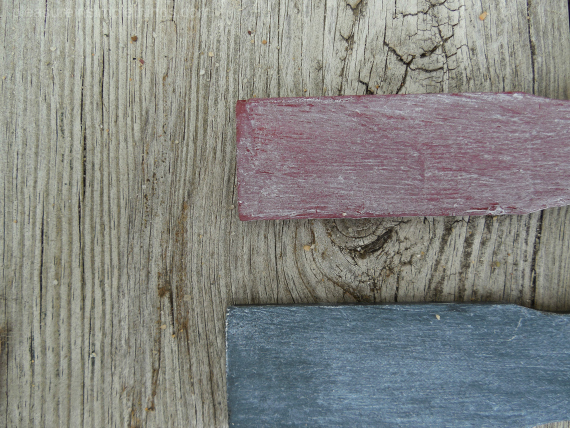
Have you ever carried a used paint stirrer around with you while shopping to match a color? I have!
The color swatches for the paint I used in each room of my house are always neatly organized as a permanent part of my handbag…you just never know when you need to coordinate or match a color! But, for a long time, I did not have an organized system for carrying around the colors of any current projects. Often, I would grab a dirty paint stirrer that had a drip of the color still clinging to it…or, I would wear the shirt I painted in while shopping so I would have a sample! Not anymore!
I have a very organized system and I thought some of you may benefit from my experience! I have a simple way to carry around my paint samples and it can be created very easily at no cost…a modified version of my paint stirrer scenario!
Every time I work on a painting project, I make sure to take a few minutes to paint a pre-cut paint stirrer. I paint both sides. One side I leave the original color and on the opposite side, I add a stain or wax effect (or two). In the case of Annie Sloan Chalk Paint, I may paint one side and add a coat of clear wax, while the other side may have a dark wax or special effect I am happen to be using.
I have a pile of wooden paint stirrers (available free at any home improvement center) that I have cut to 5“ lengths. I cut a whole pile at a time with one quick cut of a chop saw. If you don’t have tools, your local home improvement or hardware store will surely make one quick cut for you – especially if you are a regular customer. I find a 5” length a convenient size to carry around while it still provides enough painting room…you may decide you like a different size. By drilling a hole in each stirrer, I am able to use twine to attach as may color samples as I am currently transporting!
I may have two samples that I am bringing to the fabric store to coordinate a fabric, or I may have many samples to show someone that is choosing a color or finish. This system makes it super easy to add or remove samples from the length of twine or to create several different ‘decks.’
It is easiest to cut up a bunch of stirrers and drill all the holes at one time – then, just keep a stack ready to use – store a pile with all your painting supplies.
Easy, right? I love this system and I think you will like it as well…give it a try!
Thank you so much for stopping by!
Remember to take pleasure in simple things, Jackie
Sharing with Craftberry Bush, Finding Silver Pennies, Sand & Sisal, and Coastal Charm.


Hi Jackie!
It’s Deb, Ashleys Mom.
Ashley insisted I visit your page, and with no surprise, I knew instinctivley that it would be filled with spectacular visuals! Your layout, photographs and projects, I have to say set my imagination on fire with ideas! Your wasting talent, like many of us, I loved your descriptions, and the photos you took Amazing!! We should do a craft day with girls, we both have talent we should be sharing! Great job Jackie, your blog is exceptionally beautiful and well thought out! Ps…mat those photos of Saint Augustine, I’d be the first to buy them!
Thanks so much Deb…so glad you took the time to visit! :)