Subscribe to Pleasure in Simple Things via RSS ReaderFollow Pleasure in Simple Things on InstagramFollow @InSimpleThings on TwitterLike Pleasure In Simple Things on FacebookFollow Pleasure In Simple Things on PinterestEmail Jackie

Tag: recipe


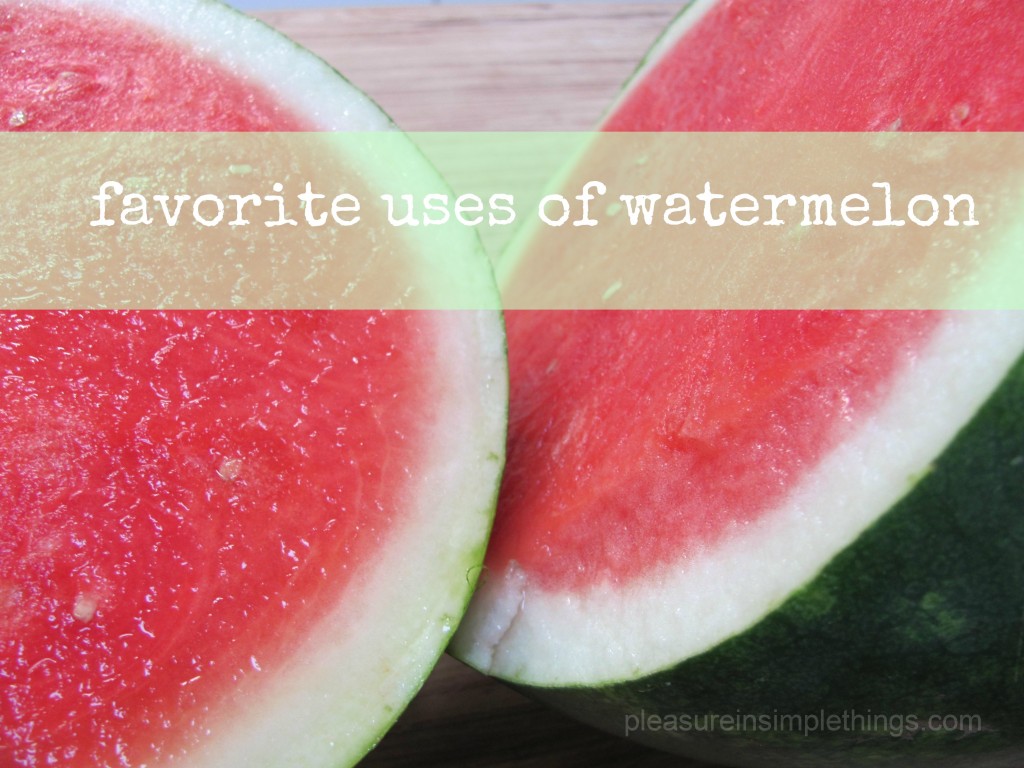
3 best ways to serve watermelon

7
August

3 recipes included

1. plain & coooold

You really can’t beat a piece of cold watermelon in the summer, come on!  My family prefers it cold and all on its own.  I recently tried to serve it to them grilled and it didn’t go over at all.

2. with feta cheese

My favorite way to eat watermelon is with feta cheese…what a combination!  I like to make what I call watermelon salad.

This is when I combine watermelon with feta cheese.  I really love the taste of the two together.   Just combine 1 part feta to 3 parts watermelon.  It is delicious.  If you want to punch it up a little, you can add red pepper flakes, or add a drizzle with a little spice…

Watermelon salad

  • 3 cups seedless watermelon, cut in chunks
  • 1 cup feta cheese, crumbled
  • Black pepper (or use red pepper flakes if you don’t use the optional drizzle and want some punch)

I sometimes also add fresh basil (or a fresh herb on hand)

Optional Drizzle:

(I wish I could remember where I orignially got the recipe for this drizzle.  I think it was a recipe from a hotel, but I can’t remember which one..if anyone recognizes it, please let me know so I can give proper credit.)

  • 1 cup extra virgin olive oil
  • 2 Tablespoons fresh lime juice
  • 2 Tablespoons vinegar
  • 2 teaspoons thyme
  • 1 small shallot
  • 1 serrano chile
  • Season with salt

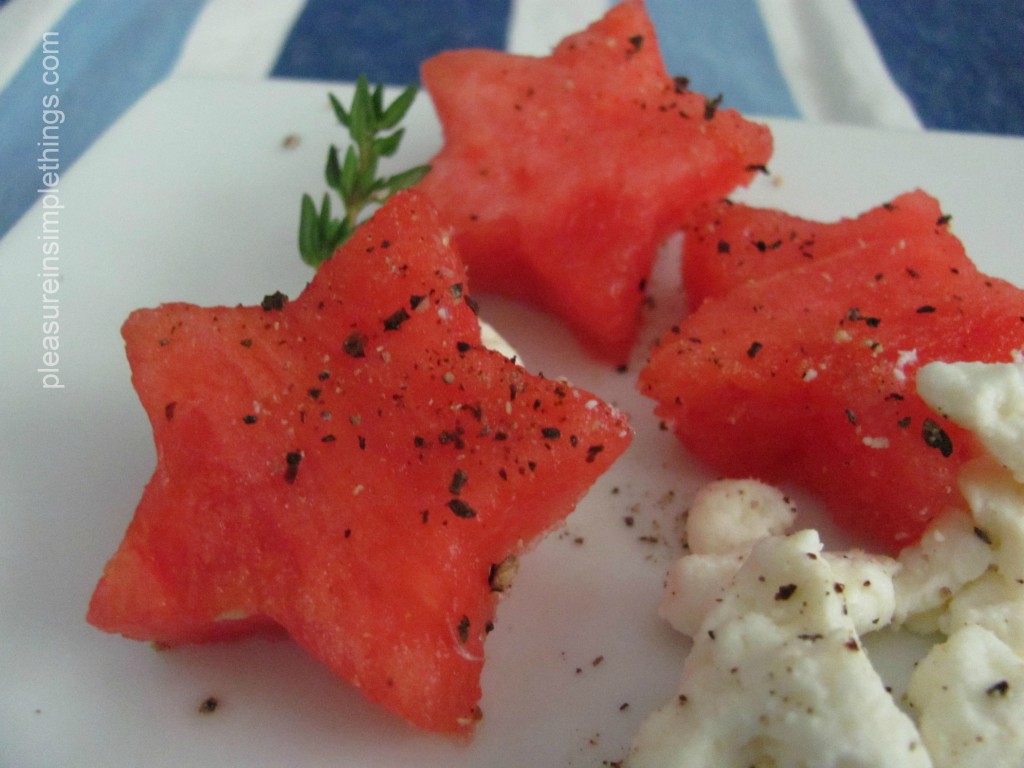
I have served this salad in a watermelon basket for a party.  On Memorial Day or 4th of July, cut the watermelon into star shapes with a cookie cutter to add a patriotic flair.  Watermelon stars can go on skewers to decorate your table.  A piece of watermelon and a piece of feta on a skewer make a great appetizer….they can be drizzled with the optional drizzle or you can provide drizzle in a little ramekin on the side.

A photo of cookie cutter watermelon pieces…a great way to add some fun to a watermelon salad!

3. in a drink

Watermelon is great as a drink component.  If you want a frozen drink, freeze chunks ahead to use in your blender.  The frozen chunks also make great ice cubes for wine.

I love it with citrus…like watermelon lemonade…try this recipe for a refreshing watermelon drink:

Watermelon lemonade

  • ¼ cup lemon juice
  • ¼ cup lime juice
  • ½ cup sugar
  • 8 cups cubed seedless watermelon
  • 1 cup strawberries
  • 2 cups crushed ice

Blend all ingredients in a blender.

A photo of watermelon lemonade…a refreshing summer drink.

Enjoy your watermelon :)  Thanks for visiting, Jackie

9 comments » | food & festivities

ending with ice cream cake

5
August

happy twenty-four!

I sure did have an exciting week.  I went to my first BlogHer – a conference designed for women who blog and other social media professionals…over 4,500 of them!

During the course of this three day conference, I … took a dance class with the Rockettes at Radio City Music Hall…was addressed by the President of the United States…sang Happy Birthday to Martha Stewart… admired Katie Couric in person…and, listened to Soledad O’Brien, Christy Turlington Burns, and Malaak Compton-Rock discuss their great nonprofit works.  No wonder I am so tired!

It was an exciting three days…I was able to meet some really interesting people and attend some great social media classes.  The best part of my week?  That would be today, when my first born turned twenty-four years old and our family was all together to celebrate.

So, I will not be posting the photos I took of all the celebrities I saw in New York City…I am posting a photo of my first born son taken this weekend by his sister, documenting him doing one of his favorite activities on his birthday weekend.

And, I am posting instructions on how to create my son’s one-of-a-kind birthday cake…since, per tradition, he dreamed up the cake he wanted…

 Twenty Fourth Ice Cream Cake Recipe

  • 9 ½ “ springform pan
  • package of oreo cookies (you will use appoximately 10 oz.)
  • half gallon chocolate chip ice cream
  • half gallon coffee ice cream
  • 8 oz. bag Heath Bar bits
  • 1 container Reeses shell topping

Put a little coating of cooking spray or butter in the bottom of a 9 ½ “ springform pan.  Crush up  10 ounces of oreo cookies and spread on the bottom of the pan (you don’t need butter since the white filling provides moisture).  Soften the chocolate chip ice cream slightly and pack over the crumbs.  Next, spread the bag of Heath Bar bits evenly over the ice cream.  Your next layer will be softened coffee ice cream.  After arranging that into the pan, drizzle Reeses shell topping over the top of the cake.  Store in freezer.

Happy twenty-fourth, my son :)

Thanks for visiting, Jackie

4 comments » | food & festivities

great ice cream sandwiches

24
July

rice cakes & ice cream?  Oh, yeah!

This time of year, you can always find an abundance of ice cream and ice cream related recipes.  I loved Real  Simple magazine’s recipes on ice cream sandwiches made from cookies that they featured recently.  Like s’mores, these treats are a summer standard in the dessert category.  Unfortunately, Real Simple  left out the two BEST combinations…the nerve!  Here is a glimpse of my two favorites…


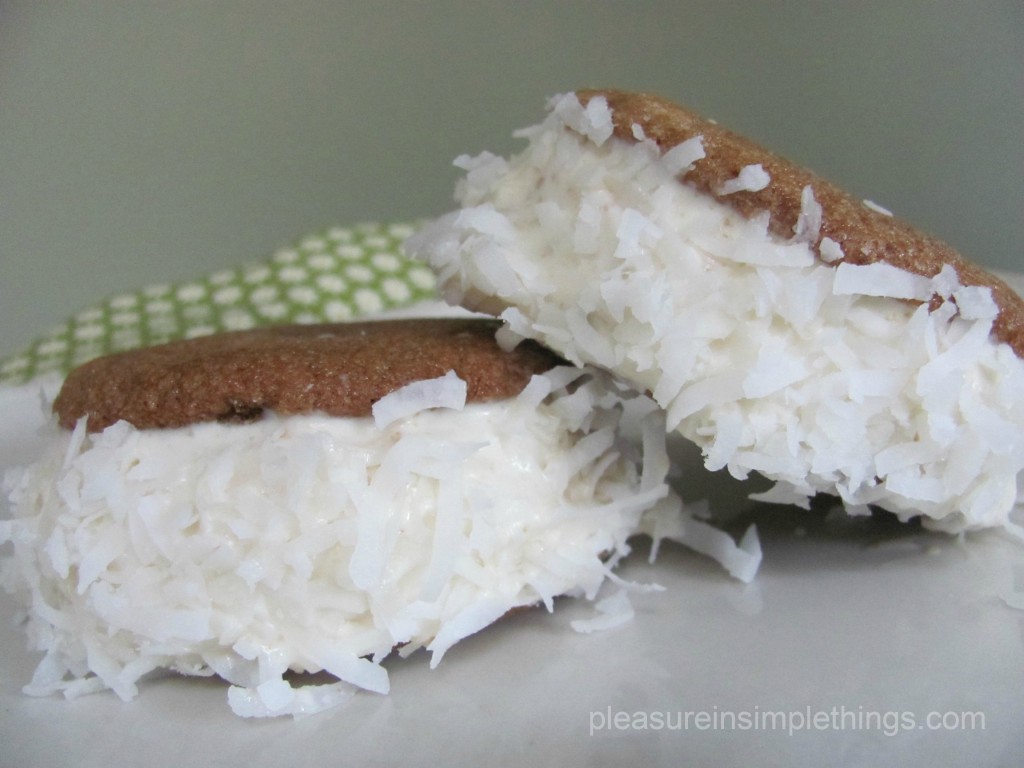
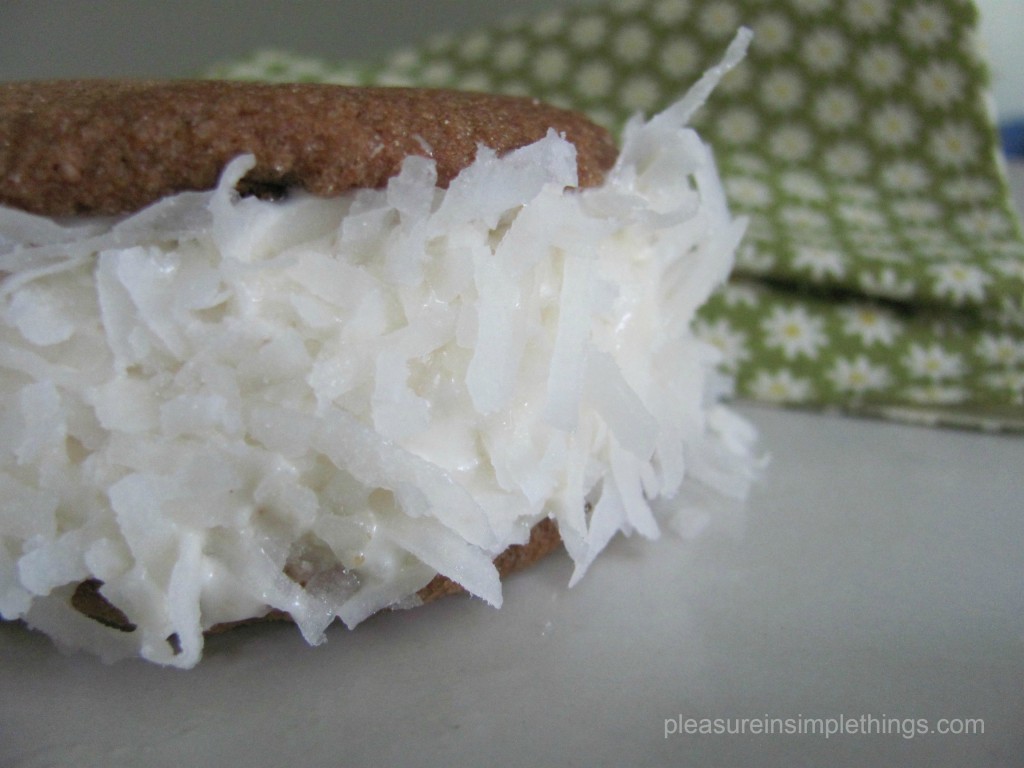
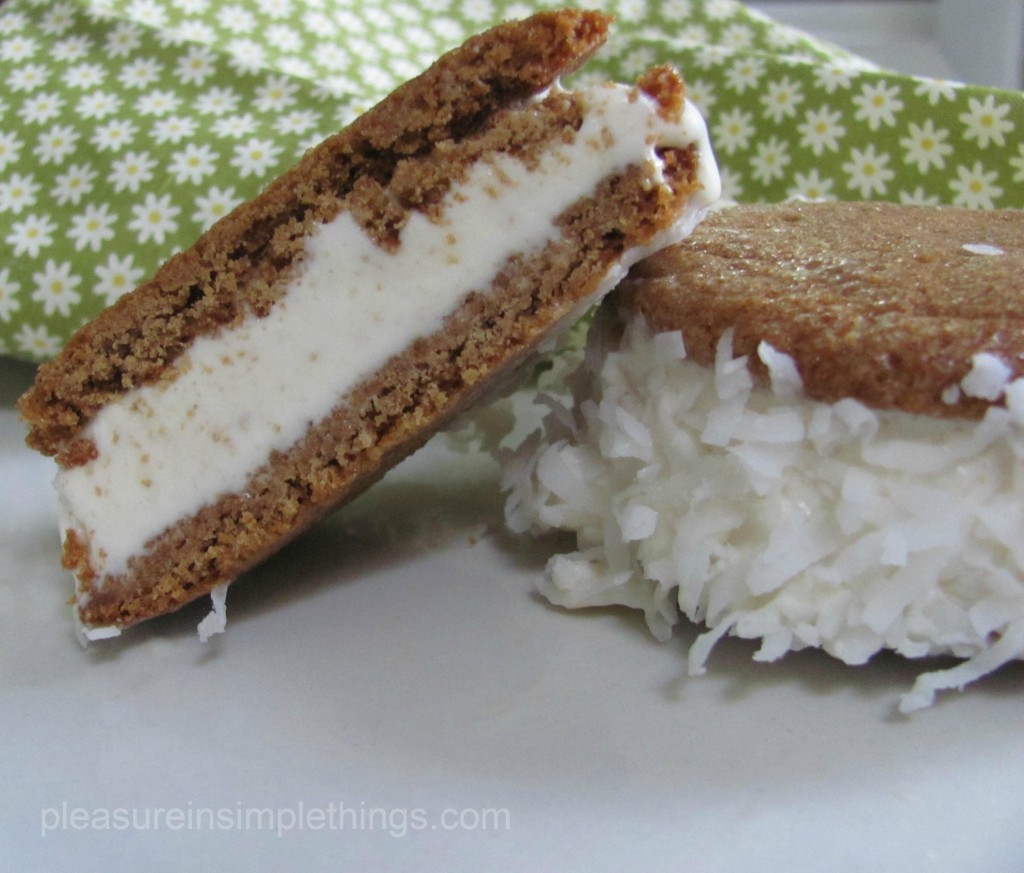
A photo of one of my favorite diy ice cream sandwiches: ginger cookies filled with key lime ice cream and rolled in coconut. The ginger cookie recipe is included at the end of this post.

The first combination is ginger cookies filled with key lime pie ice cream and rolled in coconut. To be really decadent, white chocolate can be drizzled on the top.  There are a lot of good ginger cookie recipes.  I usually don’t have crystallized ginger in the house, so I use the recipe I included at the end of this post because it doesn’t require it.

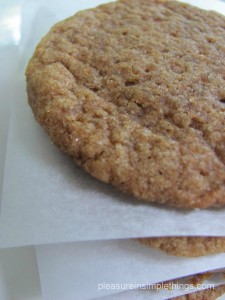
A photo of the ginger cookies used to make the ice cream sandwiches…the recipe is included at the end of this post.

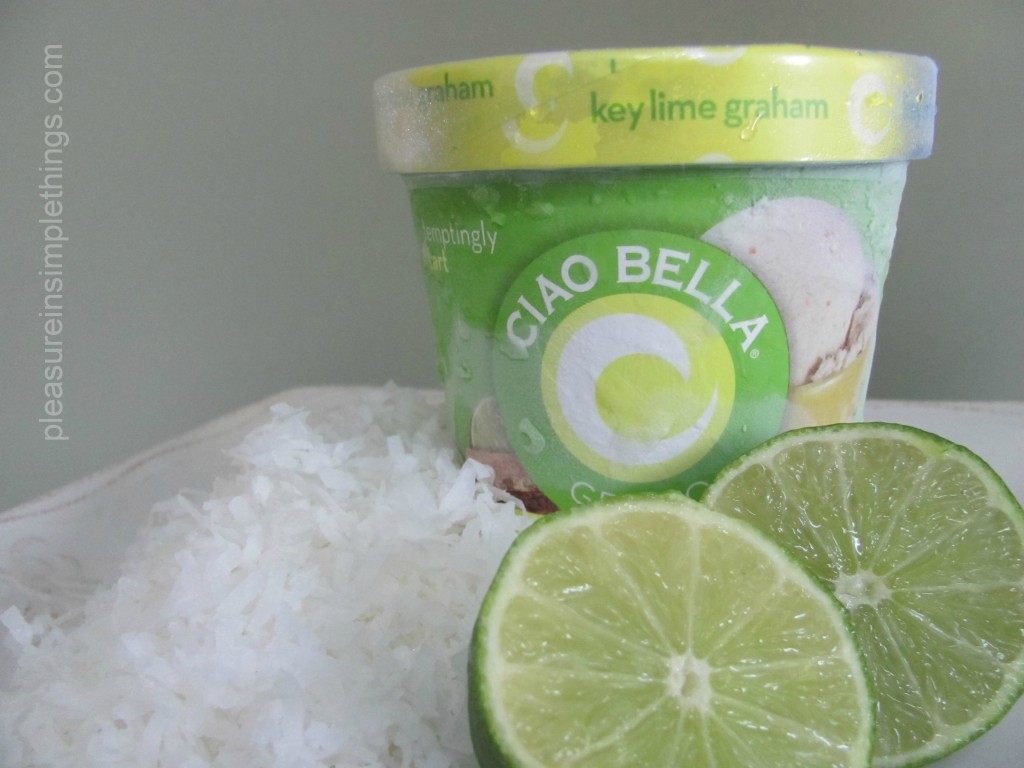
I think the key to a good ginger cookie is a good ginger spice.  I use Penzy’s spices.  There is no spice like it.  It is amazingly flavorful.   If I have crystallized ginger in the house, I use Ina Garten’s recipe, which is really great and calls for the crystallized ginger.  The ice cream, if store bought, really needs to be Ciao Bella, Key Lime Graham.   No other brand or flavor compares.  Of course, if you have a shop that makes homemade nearby, that is a great option.

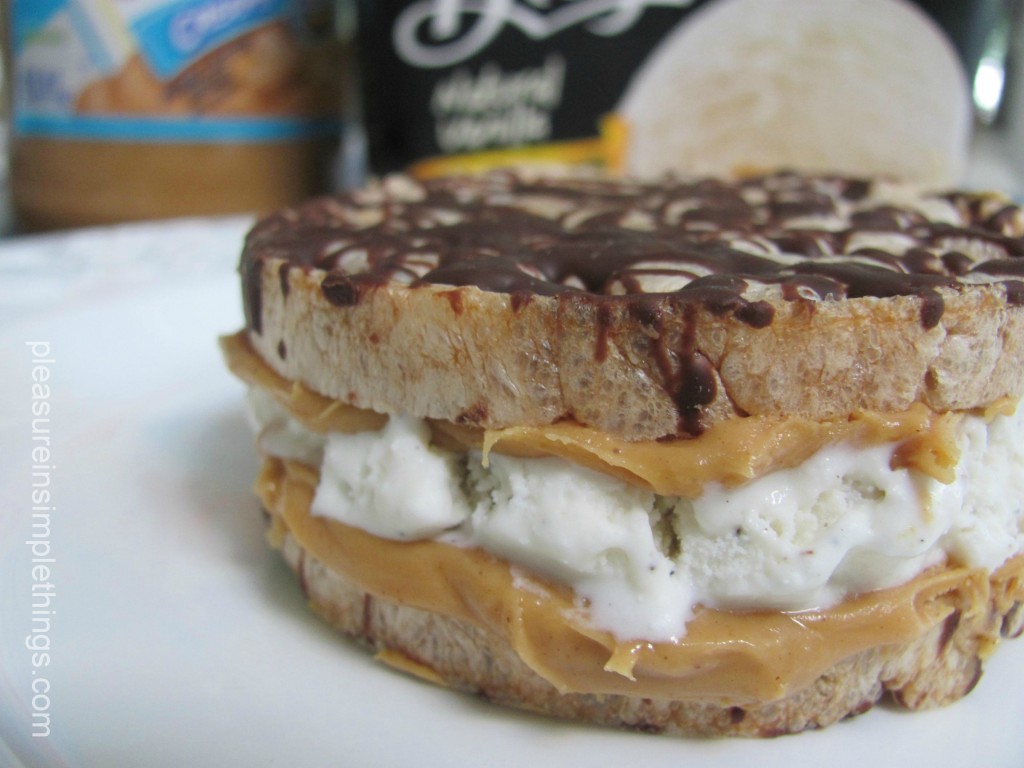
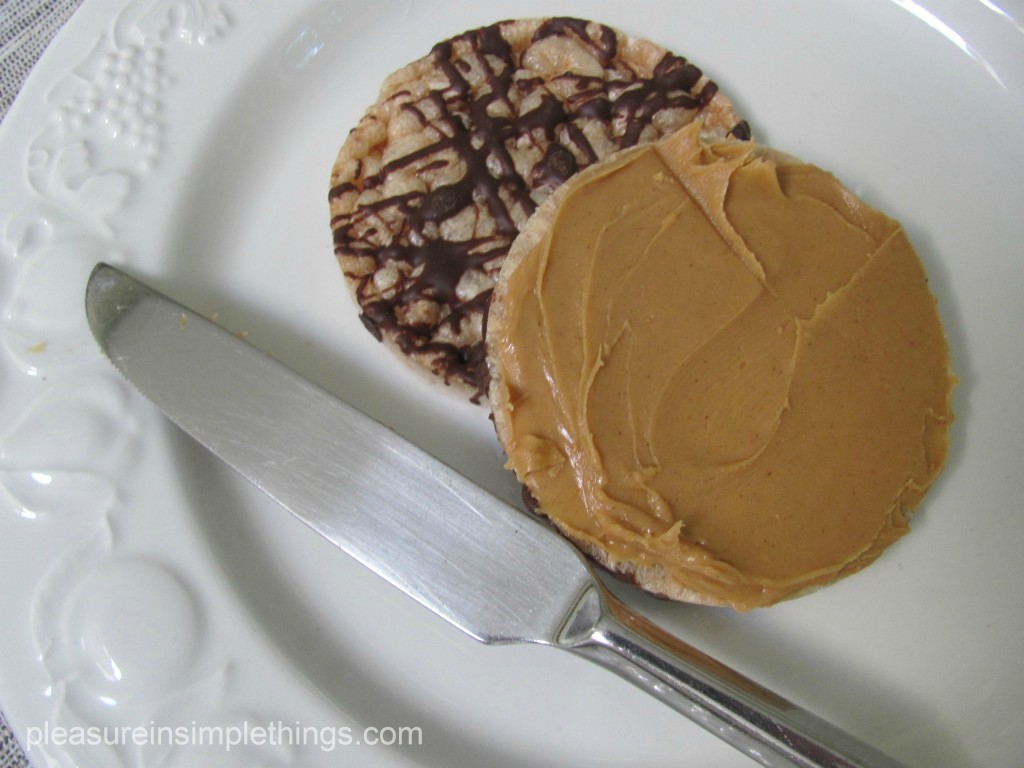
The second  ice cream sandwich I adore uses rice cakes in place of the cookies.  It is a combination of rice cakes, smooth peanut butter, and a good quality vanilla ice cream (or frozen yogurt).  I used Breyers.  I first came up with this combination during one of my pregnancies, and I thought the pregnancy cravings were what made it taste so good.  I was wrong.  I like them just as well when I am not pregnant!

A photo of one of my favorite ice cream sandwiches…rice cake, peanut butter, and vanilla ice cream!

I have a store locally (Stew Leonards) that makes their own rice cakes and, in recent years, also sells them with drizzled chocolate…I used the chocolate enhanced ones for this post  :)  Just spread the insides of both rice cakes with the peanut butter  before sandwiching the vanilla ice cream in the middle.

The ginger cookie recipe follows.  Hope you enjoy my favorites and hope this gets your creative juices flowing to come up with some of your own favorite combos!  Let me know if you come up with some good ones!  Thanks for visiting.  Enjoy, Jackie
Ginger Cookies

Ingredients

  • 1 cup unsalted butter, room temperature
  • 1 cup light brown sugar
  • 1/4 cup unsulphured molasses
  • 2 large egg whites
  • 1/2 teaspoon pure vanilla extract
  • 2 2/3 cups all purpose flour
  • 2 teaspoons baking soda
  • 1/4 teaspoon salt
  • 1 teaspoon ground cinnamon
  • 1-2  teaspoons ground ginger
  • 1/2 teaspoon ground cloves
  • 1 cup white sugar (for rolling)

Directions

In the bowl of your electric mixer (or with a hand mixer), beat the butter and sugar until light and fluffy (about 2 – 3 minutes). Add the molasses, egg whites, and vanilla extract and beat until incorporated. In a separate bowl whisk together the flour, baking soda, salt, and spices. Add the flour mixture to the butter mixture and mix until well combined. Cover the batter with plastic wrap and chill in the refrigerator for about 60 minutes.

Preheat the oven to 350 degrees F.   Line two baking sheets with parchment paper.

Place about 1 cup of white granulated sugar in a medium sized bowl. When the dough has chilled sufficiently, roll into 1 inch balls. Then roll the balls of dough into the sugar, coating them thoroughly. Place on the baking sheet, spacing about 2 inches apart and, with the bottom of a glass, flatten the cookies slightly. Bake for about 8 – 10 minutes or until the cookies are firm but are still a little soft in the centers. (The longer the cookies bake, the more crisp they will be.   For the purposes of an ice cream sandwich, you don’t want them crisp since that would make them hard to eat.)  Cool on a wire rack.

Makes about 4 dozen cookies.

Recipe adapted From:  Mendelson, Susan & Cruz, Joey. The Lazy Gourmet. Whitecap Books. Vancouver/Toronto: 2000.

3 comments » | food & festivities

making pesto

22
June

friday field trip

This week, Friday field trip is to a cooking class at Terrain.  And, I have included one of the recipes in this post!

You know how much I love (the newly opened in CT) Terrain…well, I recently noticed a pesto class on their calendar… I was determined to attend!  With a little creative scheduling, I was able to make it happen.

Kelly, one of the Terrain chefs, led the class.  She is a Culinary Institute of America (CIA) graduate and just a lot of fun to be around.  I guess I didn’t really capture any great photos of her… it didn’t help that her Sicilian heritage was kicking in…plenty of hand motions and enthusiasm didn’t bode well for a clear photo!  Believe me, she was adorable…a  huge smile and dressed in her ‘farmer chic’ (Terrain’s dress code) attire.

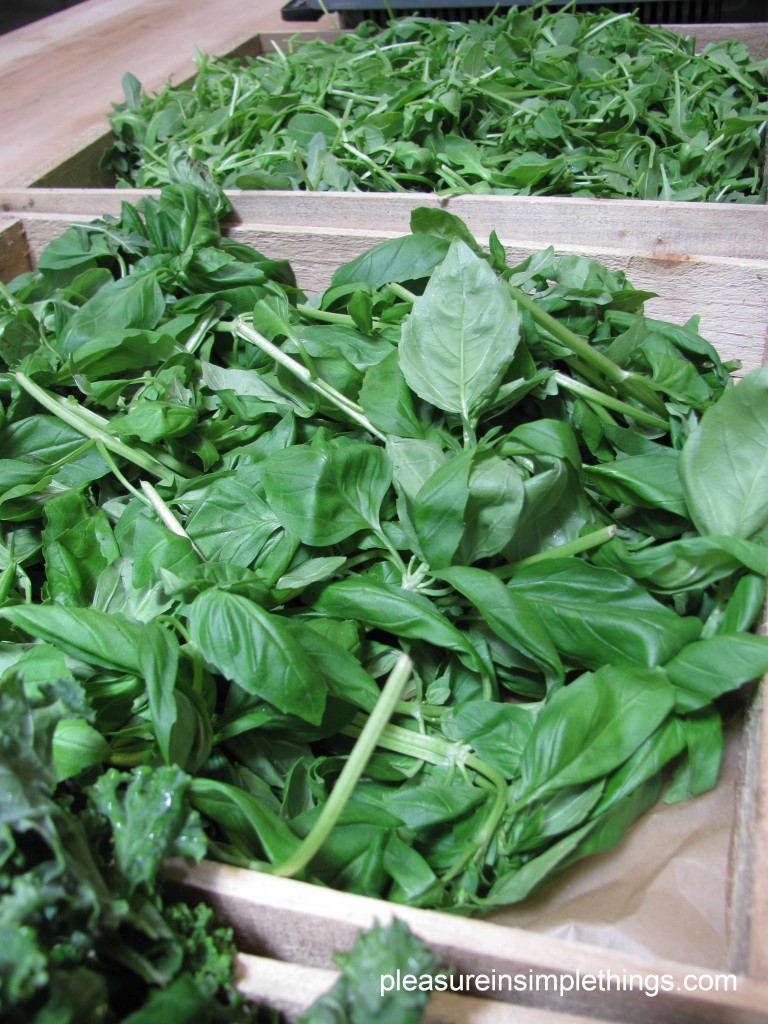
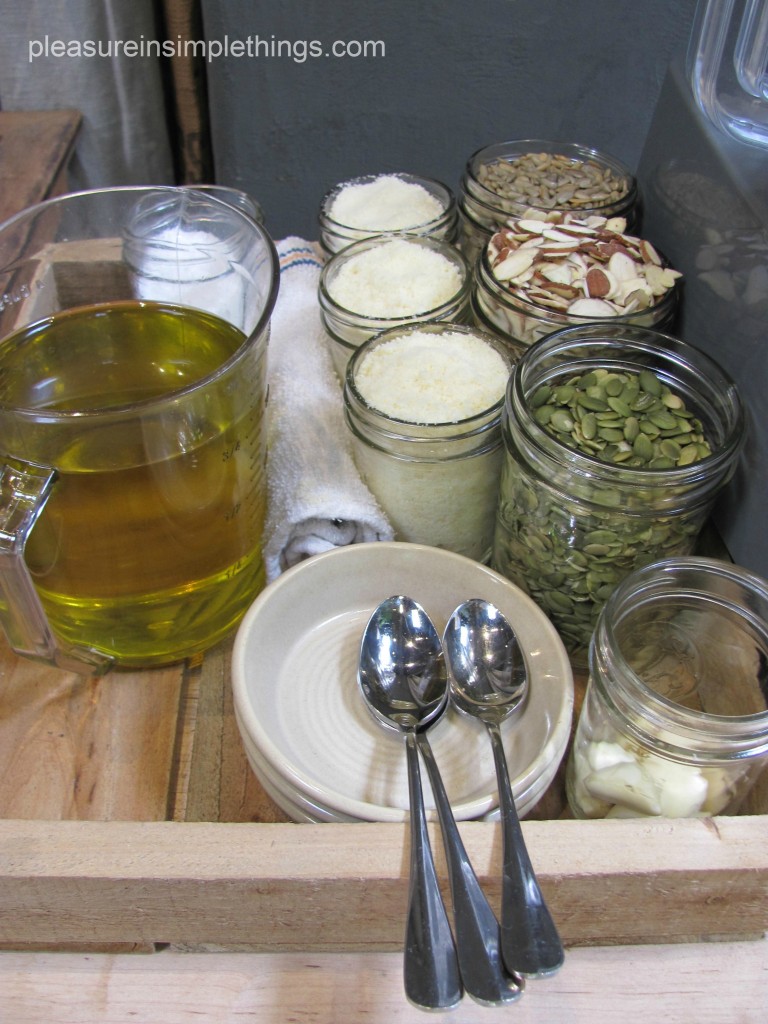
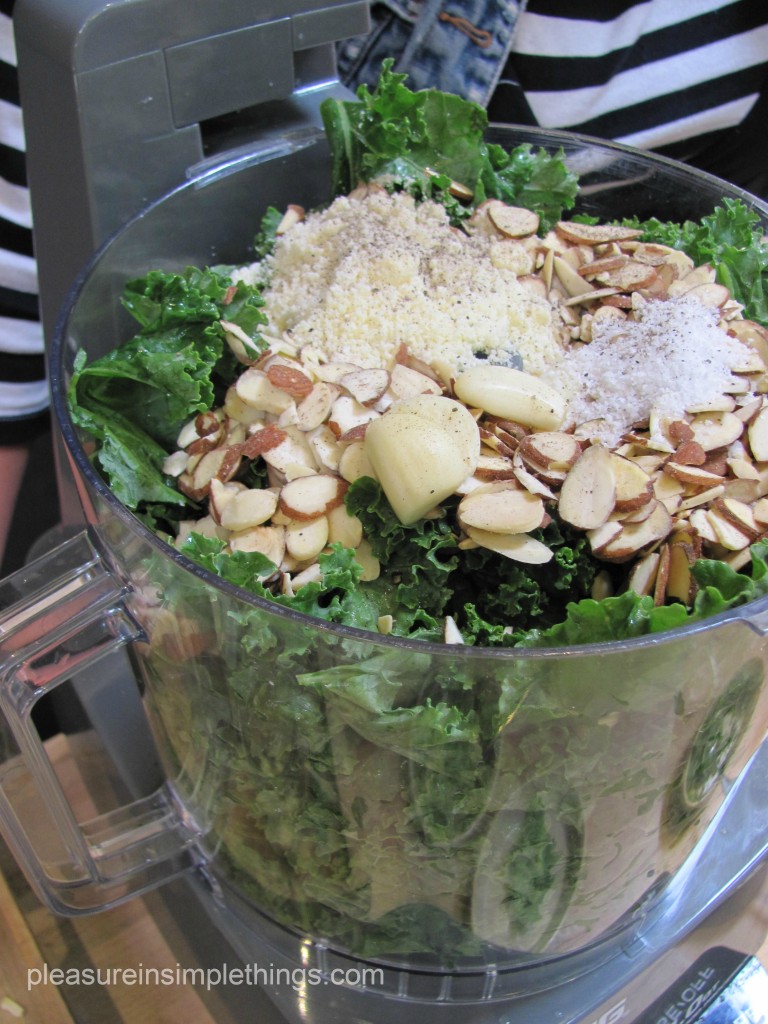
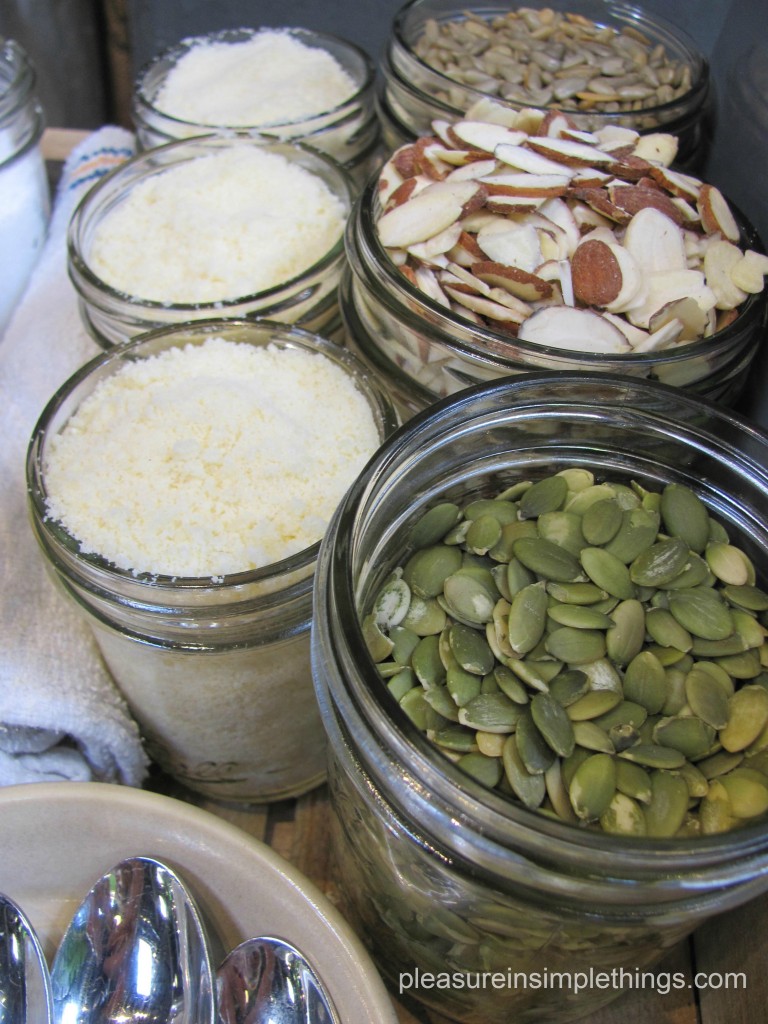
The ‘students’ soon discovered that pesto is not just about basil, oil, garlic, and pine nuts.  Kelly really opened our eyes to experimenting with different greens and nuts.  It was a lightbulb moment for me to consider using new and different combinations of greens and nuts in pesto rather than relying on the traditional basil and pine nuts.  We were able to taste test all the creations Kelly demonstrated.  I eagerly tried the arugula and sunflower seeds, and LOVED the basil and kale and almonds.

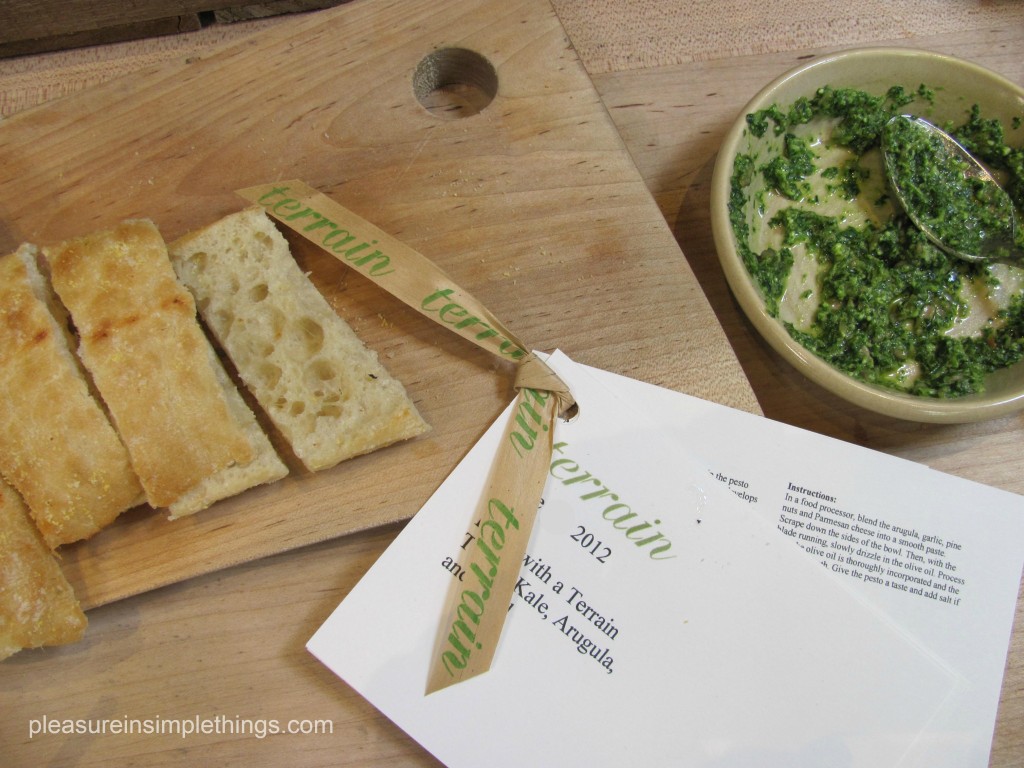
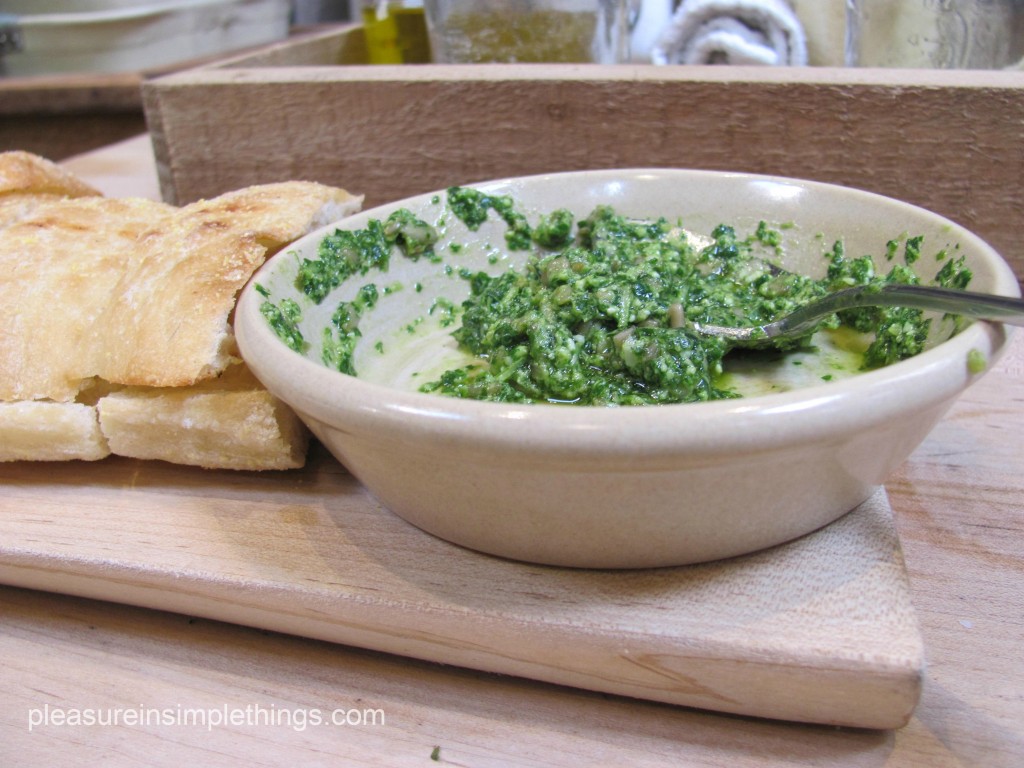
The taste tests were accomplished by spreading the pestos on warm bread…yum!   This is something I never do with pesto.  I use it on pasta, but haven’t ever used it as an appetizer ingredient or as a condiment…where have I been?!

Terrain only uses the freshest of ingredients in their cafe, restaurant, and cooking classes.


A photo of pesto made in a Terrain cooking class.

Kale Toasted Walnut Pesto (makes about 1 cup)

You can make this pesto with plain (raw) walnuts, but toasting them gives them a little extra flavor that can hang with the slightly more intense (and bitter) taste of kale.

Ingredients

  • ½ cup plain/raw walnuts, roughly chopped
  • 1 garlic clove, smashed
  • About 3 cups chopped kale
  • ¼ cup grated Parmesan cheese
  • ½ – 1 cup extra virgin olive oil
  • Salt and freshly ground pepper to taste

Directions

Heat a frying pan over medium heat.  Add walnuts and stir constantly (or gently shake pan) until toasted, about 2 minutes.  Remove from heat and let the walnuts cool.

Pulse garlic clove in food processor until it is chopped finely, about 30 seconds.  Add kale, toasted walnuts and Parmesan cheese and pulse until chopped.  You may have to stop the food processor, open the top, and push the kale down toward the blades.

With the food processor running on low, add olive oil in a steady stream until you get the consistency you want, I went with almost ¾ cup of olive oil.

Season to taste with salt and pepper (we used about 1 ½ teaspoon salt, ½ teaspoon black pepper).

Kelly also suggested trying the combination of pistachios with spinach.  I can’t wait to try this combo!  Other ingredients  suggested included cilantro, mixed herbs, watercress, parsley, hazelnuts, and pecans.

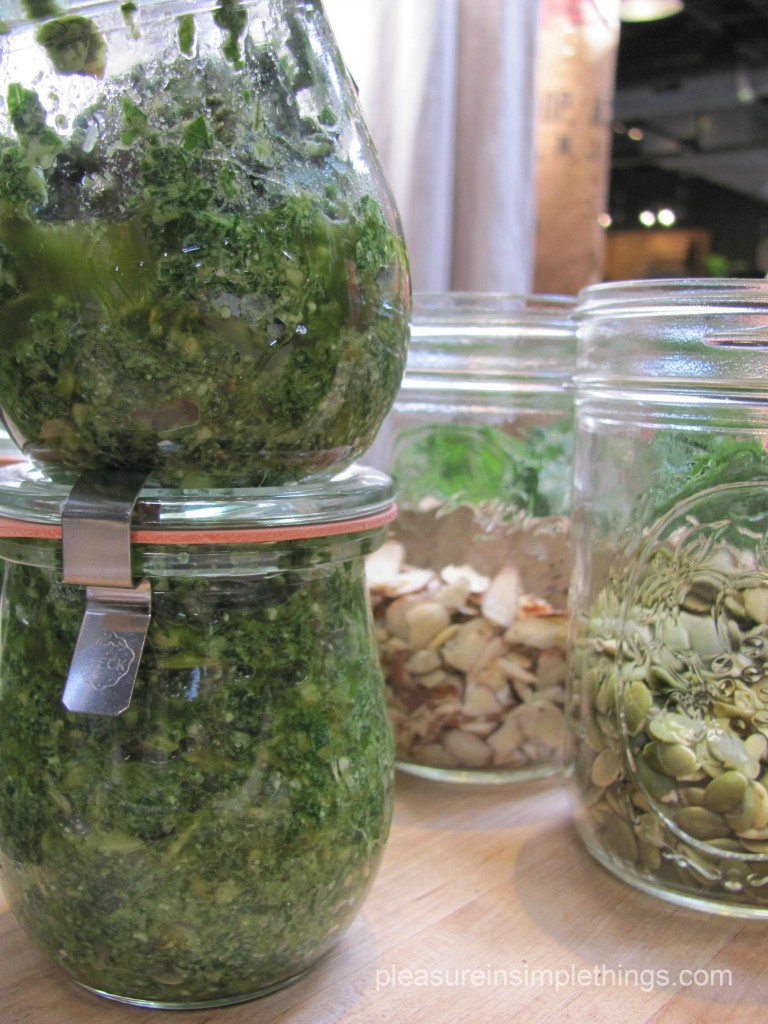
I left there with a jar of freshly made pesto and feeling much more adventurous about trying new ingredients to add variety to the pesto I make at home.  If  you want to attend a class or other event, check out the Terrain website for the event schedule:  www.shopterrain.com

By the way, I stopped and bought a loaf of good bread on the way home ;)

6 comments » | food & festivities

strawberry fields & recipe

15
June

friday field trip

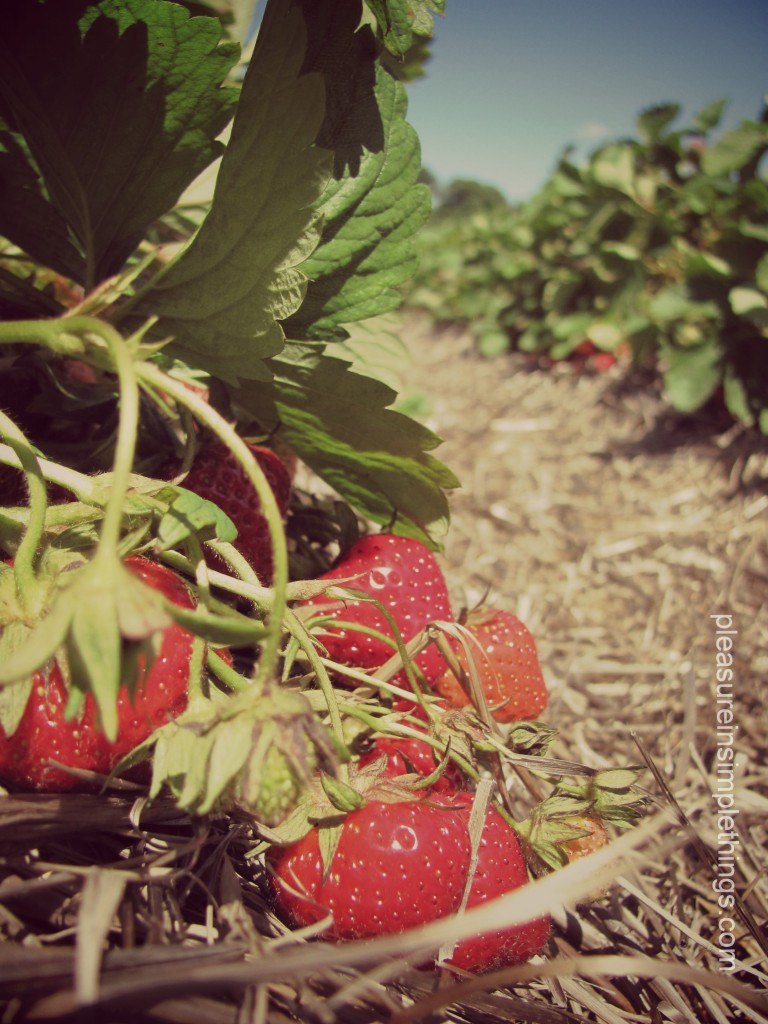
It’s prime strawberry picking…that’s what the recording said when I called Jones farm to find out if strawberries were still in season.   That’s it then, I decided…I will pick strawberries for my Friday field trip.  Gee, I  can’t even remember the last time I was in a strawberry field.  I took my kids to pick strawberries (more like ‘eating’ strawberries) when they were small…those trips were all about the children having a good time and about providing them with a learning experience.

This time, my trip would be a solitary one.  I headed out to Jones Farm in Shelton, CT, a 400 acre farm run by the fifth and sixth generation members of the Jones family.

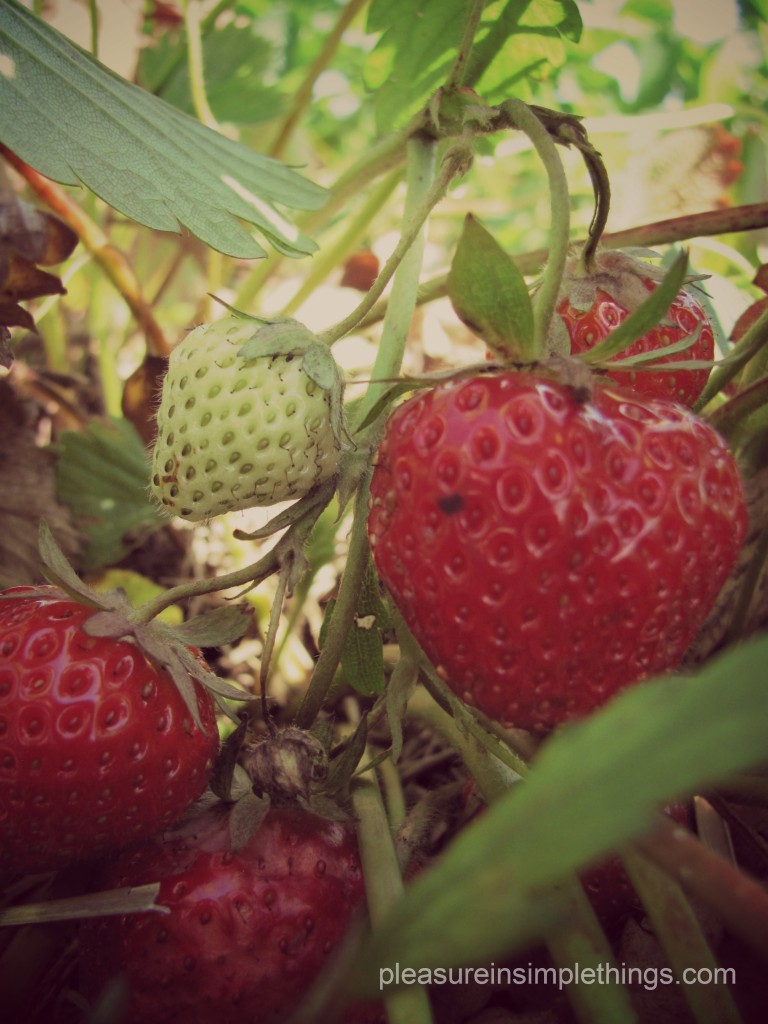
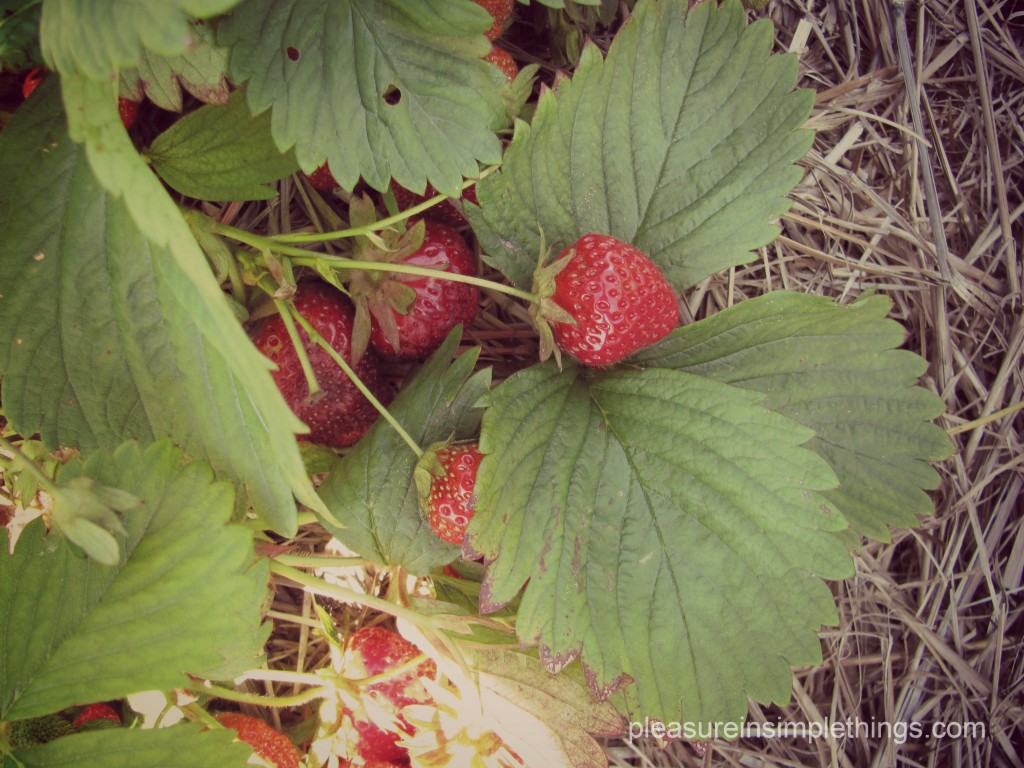
Under no pressure to pick any certain quota of strawberries (heck, we have a fridge full),  I spent my time at the farm really enjoying my surroundings…


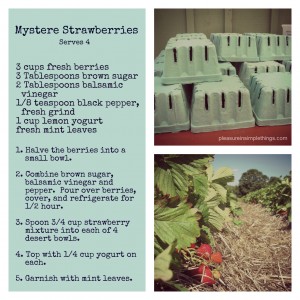
And, I found a new ‘go to’ recipe for strawberries that is certain to replace the standard shortcake recipe for me – different and delicious.  I have included it here for you…complements of Jones Farm. (Click on photo to enlarge.)

A photo of recipe for Mystere Strawberries


3 comments » | food & festivities

homemade (better than bailey’s) irish cream recipe

12
June

homemade father’s day gift

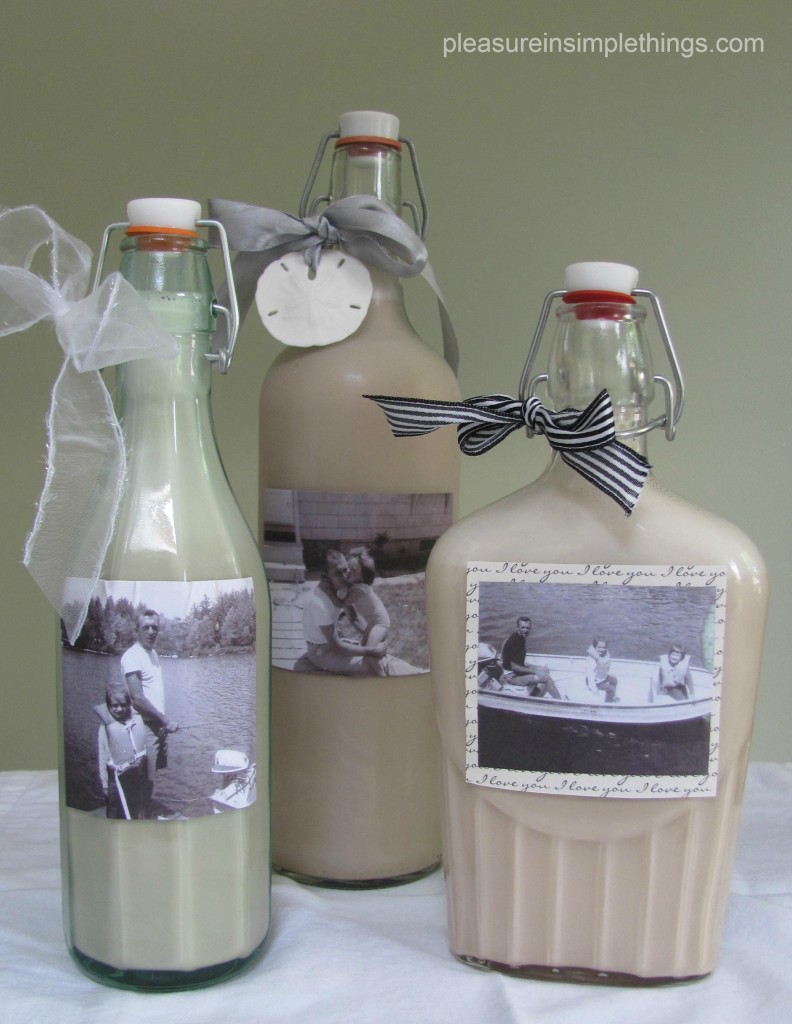
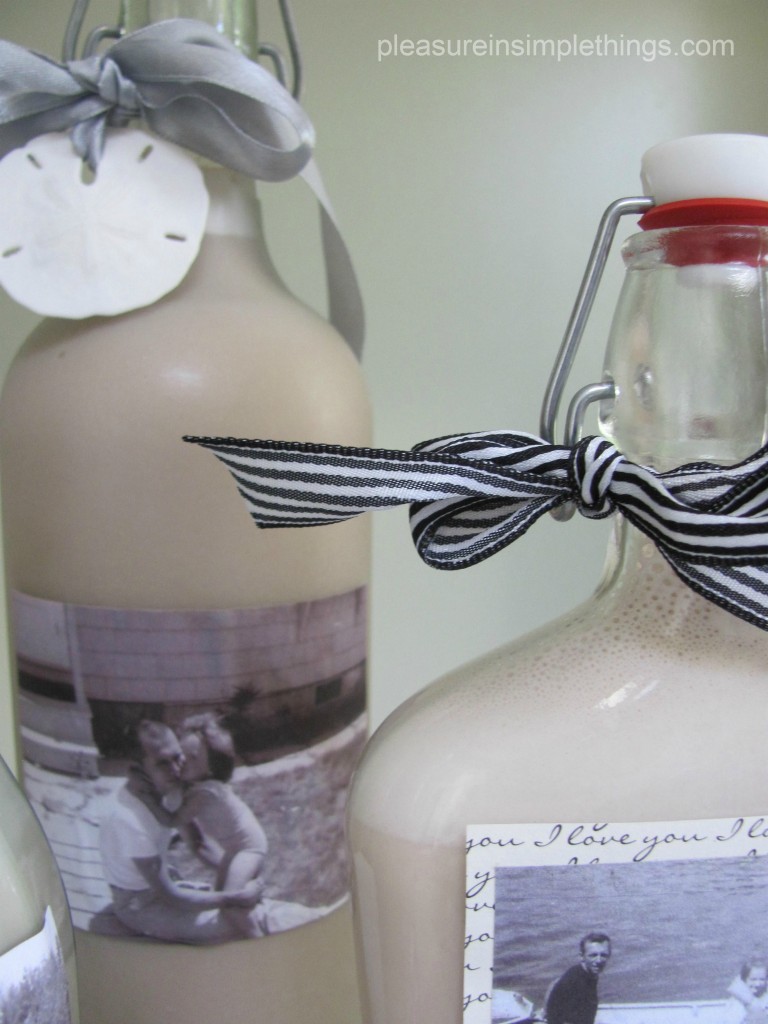
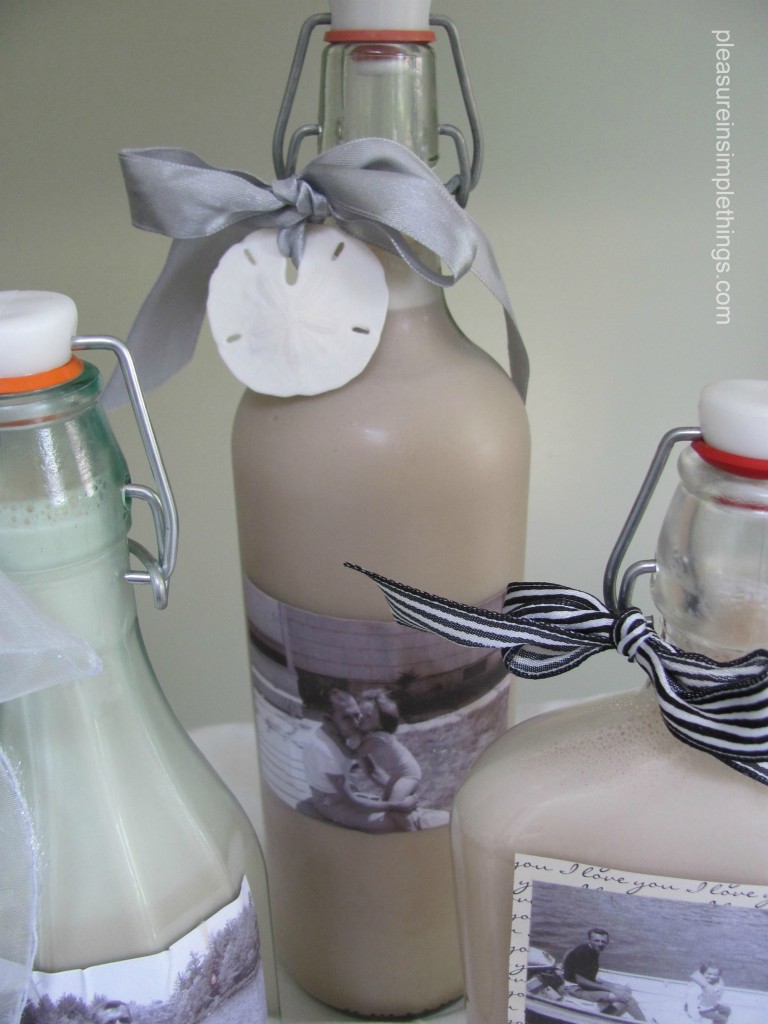
A photo of Homemade (better than Bailey’s) Irish Cream recipe packaged in personalized bottles for Father’s Day.

Father’s Day is Sunday!  Do you need an idea for a special homemade gift?  I have an easy and delicious gift you can make.  Homemade Irish Cream!  Packaged in a personal way, I think it makes the perfect gift for your special guy.

In my opinion, this homemade version  tastes better than the popular brand you purchase in the liquor store.  I suspect that is because it uses fresh dairy, rather than the substitute that must be required to ensure a long shelf life for the ‘real’ stuff.

First,  get yourself some bottles – these can be repurposed or purchased.  I found the ones pictured here at the store Homegoods…two I bought empty and one was filled with Italian soda;  but was priced the same as the empty ones.  You may already have something you can use at home…check your cabinets and refrigerator for possibilities, use an old canning jar, or check out the home and craft stores.


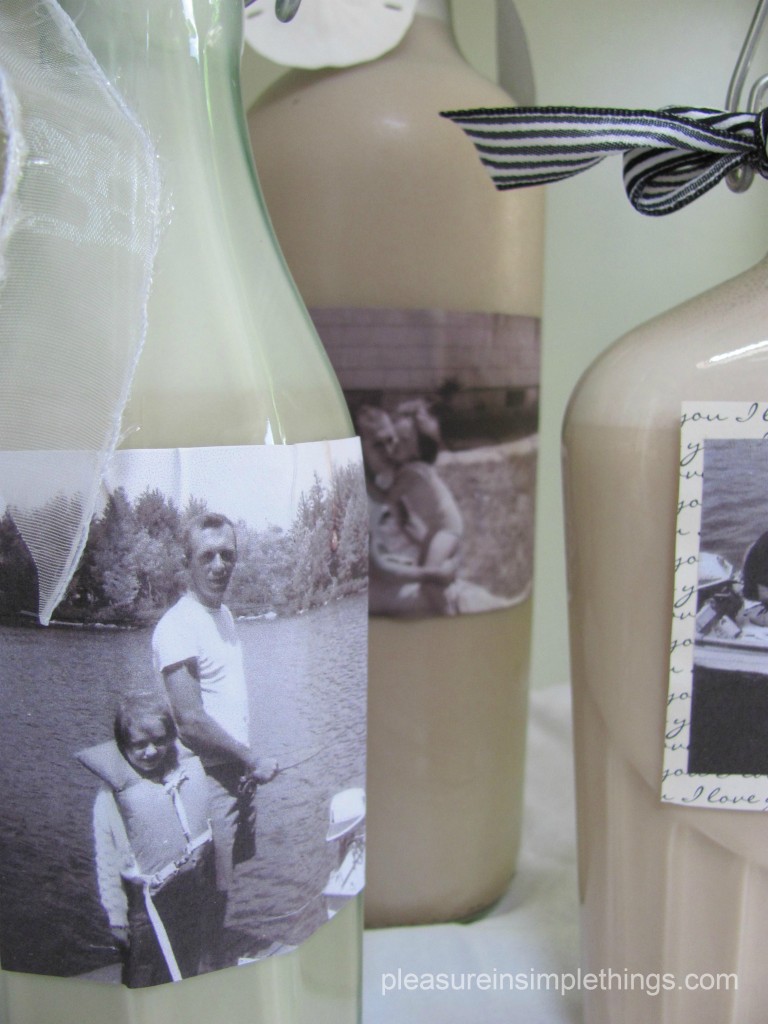
To make the gift personal, I selected some old, favorite photographs  to create labels for the front of the bottles.  I love old black and white photos,  and I chose three favorites of my dad and I together to print onto a sheet of labels.  If you only have color photos; no worries.  You can easily turn your color photos into nostalgic looking black and white or sepia prints using your computer or photo software.  (If you don’t know how to do this, send me a message.  Better yet, ask your children…they are certain to know how to accomplish this.)

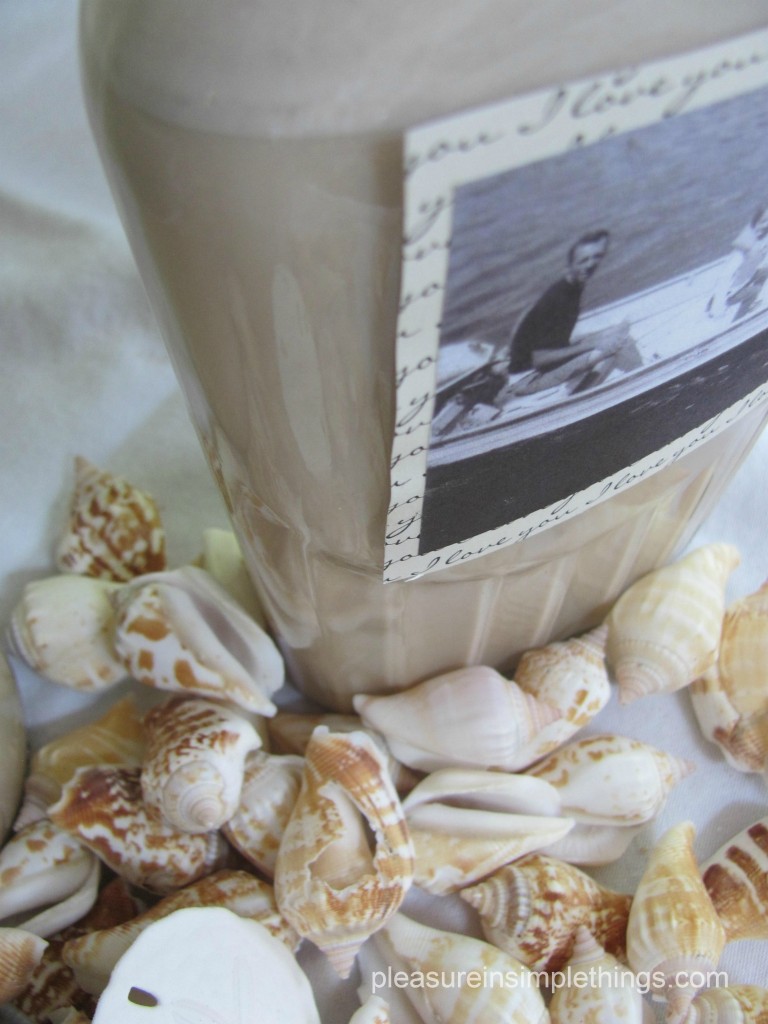
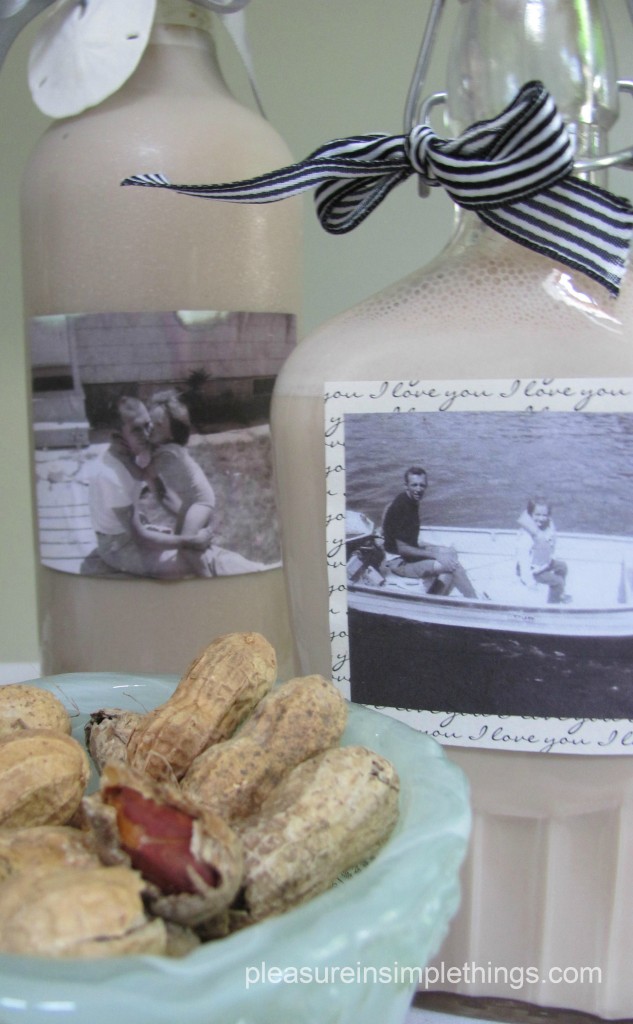
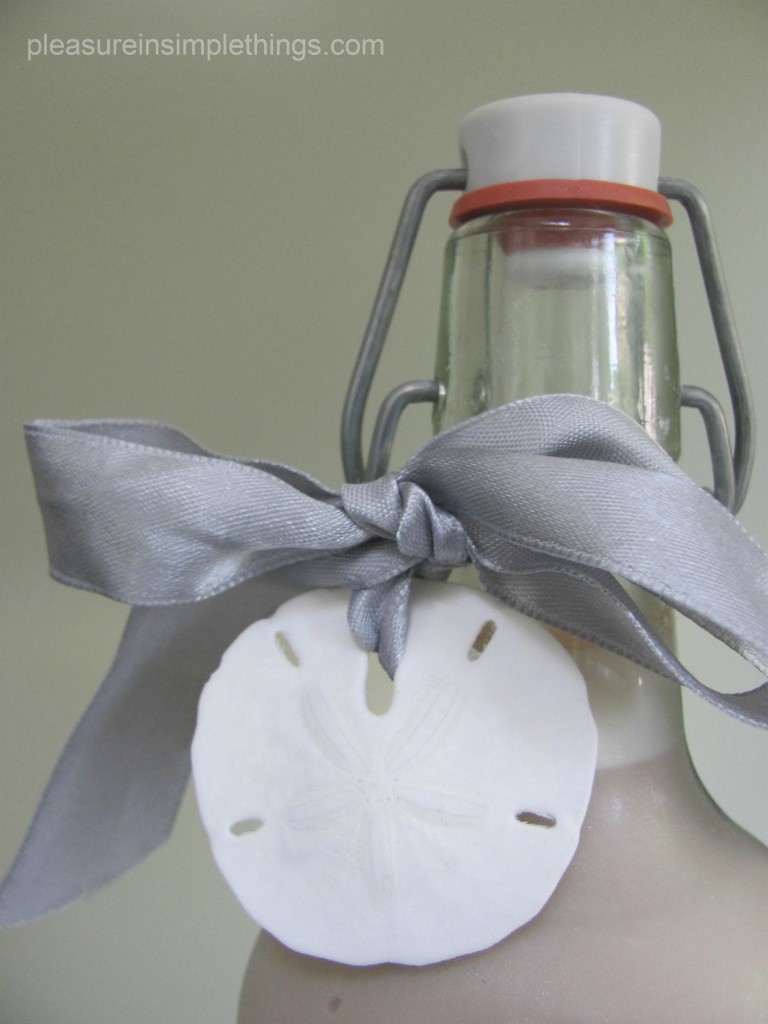
I simply printed the photos on a sheet of regular office shipping labels – nothing fancy.  And, because they were black and white, a color printer was not required.  I trimmed the labels and affixed them onto the bottles.  Then, I finished with some ribbon scraps tied onto the necks of the bottles.  Of course, I had to tie a sand dollar to the neck of one of the bottles.   Do you see the one that says ‘I love you?’  I used a piece of scrapbooking paper I bought for 10 cents (this paper is sold by the sheet in any craft store) and used it as a backing for one of the photos; cutting it slightly larger than the size of the photo to create a frame around it.

A photo of homemade Irish Cream in personalized bottles.

Homemade Irish Cream Recipe

3 eggs

1 cup rye whiskey

2 Tablespoons chocolate syrup

2 – 3 teaspoons vanilla

1 pint half & half

1  14oz. can sweetened condensed milk

Blend eggs for 3 minutes.  Add all other ingredients.  Blend 2 minutes more.  Keep refrigerated .  Will keep as long as the expiration date on the half & half…if it lasts that long. 

Use a funnel to fill the bottles .  Your Homemade Irish Cream is ready for giving!  (Or, if your Dad is more the bourbon guy, you might want to try making him one of these:  Bobby Flay’s Vanilla Bean Bourbon Milkshake)

Try pouring a little in your Dad’s brunch time coffee ;)  Remember to save some for yourself!

9 comments » | diy

spiked milkshakes for memorial day

28
May

bobby flay’s vanilla bean bourbon milkshake

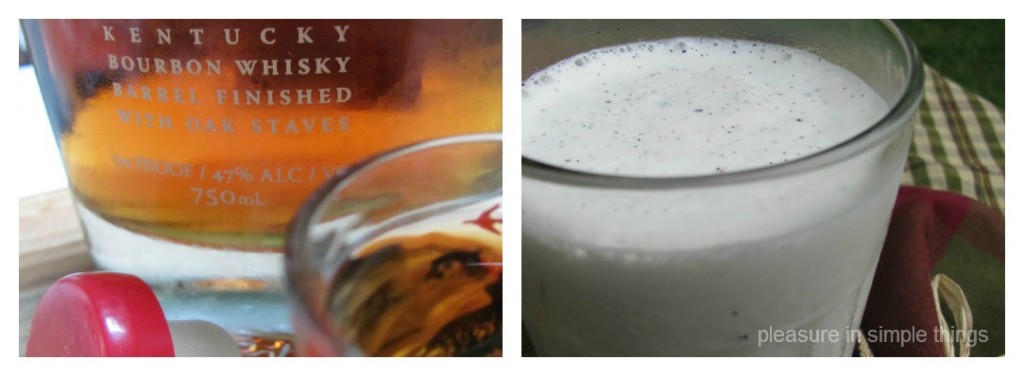
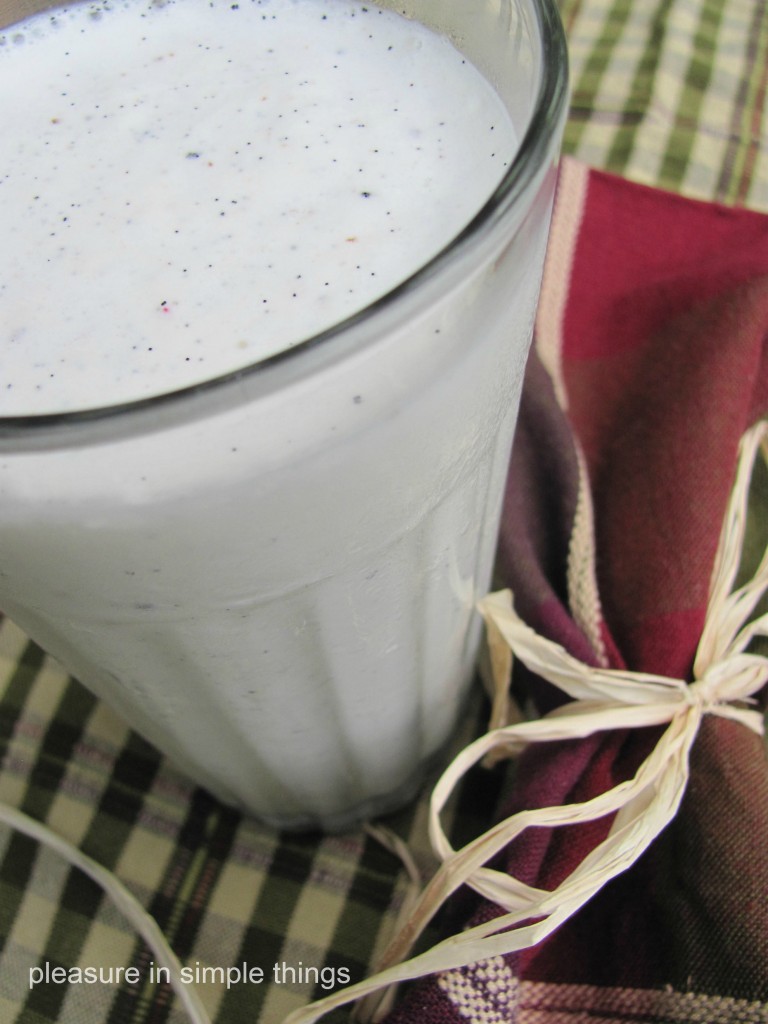
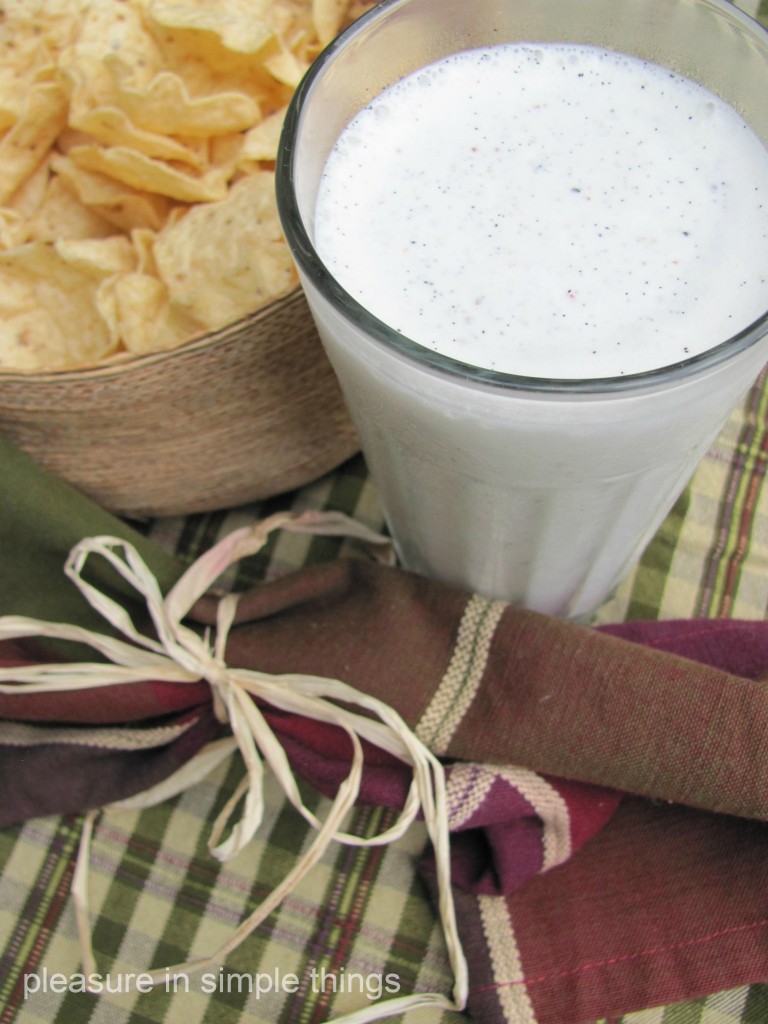
A photo of Bobby Flay’s Vanilla Bean Bourbon Milkshake for Memorial Day.

Here in Connecticut, it is a beautiful weekend, in spite of the weather reports leading up to this glorious Memorial Day. I planned on planting myself in front of the computer all weekend because of the stormy predictions…instead, I don’t want to come in from my backyard!

I did manage to come into the house long enough to make a wonderful Memorial Day treat to celebrate our good fortune with the weather! A spiked milkshake! A vanilla bean bourbon milkshake! Yup…the one Bobby Flay serves at Bobby’s Burger Palace. The same one I fell in love with when my daughter took me to his restaurant on her campus in Philly for the first time.


The bourbon I used to make Bobby Flay’s Vanilla Bean Bourbon Milkshake.

I am not going to take much time to post since I have a date ;) with that comfy empty chair sitting on the grass in my backyard , BUT I am just stopping long enough to give you the recipe for Bobby’s shake in case you too would like to add it to your Memorial Day menu!

A photo of the delicious Vanilla Bean Bourbon Milkshake I made for Memorial Day from Bobby Flay’s recipe.

It may not be a complicated recipe, but like everything Bobby Flay creates..it tastes incredibly delicious! There are plenty of other shake recipes in Bobby Flay’s Burger, Fries & Shakes book if you want to pick up a copy.

Bobby Flay’s Vanilla Bean Bourbon Milkshake

yield: one 16-ounce milkshake or two 8-ounce milkshakes

Ingredients

  • 1/2 cup whole milk
  • 1/2 fresh vanilla bean, split and seeds scraped (reserve pod for another use)
  • 11 ounces premium

    vanilla ice cream (about 1 3/4 packed cups)

  • 1 ounce (2 tablespoons) bourbon

To make:

Combine the milk, bourbon, and vanilla bean seeds in the blender and blend until combined, about 5 seconds. Add the ice cream and blend until smooth, about 10 seconds.

For those of you that may not like or want bourbon, it is equally as yummy without it.

Enjoy your Memorial Day and Bobby Flay’s Vanilla Bean Bourbon Milkshake! Back to my chair…


6 comments » | food & festivities

cold cous cous salad recipe

20
May

a recipe for 2012

It is hard to imagine eating some of the “Betty Crocker” type meals I ate as a kid. Creations like casseroles made out of canned soup, jello salads, and shake and bake chicken were common meals, but I would never think of making them today. I own a copy of the Better Homes and Gardens New Cookbook (circa 1963) with the red and white check cover. I love looking at some of the photos of the tablesettings and picnics from the 60’s…wow! How things have changed! Just as interesting as the food and tablesetting decor, are the outfits people wore to backyard events…according to the photos, dresses and pearls were the dress code for women attending picnics in the 1960’s!

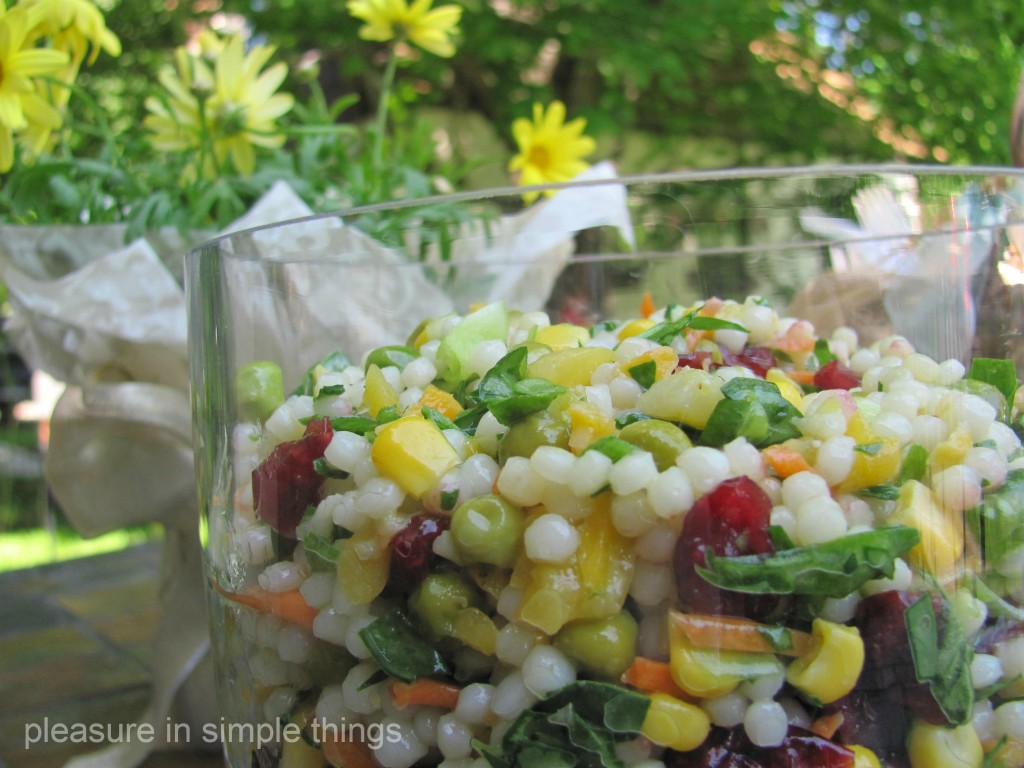
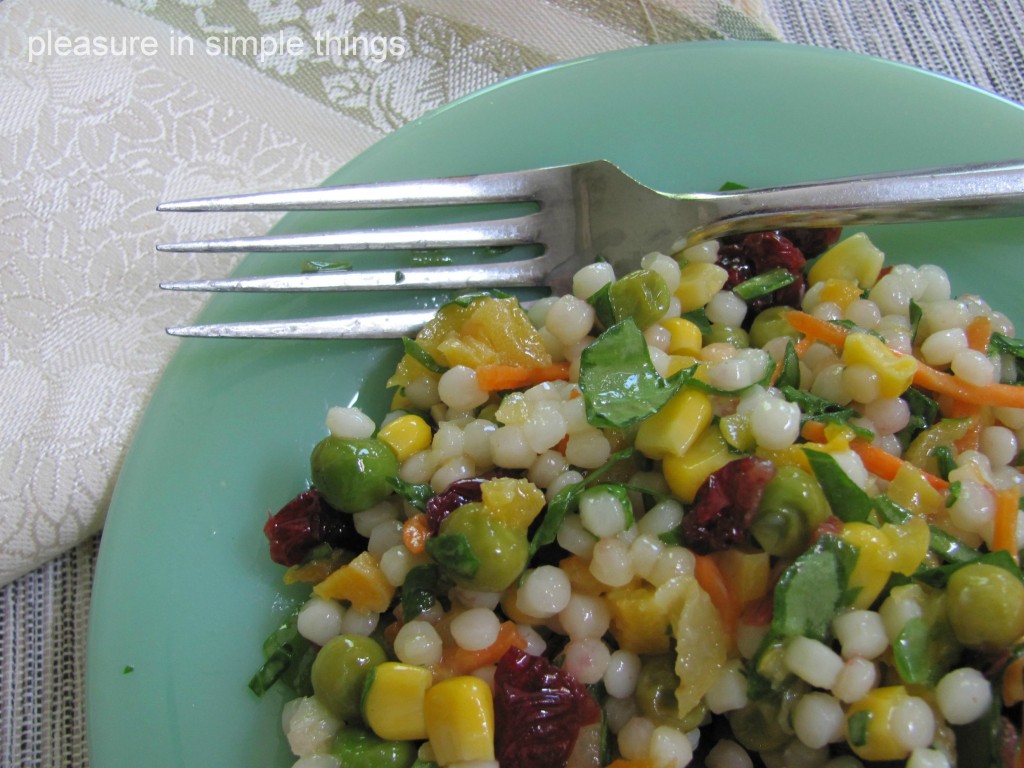
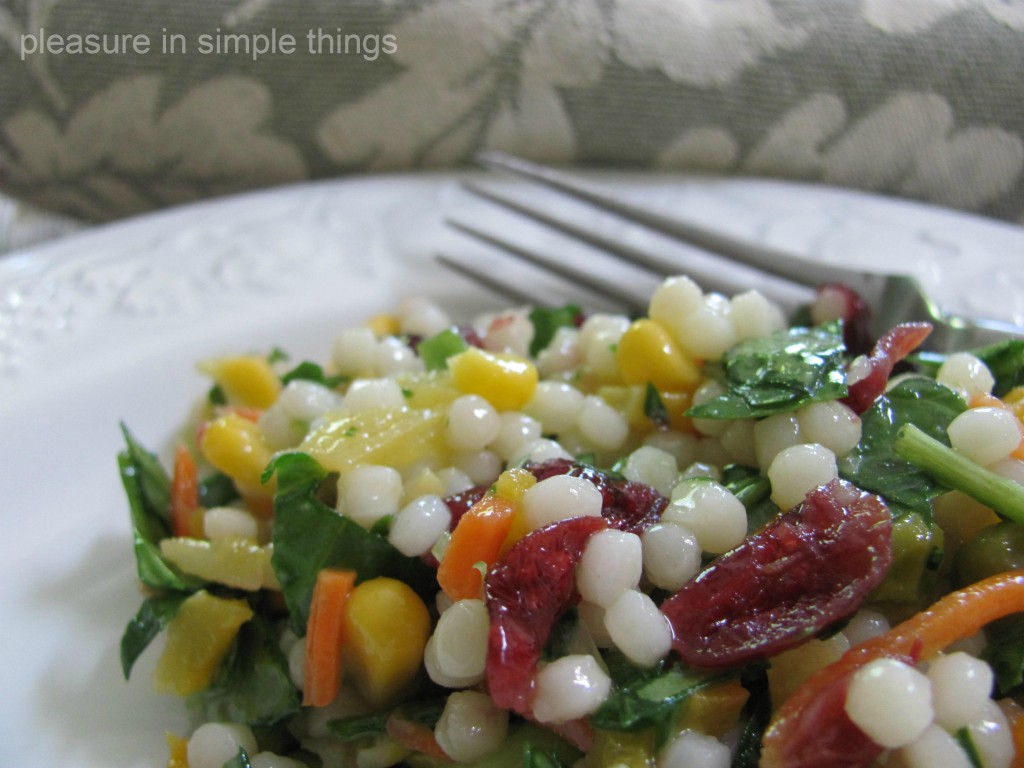
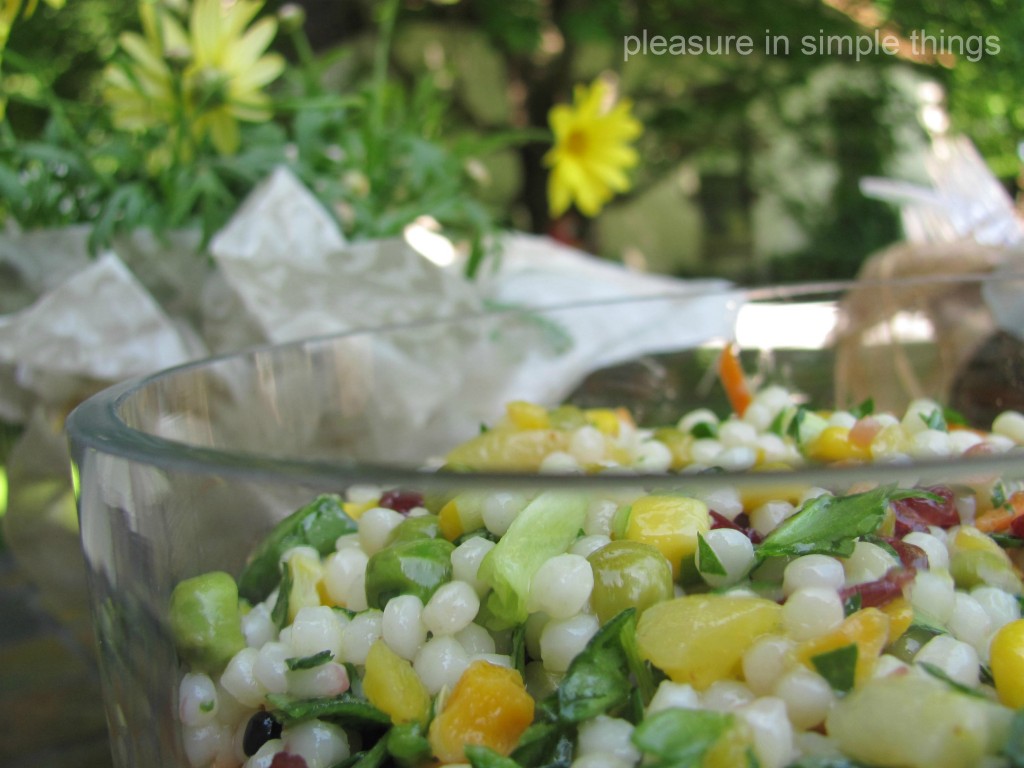
Picture of cold cous cous salad for 2012.

When I was young, my mom would bring potato or macaroni salad to the picnics we attended. Or, a jello salad made in a Tupperware mold. I have never brought any of these salads to a picnic. When I first started bringing food items to picnics, potato salad was updated with a cold wild rice salad, macaroni salad became tortellini salad, and jello salad became fruit salad – maybe with an added yogurt dressing.

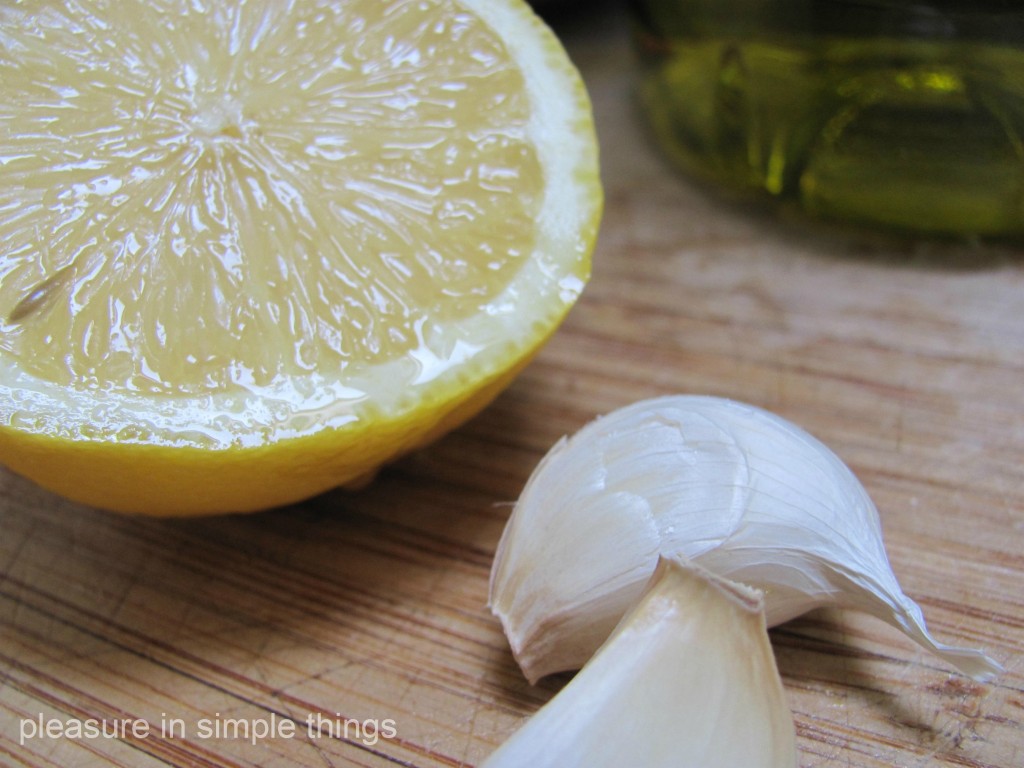
The dressing is made with fresh lemon juice, garlic, and extra virgin olive oil.

As the decades changed, so did my cookbooks….I went from the old Better Homes and Gardens to Julia Child to Martha Stewart to Bobby Flay. Today, cooking trends happen so much faster and there are networks full of cooking shows instead of the one or two that were shown in my mother’s time. Cookbooks are no longer a necessity since countless recipes are so easily accessible by way of the internet. Instead of a cookbook, I am usually carrying my iPad around the kitchen to look up new recipes or to research other cooking information.

A more recent salad update happened after attending a friend’s party…she was

serving a tortellini salad made from a recipe I had shared with her years earlier… it seemed so out of date…I realized the tortellini salad had seen its day. Do you need a salad intervention? If you are still making the same old salad, why not try something new? Here’s one of my current favorites…

Move over tortellini…

Cold Cous Cous Salad

Cook 2 cups cous cous as directed and rinse with cold water.

Add to cous cous:

  • 1 cup corn (I use frozen…no need to thaw)
  • 1 cup peas (same here)
  • 1 1/3 cup craisins
  • 1 cup chopped dried apricots
  • 2 cups chopped fresh spinach (I make the salad ahead and add this when ready to use so it won’t become too wilted)
  • 5 scallions, chopped
  • 1 cup shredded carrots

Dressing:

  • ½ cup extra virgin olive oil
  • 2/3 cup fresh lemon juice
  • 2 cloves minced garlic

Mix all ingredients and keep cold.

8 comments » | food & festivities

the original sweet & salty

29
April

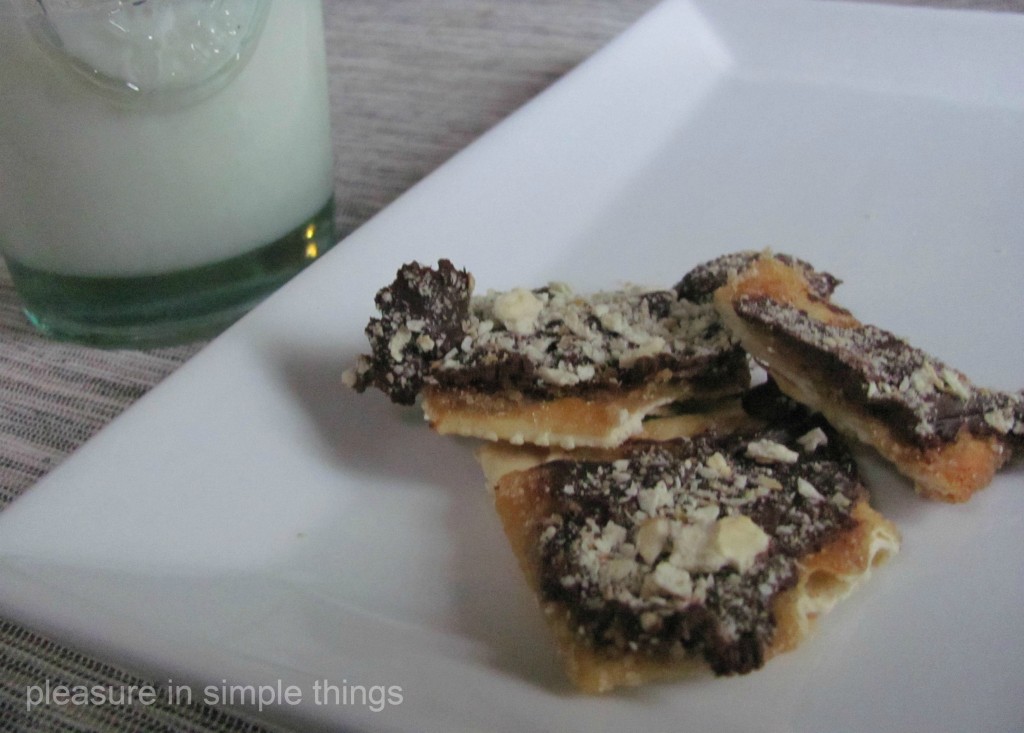
easy sweet recipe using saltines

Long, long,  ago – when I started my first serious full time job, the woman I worked for brought in a dessert that she had made from saltines crackers.  At the time, it seemed very mysterious and unusual.  Looking back, it was the first time I really enjoyed the combination of sweet and salty.  With salted caramels being so trendy, I was reminded of the old favorite saltine recipe.  It is one of the few dessert recipes I have committed to memory, because the measurements are so easy to remember.  A nice thing about the recipe is that it only uses four simple ingredients.  More recently, I made it for my twenty-something son and he went nuts over it.  Makes sense….when I think about it, I was his age when I first went nuts for it.  The recipe:

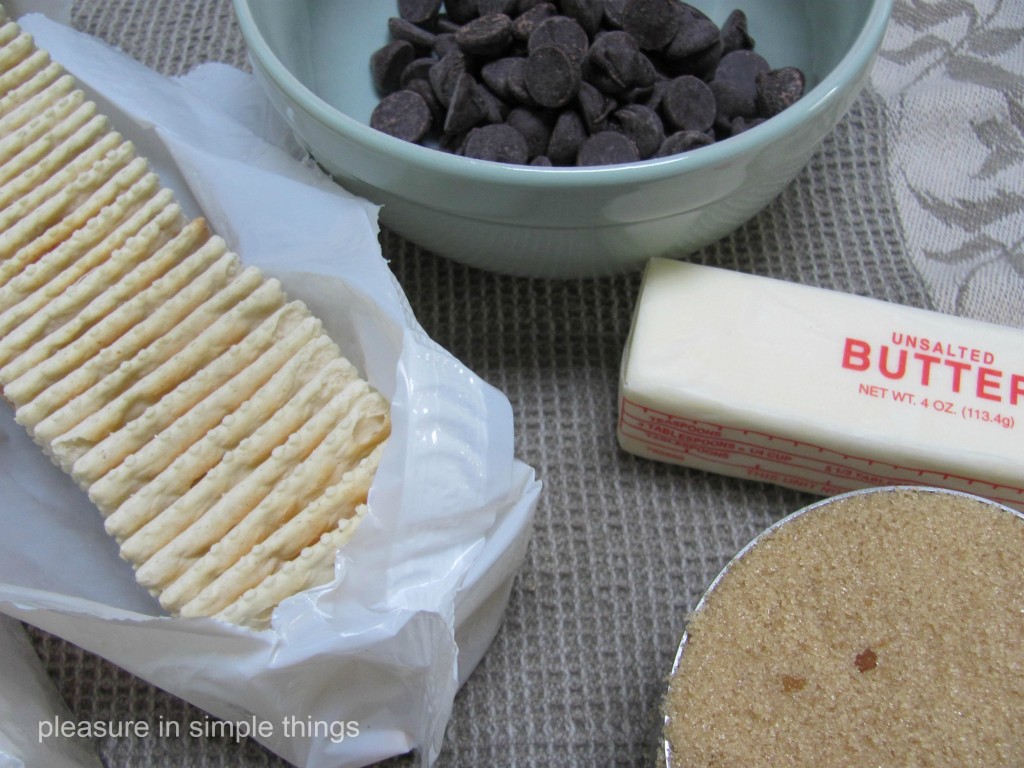
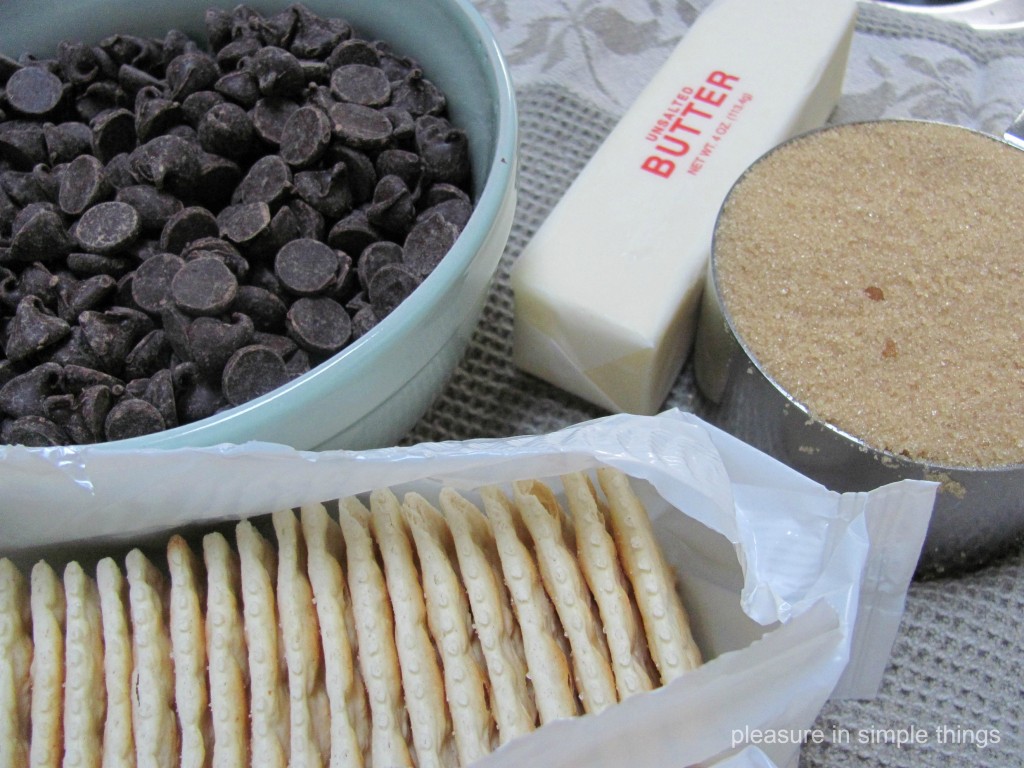
2 sleeves of saltines, 1 stick of butter, 1 cup brown sugar, 2 cups of chips

Ingredients

  • 2 sleeves of saltine crackers
  • 1 stick of butter (I use unsalted)
  • 1 cup packed brown sugar
  • 2 cups chocolate chips

Preheat your oven to 350 degrees.  Cover a cookie sheet with a piece of aluminum foil and give it a light coat of cooking spray.
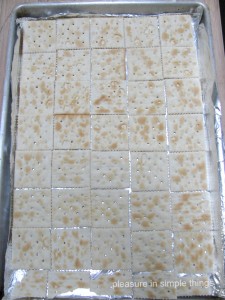
Arrange the saltines on the foil, covering all the space.

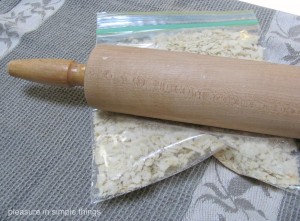
Arrange crackers in a single layer to cover all the space on the pan…you may need to use a couple broken ones to fill in all the spots.  Take 20 of the crackers you have left and seal them in a zip-loc bag.  Use a rolling pin to crush them up and set the bag aside.

Use a rolling pin to crush 20 of the saltines in a zip-loc bag

Put the butter and brown sugar into a medium size saucepan and stir until it is boiling strong enough that it can’t be stirred down.  Then, pour it slowly over the crackers, covering them the best you can.  I use a dull knife to carefully spread the mixture evenly, trying to cover most of the cracker layer.

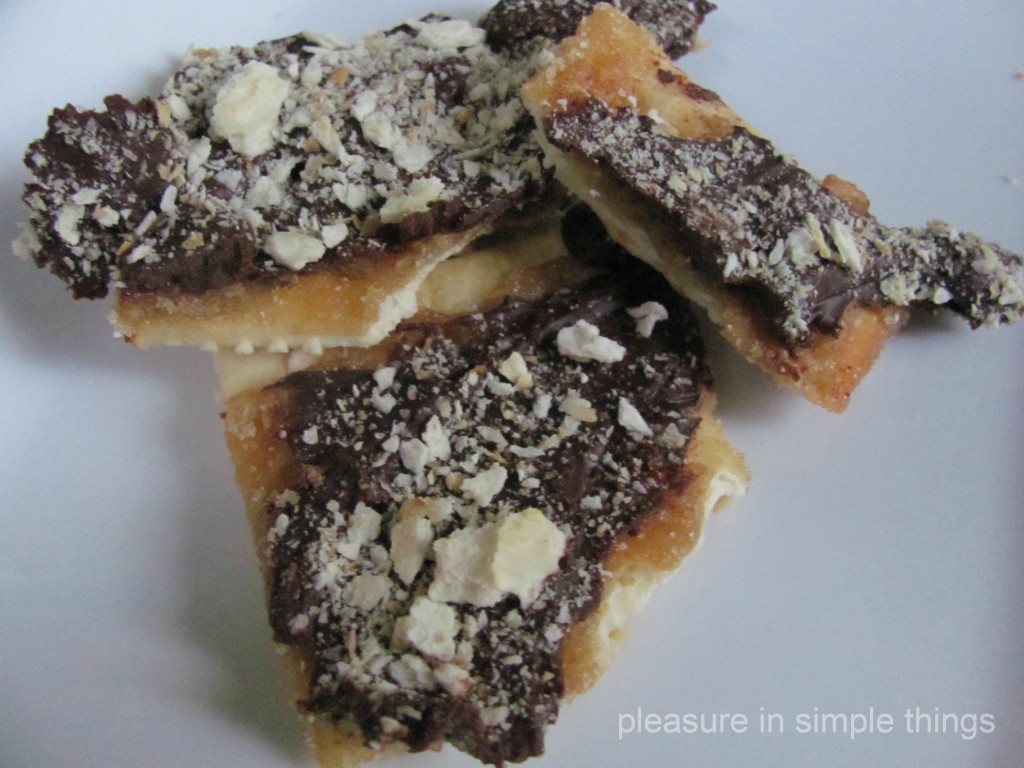
Bake in the oven for 5 minutes..the topping will be bubbling.  Remove the pan from the oven and let it sit for about a minute.  Sprinkle the chocolate chips evenly over the top.  After a minute or two the chocolate will be soft and you can use a dull knife to spread the chocolate evenly over the crackers.  Then, take the bag of crushed cracker crumbs and sprinkle over the top of the hot chocolate.

Let cool slightly, then put the cookie sheet in the refrigerator to set.  After about 45 minutes or so, remove the cookie sheet and break the crackers into irregular pieces.  Store in a plastic airtight container in the refrigerator…enjoy!


4 comments » | food & festivities, recipe

Back to top