Subscribe to Pleasure in Simple Things via RSS ReaderFollow Pleasure in Simple Things on InstagramFollow @InSimpleThings on TwitterLike Pleasure In Simple Things on FacebookFollow Pleasure In Simple Things on PinterestEmail Jackie

Tag: painting


diy paint sample deck

29
July

making a paint sample deck

Have you ever carried a used paint stirrer around with you while shopping to match a color? I have!

The color swatches for the paint I used in each room of my house are always neatly organized as a permanent part of my handbag…you just never know when you need to coordinate or match a color! But, for a long time, I did not have an organized system for carrying around the colors of any current projects. Often, I would grab a dirty paint stirrer that had a drip of the color still clinging to it…or, I would wear the shirt I painted in while shopping so I would have a sample! Not anymore!

a diy paint sample deck to make for free

I have a very organized system and I thought some of you may benefit from my experience! I have a simple way to carry around my paint samples and it can be created very easily at no cost…a modified version of my paint stirrer scenario!

Every time I work on a painting project, I make sure to take a few minutes to paint a pre-cut paint stirrer. I paint both sides. One side I leave the original color and on the opposite side, I add a stain or wax effect (or two). In the case of Annie Sloan Chalk Paint, I may paint one side and add a coat of clear wax, while the other side may have a dark wax or special effect I am happen to be using.

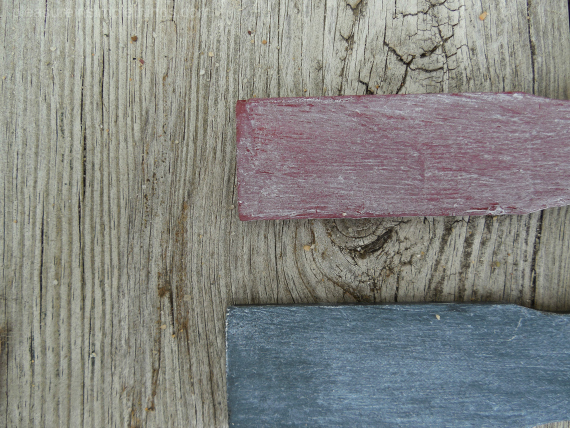
making a diy paint sample deck

I have a pile of wooden paint stirrers (available free at any home improvement center) that I have cut to 5“ lengths. I cut a whole pile at a time with one quick cut of a chop saw. If you don’t have tools, your local home improvement or hardware store will surely make one quick cut for you – especially if you are a regular customer. I find a 5” length a convenient size to carry around while it still provides enough painting room…you may decide you like a different size. By drilling a hole in each stirrer, I am able to use twine to attach as may color samples as I am currently transporting!

making a paint sample deck from wooden paint stirrers

I may have two samples that I am bringing to the fabric store to coordinate a fabric, or I may have many samples to show someone that is choosing a color or finish. This system makes it super easy to add or remove samples from the length of twine or to create several different ‘decks.’

making a sample paint deck from paint stirrers

It is easiest to cut up a bunch of stirrers and drill all the holes at one time – then, just keep a stack ready to use – store a pile with all your painting supplies.

Easy, right? I love this system and I think you will like it as well…give it a try!

Thank you so much for stopping by!

Remember to take pleasure in simple things, Jackie

Sharing with Craftberry BushFinding Silver Pennies, Sand & Sisal, and Coastal Charm.

2 comments » | diy, style

better in threes

10
September

anchor triptych

Doesn’t putting any photo into a frame make it look better?  In the same way, I think putting a painting on canvas immediately ‘legitimizes’ it.  For this reason, I decided to create a quick ‘work of art’ on canvas for my daughter’s new apartment. 

While helping her move in, I noticed that there was an empty spot on the bathroom wall – a long, tall shape.  The bathroom was done in white and beige and had a hint of blue, so I thought a painting using beige and blue could tie everything together nicely.

What would fit the unusual space?  A triptych!  This is a painting divided into three sections.  I would choose three canvases that would fill the space appropriately…I decided an anchor would be my subject matter since the painting was going in a bathroom space and my daughter has a love for anchors. 

painting a triptych

I put three canvases together and drew a very rough sketch of an anchor with pencil.  I didn’t want to get too serious with it…just a very quick painting using the basic shapes and whatever acrylic craft paint I had left from previous projects…mixing beiges and blues.

Any basic pattern will work.  Just be sure the picture hits all three canvases.  If you don’t feel comfortable working with a pencil sketch, you can easily find something online to copy and trace.  You can even use your computer or a copier to adjust the size of the picture.  If that still seems intimidating to you, you can decoupage a picture onto the canvases – requiring no drawing or painting at all!

anchor triptych

The painting took about 10 minutes since I just did a ‘messy’ impressionistic view of an anchor and added very little detail. 

I was able to create a painting that used the appropriate color scheme and a favorite motif to add to my daughter’s newly decorated bathroom…fun!  I’m hoping my daughter will send me a photo of this new creation when she hangs it on the wall.  If so, I will share it with you on my Facebook page.

anchor triptych

I hope this has inspired you to create your own triptych!  Send me an email if you need some help or ideas.

Thanks so much for stopping by and remember to take pleasure in simple things, Jackie

Sharing on Shabby Nest.

2 comments » | diy, inspiration, sand & sea

Back to top