Subscribe to Pleasure in Simple Things via RSS ReaderFollow Pleasure in Simple Things on InstagramFollow @InSimpleThings on TwitterLike Pleasure In Simple Things on FacebookFollow Pleasure In Simple Things on PinterestEmail Jackie

Tag: ornament


diy abstract tree ornament

24
December

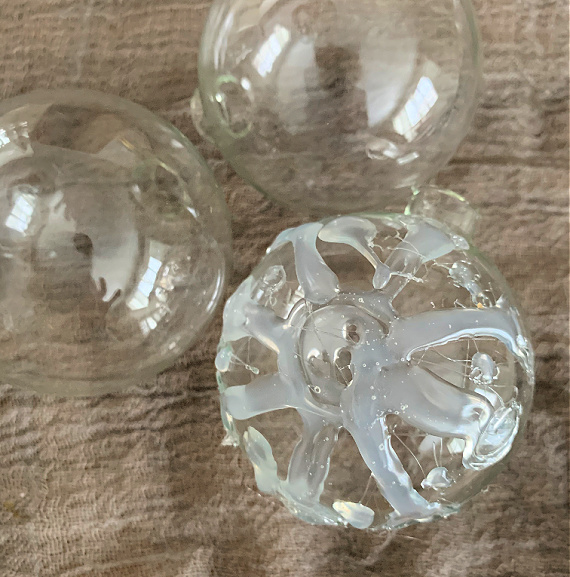
As you may know by now, as a fun holiday countdown, I am doing the final four days of DIY ornaments countdown!  Today is day four of the four days in a row of posts on how to create an ornament from a clear glass ball ornament.

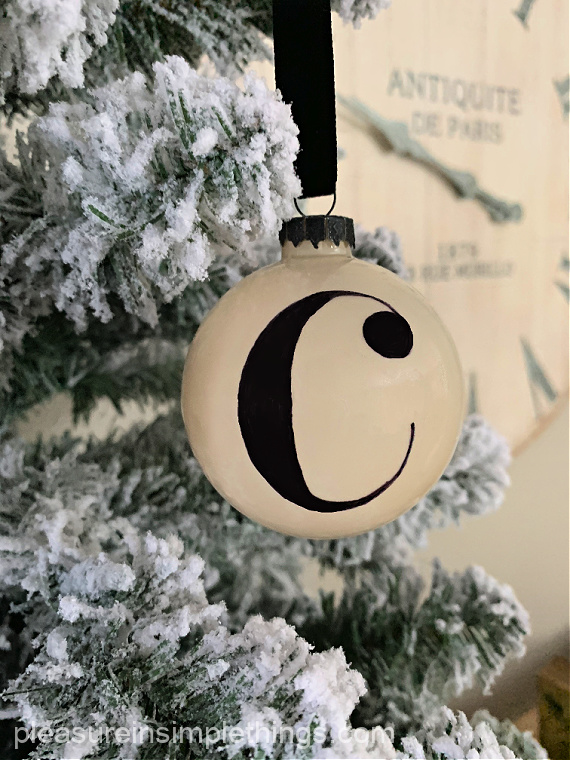
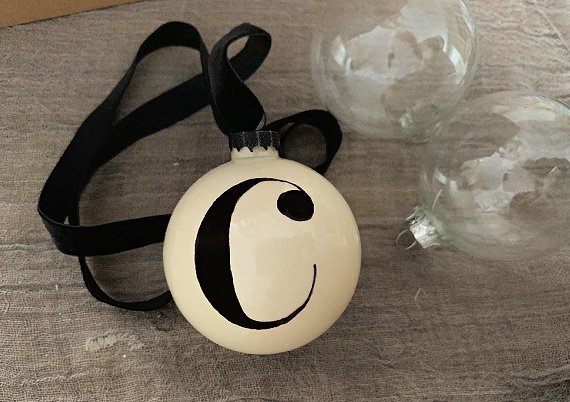
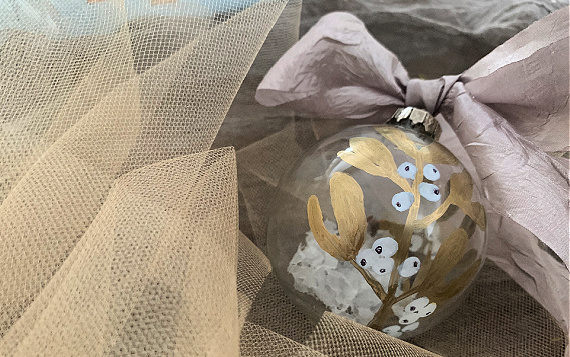
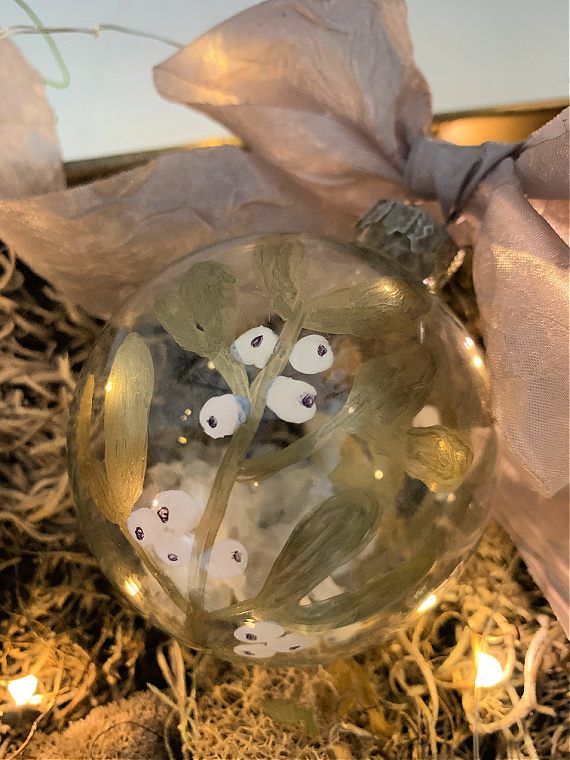
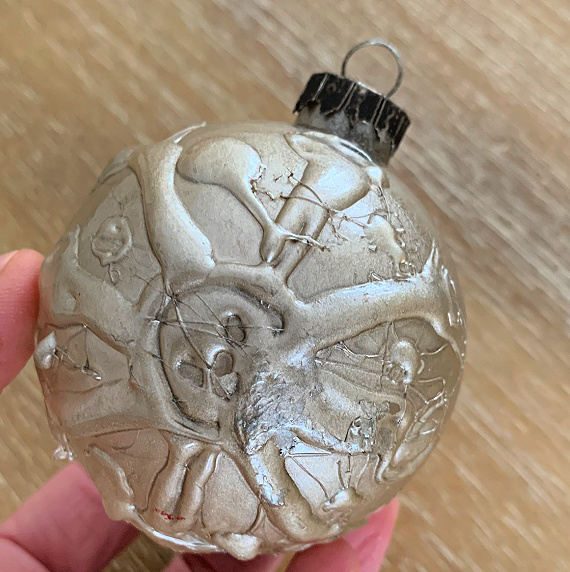
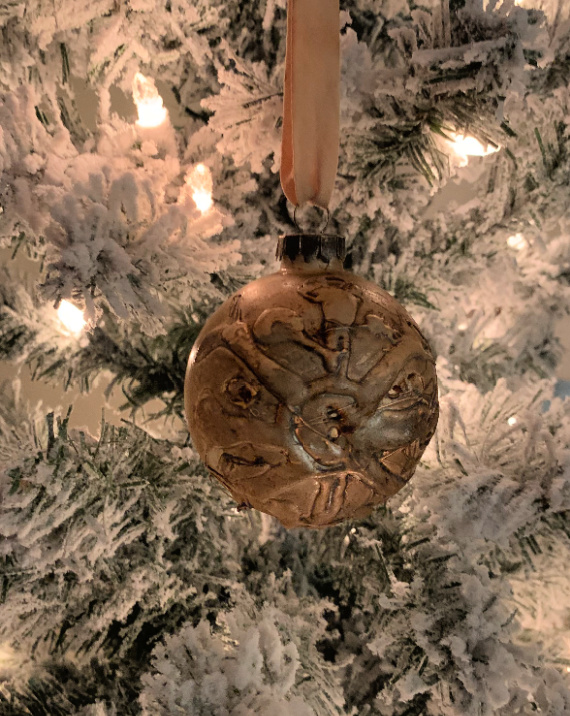
For the DIY on ornament number four, I started with an abstract design on the glass.  I created this design by using a glue gun!

glue gun ornament diy

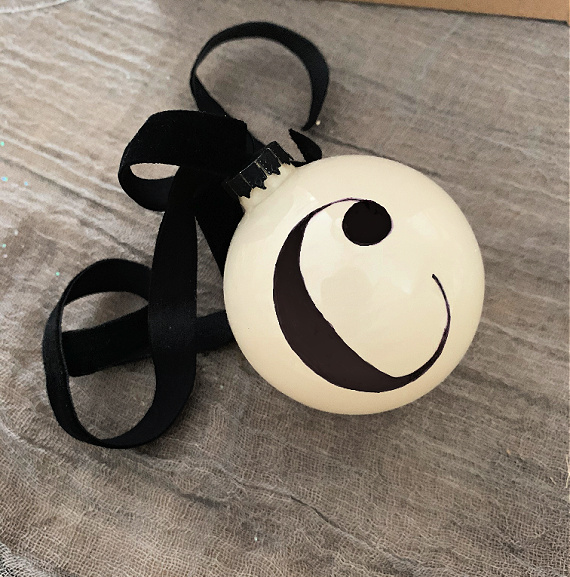
After my glue gun design was set, I sprayed the ornament with gold spray paint.

spray paint on ornament

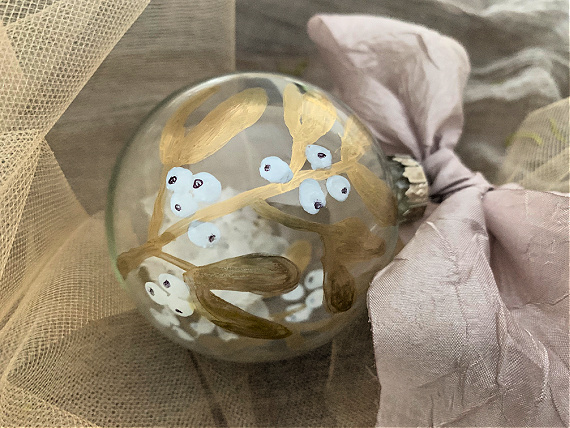
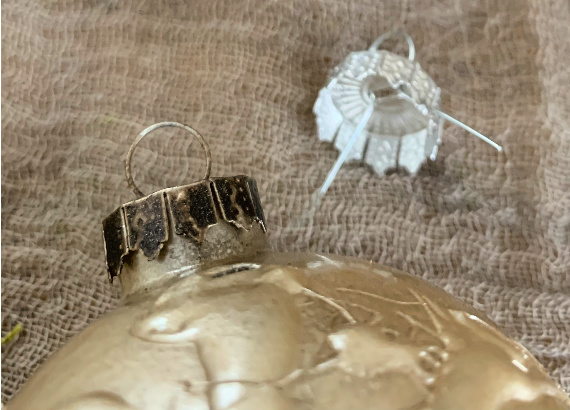
I sprayed the top silver fastener with an antique gold spray paint and replaced it when it was dry.  Spraying the metal top definitely makes a big improvement to the finished ornament!

painted ornament cap

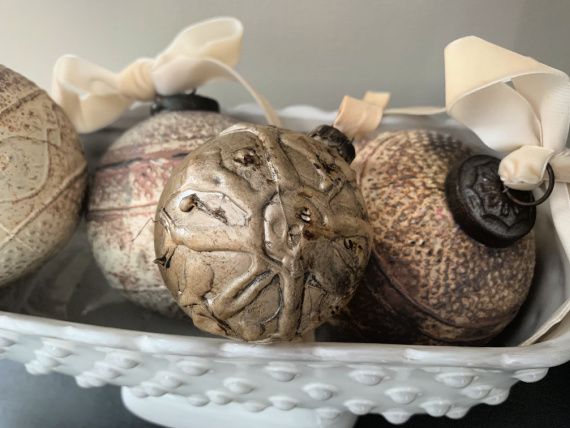
When the spray paint was completely dry, I accented the pattern with dark furniture wax. (I used Annie Sloan dark wax.) I just rubbed the wax randomly on areas of the pattern with a paper towel.  Complete!

That was the last of the four DIY posts for glass ball ornaments.  I hope you enjoyed this little mini-series and I hope you were inspired to create some new designs of your own!  Pick up some glass ball ornaments after the holidays on clearance to start making next year’s creations!

Thanks for stopping by!

I wish you good health and a most blessed holiday!

Remember to take pleasure in simple things, Jackie xo

Comments Off on diy abstract tree ornament | diy, holiday, inspiration

diy initial glass tree ornament

23
December

DIY monogram ornament

As you may know, as a fun holiday countdown, I am doing the final four days of DIY ornaments countdown!  Today is day three of the four days in a row of posts on how to create an ornament from a plain clear glass ball ornament.

There certainly are an infinite number of ways to decorate homemade ornaments and the best thing about making your own is tailoring them to your own taste and décor.  If you follow my blog, you know I love topography and an initial ornament was pretty much a guarantee on one of the four designs.

So, for ornament DIY number three, I crafted an initial ornament.  I chose a cream and black color scheme.

DIY monogram tree ornament

Since the glass ball was clear, I started by pouring a little bit of cream color acrylic paint inside the ball and swirled it around until the whole inside of the glass surface was covered.  I set it aside to dry.

I sprayed the metal fastener at the top of the ornament in a flat black to complement my design.

Next, I simply drew on an initial with a black permanent marker and added a black velvet ribbon to complete the elegant look of the ornament.

black and cream monogram ornament

That is it for ornament number three DIY!  Tomorrow’s post will be the final ornament DIY – number four!

Thanks for stopping by!

Remember to take pleasure in simple things, Jackie

Comments Off on diy initial glass tree ornament | diy, holiday, inspiration

diy golden feather tree ornament

22
December

golden feather ornament

For a fun holiday countdown, I am posting a final four days of DIY glass ornament design countdown!  Today is day two of the four days of posts on how to create four different ornaments from plain clear glass ball ornaments.

For day two, I have a super simple design!

diy golden feathers

The only requirement is to dip a white feather in some gold acrylic metallic paint!  If you follow this blog, you know I love dipping white feathers in gold paint!  I find a lot of different ways to use them!

Once the feather is dry, it just gets placed inside the ornament.  So simple and elegant!  I love it!

feather ornament on tree

I had spray painted the top piece of metal on the ornament with champagne gold spray paint in advance to give it a more subtle look.  I removed it carefully – it comes off and on easily with care.  I also added some glitter to the metal top before replacing it.

white candy canes and ornament

That’s it!  An easy DIY!

Check back tomorrow for ornament DIY number three!

Thanks for stopping by!

Remember to take pleasure in simple things, Jackie

Comments Off on diy golden feather tree ornament | diy, holiday, inspiration

diy snowberry glass tree ornament

21
December

gold and gray snow berry ornament

There certainly are an infinite number of ways to decorate homemade tree ornaments.  The best thing about making some is tailoring them to individual taste and décor!

I recently saw a box of clear glass ornaments on clearance at the craft store and decorating them to my taste and décor was my exact plan.  Actually, the box of ornaments was the only holiday item left in the whole Christmas section of the store on the day I stopped in!  People definitely were shopping earlier this year!

snowberry ornament gray ribbon

I had to purchase the box because it ended up costing less than $2. after the sale price and with a coupon!  Since a snow storm was predicted for Connecticut, I thought coming up with four ornament designs would be a good indoor project while housebound.

And, as a special fun holiday countdown, I am posting the four DIY ornament designs I came up with as a four- day countdown!  For today and the next three days, I will put up a post each day on how I created one of the four ornaments I designed from the plain glass balls!  Today marks day number one of four.

golden and gray clear snowberry ornament

The first design I created uses a paint marker to decorate one of the clear glass ornaments.  (Remember my pussy willow ornament from years ago?  Click here for easy DIY instructions.  That post also shared how to fill a glass ornament to create a cute book club themed ornament.)

I am calling the design I created for the first ornament ‘snowberries.’  I simply drew some ‘stems’ with a gold paint marker.  Then, I used a white paint marker to add white circles.  To make a suggestion of berries, I used a black permanent marker to add a little bit of definition to each white circle or ‘berry’.

To finish it off, I just put a little bit of ‘snow’ inside the ornament…just a little…keeping the clear look, but suggesting a little iciness with the added snow!

That’s it!  Pretty simple!

white berry ornament
One thing I did in advance was to spray the top of the ornament.  I didn’t like the look of the original silver top so I removed the top and sprayed it a champagne gold and let it dry before replacing it.

I hope you were inspired by ornament number one!  Check back tomorrow for ornament DIY number two!

Thanks for stopping by!

Remember to take pleasure in simple things, Jackie

Comments Off on diy snowberry glass tree ornament | diy, holiday, inspiration

message in a bottle ornament diy

4
December

message in the bottle diy by pleasure in simple things blog

My imagination is in overdrive this year for my ornament designs since I chose sea glass as my holiday theme and I love anything with a coastal theme! I have so many ornament ideas, but I am limiting myself to a few designs because there is so much to accomplish in preparation for the holidays and not enough time to do it all!

One ornament I knew I wanted to create was one that was inspired by a message in a bottle. Today, for Friday field trip, I am providing the instructions to make this easy to create ornament. I chose to use an iridescent, clear glass, hollow globe ornament instead of the obvious choice of a small bottle.

message in a bottle ornament supplies pleasure in simple things blog

Rather than write the ‘message’ myself, I opted to use a scrap of paper that already had writing on it, ripping the edges before rolling it up and tying it with a small scrap of twine.

I removed the top that came with the ornament and I poured some sand into the globe. Since it is the holidays, a little optional glitter is a nice addition to the sand! Next, I added the prepared message.

I replaced the top of the ornament with a cork. It is really simple to repurpose a cork since it is easy to trim with a knife to the size needed. After trimming the cork to the size I needed to fit snuggly in the top of the ornament, I screwed in a small screw eye and added a piece of twine for hanging. Any scrap of thin ribbon or rope will do in place of the twine.

making a message in the bottle ornament pleasure in simple things blog

That’s my ‘message in a bottle’ ornament! Easy, right?  This is a wonderful ornament to make as a gift for a newly married couple.  Use sand from their honeymoon for inside the ornament and write their wedding date or a love note on the ‘message!’

I hope I have inspired you to create your own message in a bottle ornament!

Thanks for stopping by! Have a wonderful weekend and remember to take pleasure in simple things, Jackie

Comments Off on message in a bottle ornament diy | diy, holiday, inspiration

Back to top