Subscribe to Pleasure in Simple Things via RSS ReaderFollow Pleasure in Simple Things on InstagramFollow @InSimpleThings on TwitterLike Pleasure In Simple Things on FacebookFollow Pleasure In Simple Things on PinterestEmail Jackie

Tag: gift idea


diy cupcake bath bomb

10
June

diy bath bombs pleasure in simple things

Special occasions are cause to celebrate and a great time for a little self-indulgence.

cupcake bath bomb pleasure in simple things

I have a very special occasion coming up…my daughter’s pinning ceremony and graduation.  My “baby” will soon be officially pinned as a nurse and then receive her undergraduate nursing degree – all in the same weekend!

Most times when I visit my daughter, I stay with her in her apartment.  It is a special treat when, instead, we stay in a hotel.  Last time this occurred, we made a trip to Lush (a natural beauty product shop) to pick out special bath bombs from Lush’s huge selection to make full use of the hotel bathtub!

With a special hotel visit coming up, I decided to create homemade bath bombs to bring as a surprise to my daughter to use in the hotel bath during our stay.

pleasure in simple things bath bomb recipe

Not having any experience in creating natural beauty products, I looked to Ecobeauty from last April’s giveaway book to utilize one of the many recipes from Lauren and Janice Cox’s book.  I discovered bath bombs are easy to create and, I like to think, can rival any similar product sold at Lush!

cupcake bath bomb pleasure in simple things

The materials can be purchased at a grocery store or natural foods store.  By following the directions in Ecobeauty, I was surprised at how quick and easy I could create such great results!  At first it seemed a little strange to me to add sprinkles, but I was instantly relieved when the recipe in the book read  “Don’t worry; the sprinkles will dissolve in the tub!”  (I plan on keeping the silicone cupcake holders solely for beauty product use.)

steps in making a bath bomb pleasure in simple things

I love the way they came out …I think the cupcake design is adorable!  I packaged them like real bakery cupcakes to bring on the big graduation trip!  I think they would also make great favors for a bridal shower or a gal’s get together.  I cannot wait to give one to my daughter!  Of course I may need to test one before I do. ;)

packaged diy bath bomb pleasure in simple things

Thanks you so much for stopping by.  Remember to take pleasure in simple things, Jackie

Sharing at No Biggie.

Comments Off on diy cupcake bath bomb | diy, gift ideas

lovely apron upgrade

16
July

diy apron

diy apron

Today I wanted to share an easy way to upgrade a standard chef’s apron into something lovely. I was recently involved with organizing a charity garden event and I really wanted the hostesses to have coordinating aprons. The gardens were so amazing and we had some very tasty food prepared with a flower and herb theme…I needed aprons that were as lovely as the rest of the event.

Not wanting to spend much money, I decided to use a few embellishments to make a white chef’s apron contribute to our theme. If you know someone in the restaurant business, you may be able to score an apron or two at no cost. If not, you can purchase one at a restaurant supply store for $5 or $6.

The first thing I did was to add a flower photo onto the top of the apron front. This was easy to do with T-Shirt transfer paper. You can pick this up at any store that sells office supplies. I found my package at Target near the copy paper. I bought Avery brand Ink Jet T-Shirt Transfers. Six 8 1/2″ x 11″ sheets come in the container. Since I was printing a 5″ x 7″ photo, I was able to print two photos on one sheet. I chose a photo I had taken last spring of my lilly of the valley.

pretty napkin basket

I printed the page using a color printer and ironed the photos onto the aprons, carefully following the directions on the transfer package. I decided to add a little sparkle around the edges of the photo by applying some silver sparkle paint with a cotton swab.

pocket on diy apron

Then, I added a couple pockets by sewing on a rectangular shaped piece of fabric I found on the clearance table at the fabric store. First I sewed a hem on one of the long sides of the fabric – this would be the top of the pocket. Then, I attached the piece of fabric by sewing the two sides and the bottom

onto the apron. Sewing vertically down the middle of the pocket created the two pockets.

Rosemary sea salt shortbreads – one of the treats I made to serve at the Garden Tour.

And that was it! Using a photo transfer sheet and some scrap fabric that coordinated with my photo, I was able to upgrade my standard white apron into something garden party worthy!

diy apron

You can do the same for your next event!

Hope you enjoyed today’s post on upgrading an apron. I look forward to sharing more about the garden event in future posts.

Thanks for visiting! Remember to take pleasure in simple things, Jackie

Sharing at A Pinch of Joy and Timewashed.

3 comments » | diy, garden, gift ideas

got nuts?

18
June

squirrel gift jar

For a friend’s birthday, I wanted to give her a little something acknowledging her squirrel obsession.

squirrel jar

squirrel jarInspired by many jars I have seen across the internet, I decided to find a plastic squirrel to affix to a jar to make a birthday gift.

To make something similar for a friend or as a party favor, decide on something to fit an obsession or theme and purchase a toy version at a craft or dollar store.

For myself I would have chosen a mermaid or something sea inspired ;)

Once I found the squirrel, I glued the figure onto a jar rescued from the recycling bin.  After the glue dried, I spray painted the jar top…figure and all.  I know the brown I chose isn’t a very summery choice, but I wanted to match the décor of the recipient.  Chalkboard paint would have been a fun option as well -“got nuts?” could have been written right on the lid with chalk.

top to squirrel jarThere are so many fun alternative ideas for this gift.  I know exactly what I would have made for my son if he were still small…I would have used an army man, painted the top with olive drab, and wrote “got ammo?”, filling the jar with water balloon ‘grenades.’    Or, I could have addressed his childhood train obsession and put a train on the lid top.  Of course, the contents would have to be bubble gum so I could write “got choo?”  A perfect choice for a train themed party favor!

Other ideas?  A shark on top with gummy fish…“got fish?”  A fish on top with gummy worms… “got worms?” A baseball player with sunflower seeds…”got seeds?” …come up with some using your favorite theme or obsession.

I decided to tie the “got nuts?” message onto the jar so it could be removed, but you can use whatever you prefer.  A chalkboard label on the side of the jar is a cute option.  Or, even etching cream … etch the words onto the side of the jar for an elegant look. 

easy to make squirrel jar

I filled the jar with peanuts and it is good to go.  A perfect ‘little something’ designed specifically for the recipient.

squirrel gift jar

Can’t understand a squirrel obsession?  Does this National Geographic photo I found on the web change your mind? 

squirrel

See more examples of squirrel cuteness I found across the web on my Facebook page by clicking here.

I hope you will use this tutorial as inspiration to come up with your own gift creation!  Thanks so much for visiting.

Remember to take pleasure in simple things, Jackie

Sharing at Better With Age and Craftberry Bush.

1 comment » | diy, gift ideas

diy paint can packaging

11
September

Candy in a can.

They say the way to a man’s heart is through his stomach…the reason food is always an accepted and appreciated gift for any guy. Most guys (or anyone, for that matter) have a special dessert or snack that they particularly enjoy and giving it for their special day can only bring heartwarming smiles . Whether it be pistachios, homemade brownies, popcorn…whatever. In the case of a young relative, it is candy…he apparently inherited a sweet tooth …couldn’t tell you from who ;)

His birthday is coming up and I want to collect some of his favorite confections and package them in a clever way as part of his gift. I am going to use a paint can…doesn’t seem appropriate to go to Home Depot to pick up birthday packaging? Actually, the small paint can is less than $3., so it costs less than some gift bags. Plus, I really enjoy repurposing items in an unconventional way. The bigger cans can be fun for gifts also. And, since they have handles, there are infinite possibilities for cool ‘tie-ons’. For food gifts, I prefer the smaller size especially since I don’t really want to encourage the consumption of the amount of sweets the large size can would accomodate! (The large cans are great for holiday gifts…keep this in mind come December.)

While I am at Home Depot, I also pick up some paint sample swatches…I use them for so many craft projects…they are like construction paper for the adult craft set. They make great gift tags, mats for small photos, etc. And, of course, they come in virtually any color. (I also keep a stack of sea-colored swatches on my desk that I use for note paper.) For this project, I grab some swatches in nautical looking colors since that is what I envision for this gift. I know I want to put some Swedish Fish in the can and the nautical theme will work well with that in mind.

A photo of my paint can packaging. This one is decorated with an anchor cut from chalkboard Contact paper.

A photo of a candy gift packaged in a decorated small paint can.

As it turns out, when I get home I decide to use some leftover chalkboard Contact paper to decorate the can. I cut a piece in the shape of an anchor. I also decorated a second, more ‘adult’ themed can to show you that it is possible to create a more sophisticated look using paint cans as packaging.

So, with a glue gun and some scrap materials, a couple of paint cans are transformed into some great gift packaging. The beauty of these cans is that they mail really well – great to send off to those college kids at Valentines Day, Halloween, or at finals time.

A photo of paint can packaging using more of a sophiscated style…I used scrap ribbon, squares cut from paint sample swatches, and a starfish – all attached using a glue gun.

I just

love the novelty of the recipient having to open them with a screwdriver ;) If you are sending them off to your college student and you don’t think they have a screwdriver, include one in the box – everyone should own a screwdriver.

Have fun creating some designs of your own. If you need some particular theme ideas, I would be happy to help.

Thanks for visiting, Jackie

2 comments » | diy

homemade (better than bailey’s) irish cream recipe

12
June

homemade father’s day gift

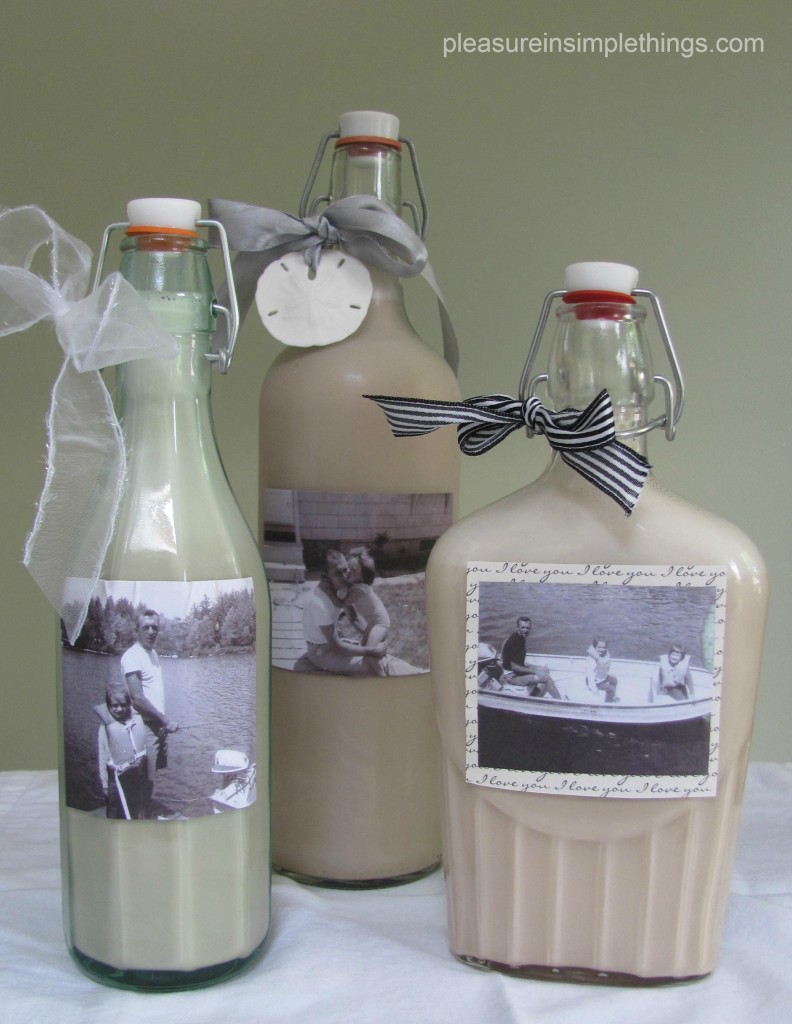
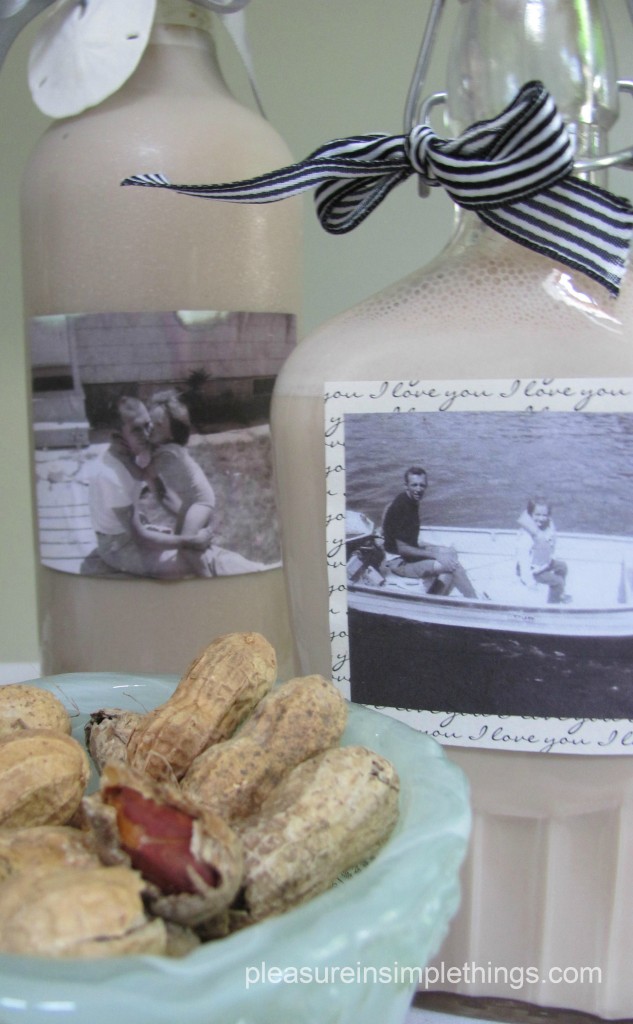
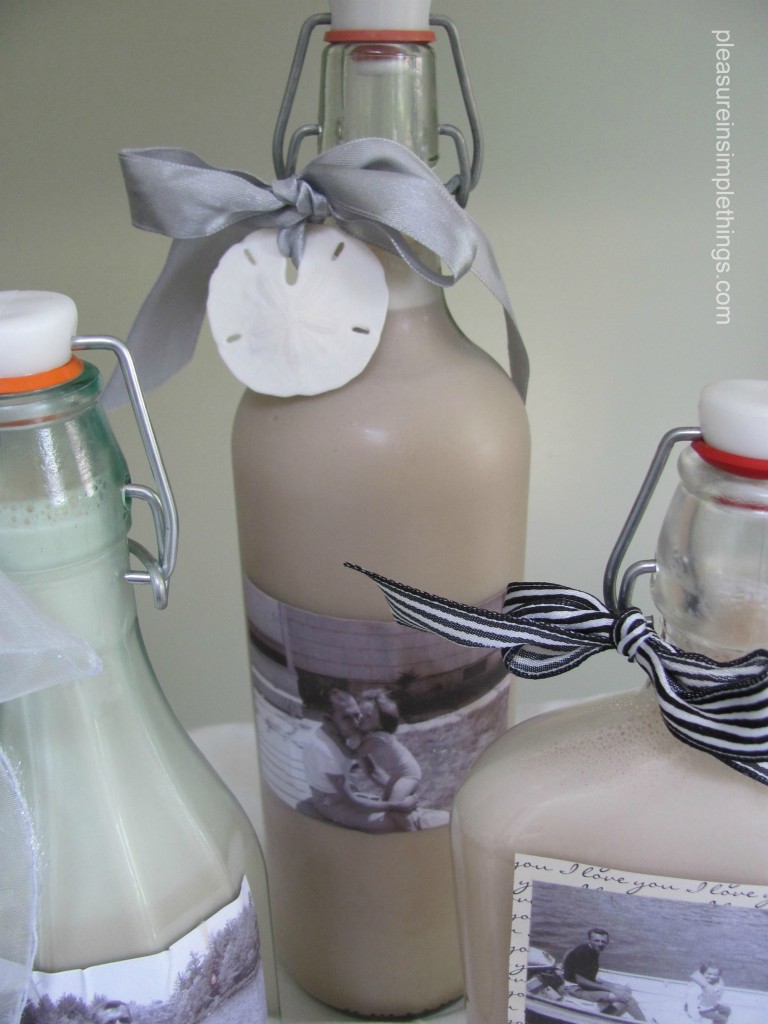
A photo of Homemade (better than Bailey’s) Irish Cream recipe packaged in personalized bottles for Father’s Day.

Father’s Day is Sunday!  Do you need an idea for a special homemade gift?  I have an easy and delicious gift you can make.  Homemade Irish Cream!  Packaged in a personal way, I think it makes the perfect gift for your special guy.

In my opinion, this homemade version  tastes better than the popular brand you purchase in the liquor store.  I suspect that is because it uses fresh dairy, rather than the substitute that must be required to ensure a long shelf life for the ‘real’ stuff.

First,  get yourself some bottles – these can be repurposed or purchased.  I found the ones pictured here at the store Homegoods…two I bought empty and one was filled with Italian soda;  but was priced the same as the empty ones.  You may already have something you can use at home…check your cabinets and refrigerator for possibilities, use an old canning jar, or check out the home and craft stores.


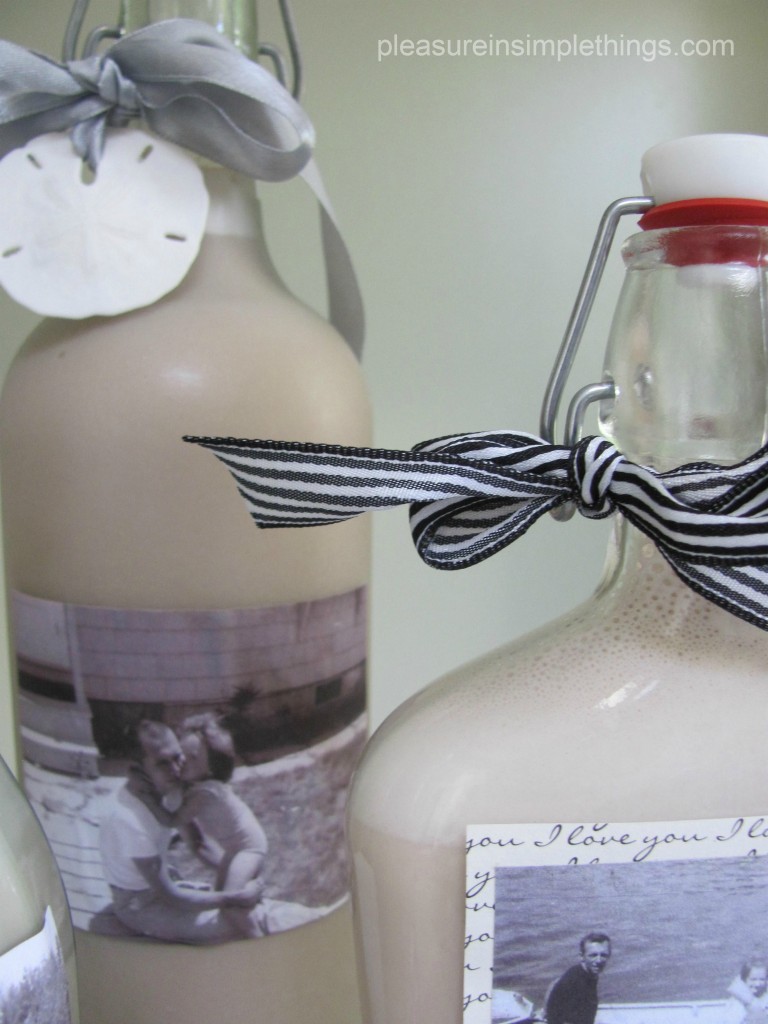
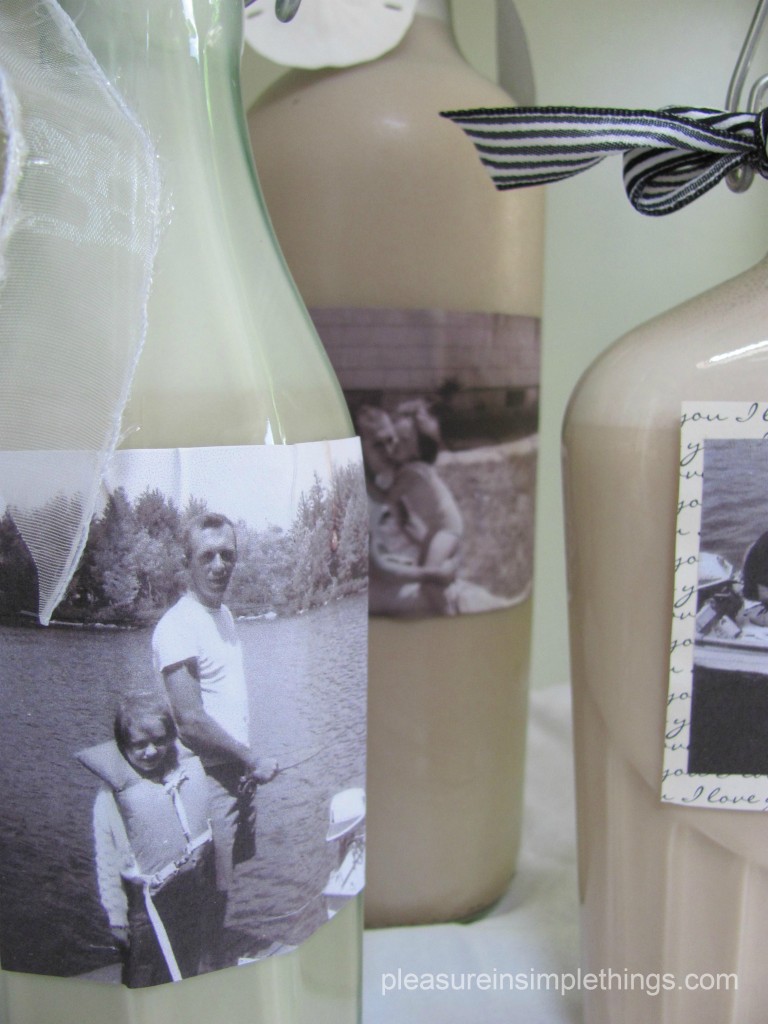
To make the gift personal, I selected some old, favorite photographs  to create labels for the front of the bottles.  I love old black and white photos,  and I chose three favorites of my dad and I together to print onto a sheet of labels.  If you only have color photos; no worries.  You can easily turn your color photos into nostalgic looking black and white or sepia prints using your computer or photo software.  (If you don’t know how to do this, send me a message.  Better yet, ask your children…they are certain to know how to accomplish this.)

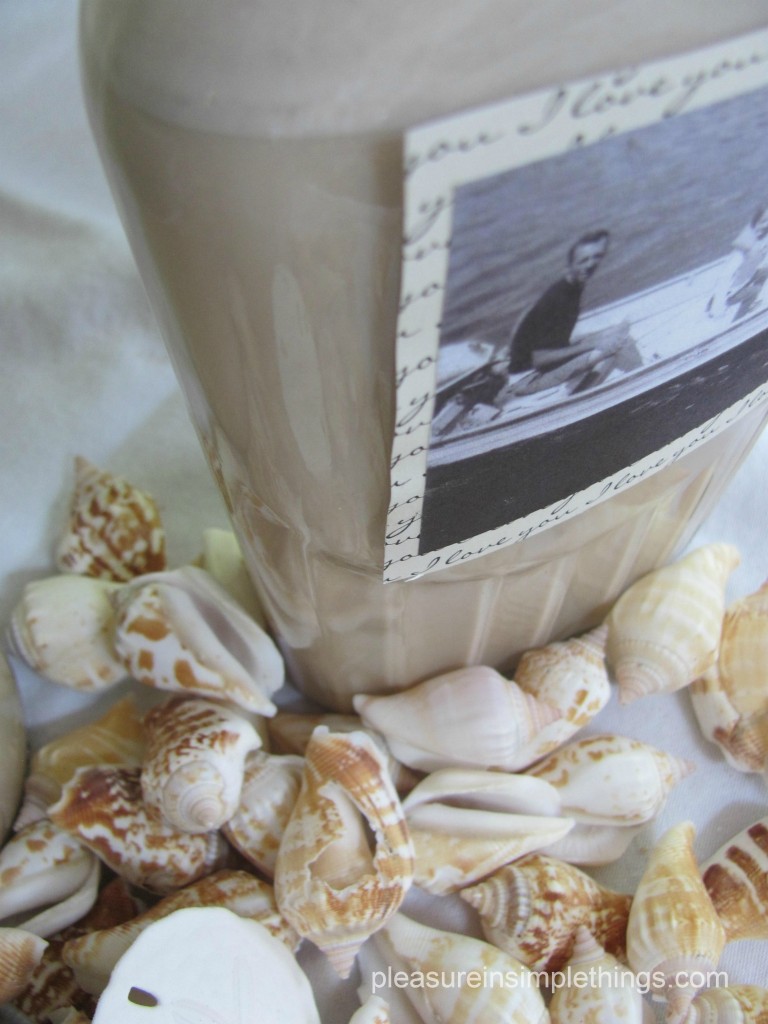
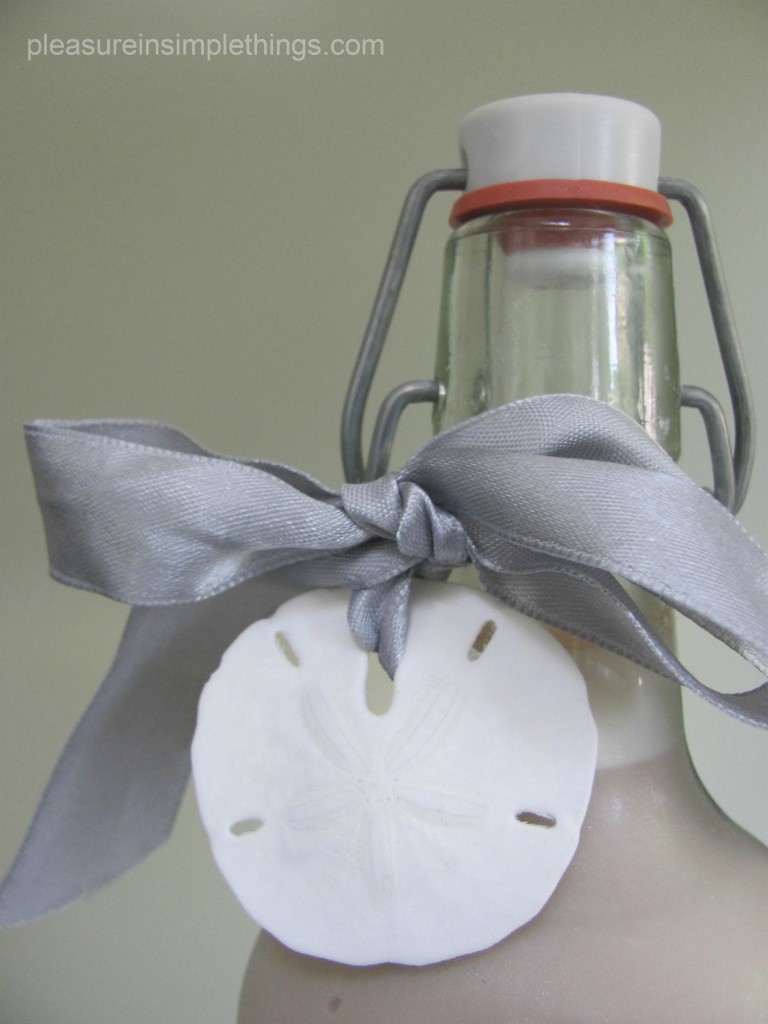
I simply printed the photos on a sheet of regular office shipping labels – nothing fancy.  And, because they were black and white, a color printer was not required.  I trimmed the labels and affixed them onto the bottles.  Then, I finished with some ribbon scraps tied onto the necks of the bottles.  Of course, I had to tie a sand dollar to the neck of one of the bottles.   Do you see the one that says ‘I love you?’  I used a piece of scrapbooking paper I bought for 10 cents (this paper is sold by the sheet in any craft store) and used it as a backing for one of the photos; cutting it slightly larger than the size of the photo to create a frame around it.

A photo of homemade Irish Cream in personalized bottles.

Homemade Irish Cream Recipe

3 eggs

1 cup rye whiskey

2 Tablespoons chocolate syrup

2 – 3 teaspoons vanilla

1 pint half & half

1  14oz. can sweetened condensed milk

Blend eggs for 3 minutes.  Add all other ingredients.  Blend 2 minutes more.  Keep refrigerated .  Will keep as long as the expiration date on the half & half…if it lasts that long. 

Use a funnel to fill the bottles .  Your Homemade Irish Cream is ready for giving!  (Or, if your Dad is more the bourbon guy, you might want to try making him one of these:  Bobby Flay’s Vanilla Bean Bourbon Milkshake)

Try pouring a little in your Dad’s brunch time coffee ;)  Remember to save some for yourself!

9 comments » | diy

Back to top