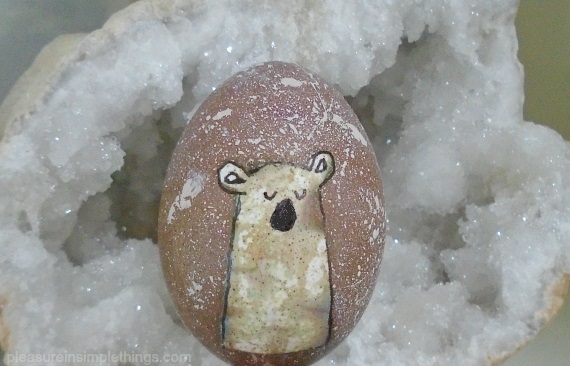
Today, I am sharing another DIY Easter egg design. And, even though you may not be interested in making a polar bear designed Easter egg, you can use the technique I used here to create a design of your own.
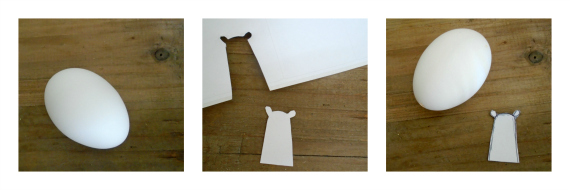
I started with an emptied-out egg. The first thing I needed to do was to make a polar bear template to use on the egg. I used a mailing label to draw a simplistic design of a polar bear. Why a mailing label? Because, I would next adhere the sticker shape I created to the egg. Since I was dyeing the egg to contrast in color from the white polar bear, the shape of the sticker would resist the dye – leaving a white polar bear shape on the egg.
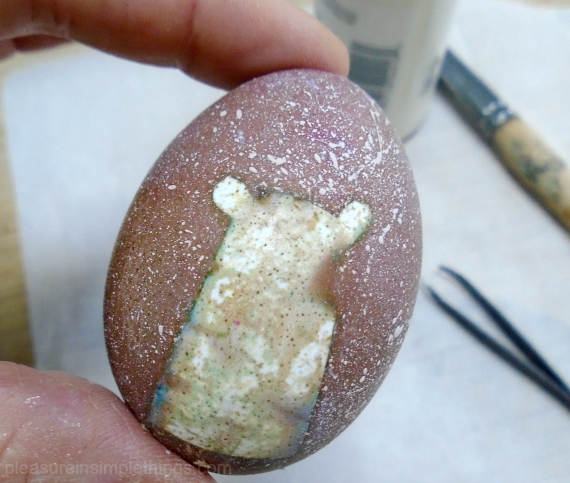
After the egg was dyed, I splattered it with white paint, using the same technique I used on my constellation designed eggs. I really glopped the paint on, because I wanted to give a suggestion of a heavy snowfall!
When the paint was dried, I used a pair of tweezers to carefully pull the sticker off the egg. As you can see, it didn’t keep the spot perfectly white – some dye did get under the sticker. The effect is almost like a batik. Wax can be used in place of the sticker (like that used for Ukrainian Easter eggs) to eliminate any dye from getting through, but I really like the effect when some dye makes it under the sticker.
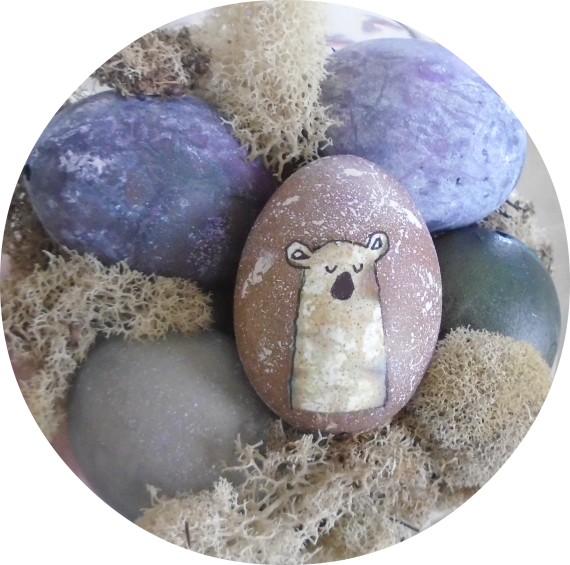
Finally, I used a thin, black, permanent marker to outline the polar bear shape and gave him a nose and some eyes.
Pretty easy, right? This same technique can be used in so many ways. I created the polar bear for a friend, but I may continue the theme by creating a penguin next! Are you wondering what has me thinking of such cold weather friends for Easter instead of bunnies and chicks? Must be that New England March snow!
I hope I have inspired you to create some new Easter eggs designs!
Thanks for stopping by and remember to take pleasure in simple things, Jackie


