Subscribe to Pleasure in Simple Things via RSS ReaderFollow Pleasure in Simple Things on InstagramFollow @InSimpleThings on TwitterLike Pleasure In Simple Things on FacebookFollow Pleasure In Simple Things on PinterestEmail Jackie

Tag: diy


diy sentiments jar

15
January

creating memory jar 2019

Do you keep a gratitude journal?

I am doing something a little different from a journal for 2019.  I am keeping a jar of memories that document special feelings I have towards my children.

I am so appreciative of the two wonderful children I am blessed with and I created a way to collect all the special feelings I have toward them throughout the year.

diy jar for 2019

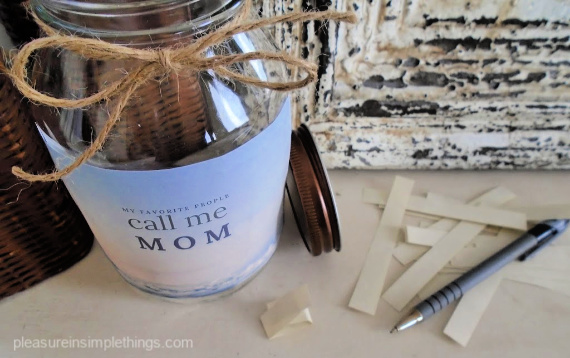
The idea is simple.  When I have one of those “aww” moments, I will write something down on a slip of paper to help me remember it and drop the slip of paper into my sentiments jar.

looking down at sentiment jar

Those of you who have a vinyl cutting machine can easily use it to decorate a jar – maybe just simply the word “gratitude” affixed to the jar.  Other ideas for jars are “laughable moments,” “2019,” “accomplishments,” “kids say the darndest things” …you get the idea!

sentiment jar with lid

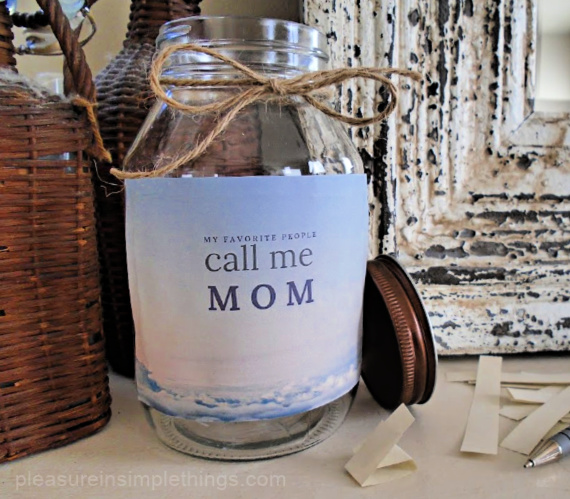
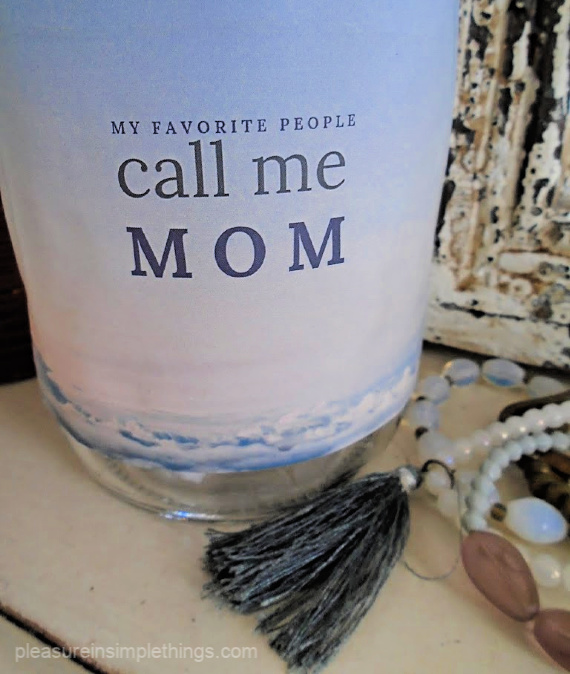
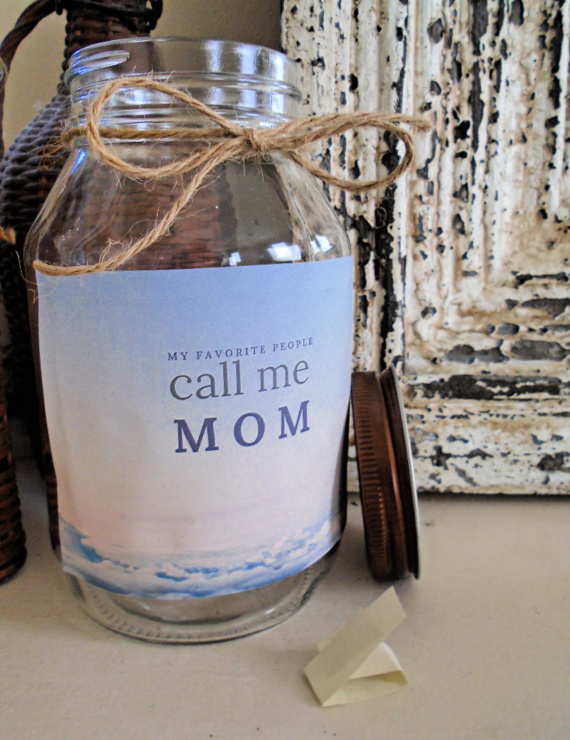
In my case, I am very specifically documenting sentiments related to my children, so I created something appropriate to decorate my jar.  And, since I don’t have a vinyl cutter, I designed and printed something on a color printer and glued it onto the front of a clear glass jar.  Here is what I created, if you’d like to use it:

my favorite

With Valentine’s Day coming up, a cool variation might be to create a “favorite romantic moments” jar for yourself or as a gift!  If gifting, include pre-cut slips of paper and tie a pretty pen or pencil to the jar.  For fun, add a few candy message hearts scattered on the bottom of the jar!

I hope I have inspired you to document some of your memorable moments in 2019!

Thanks for stopping by!

Remember to take pleasure in simple things, Jackie

Comments Off on diy sentiments jar | diy, inspiration

new skills for a new year

4
January

lettering quotes on old books

To say I will try new things in this new year doesn’t seem like anything new!  I’m always trying new things and can never seem to find the time to try everything I’d like to!

One of these things is calligraphy.  When I was in junior high school, I excelled at pen and ink lettering and was surprised when parents asked to purchase my watercolor and pen and ink posters at the school’s annual art fair.  Back then, we wrote quotes in Old English in ink on large sheets of parchment paper.

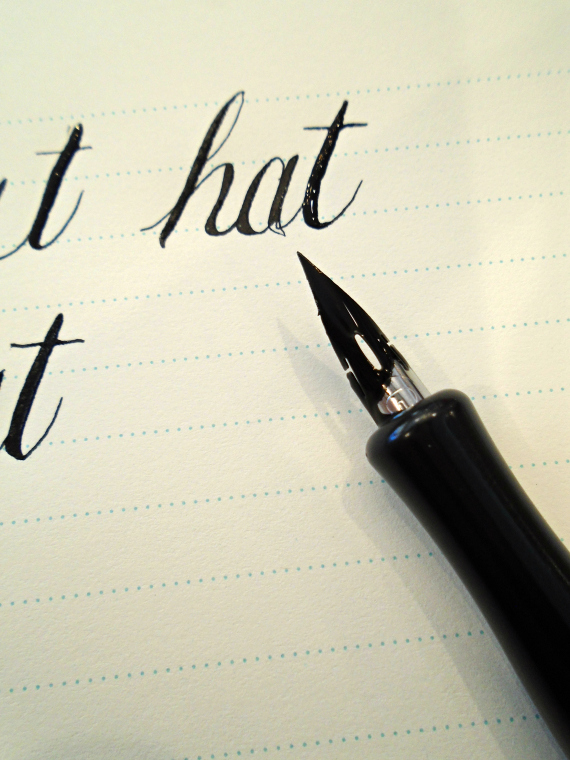
hat is hat

For a long time, I have wanted to do some lettering in a more modern way than my days of penning in the Old English typestyle!  Lettering has made a comeback big time, even though new computer programs and cutting machines have made it easier than ever to create lettering digitally.

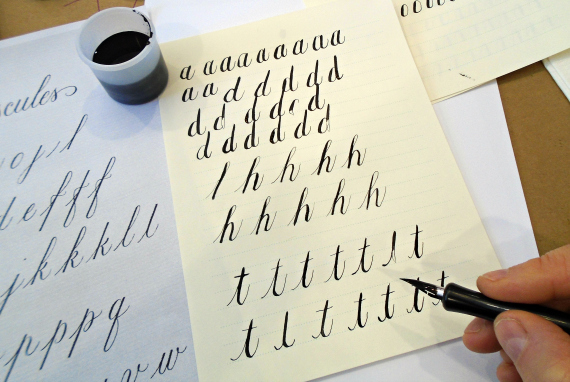
first practice

Lettering is the type of skill that requires a lot of practice – since consistency is key – and it is hard to carve out enough time to do so!  A few hours in an afternoon probably isn’t enough time to master any skill, but that is all I have been able to allocate to lettering thus far!

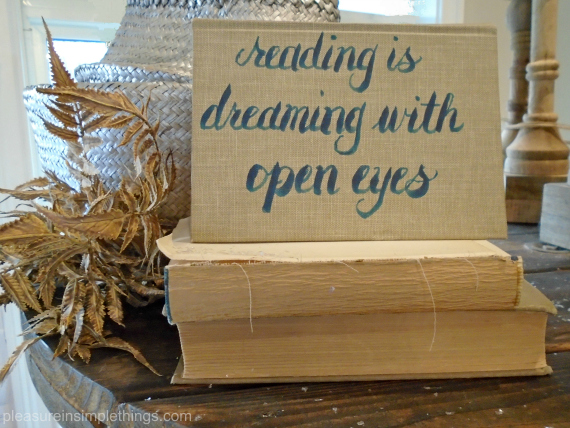
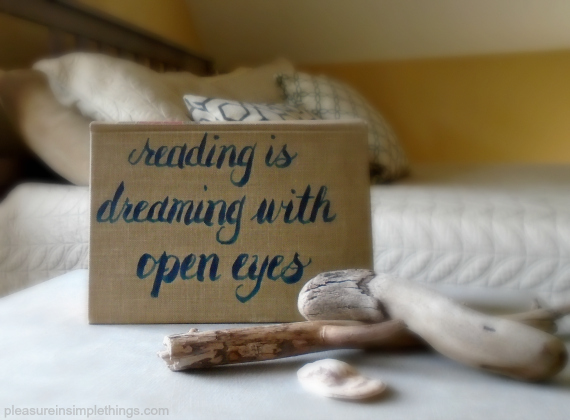
Since I am such an admirer of old books, I had a DIY idea that is very personal to me.  I want to create some quotes I like on old books.  Unfortunately, there is not much room for error – once the ink is down, that is it!  I tried one as a test.  After only a couple hours of practice – not too bad.  That first letter didn’t really come out the way I wanted.  Oh, well!   I think I need a lot more practice before I put any more ink to book!

quote on a book

Do you have any plans to try a new skill in 2019?  Why not?  Choose one and run with it!

Thanks for stopping by!

Remember to take pleasure in simple things, Jackie
Comments Off on new skills for a new year | diy, inspiration

christmas in a teacup

11
December

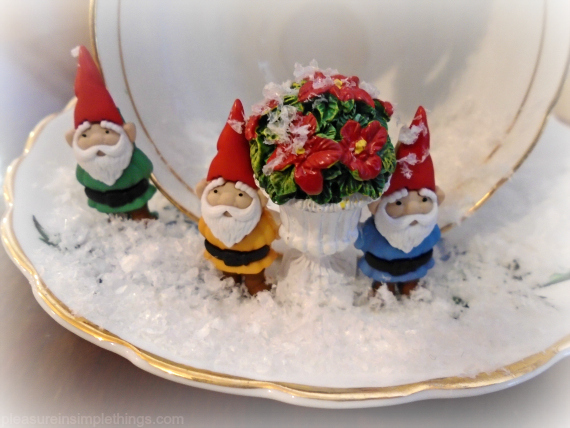
gnomes in a teacup close up

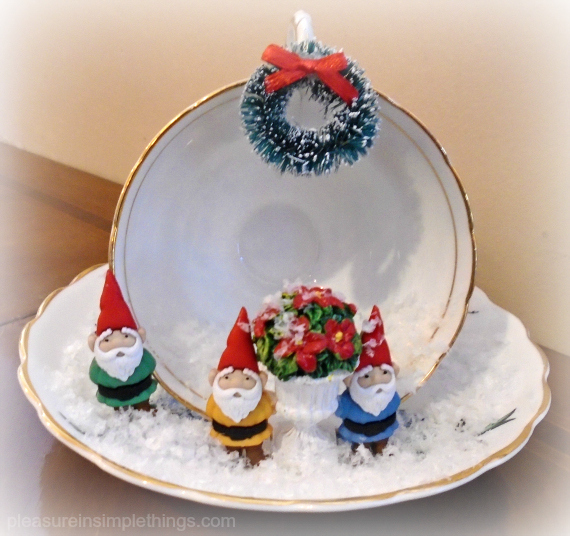
Would you like to try a Christmas craft that is a little different from creating a gingerbread house?  Maybe even a little less intimidating?  How about crafting a holiday scene in a teacup?

gnomes in a teacup

I recently met a good friend at a tea house for breakfast and came upon these lovely centerpieces on the tables…instant smile makers!

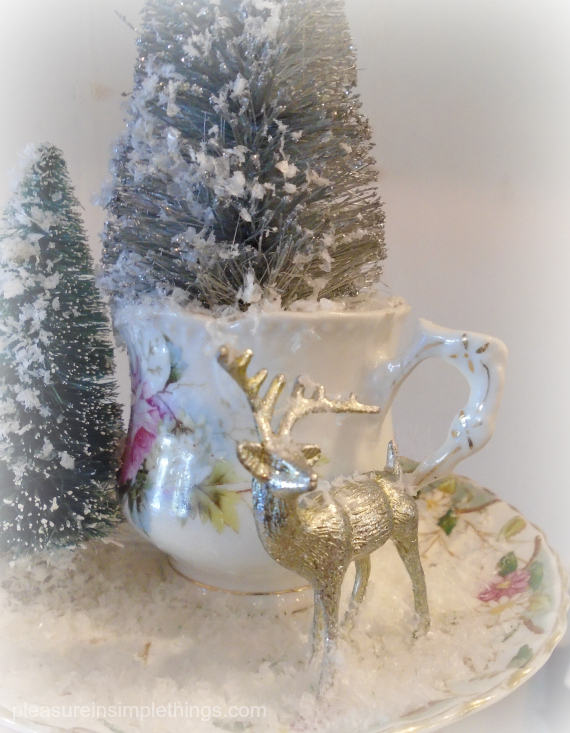
reindeer with a teacup

Of course this one is my favorite…it most closely matches my decorating style!

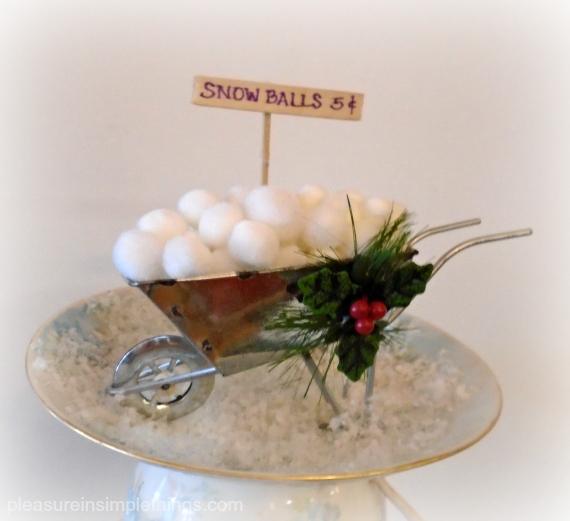
teacup snowballs for sale

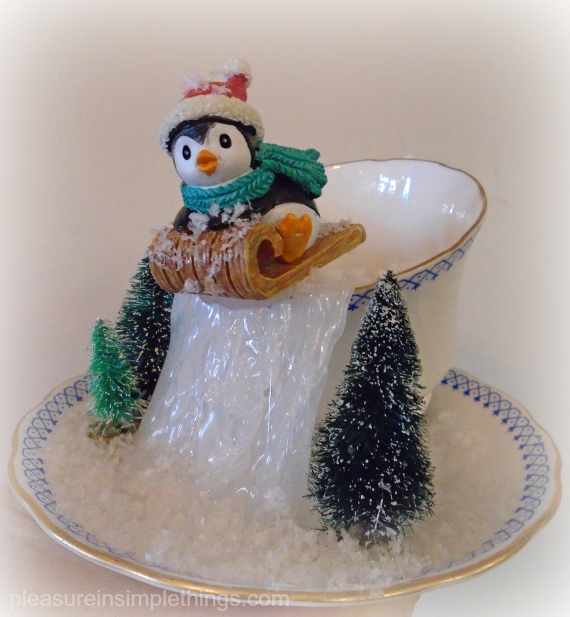
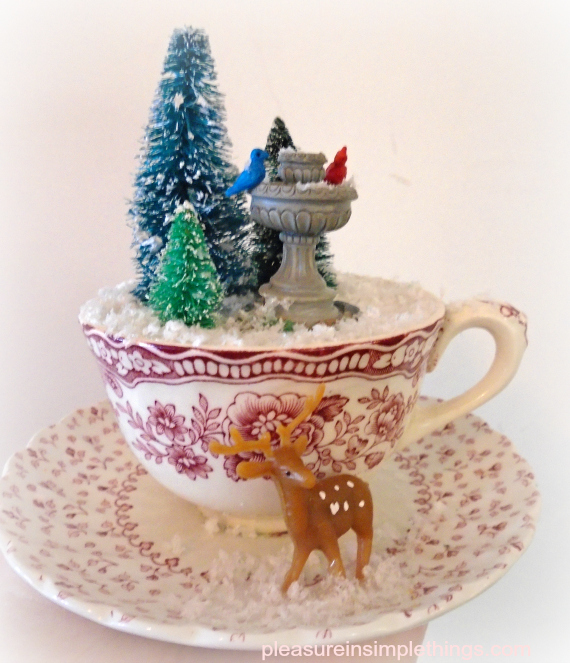
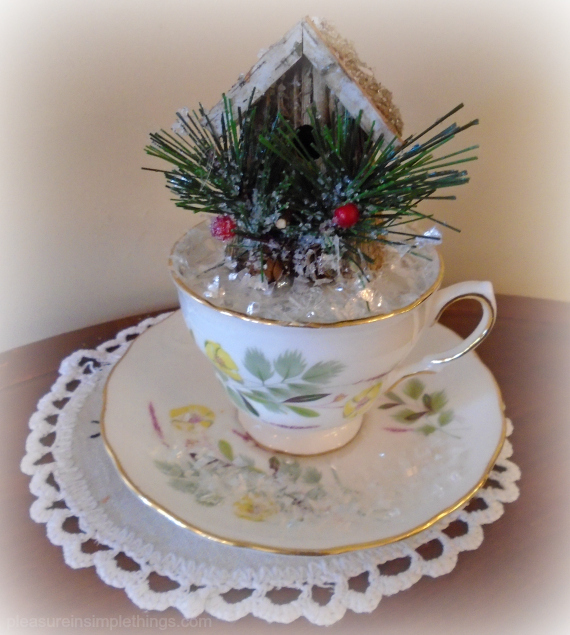
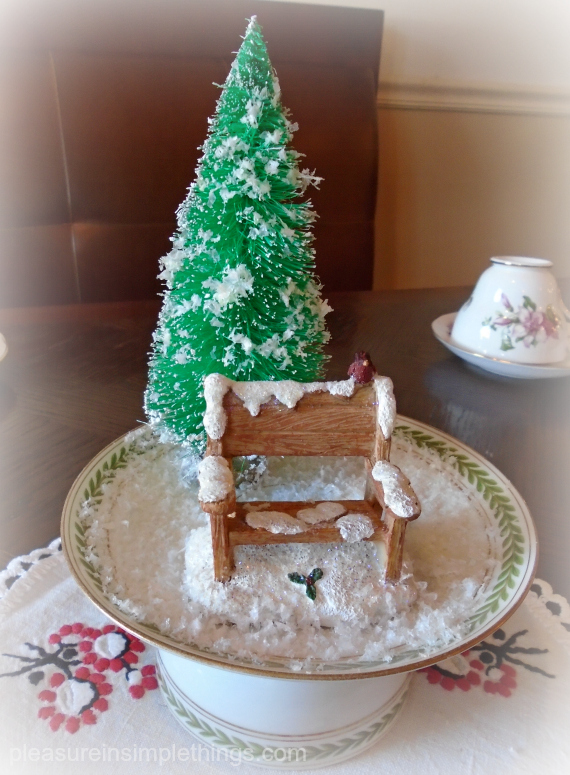
Isn’t this a great DIY craft idea?  Even for inexperienced crafters, creating a little holiday teacup scene is not intimidating at all!  A few little decorative items and some artificial snow are all that is needed to transform a teacup and saucer into an enchanting holiday scene!

penguin in a teacup

I love this idea!  I have plenty of vintage teacups since I sometimes use them to serve crème brulees or to plant moss or small plants.  If you don’t own any, pick one, or several, up at any Goodwill or tag sale.  Better yet, use a family heirloom to build your miniature scene!

birdbath in a teacup

I can’t wait to take out my box of miniature white bottle brush trees to get started!  You know I don’t decorate in red and green for the holidays, so I can’t wait to create some scenes in neutrals!  I think shells and sea glass are also in order!  I see coastal holiday scene teacups in my future!

snow house in a teacup

I hope I have inspired you to create some Christmas scene teacups of your own this holiday!  Use your imagination and have fun with it!

cardinal on a bench tea cup

Thanks for stopping by!  Remember to take pleasure in simple things, Jackie
Comments Off on christmas in a teacup | diy, holiday, inspiration

making chenille pumpkins

2
October

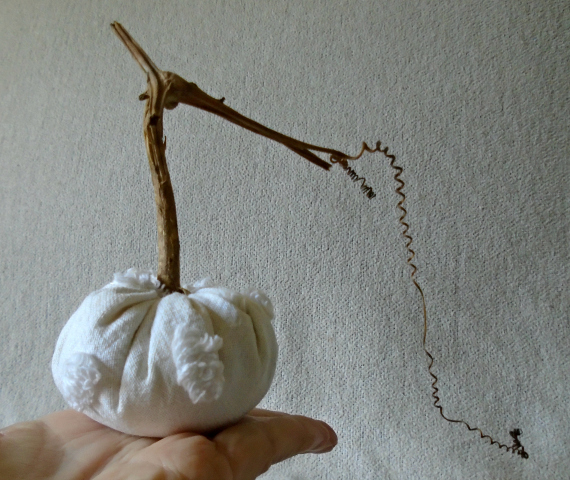
chenille in the hand...

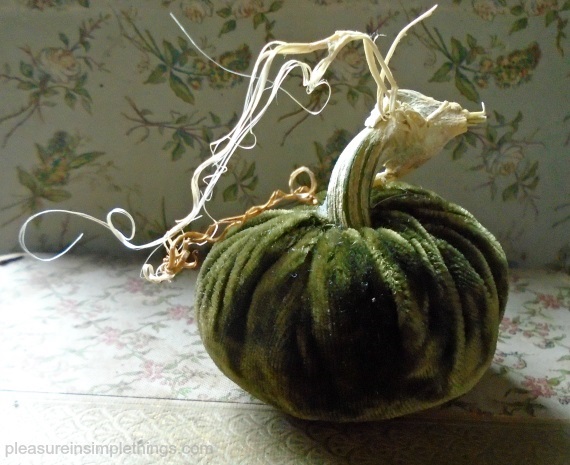
Now that it is October, I guess I can get really serious about my pumpkin making!  You know I love making velvet pumpkins with real pumpkin stems at this time of year.

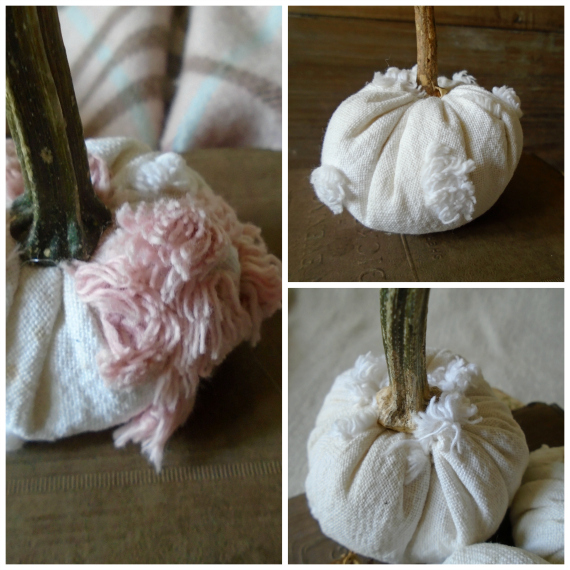
chenille pumpkin from a bedspread

Although I love making pumpkins of velvet, in addition, each year I enjoy experimenting with a new, different fabric for pumpkins.  Remember last year I tried some cashmere?

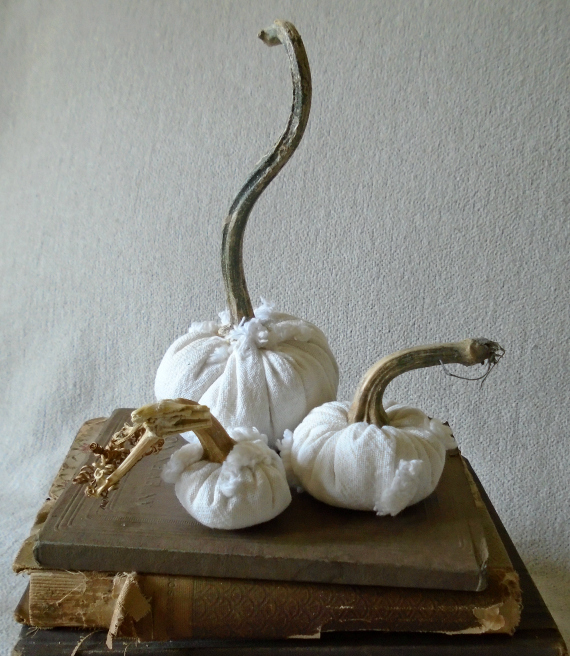
chenille pumpkins with more fab stems

Well, this year my experiment is becoming an obsession!  And you thought my obsession was about stems!  Well, it is about stems – it’s always about stems lol!

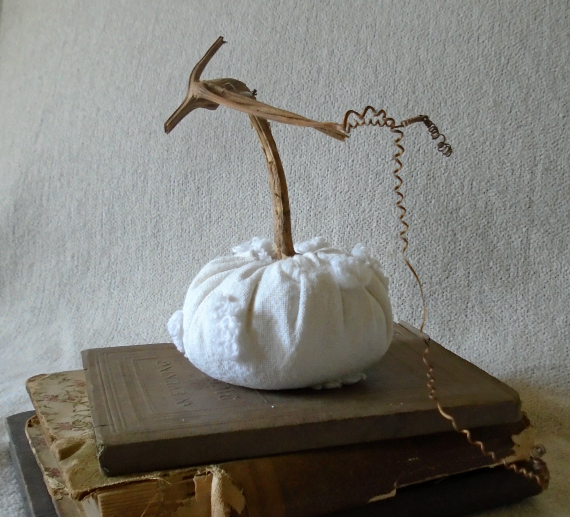
chenille in neutrals

But, the new fabric obsession has become repurposing a vintage material – chenille!  It turned out to be convenient timing that cleaning out my linen closet happened at the start of fall.  I couldn’t bear to throw out a vintage chenille spread that, in the past, has adorned both the bed of my grandmother and of my daughter.  I decided to repurpose the spread into pumpkins…with real stems, of course!

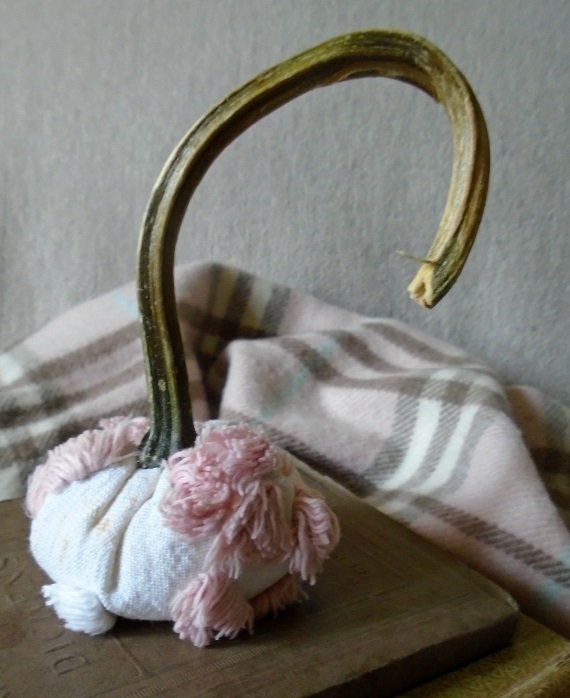
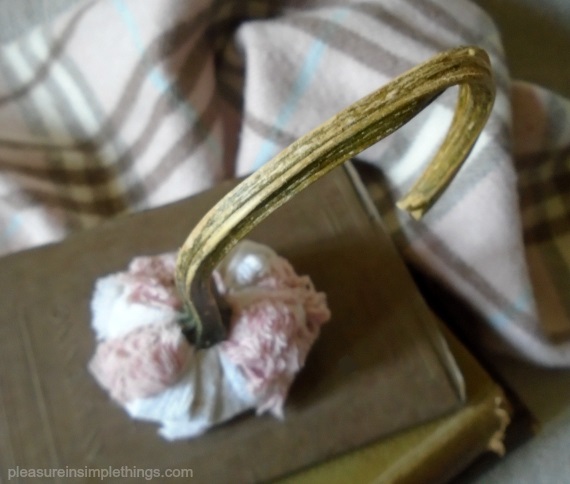
white and pink chenille pumpkin

closeup of chenille

I hope these photos help inspire you to create some pumpkins from a repurposed material – like a treasured keepsake!

Thanks so much for stopping by!

pretty pink chenille pumpkin

Remember to take pleasure in simple things,  Jackie
Comments Off on making chenille pumpkins | diy, style

it’s all about the stem

25
September

its all about the stem

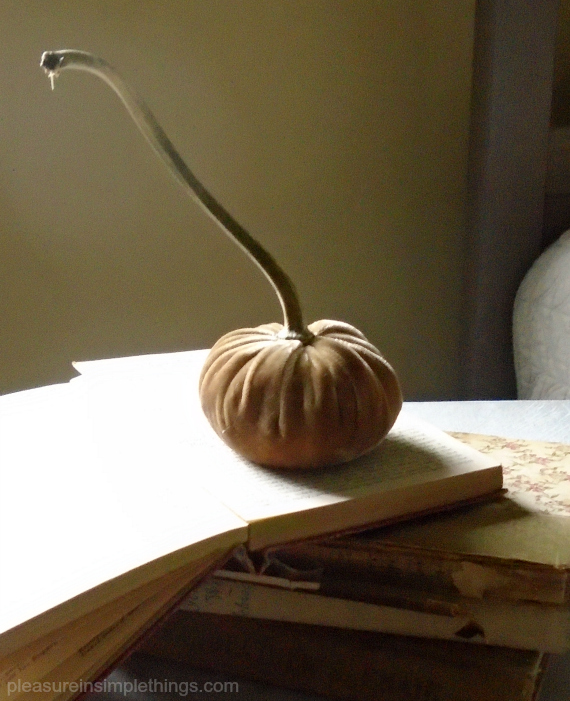
It’s official.  It is fall!  I always start the season by making some velvet pumpkins.  Every year I make a few more, using new shades of velvet and pumpkin stems I have collected from the year before.  Each year, I like to make some pumpkins that are a little different than the year before…either in color or fabric.  But, before I start my own pumpkins, I have a few pumpkins to make as gifts.

yellow ochre velvet pumpkin

If you make velvet pumpkins, you know the personality of the pumpkin is created with the stem.  And, the hardest part about making pumpkins to give as gifts is to part with the stems!  It is all about the stem!

Here are a few great stems from some gifts I made this year – my first pumpkins of the season.

At a request, I created my very first red pumpkin.  Look at that marvelous stem!

red velvet pumpkin

Thanks for stopping by!  If you haven’t yet tried making a velvet pumpkin, you can look back into my archives for directions by clicking here and give it a try!  You can start by collecting some fabulous stems!

Remember to take pleasure in simple things, Jackie
Comments Off on it’s all about the stem | diy, inspiration, style

books to bookmarks diy

5
June

book cover crafts

Aren’t old books beautiful!  A vintage book has an appeal that a new book just wouldn’t understand!  I love decorating with vintage books…either as is, or by using pieces of them to create a DIY project.

cut strips of book cover

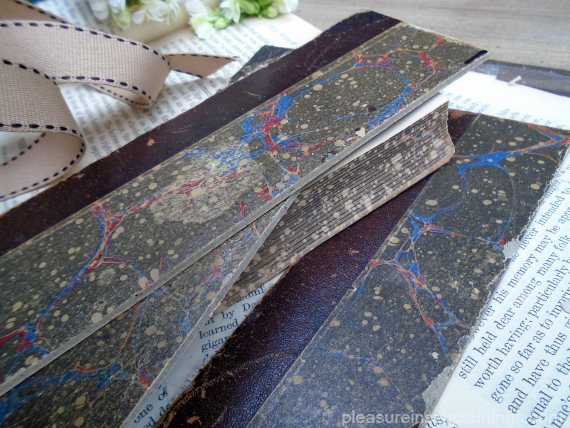
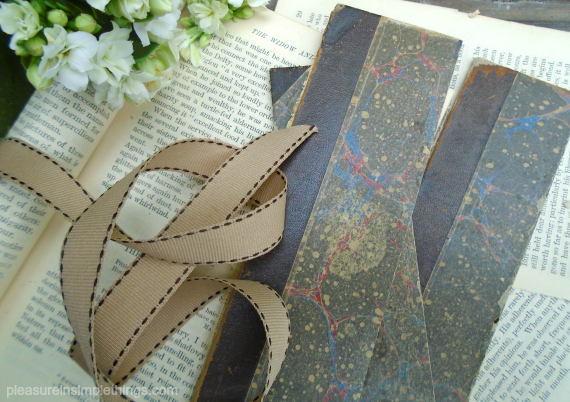
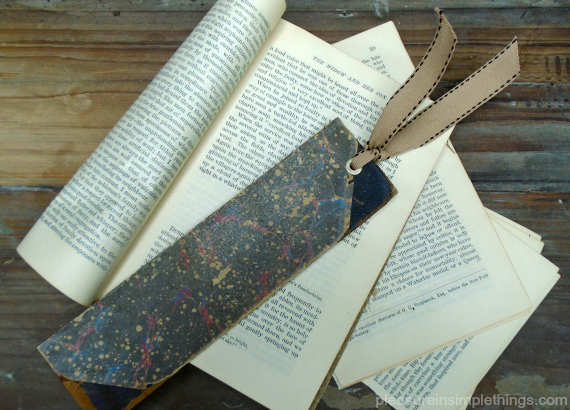
Sometimes an old book will be in such bad shape that only pieces can be salvaged.  Even so, there are plenty of uses for its pieces!  That was the case with a really old, beautiful book recently.  The cover had incredible character, but it was separated from the book.  Even though it couldn’t be displayed as an entire book, I knew I had to come up with a use for the beautiful, vintage cover of the piece.

book covers to bookmarks

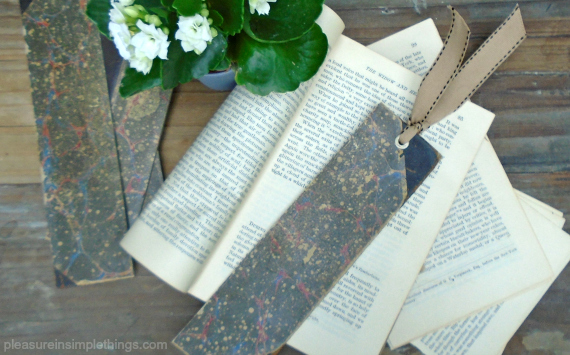
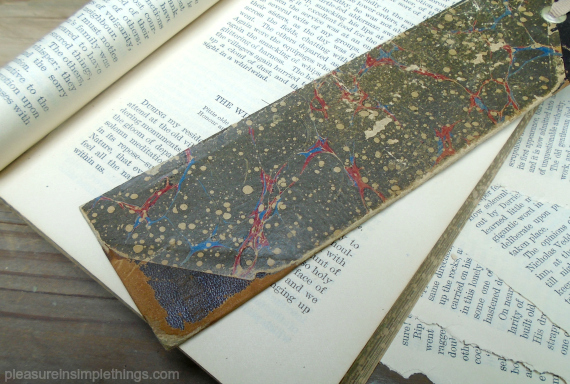
My thought was to cut the cover into strips and make the strips into bookmarks!  The bookmarks would have the lovely character of the book’s cover and I would still have the old pages of the book for future projects…lovely, old, worn, faded, vintage pages!

bookcovers and ribbon

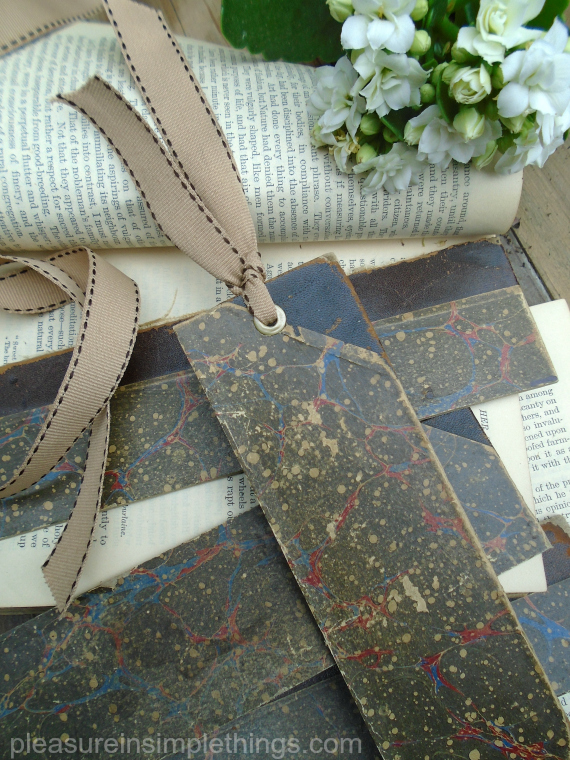
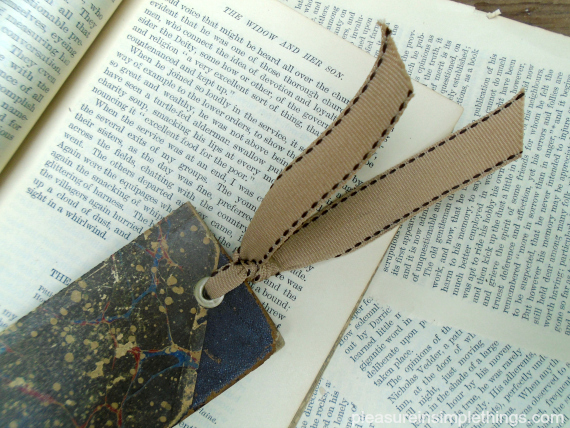
Converting the cover into bookmarks was an easy DIY.  First, I carefully cut long pieces with a craft knife fitted with a new blade.  Next, I wanted to add a ribbon to the top.  Rather than just punch a hole in the top of each strip, I used a grommet tool (you can find one for a few bucks in any craft shop) to add a grommet and make the finished product a little more dignified!  I figured a book as old as this one deserved a little dignity!

craft from old book

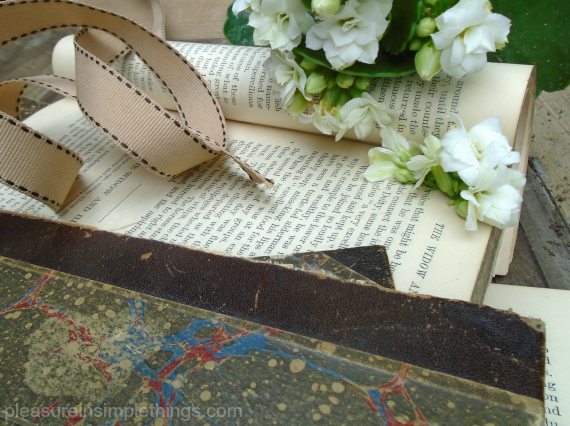
I added a ribbon I purchased at the craft store.  Choosing the ribbon was the most time consuming part of the project!  I needed to find just the perfect ribbon!  And, I think I did!

bookmark close up

A very easy project as well as a very satisfying one!

bookmark ribbon close up

Thanks for stopping by!  I hope you are having a great week!

bookmark from old book cover

Remember to take pleasure in simple things, Jackie

Comments Off on books to bookmarks diy | diy, inspiration

beauty in simplicity

15
May

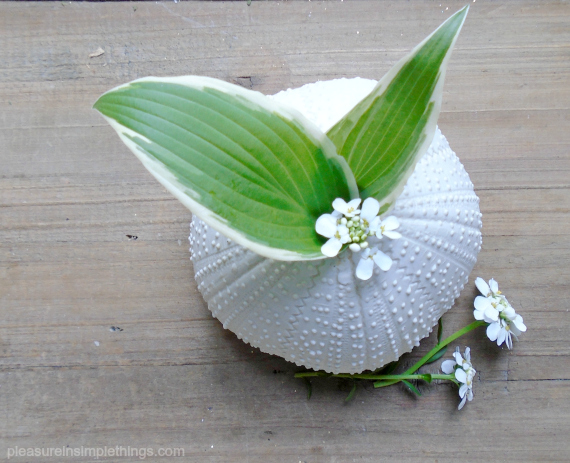
hostas in a vase

A big garden isn’t needed to enjoy the outdoors in your home.

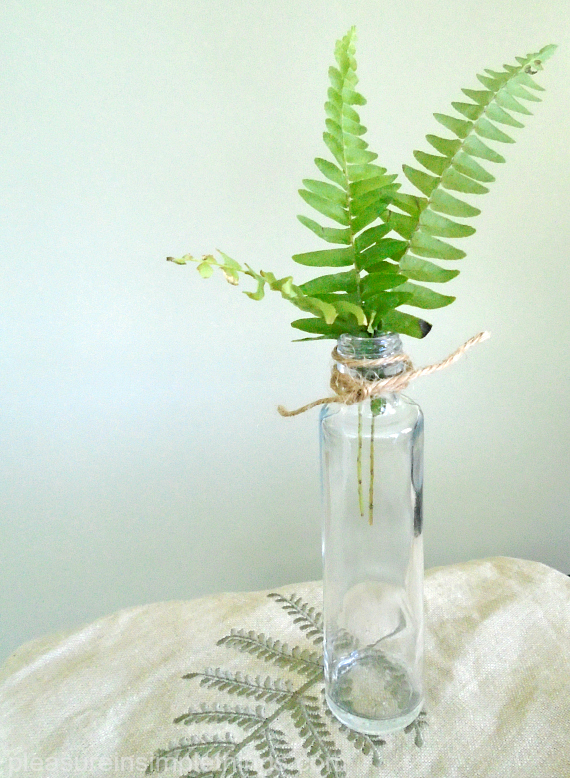
ferns on ferns

Pick a single flower or a single leaf or grab a sprig from shrub clippings.  Even the bad boys in the yard (enter dandelions in seed), can evoke a positive mood – creating the sense of fulfilled wishes or dreams yet to be – when displayed as a single bloom in a container!

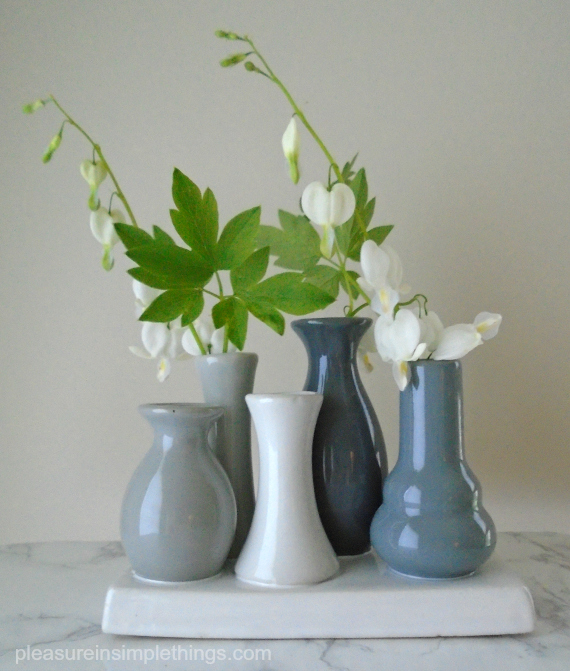
white bleeding hearts in vase

If you don’t have a yard, just take a walk through the woods or a public park…heck, you can find a beautiful wildflower on the side of the throughway!

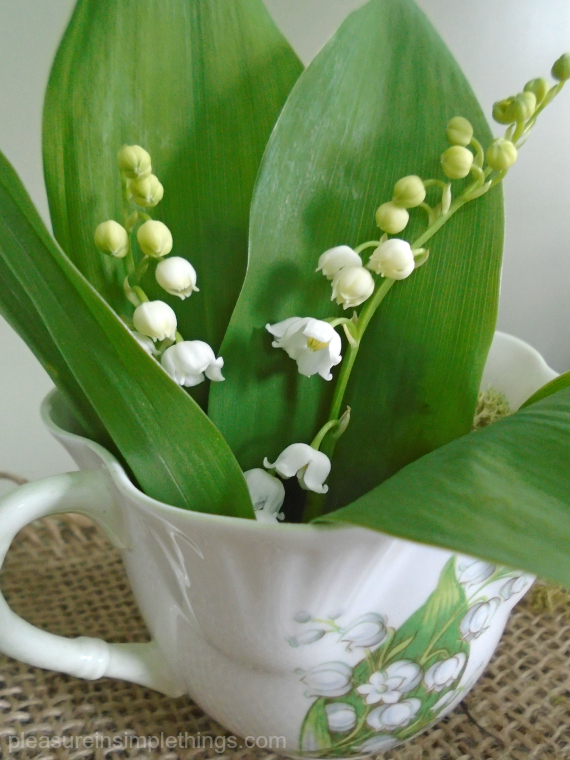
flowers in a teacup lilly of the valley

Then, display your little piece of the outdoors in a container.  No fancy or expensive vase is needed! Just look in your recycling bin or in your cupboards for some great ideas!  Any small vessel will do!  Examples include:  a tiny espresso cup, a teacup, a small milk pitcher, or a glass liquor ‘nip’ bottle or other small discarded bottle.

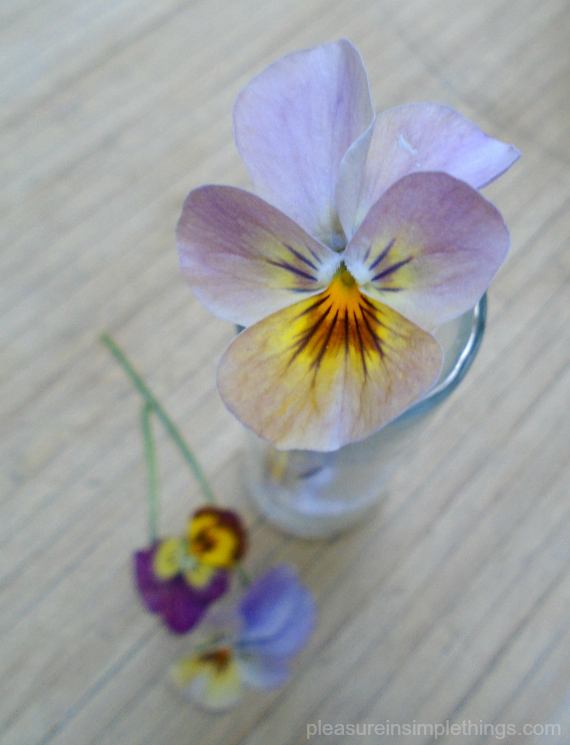
pansy in nip bottle

Just display this little piece of beauty in any room – in any little scrap of space where you will glance over at it and smile!

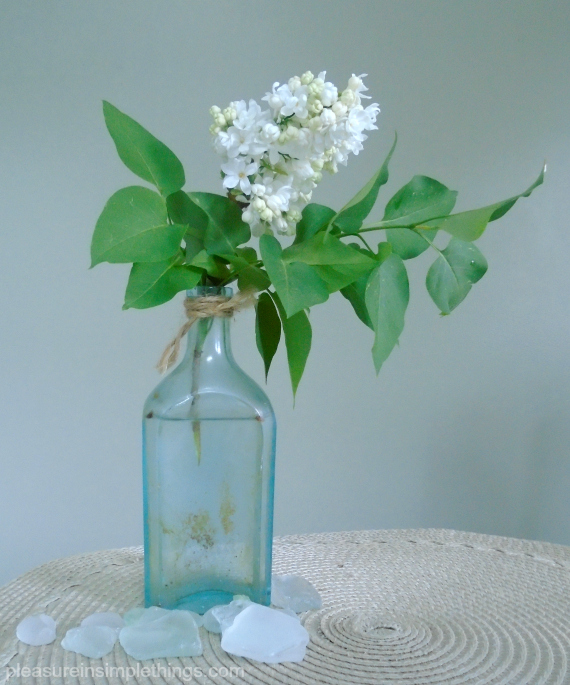
lilac with sea glass

The beauty and simplicity of a single flower or leaf is an instant mood lifter and is a great way to display the awesomeness of nature in your home.

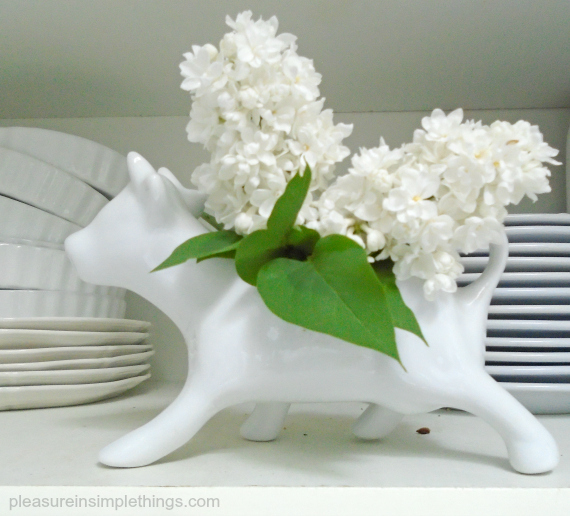
flowers in a creamer

I hope I have inspired you to display little pieces of nature in your home!

bush in a vase

Thanks for stopping by!  Remember to take pleasure in simple things, Jackie
The containers in the order they appear:  sea urchin vase from Christmas Tree Shop ($1.99), discarded coconut vodka ‘nip’ bottle, 5 bud vase from Marshall’s ($2.99 in clearance aisle), teacup (a gift), discarded coconut vodka ‘nip’ bottle, found glass bottle, my creamer, sea urchin vase from Christmas Tree Shop.

Comments Off on beauty in simplicity | diy, garden, inspiration

chicks in a puddle

27
March

easter table peep

Even though Easter usually has no shortage of candy available, it is still fun to add a candy favor to each Easter place setting.  You have seen me make edible candy nests in the past (or candy turkeys at Thanksgiving), but today I am making ‘chicks in a puddle.’

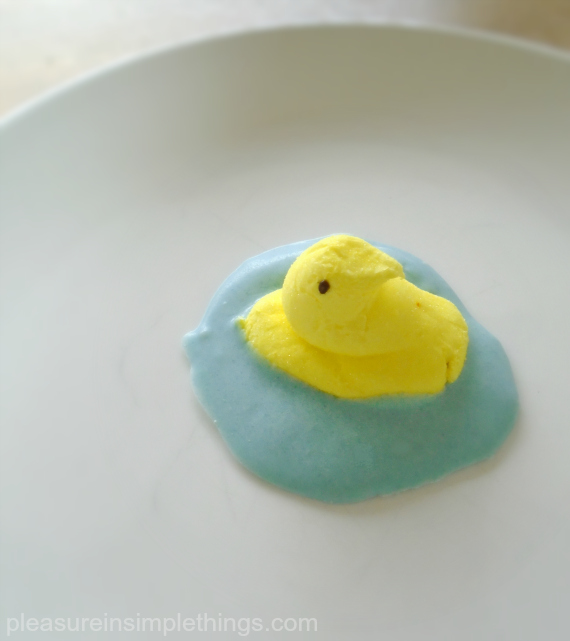
chick in a puddle on a plate

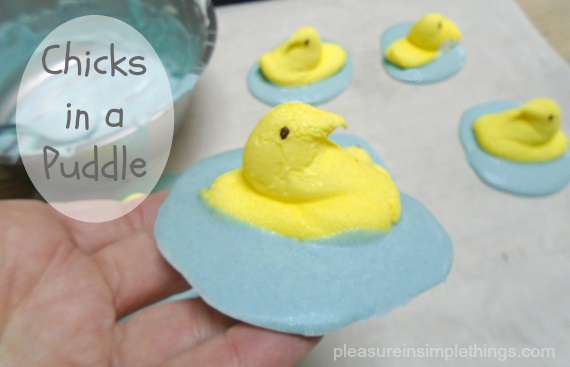
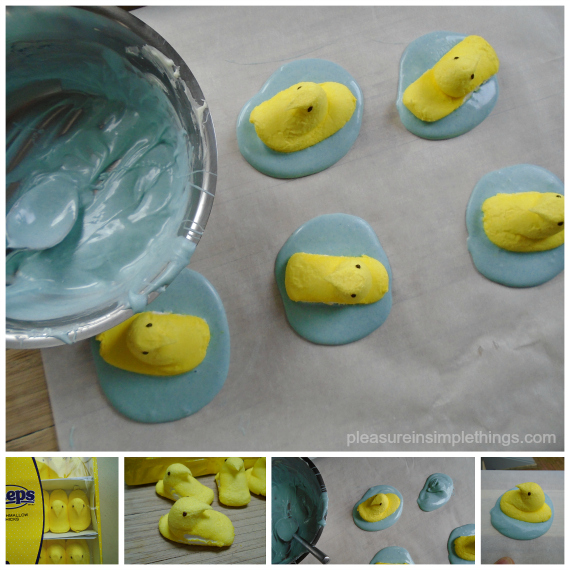
You can easily replicate these in minutes as a super simple DIY.  Only 3 items are required to pull it off – candy chicks, white chocolate baking pieces, and a little blue food coloring.

chicks in a puddle

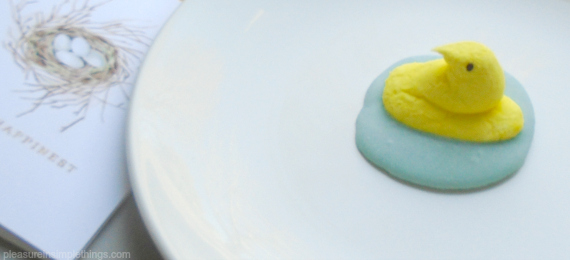
My ‘chicks in a puddle’ are simply candy chicks sitting in a ‘puddle’ of white chocolate that has been tinted blue!

To create your own, melt some white chocolate chips, from the baking section of the grocery store, in a double boiler.  When melted and smooth, add a little food coloring to the chocolate – to tint it a light blue color – and mix thoroughly.  With a teaspoon, spoon the chocolate in small ovals onto wax paper or parchment to create ‘puddles.’  While the chocolate is still warm, press a candy chick into each ‘puddle.’   Place the ‘puddles’ into the fridge for a minute or two to speed up the setting.

This can be a fun activity with the children or grandchildren!

making chicks in puddles

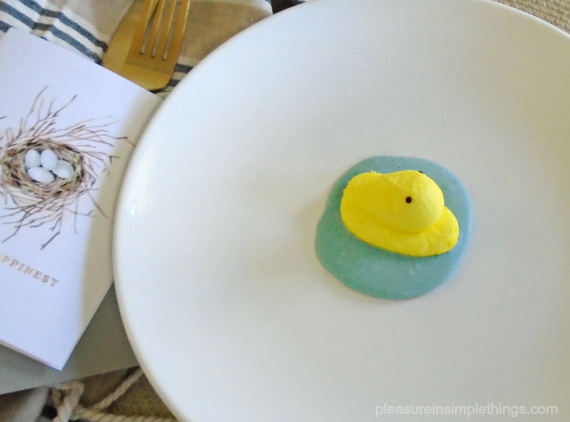
That’s it!  Aren’t they cute little additions to the dinner plates?

chick on a plate with card

I hope you are inspired to create some chicks in a puddle for your Easter table!  A great tie-in for a child’s Easter basket is the book Puddle by Hyewon Yum!

Thanks for stopping by!  Remember to take pleasure in simple things, Jackie
Comments Off on chicks in a puddle | food & festivities, holiday, recipe

polar bear easter egg

20
March

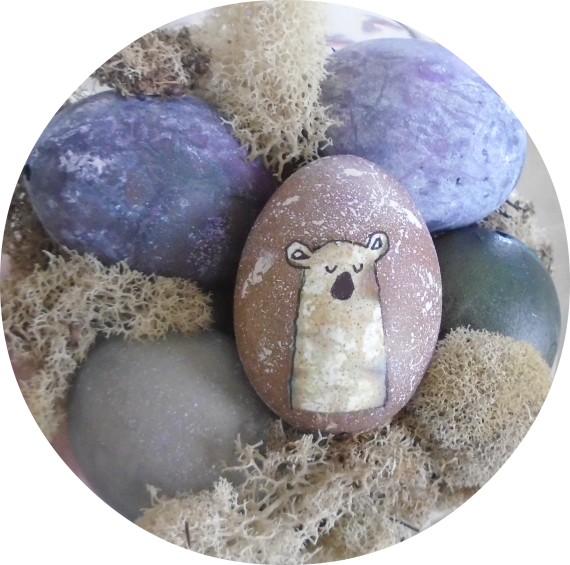
polar bear on a glacier Easter egg

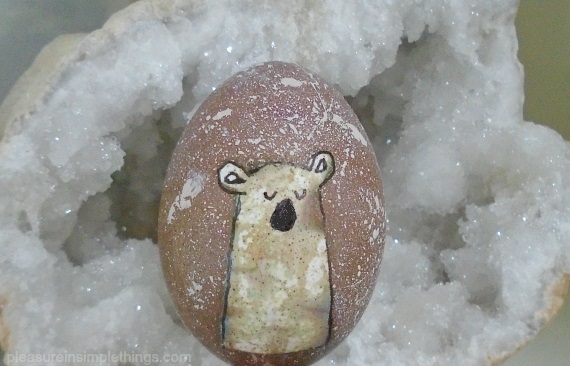
Today, I am sharing another DIY Easter egg design.  And, even though you may not be interested in making a polar bear designed Easter egg, you can use the technique I used here to create a design of your own.

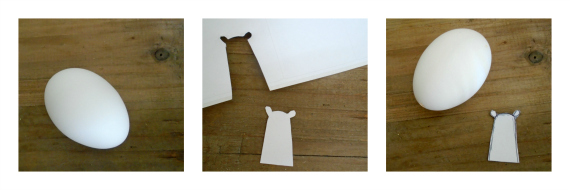
I started with an emptied-out egg.  The first thing I needed to do was to make a polar bear template to use on the egg.  I used a mailing label to draw a simplistic design of a polar bear.  Why a mailing label?  Because, I would next adhere the sticker shape I created to the egg.  Since I was dyeing the egg to contrast in color from the white polar bear, the shape of the sticker would resist the dye – leaving a white polar bear shape on the egg.

preparing egg and template for polar bear egg

removed sticker on polar bear egg

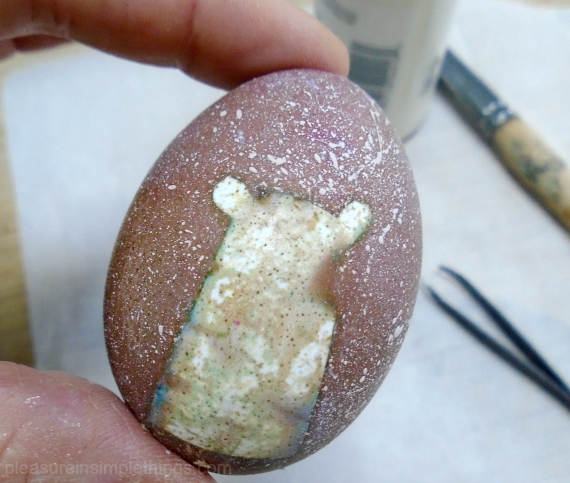
Removing polar bear shaped sticker after dyeing the egg.

After the egg was dyed, I splattered it with white paint, using the same technique I used on my constellation designed eggs.  I really glopped the paint on, because I wanted to give a suggestion of a heavy snowfall!

When the paint was dried, I used a pair of tweezers to carefully pull the sticker off the egg.  As you can see, it didn’t keep the spot perfectly white – some dye did get under the sticker.  The effect is almost like a batik.  Wax can be used in place of the sticker (like that used for Ukrainian Easter eggs) to eliminate any dye from getting through, but I really like the effect when some dye makes it under the sticker.

Finally, I used a thin, black, permanent marker to outline the polar bear shape and gave him a nose and some eyes.

plesureinsimplethings blog easter egg

Pretty easy, right?  This same technique can be used in so many ways.  I created the polar bear for a friend, but I may continue the theme by creating a penguin next!  Are you wondering what has me thinking of such cold weather friends for Easter instead of bunnies and chicks?  Must be that New England March snow!

I hope I have inspired you to create some new Easter eggs designs!

Thanks for stopping by and remember to take pleasure in simple things, Jackie
Comments Off on polar bear easter egg | diy, food & festivities, holiday

bunny ear napkins with eggs

13
March

bunny tail easter eggs

Have you ever folded your Easter dinner napkins to look like bunny ears?  You probably have.

Today, I am sharing how to DIY some Easter eggs to use with your folded bunny ear napkins!  I like to make bunny tail eggs for my napkins!

bunny easter eggs with bunny ear napkins

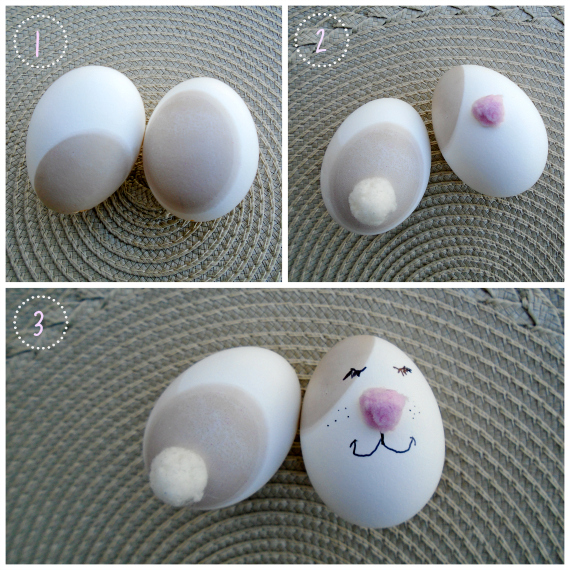
Since I was making one to show you, I decided to also make one with the front of a bunny to demonstrate how easy it would be to include bunny face eggs as well.  You can choose to make just the backside eggs to use with your napkins – like I do – or, mix up bunny backsides and bunny faces on your Easter table!

bunny tail easter egg for ear napkins

All you need are pompoms to glue to the eggs.  Use a white one for the bunny’s tail and a pink one for the bunny’s nose.

To add a little character to my bunny, I first added some spots to the eggs so my bunny would not be pure white.  I did this by making up a taupe egg dye and adding a little bit of color variation to my bunny.  Black or gray dye work for ‘bunny spots’ as well.  Once you have dyed your eggs – if you choose to – use a glue gun to add the tail and nose to your bunny eggs.  A fine point permanent marker is perfect to add the rest of the bunny face detail to the egg with the pink ‘nose.’

bunny ear napkin egg preparation

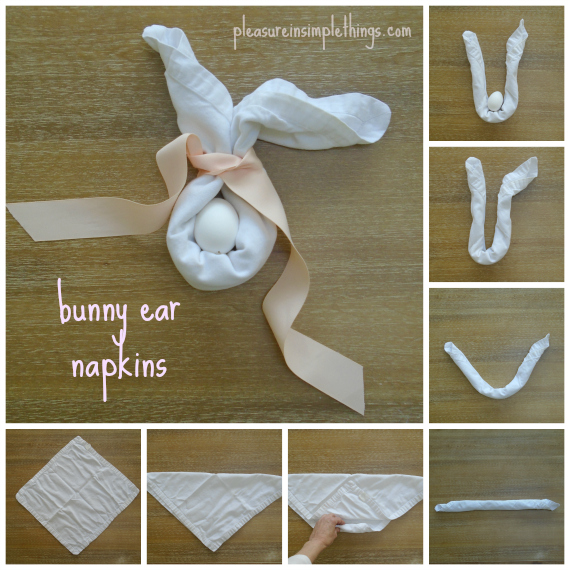
Once the eggs are complete, Use the diagram here to help fold two napkins appropriately.  Add ribbon to keep the eggs in place and to position the ‘ears.’

bunny ear napkin instructions

A perfect little DIY for your Easter table!  Change up the bunny and napkin colors to best match your décor.  I used taupe and white, but you can use whatever colors work for you.  Eggs dyed gray paired with gray napkins work well too.  You can also create a variety of different expressions on your bunnys’ faces.  Have fun with it!

Thanks for stopping by!

Remember to take pleasure in simple things, Jackie
Comments Off on bunny ear napkins with eggs | diy, food & festivities, holiday

Back to top