Subscribe to Pleasure in Simple Things via RSS ReaderFollow Pleasure in Simple Things on InstagramFollow @InSimpleThings on TwitterLike Pleasure In Simple Things on FacebookFollow Pleasure In Simple Things on PinterestEmail Jackie

Tag: craft


diy nautical necklace

30
July

diy nautical necklace

I have never made any jewelry.  When I see some of the beautiful beads in the craft store, I am tempted to make something.  The thing is, it seems when you add the price of all the items needed to make a piece, it can be much less expensive to buy something already made!  Some day I plan on experimenting with jewelry making with my sea glass collection, but today I want to tell you about a necklace I created for less than $5!

A while back, I ripped a photo of a necklace I really liked from a magazine…it had a nautical feel to it since it was made from rope.  But, at $215., it was way beyond my accessories budget…actually, I don’t even have an accessories budget!  So, $215. more than my budget!

diy necklace collage

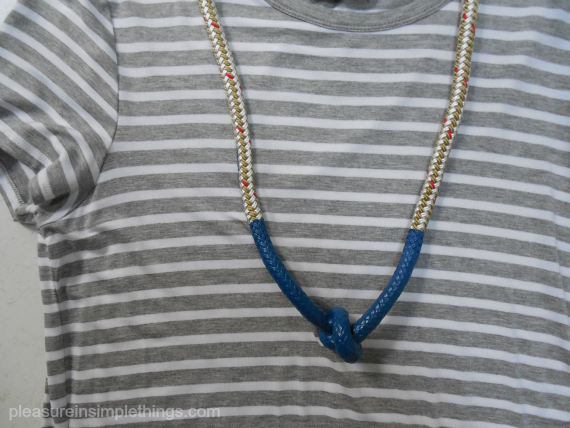
I was able to create the same look as the necklace in the magazine with a piece of rope from the marine store (less than $2.) and some Plasti Dip I had left over from my seafood fork project.  I got a little fancy and bought a bracelet clasp and some wire to use as an attachment and the total for supplies still came out under $5.

The best part is that I love the necklace!  I thought I would wear it with t-shirts, but I really like the way it looks with my gray and white striped long t-shirt dress…so perfect!  All I did was to knot the rope and dip it in Plasti Dip.  The necklace I saw had a red accent, but I decided to use blue since I had some blue Plasti Dip on hand.  I liked the look of two coats of Plasti Dip, but you can easily add more coats if you want the colored area to have a thicker look.

diy necklace

When you buy the rope at the marine store, it is best to get the exact length you want, because they will burn the edges for you to prevent it from unraveling.  There are plenty of different rope options to choose from and the cost is calculated per yard.  I thought the craft store would have some type of clamp to use as a fastener, but I couldn’t find one large enough to fit the diameter of the rope so I crafted a fastener out of a bracelet fastener.  Maybe a jewelry supply store would have something different or, another fastening option would be to tie or fuse the two ends together – slipping the necklace over your head.

So, that is a simple way to create a nautical feel necklace!  I think knotted napkin rings dipped in Plasti Dip would be another great variation on this project.  Plasti Dip can be tinted any color, so there are plenty of color options…have fun with it!

Thanks so much for stopping by.  Remember to take pleasure in simple things, Jackie

Sharing at Elizabeth & Co. and Silver Pennies.

1 comment » | diy, sand & sea, swag

diy painted glass vase

16
July

easy color-coordinated vase

Have you painted the inside of an old jar yet?  It seems to be very popular right now.  When I first started seeing them around, I had to laugh, because when I was young, painting old jars was something my friends and I  would do at the summer playground when we ran out of all other craft materials…after exhausting all the supplies for making tile ashtrays and gimp keychains.

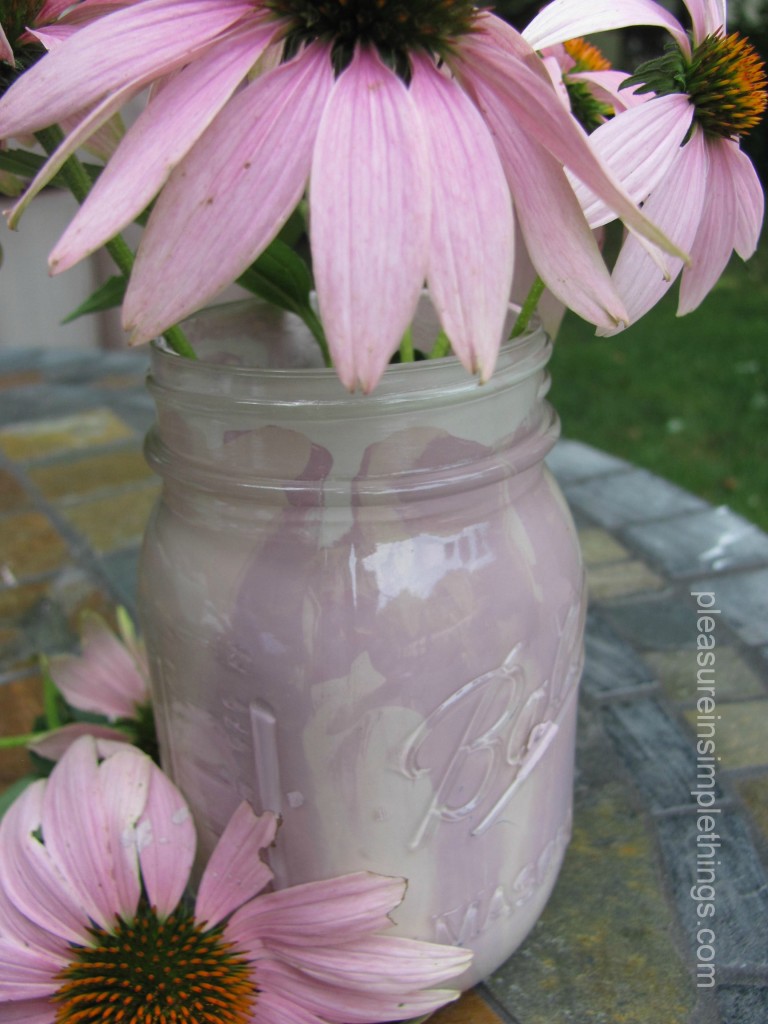
Over the years, I have painted an occasional jar as a nostalgic activity.  I haven’t really been motivated to do it lately…not, that is, until I was in Anthropologie the other day and saw the many jars the store was using as props for their in-store displays.  They had painted the insides of mason jars.  But, rather than painting each jar a solid color, several colors were used in each jar.  The result was almost a tie-dyed look.  Using pastel colors in similar hues, I thought the effect was really beautiful.

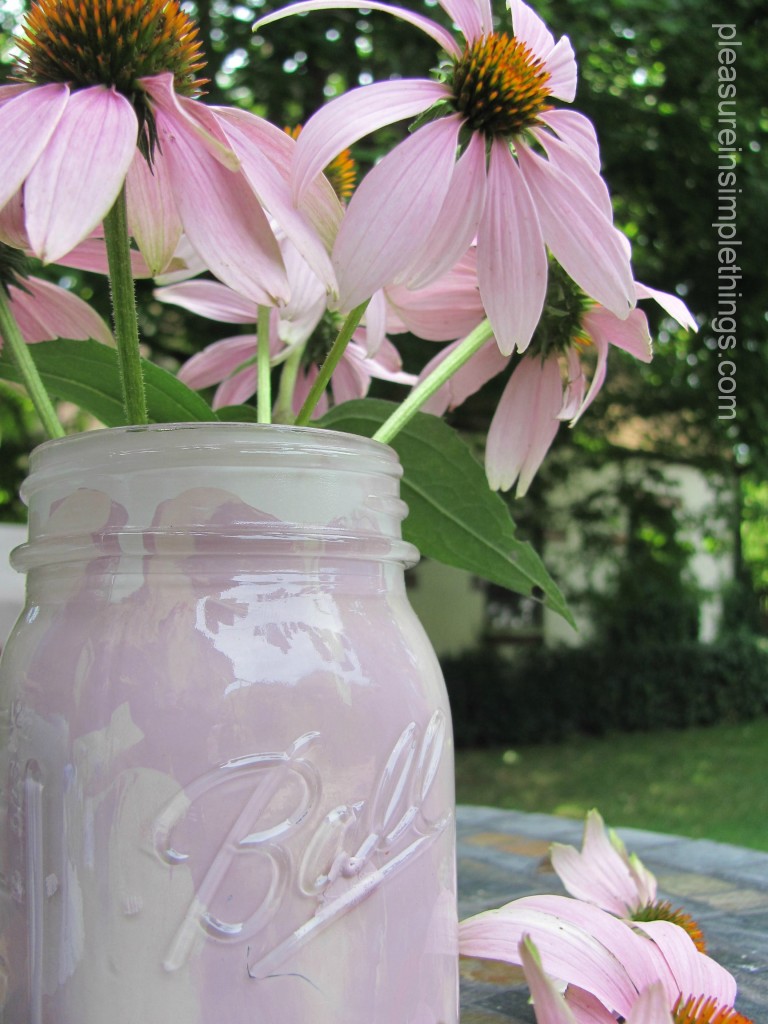
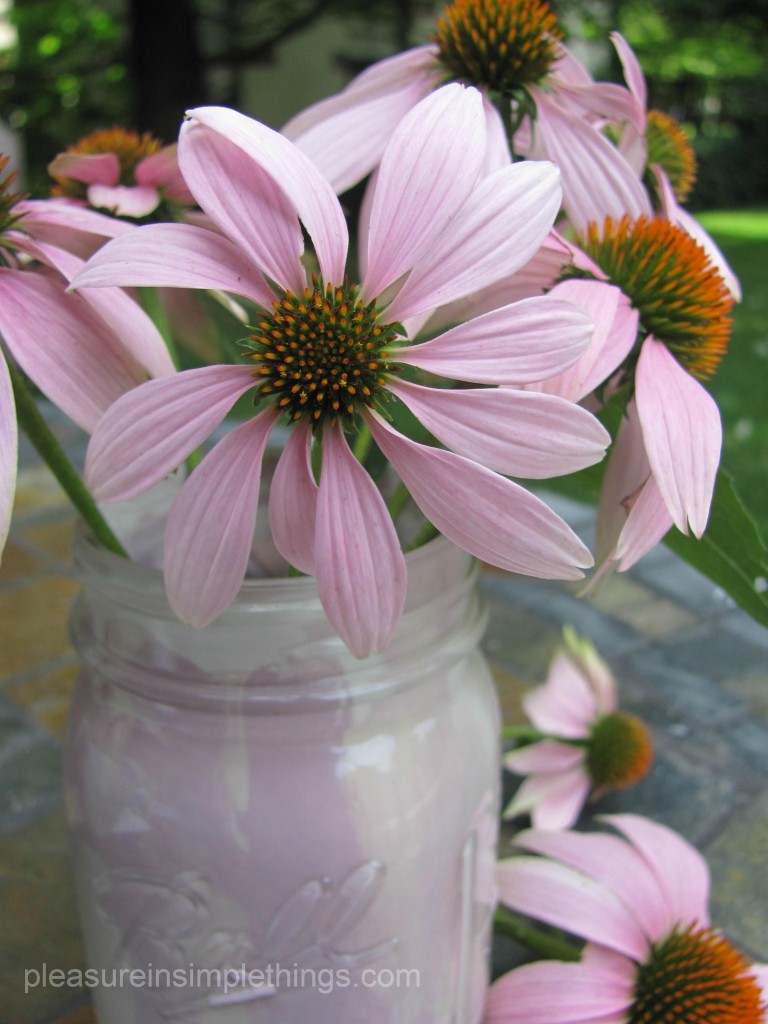
With my coneflowers in full bloom, I decided to paint a jar in colors to coordinate with the color of the coneflower  blooms.  I have purple coneflowers, so I would use subtle shades of lavender and gray.

It is such an easy process…if you haven’t yet tried it, don’t feel intimidated.  You can’t mess up :)  Simply pour a little paint into the jar and swirl it around to cover the inside of the glass…that’s it!

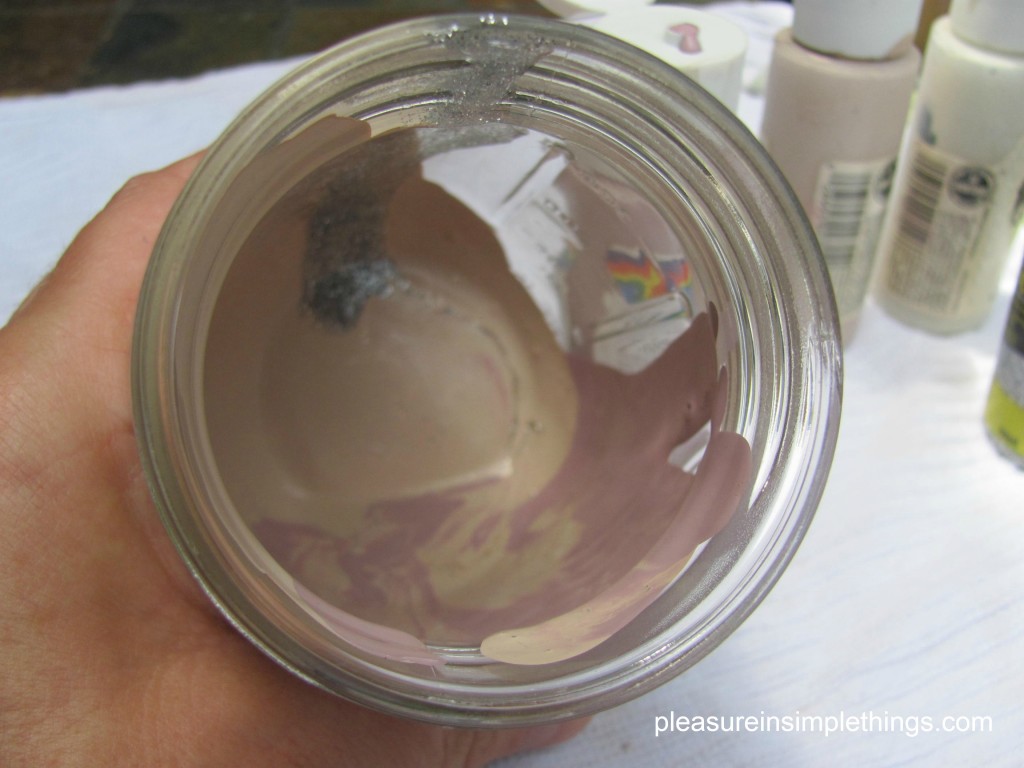
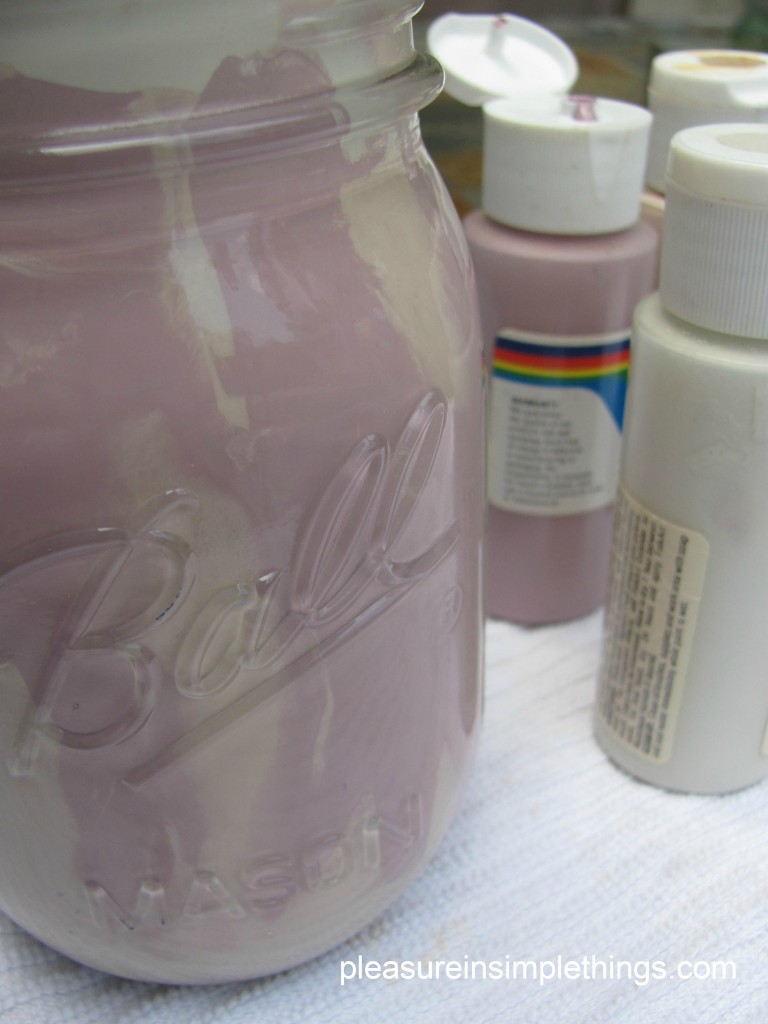
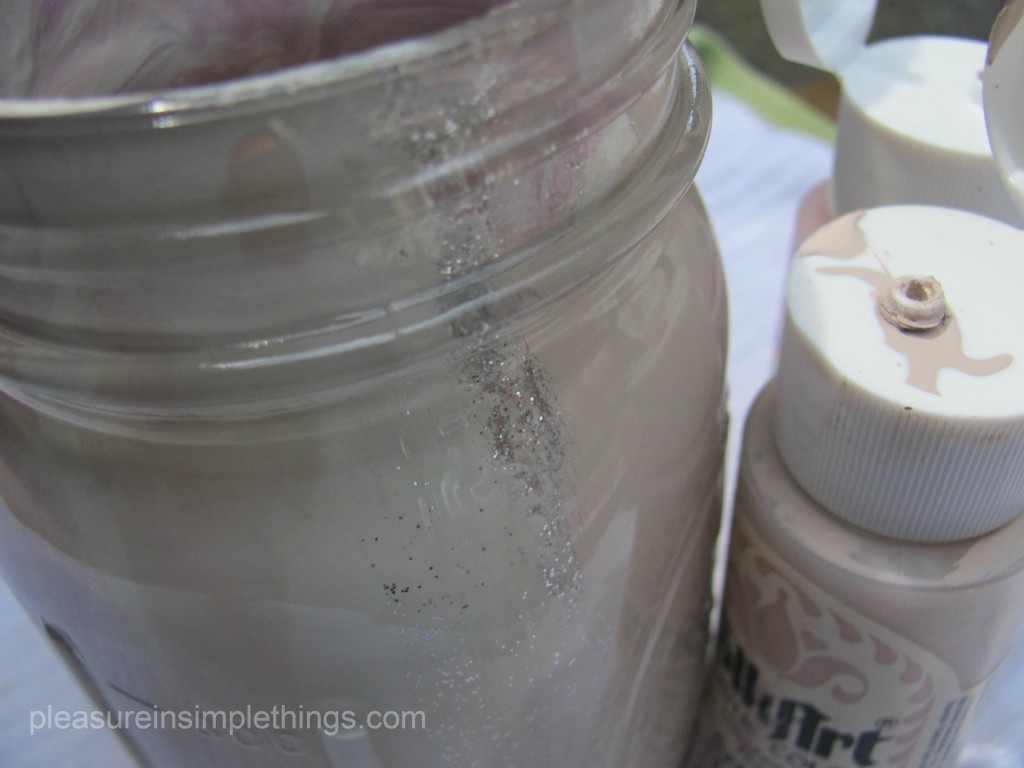
I found out that my craft store plastic paint bottles were perfect for the multi-color application.  I just squeezed the various colors into the jar and swirled them around.  I added a little splash of silver too, just to add a little sparkle.  You can control the pattern the paint creates by controlling which colors hit the glass first.  Let some paint drip from the top to the bottom of the glass.  Then, pour some paint in the bottom of the jar and swirl it around, tipping it to cover the sides.

If you make an experimental jar first, you can get the feel for how you can control the pattern of the paint covering the glass.  I experimented on a couple of Snapple jars that were in my recycling bin, but I saved a mason jar for the vase I intended for the coneflowers.

The great appeal of this project is being able to create a vase in any color scheme you choose, at virtually no cost – repurposing old jars and leftover paint.  It’s easy to instantly create a vase to match a color scheme for a party or a room in your home.

Give it a try!  Please post a photo of your creation on my facebook page:    https://www.facebook.com/insimplethings

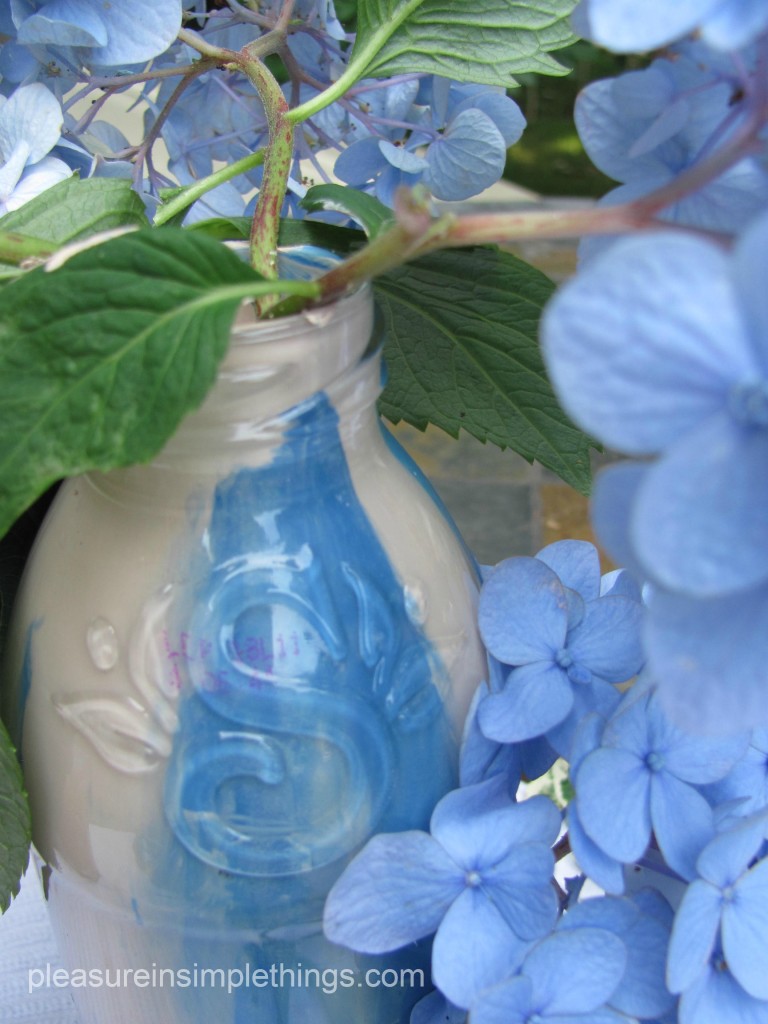
Note:  I put a plastic cup inside the jar to contain the water.  I don’t think the water sitting in the paint would provide a happy result ;)

3 comments » | diy

Back to top