Subscribe to Pleasure in Simple Things via RSS ReaderFollow Pleasure in Simple Things on InstagramFollow @InSimpleThings on TwitterLike Pleasure In Simple Things on FacebookFollow Pleasure In Simple Things on PinterestEmail Jackie

Tag: beach


patriotic tie-dye on the beach

4
July

patriotic tees pleasure in simple things diy

Happy Fourth my friends!  For Friday field trip today, I am taking you to the beach to show you my summer shirt creations made to wear to today’s neighborhood parade and party on the beach!

Tie-dye is the perfect beach craft – not only because it is fun, but because as a beach activity, there is very little mess or clean up.

Both experienced and first-time tie-dyers enjoy making their own patriotic creations!

If you want to hold your own patriotic tie-dye session, not much is needed to have a really fun time that produces some great results!

patriotic tie=dye pleasure in simple things

Patriotic Tie-Dye Supplies

  • 1 bottle Rit Liquid Dye (8 oz.) in navy blue
  • 1 bottle Rit Liquid Dye (8 oz.) in cherry red
  • Rubber bands
  • 2 cups salt
  • All cotton tee shirts
  • 2 plastic dish pails (each large enough to accommodate 3 gallons of water)
  • Rubber gloves to protect hands from dye (optional, but recommended)

The most economical way to purchase shirts is to choose (all cotton) shirts in multiple packs at a discount store.  But, you don’t necessarily need to purchase shirts – you can use some shirts or other articles you already own!  (It is fine to use a white shirt with writing…maybe a tie-dyed version of a shirt from your alma mater!)  Another option, if purchasing shirts is not in your budget, is to simply ask your guests to bring their own!

tie-dye on the beach pleasure in simple things

As everyone gets wrapped up in the excitement of the activity, it is inevitable at our house that one of the kids raids their sock or underwear drawer to add some extra articles of clothing to the mix…old pillowcases and sheets are also fair game!

beach tie-dye pleasure in simple things

First, be sure to wet the articles of clothing you intend to dye and wring out excess water in preparation for dyeing…this produces the best results.

The next step is to add tie-dyeing at the beach pleasure in simple thingsthe elastics.   The elastics prevent the dye from getting to the part of the shirt they are attached to, so be sure to make them tight!  There are so many variations of designs that can be created.  Even experienced tie-dyers come up with new designs… If you are at a loss for ideas, you can use an online resource to find suggestions for applying elastics for specific designs.  We like to just wing it and see what results!
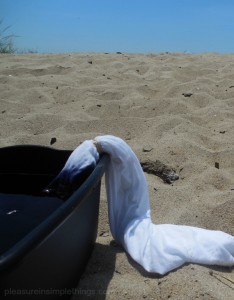
After the shirts are prepared with the elastics, prepare the dye baths.  I prefer liquid dye and I use it double strength.  For each color, first dissolve 1 cup of salt (it helps better set the dye) in 3 gallons of hot water before mixing in an 8 oz. bottle of liquid dye.

tie-dye on the beach pleasure in simple things

As far as the actual dyeing, like Easter eggs, everyone comes up with their own favorite technique.  That may be leaving the entire piece in one color…it may be dipping various parts of the shirt in each color, etc.  Dip or submerge your shirt into the desired color(s) and have fun!  The longer the piece remains in the dye, the stronger the color.

patriotic tie-dye on the sand pleasure in simple things

When you are done, squeeze the excess dye from the finished product and rinse with cold water from the hose until the runoff runs clear.  Cold saltwater helps set the color, so we end the process by throwing the item into the ocean!

tie-dye at the beach pleasure in simple things

Now to remove the elastics…this is the best part!  Everyone loves pulling off the elastics after the dyeing process to proudly admire the final results!  And, every shirt looks so good…it is impossible to mess up a shirt – every one looks super!

You now have a tee in patriotic colors!  Enjoy!

After the shirt is dry, you can further embellish it with fabric paint – In the past, I have used silver metallic puffy fabric paint to add stars to a 4th of July tee.

tie-dye at the beach pleasure in simple things

Thanks for stopping by and I hope today’s field trip will inspire you to hold a tie-dying session of your own!

Have a wonderful weekend!  Remember to take pleasure in simple things, Jackie

Sharing with Silver Pennies, Coastal Charm, and Sand & Sisal.

Comments Off on patriotic tie-dye on the beach | diy, field trips, holiday, sand & sea

july book giveaway!

1
July

july book giveaway pleasure in simple things

Congratulations to Candice in Chicago, the winner of the June giveaway book, The Interestings by Meg Wolitzer!  Be sure to tuck this author-signed paperback into your beach bag for some great summer reading!

When I came across the book Summertime edited by Joanne Dugan, I knew it had to be the July giveaway book!  It is a marvelous collection of summer photos joined with some wonderful quotes.  Because I love so many of the images contained in this book and because so many of the quotes in this book are favorites of mine; it almost seems like I could have been the editor of Summertime!  The book is a wonderful tribute to this special (and my favorite) time of year!

summertime edited by joanne dugan

“Summertime,” edited by Joanne Dugan, is a wonderful tribute to my favorite time of year!

Summertime is the perfect hostess gift for when you spend the day at a friend’s beach house or a great book to flip through during the long winter months when summer seems so far away!  The images in Summertime will instantly transport you to a more relaxing time when the weather is warm and the living is easy!  :)

Simply leave a comment here on the blog (or Instagram, or Facebook) and let me know you would like to own this book and you will be entered to win.

Instagram users, please read on!  For the pleasure in simple things July Instagram challenge, please share your own summertime photos…what does summer mean to you?  Salt water breezes?  Eating a freeze pop?  Watching fireworks?  Share your photos during the month of July with hashtag #pleasuregram.

instagram challenge 2014 pleasure in simple things

Happy summer!  Thanks for stopping by, Jackie  

1 comment » | good reads, monthly book giveaway, sand & sea

summertime diy napkin rings

13
May

diy summer napkin rings

What flower suggests the summertime to you?  Queen Anne’s lace screams summer to me.  Even though some people may consider it a weed…I see it as a sweet and nostalgic symbol of the summertime!  Combining this flower with a napkin ring creates the perfect summer accessory for outdoor dinners on the sand. :)

diy napkin ring with mason jar

I recently saw a photo in a magazine of a napkin ring with a bloom of Queen Anne’s lace and I fell in love with it!

diy napkin rings on the beach

The napkin ring was listed as available from Crate & Barrel.  Normally, I would have run right out to Crate & Barrel and scooped some up – they were so reasonably priced!  (And I love any excuse to visit the store!)  But, since I already had all the materials needed to create them at home, I was able to make them up at basically no cost!  Besides, I had been eager to upscale the old napkin rings my friend Terry gave me months ago…she knew I would find a great use for them!  (Thank you Terry!)

summer napkin ring diy

I had picked up a solitary stem of artificial Queen Anne’s lace last summer in the bargain bin at the craft store – not really sure what I’d do with it.  Conveniently, it contained four blooms on the one stem – perfect to create a set of napkin rings!

sea glass

Adding in some scrap twine, I made all four napkin rings for the cost of the flower stem ($1. plus tax).  These napkin rings will serve as the perfect accessory for some of my many nautical napkins to use with meals on the beach this summer.

diy twine napkin rings

I wrapped each napkin ring with twine – using my trusty glue gun to hold the twine in place.  After completely covering the old napkin ring, I removed a bloom from the stem of the artificial flower and affixed it to the top of the twine covered ring using the glue gun.

instructions for diy napkin rings

Easy!  This technique can be used for any artificial flower you may have…or, one you have crafted from paper.  This is also a great and inexpensive way to add a theme color or favorite flower to a bridal shower… or any celebration!  Recycle old napkin rings, curtain rings, or shower rings using this technique to create some beautiful new napkin rings!

diy napkin rings with anchor napkins

diy napkin ring on the sand

I love my new napkin rings…and, the Queen Anne’s lace reminds me that summer is ahead!

photo of beach grass

A nostalgic summertime song to set the mood for meals on the beach.  :)

Thanks so much for stopping by!  Remember to take pleasure in simple things, Jackie

P.S.  You can click here for a tutorial on making the anchor napkins shown here…and click here for some great ways to use seaglass Enjoy!

Sharing at Sand & Sisal, Finding Silver Pennies, and Savvy Southern Style.

Comments Off on summertime diy napkin rings | diy, food & festivities, sand & sea

fall at the beach

25
October

hand holding shell

Fall is not just about pretty leaves.  Nature provides the season with so much more…

Here in Connecticut, the fall brings a special kind of serenity to the beach…our destination for today’s Friday field trip.

life guard chair at beach

fall at the beach seagull

The frenzy of summer activity has disappeared and the shore has taken on a calm that enhances its beauty.

shell at beach in fall

All is quiet except for the occasional squawk of a gull and the subtle sound of the waves licking the shore.

fall at the beach

dusk at the beach in fall

I hope you enjoyed sharing these photos …If you live near the beach, make it a point to stop by for a fall visit. :)

Thanks so much for joining me for Friday field trip.

Have a wonderful weekend enjoying the beauty of the season,  Jackie

3 comments » | field trips, sand & sea

summer in the cape

16
August

cape cod

Cape Cod, Massachusetts is one of those places that holds many happy memories for me.  During my childhood, I enjoyed many family vacations in ‘the Cape.’  I had an opportunity to visit my old vacation spot recently, when I attended a service to honor the life of a special friend that had passed.

Wequassett Resort in Cape Cod

While there, I got the chance to reconnect with some friends that live in Chatham…not only did I enjoy spending some time catching up, but also enjoyed the beautiful view at the Wequassett Resort…

Visiting Wequassett Resort in Cape Cod

I thought I would share some of the beautiful view with you in today’s Friday field trip.  Now remember, this is just a brief point in time at the Cape…dinner with friends as sunset approaches…Can you even imagine the beauty when you live there full time?  Enjoy the photos!

Sunset at Wequassett Resort in Cape Cod

Sunset at Wequassett Resort in Cape Cod

Thanks so much Ed & Steph…for sharing…not only your friendship, but your special spot. :)

Sunset at Wequassett Resort in Cape Cod

Wequassett Resort in Cape Cod

Wequassett Resort in Cape Cod

Sunset in Cape Cod

Wequassett Resort in Cape Cod

Sunset in Cape Cod, MA

Wequassett Resort in Cape Cod

Reconnect with some old friends and enjoy the rest of your summer to the fullest!  Have a wonderful weekend, Jackie

2 comments » | field trips, sand & sea, travel

making candles in the sand

5
July

candles in scallop shells

For a long time I have wanted to make a sand candle like the ones I made as a kid.  Recently I came across a rock I painted back in junior high school and it got me thinking once again about making a sand candle.   So, today’s Friday field trip is a nostalgic trip back to my childhood to make some sand candles.

rock painted with owl

Back in junior high, our candle making was very basic – we melted candle wax in a tin can over a hot plate.  Rather than spoil the nostalgia, I decided to make my sand candle from memory and forgo any formal candle making research.

Candle makers probably use thermometers, scents, colors and other ‘fancy’ equipment for accuracy and safety.  My equipment is some wax and an old pan.  I did purchase a package of votive candle wicks from the craft store that I happen to notice when I stopped in to pick up a 1 lb. block of wax.  I think in junior high we just used twine dipped in wax.  So, I am going a little bit ‘high tech’ with this project. ;)

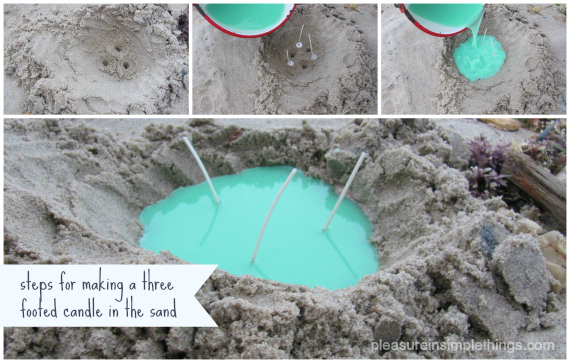
steps to making a footed candle in the sand

To make a sand candle, sand is used as the mold for the candle.  At low tide, the candle ‘mold’ is made in the sand.  I made an oval shape in the sand and then poked a stick into the bottom in three places to make three ‘legs’ for the candle to stand on.  It’s a very simple premise.  And then, before the tide comes up again and the wax has hardened, I dig the candle out of the sand.  Sand adheres to the hot wax, creating a sandy outside to the candle.

I really didn’t want to keep the wax its natural white color.  Thinking a light lavender color may be pretty against the sand, I checked to see if I had a lavender crayon to add a little tint…nope.  I chose a ‘sea green’ crayon from the colors I had and threw it into the pot with the wax.

making scallop shells in the sand

I used an old pot that I keep specifically for various craft projects –like tie dyeing, or other projects where I don’t want to ruin my good pans.  I melted the wax using a double boiler method, melting it slowly since I wasn’t sure about the safety of melting wax and wanted to be as cautious as possible.

candle made in the sand

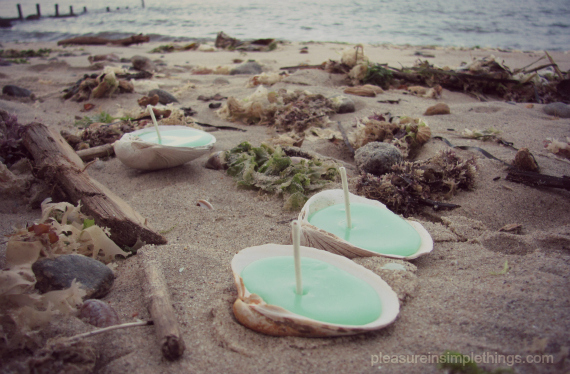
Once the wax melted, I used a pot holder to carry the pot out to the mold in the sand.  After I poured in the wax I needed, I poured the remaining wax into shells I found on the beach after adding wicks from the bag I had purchased.

sea green shell candles and flowers

candle in a scallop shell

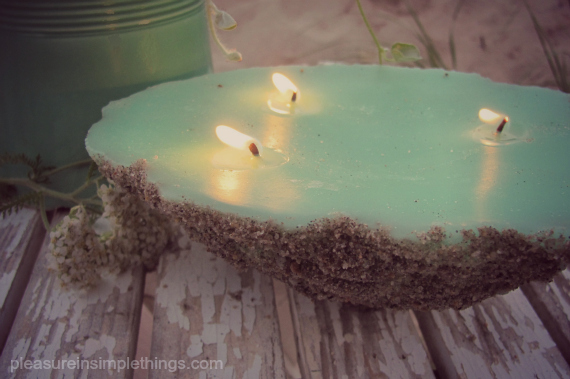
And, that is it!  The hardest part is timing the tide!  If you don’t have a beach, you can certainly use this method with a bucket of sand…and then you don’t have to worry about the high tide coming in and taking your candle out to sea! ;)  I was so excited about my nostalgic creations, the next day I couldn’t wait for it to get dark so I could light them!

candles in scallop shells

dusk at the beach with shell candles

Now that I got that out of my system, I wonder what other crafts from my past I can recreate…

flowers at nightfall at the beach

Until next time…

Thanks for visiting.  Remember to take pleasure in simple things, Jackie

Sharing at The Shabby Nest.

4 comments » | diy, field trips, sand & sea

seafood swag

2
July

diy seafood forks

You may already know that I am a big Plasti Dip fan from my wooden spoon tutorial.  Today, I am going to show you how I used Plasti Dip to give an old set of seafood forks new life by putting a colorful plastic coating on the handles. 

'before' seafood forks for Plasti DipI was lucky enough to be the recipient of an old set of seafood forks from my friend Terry…thanks again T ;)  If you don’t have a friend like mine to give you good stuff to recycle, you can head to a thrift store.  The forks don’t need to match since the color you choose for the Plasti Dip will tie the set together.

I wanted my seafood fork set for eating shellfish on the beach and decided on royal blue for my Plasti Dip color.  Following the directions on the ‘Make Your Own Color Kit’, I used blue and a little bit of black to mix the color I wanted. 

eating shellfish at the beach

DIY seafood forks

Plasti Dip is very easy to use.  You can follow my spoon tutorial if you need some instruction.  In the same way that I dipped the wooden spoons, I dipped each seafood fork into the Plasti Dip.  Easy! 

revamped seafood forks

After allowing for drying time, my forks are ready to use!

seafood fork DIY

Now I have a colorful supply of seafood forks that I love!  Mussels anyone?

shellfish on the sand

Thanks so much for visiting!

Remember to take pleasure in simple things, Jackie  Be sure to ‘like’ my facebook page and follow on Instagram to share more summer photos!

Sharing at Coastal Charm.

6 comments » | diy, food & festivities, sand & sea

coastal nail colors

5
April

kayak at beach

This is an unusual Friday field trip.  It is a trip to the beach…we all need that right about now, don’t you think?  I know, a Friday field trip to the beach is not that unusual…especially for me.  But, the reason for the trip to the beach is a little unusual…the reason is to create a nail polish collection!

I have always wanted to create a nail polish collection and I have been inspired to do so from so many sources…I could create an entire collection just from the colors of my sea glass or, an entire collection of neutrals just from the white flowers in my garden.!  And, there definitely is plenty of color inspiration at the beach…many more colors than I wanted for just one collection.  I decided the collection would be six shades…the top six…and these shades would be the ones I most wanted to wear.    A versatile collection and, a realistic one.  Cutting it down to six was not easy!  This meant I had to eliminate watermelon slushie, beach donuts, gull, lavender sea glass, and ragosa – to name a few.

Connecticut coast photo

color of clouds

I think a beach collection has to contain some blue…there is so much blue at the beach.  Rather than go with the obvious…water…I decided to get inspired by the sky.

The beauty of the sky at the beach is that it is always changing.  Sometimes, when the weather is the most severe, the sky is the most beautiful.  A clear sunny day may be what a beach lover craves, but it certainly is not the most beautiful sky at the shore.  This photo illustrates this point perfectly… a clear, sunny day would not be as beautiful as the sky I captured  in this photo on a very cloudy day.  Because of this, the blue shade inspired from the sky is named cloud.

a photo of the water meeting the shore

color of a beach stone

Neutral colors are definitely my favorites and there are plenty to choose from at the beach.  Just as beautiful as a shell or a piece of sea glass, are the many stones at the beach.  They are sometimes speckled or striped…some are the most beautiful when wet with salt water.  The color inspired by one of these beauties is called beach stone.

photo of a beach house

color of a beach fence

Old whitewashed fences and posts are everywhere at the beach.  The old ones have so much more charm than anything new.  The age of the shore is part of the beauty contained in the wood.  This is the inspiration for the third color called old fence.

photo of sunglasses on the beach

color of sunglass reflection

Not all the color inspirations at the beach are natural objects…a beach umbrella, a horse on the carousel, or a striped beach towel can all prove to be color inspirations.  Here, I am inspired by the color of my sunglass lenses and I am naming this color reflection.

shell

color of the inside of a shell

An obvious choice for color inspiration is a shell.  The subtleties of color on some of the shells (both interiors and exteriors) on the beach are just so beautiful. Here it is the blush of mauve.  I’ve named the color shell.

photo of wet footprints at the beach

color of wet footprints at the beach

For the last color, it really needed to be a gray tone to round out the collection.  And gray is an easy color to come by at the beach.  For this shade, I was inspired by the wet footprints on the sun-bleached wooden path and named it footprint.  That makes six…

I present to you, the entire CONNECTICUT COAST NAIL COLOR COLLECTION 2013:

coastal nail polish collection

What do you think?  I would wear all of them!

I hope you enjoyed our Friday field trip to the beach to create a fantasy nail polish collection.

Dreaming of warm days and salty breezes :)

Thanks so much for visiting.  Have a wonderful weekend, Jackie

I am sharing at Boogieboard Cottage,  A Pinch of Joy, and Little Red House.

4 comments » | field trips, sand & sea

beach colors in january

25
January

What are “beach colors” to you?  Beige and blue?

Friday field trip this week is to the beach at sunset to explore January’s beach colors.

Not yet cleaned up after Hurricane Sandy, technically the beach I am visiting has been closed since the storm.  That, coupled with the fact that the temperature is in the single digits here in Connecticut, I wonder why I chose to make this a field trip!  Largely because of the frigid weather, my trip to the beach is a short one.

My stay is not more than twenty minutes long, but as always, I am not disappointed by the display of colors.  I don’t get as many opportunities to view the sunsets at the beach in the winter months since they occur during work hours…my sunset viewing usually limited to the weekends…until the days get longer anyway.

So, what do you think of as the colors of the beach?  Would these colors come to mind?

How about these?

Maybe not so much?

The photos I am sharing today were all taken at the same beach on the same visit and within a 20 minute time period.  I did not alter anything on any of the photos (not that I would know how to if I wanted to lol.)

colors of the beach in winter

Isn’t nature amazing?

winter beach colors

Can you tell one of my fantasies is to create a paint line lol?  I also dream about creating a collection of nailpolish colors with cute, cheeky names, but that’s for another day…

winter beach colors

I think showing swatches of some of the colors I saw on my beach visit is the best way to illustrate the amazing display and range of colors I witnessed on this frigid visit…I think it was even too cold for the seagulls!

winter beach colors

So beautiful!


winter beach colors


winter beach colors

I hope you enjoyed the amazing collection of colors from a winter day at the beach…especially those of you that may be landlocked.

Have an amazing weekend and remember to take pleasure in simple things…beauty is all around us!

Thanks for visiting,  Jackie

I am sharing this post at Mosiac Monday at Little Red House.

6 comments » | field trips, sand & sea

signs of summer…castles in the sand

2
June

friday field trip

sand castles in CT

It has been a really crazy week and I can’t believe I even have time to post, but I couldn’t let a Friday go by without a Friday field trip!  Here in Connecticut, we have been having some really hot weather…I think we had a day with a record breaking temperature…it really is starting to feel like summer :)

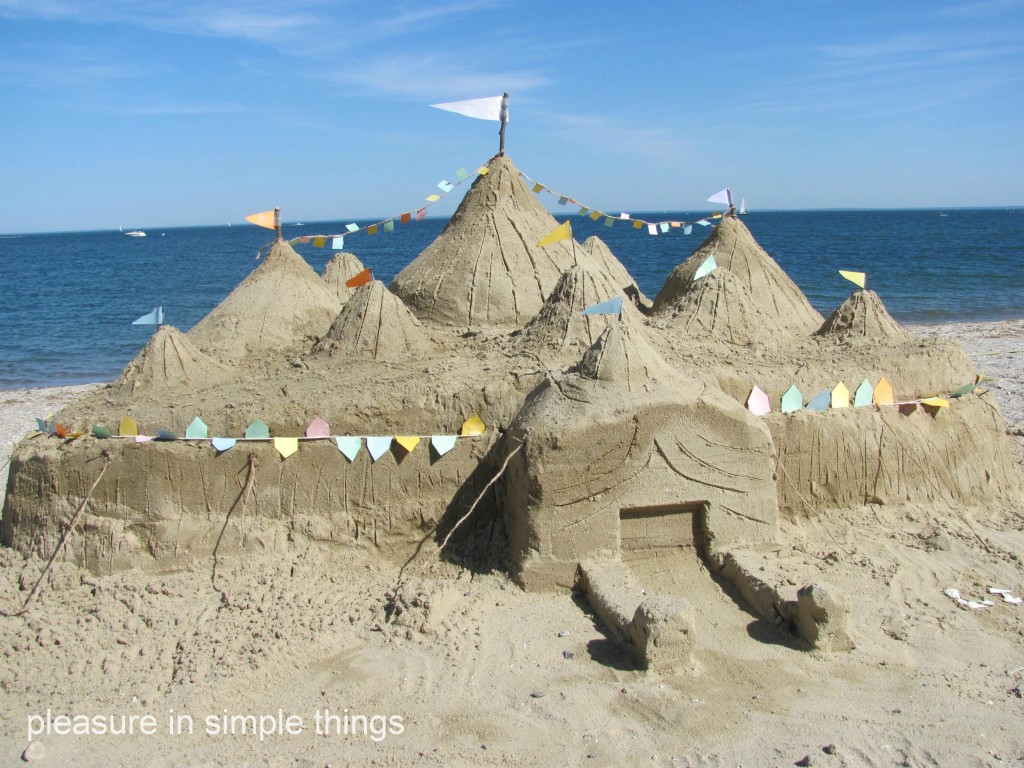
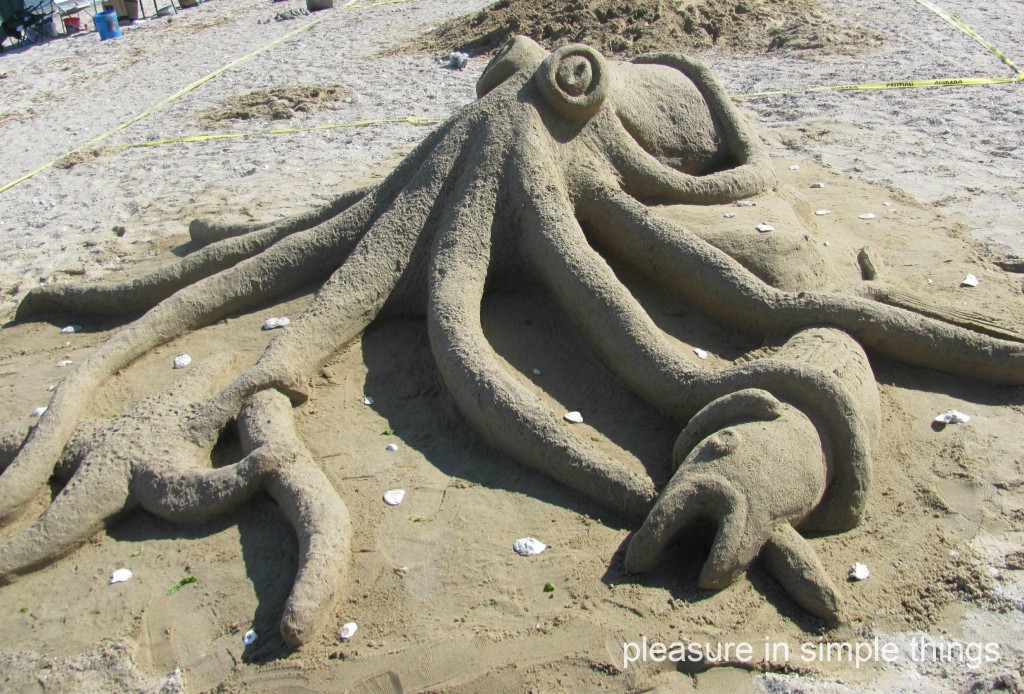
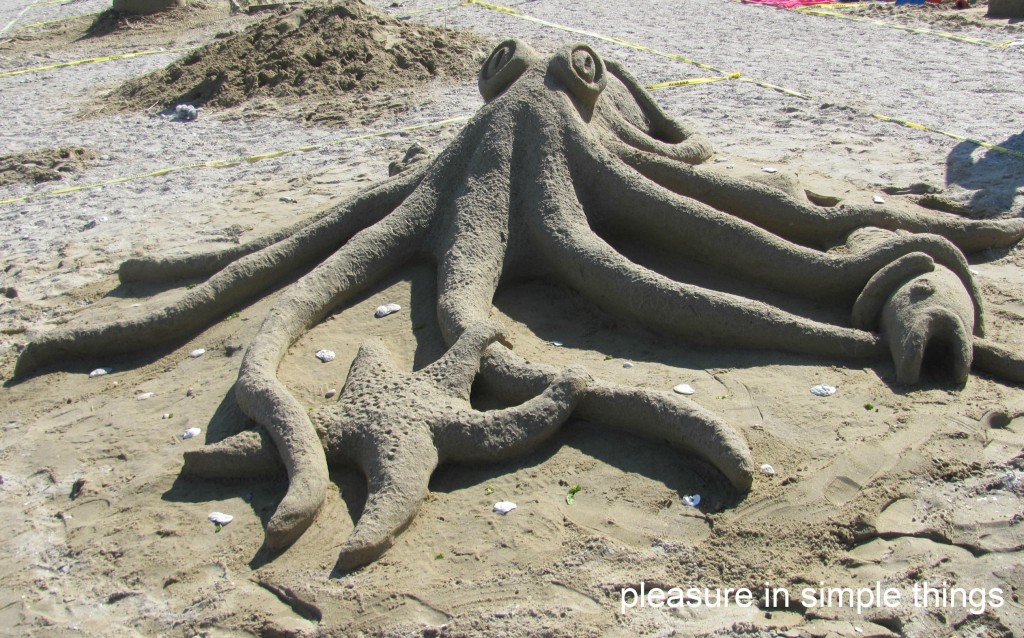
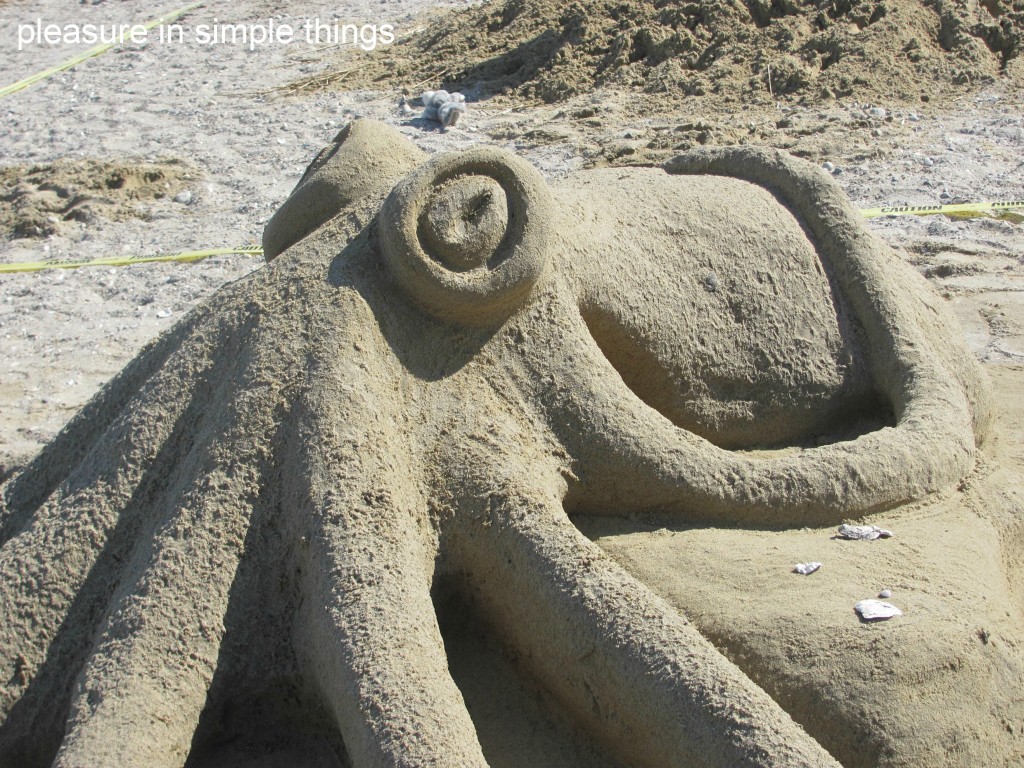
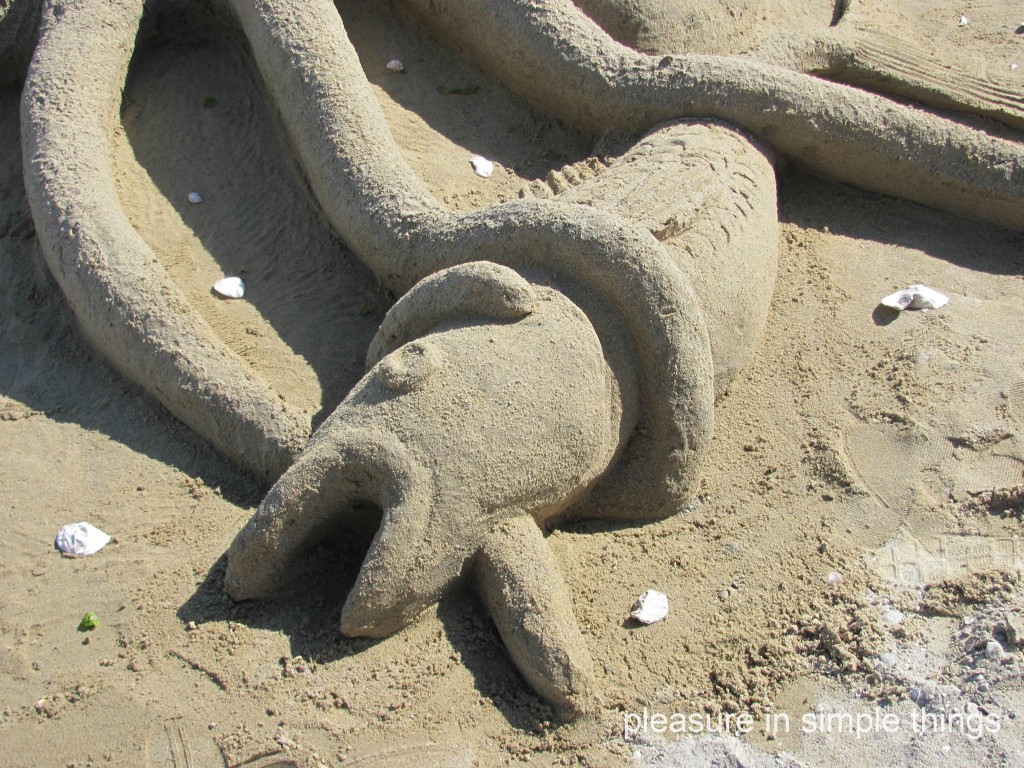
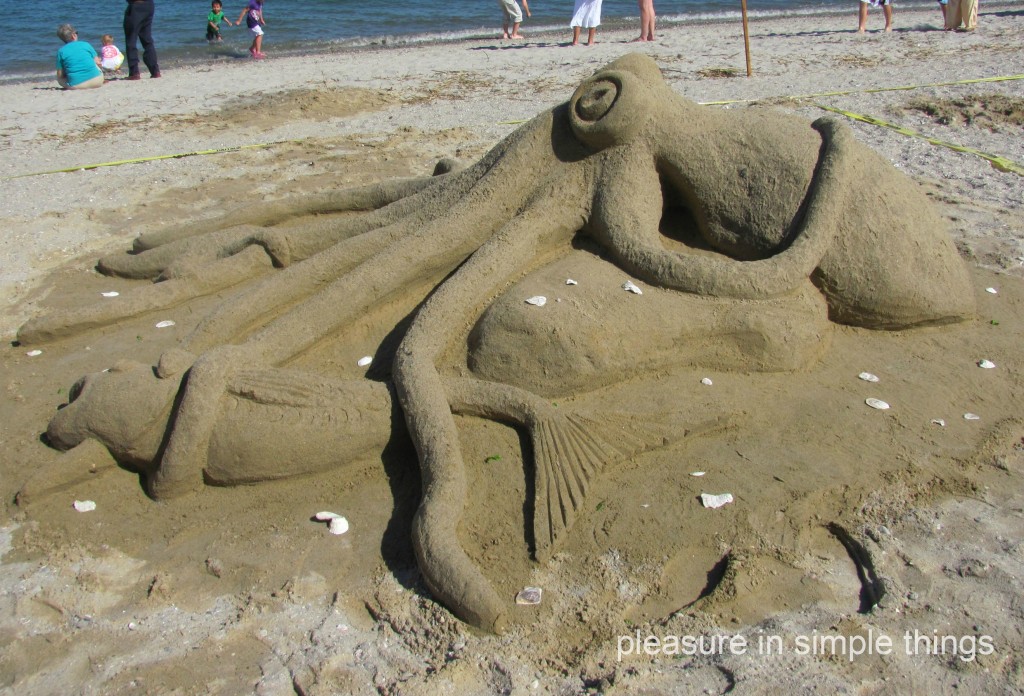
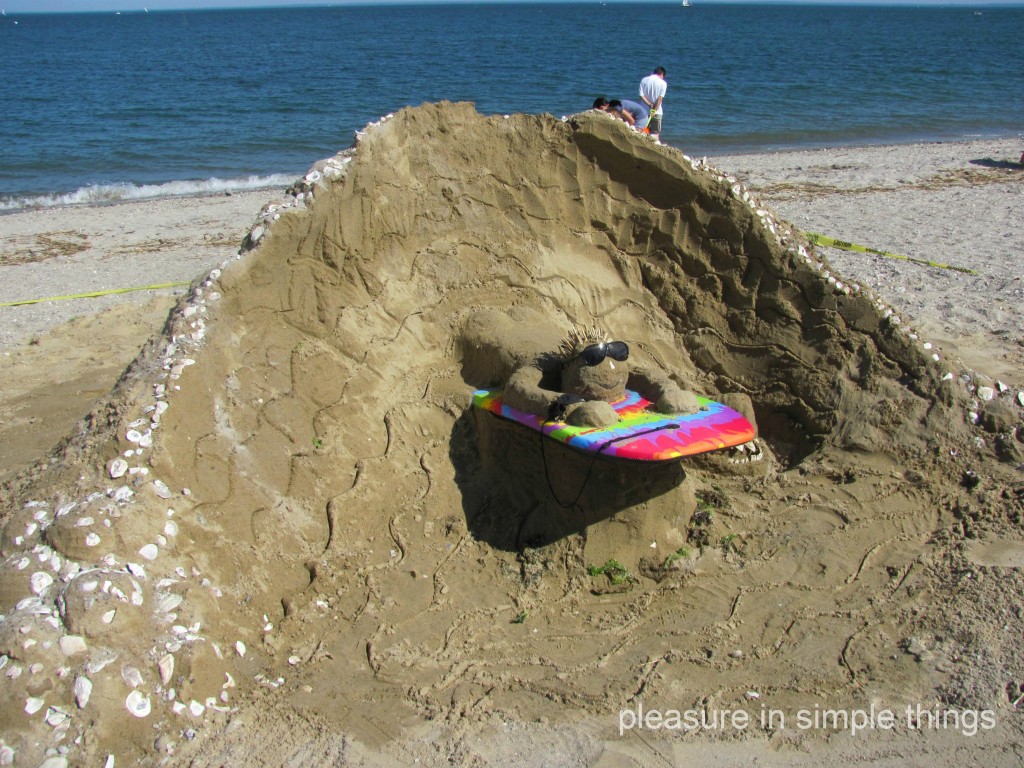
What better way to start gearing up for summer than to attend a sandcastle competition?  So, I decided to attend a local competition and post some photos to help get you into the summer spirit.  No better way to feel happy about the beach….except maybe to listen to the Beach Boys… or watch an episode of Sand Masters.

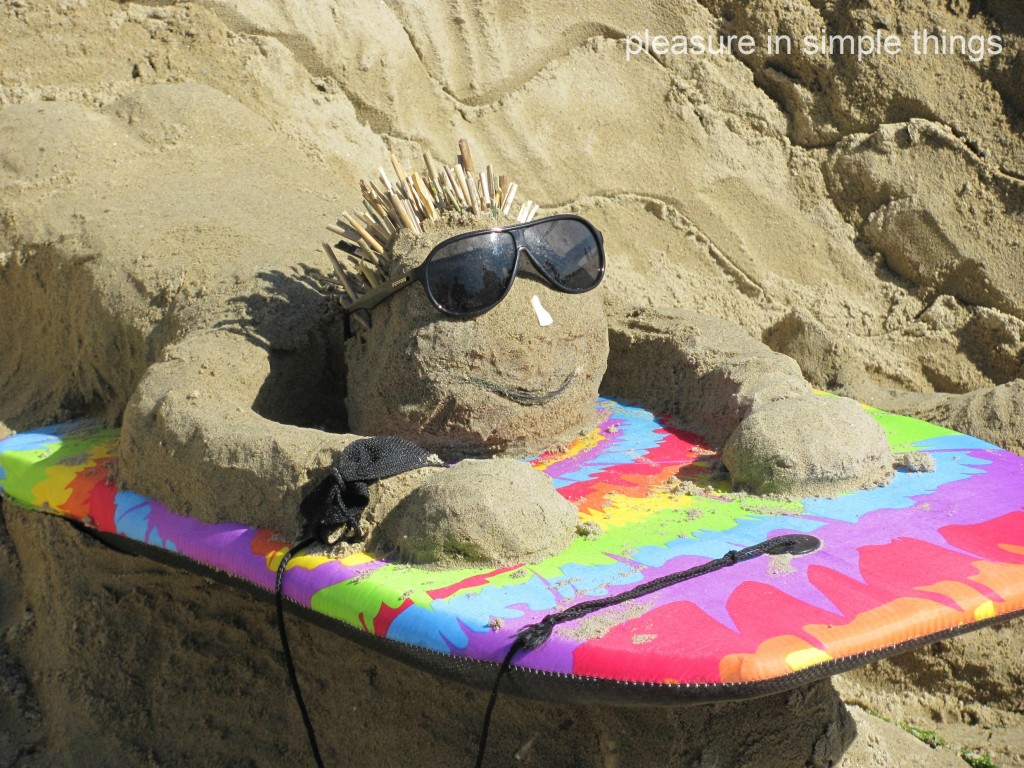
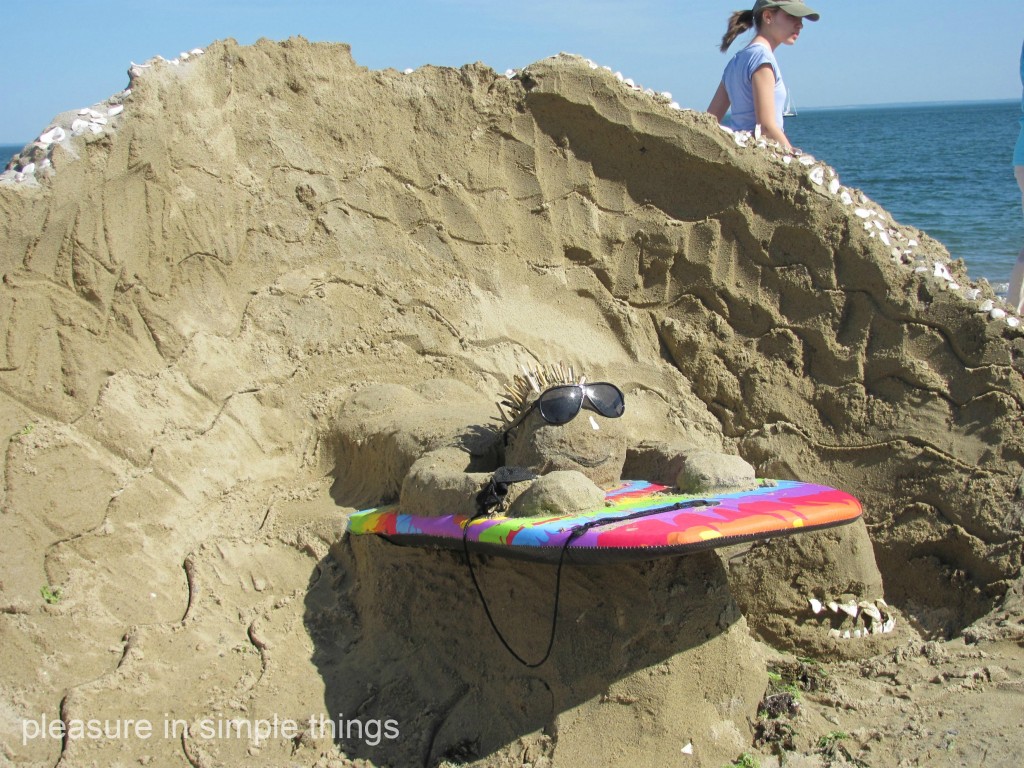
Here are my two favorites…


How about this ‘dude?’  Gotta love him :) Look at the hair!

Has anyone else out there discovered the show Sand Masters on the Travel channel?  I am enthralled with the show.   There are people out there that call themselves master sand sculptors and basically make a living out of creating things in the sand.  Sand Masters showcases these professionals.  If you live in an area that is hard-pressed for a sandcastle competition and my pictures aren’t enough…try checking out the show…you can watch it on the Travel channel or on line…here is a taste:

http://www.travelchannel.com/video/the-shark-bar-reborn

Hope you enjoyed Field Trip Friday…and a little taste of summer from here in Connecticut :)

2 comments » | sand & sea

Back to top