After posting a few photos of my bathroom remodel on Instagram stories, I was getting asked many questions about details of the redo – well, here is the story! For those interested, I listed the resources at the bottom of the post. (Some of the accessories are not new, so may be hard to find.)
It’s been a long haul redoing this bathroom. When I moved into my place, the bathroom was not my taste at all! Even before I moved in, I ripped everything out and cleared the walls to start with a clean slate.
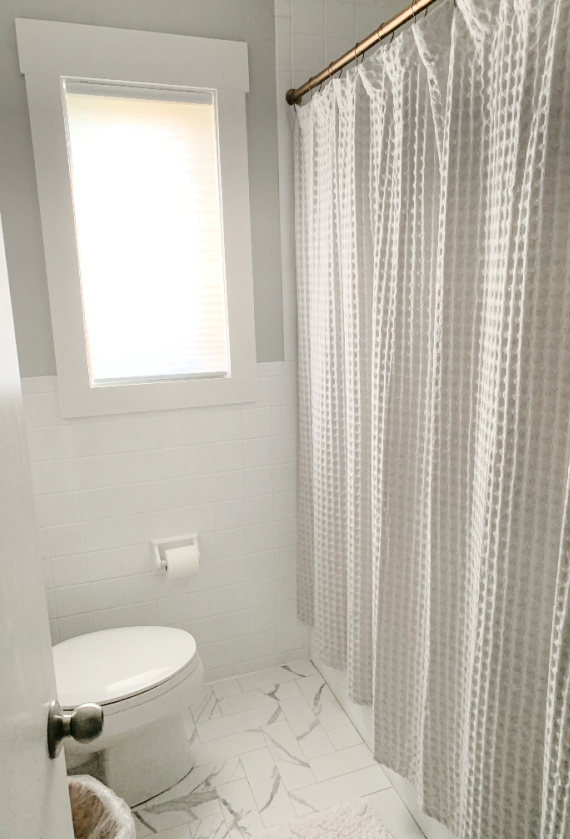
The large white squares of tile on the floor just screamed ‘80s to me and I couldn’t wait to remove them! After all the walls were repaired and painted, I had the floor tiled first thing. I had planned on putting in a small marble herringbone, but quickly found out what I liked and wanted did not fit in with my very tiny budget. I had the whole place to redo and, even though the bathroom was allocated a large percentage of my renovation budget, I couldn’t afford the tile I really wanted if I planned on redoing the entire room! So, I opted for a larger tile in a faux marble to give the floor a little bit of the vibe I wanted. (I still wish I could have gotten the small tiles!) And, it killed me to have to spend a big chunk of the bathroom budget on the unsexy items like repairing broken plumbing, upgrading to LED lighting and replacing a broken fan!
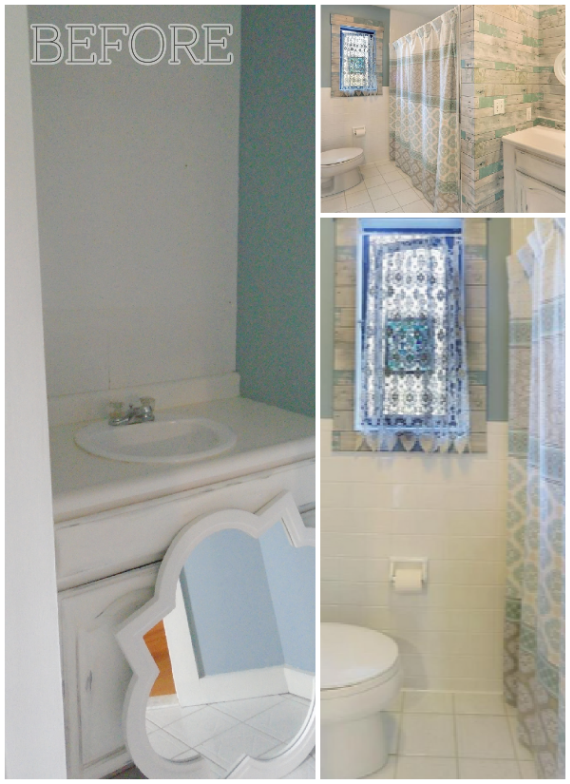
Because the bathroom is so small, has a sharp angle, and has an unusually small door opening, the hunt for a vanity was very discouraging! (Also makes taking photos impossible – I think the realtor used some type of trick photography to get the room into the photos!) And, the prices! (My favorite Pottery Barn vanity costs more than my entire bathroom redo!) The best deals were online and nothing I found online would fit through my bathroom door or swing the angle the room presented! I looked at some dressers and vintage pieces to repurpose, but came across the same issue. I figured the final assembly of any vanity would need to be completed in the room. I asked a few contractors for a custom estimate and, after looking at my bathroom, none of them called me back. I figure I probably could not have afforded them anyway!
So, how did I get the vanity made? Well, it just so happened my son was recently visiting from California. He asked about the bathroom when he was at my place and I explained my frustration with the vanity and my inability to move forward with the project. He said “I’ll give it a try.” I was surprised. To my knowledge, he had never built any furniture and I didn’t think he had much experience in woodworking. But, what did I have to lose? I knew he was great at building cars and he pretty much excels in anything he does, so I put my confidence in his ability to finally get my bathroom done! The thought of that bathroom finally finished and usable made me swoon!
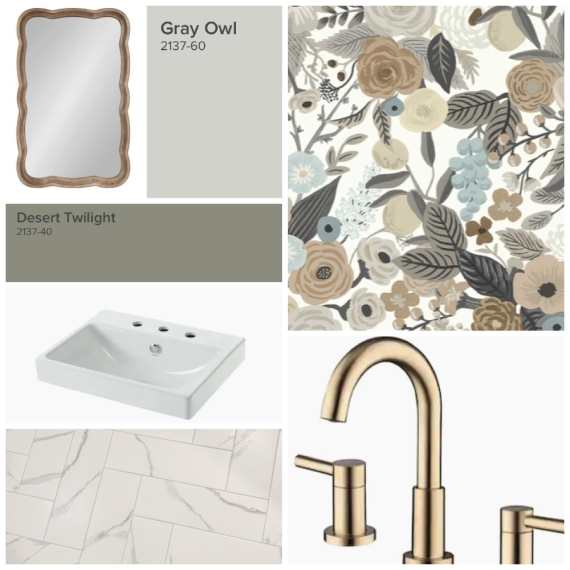
I quickly put together a mood board of what I envisioned for the space and my son started planning the build. As I watched his progress, I realized he didn’t just plan to build something to fill the space – he was planning a beautiful piece of furniture with some great added details.
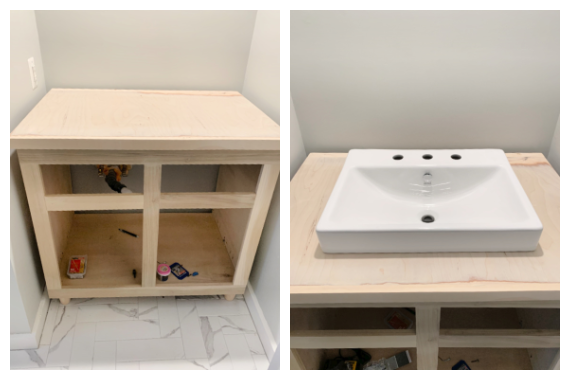
As he built the pieces, I started painting – I had a lot to do. The entire piece needed to be primed and painted. It is constructed entirely of Poplar. We discussed what would be best for the top of the piece. I really liked the idea of keeping it wood and using a vessel sink. He decided to add resin to the top after I painted it to protect the piece. It was a genius idea since putting the resin on makes the top pretty indestructible and using a matte finish also makes it pretty undetectable.
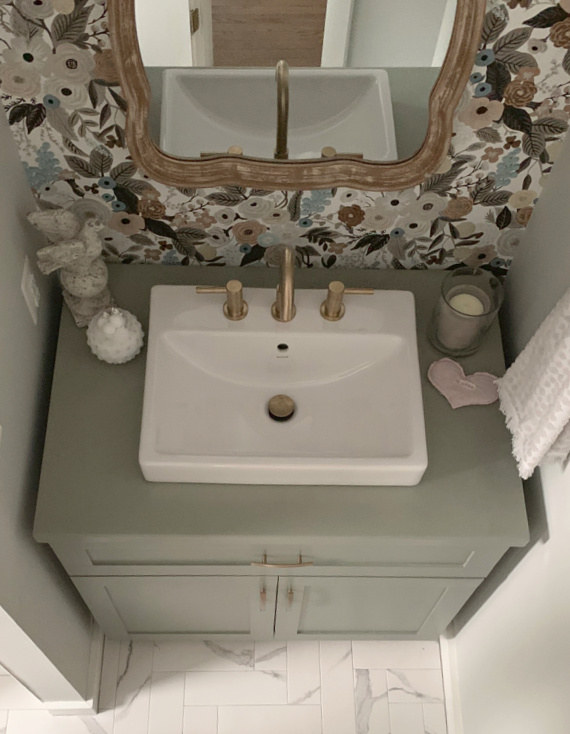
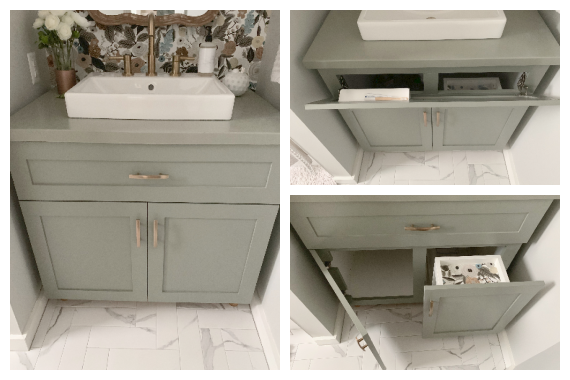
By having a custom piece, I was able to have a vanity made a little taller than a stock piece – which I love! There is plenty of storage inside. My son added a little flip door and a pull-out drawer on the side which also makes it super practical.
I ended up with a piece nicer than I could have imagined. Everything came together really great.
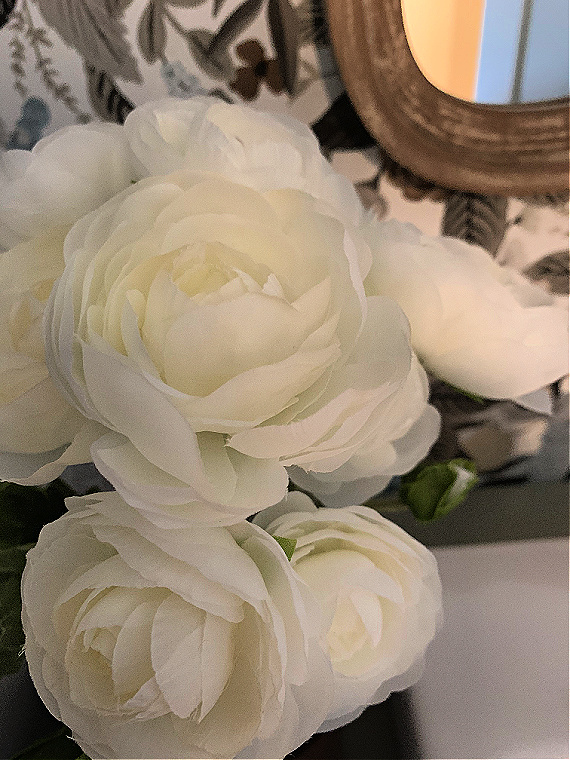
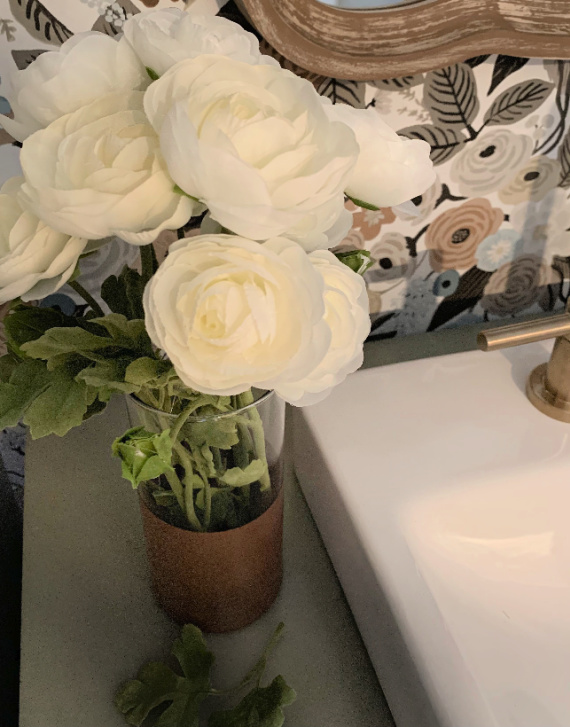
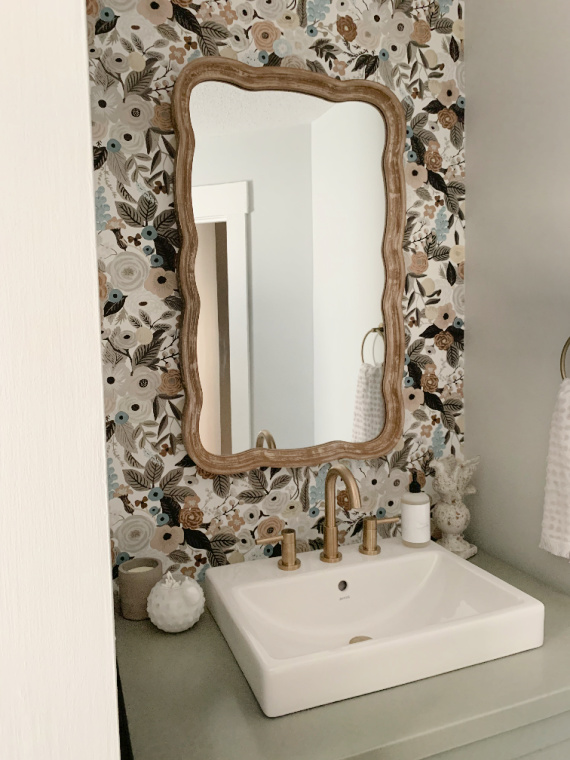
I am a big neutrals person and I always decorate with solids. I find most patterns get on my nerves after a while. The same thing with color. Since I was a teenager and started collecting home pieces, this has always been the case. I once painted a bathroom blue and instantly couldn’t wait to repaint it because it got on my nerves! So, putting up some statement wallpaper in this bathroom was a huge move for me! But, when I saw this Anna Rifle patterned paper, I instantly fell in love with it! (I’ve have always loved Anna’s paper products – especially when I worked at Anthropologie – and I’ve been to her studio in Florida.) I only papered the one wall behind the sink. That is plenty for me. The layout of my place makes this wall the first you see when walking down the hall and the wallpaper placement looks fabulous!
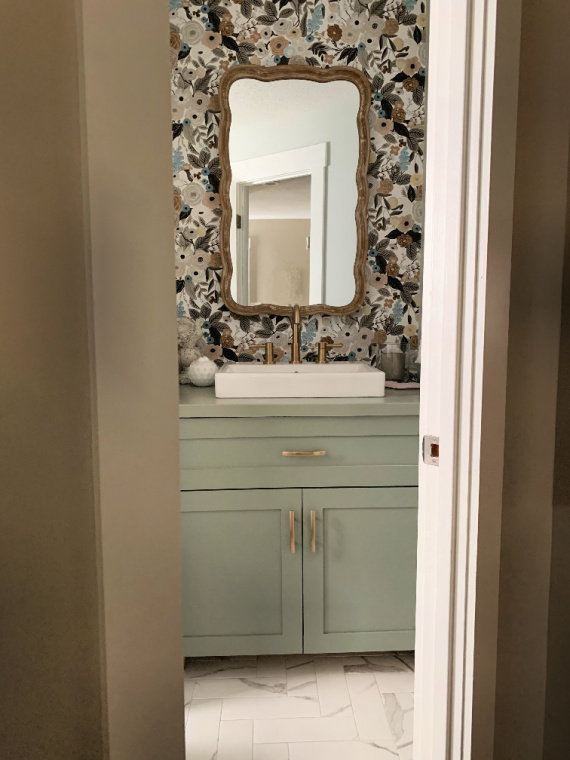
The vanity I thought would never happen is now the star of my bathroom. It is amazing! My son is a genius! And, a master craftsman – who knew!
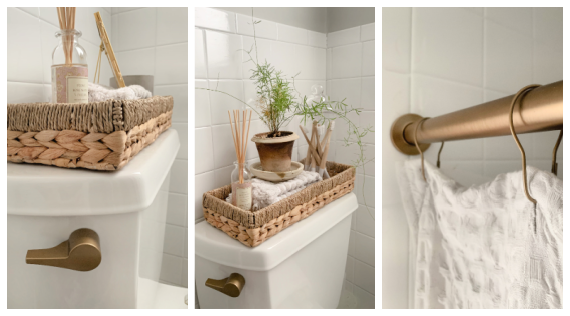
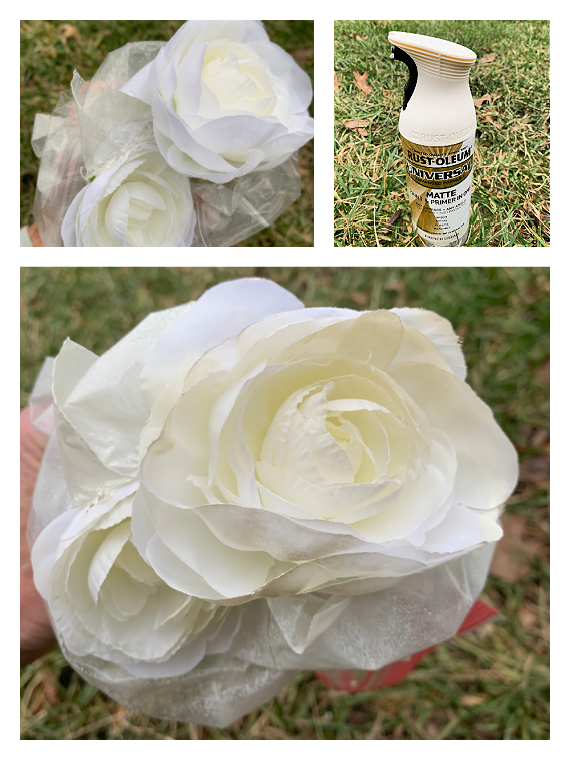
Adding all the details made the bathroom perfect. I was hesitant to commit to the gold faucet since I’ve been there, done that (all through the ‘80’s). I realize it probably won’t be fashionable for long, but I love the look of gray and gold for now. If I ever decide to change it up, I will basically just need to get a new faucet. I spray painted the items that didn’t match. I found a perfect match to the faucet finish with a Rust-Oleum paint. (Home Depot and Lowes are constantly out of stock on the color I chose…maybe many people are doing the same thing?)
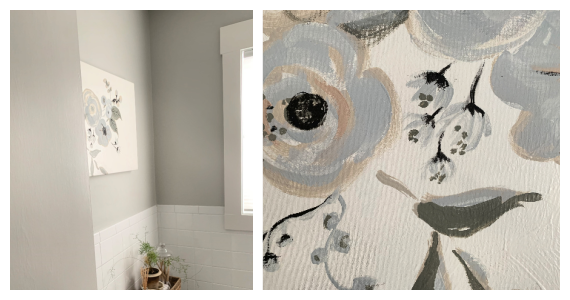
To avoid any additional spending, I decided to paint a canvas (I reused one I already had) for the one empty wall – a quick acrylic that mimics the style of the wallpaper flowers.
I ended up with a bathroom I really love, thanks to my talented son. What do you think?
Thanks for stopping by!
Remember to take pleasure in simple things, Jackie
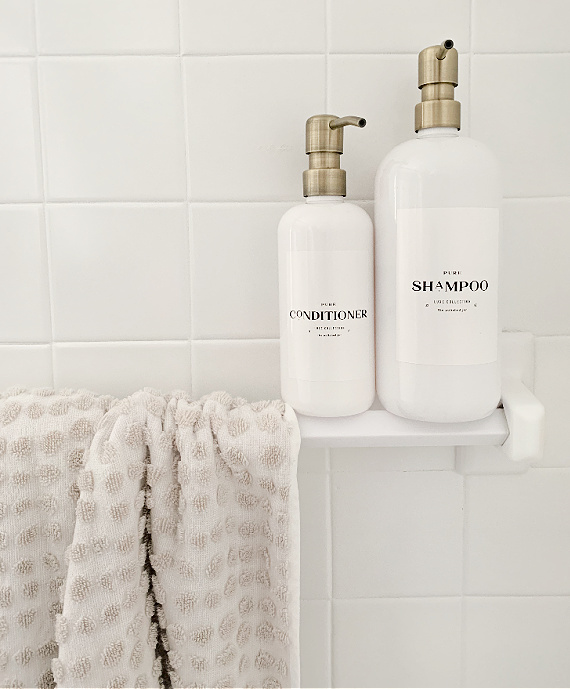
Resources: vessel sink, faucet – Jacuzzi from Lowes; towel ring, door hook – allen + roth from Lowes; vanity door pulls – Lowes; wallpaper – Rifle Paper Co.; vanity – custom; wood to construct vanity – Poplar from Home Depot; metallic spray paint for shower hardware & toilet tank lever – Rust-Oleum in Satin Bronze; Mirror – Kate & Laurel from Target online; shampoo and conditioner bottles – The Polished Jar from Etsy; floral canvas: self-painted; wall paint – Benjamin Moore in Gray Owl; vanity paint – Benjamin Moore in Desert Twilight; bath towels – Project 62 from Target (past season); tile – Tile America in Fairfield, CT; flower pot – Ben Wolff Pottery Studio in Goshen, CT; Diffuser – Target; shower curtain, bathmat, baskets, glass jar – HomeGoods
Many thanks and much love xoxo to my son