Subscribe to Pleasure in Simple Things via RSS ReaderFollow Pleasure in Simple Things on InstagramFollow @InSimpleThings on TwitterLike Pleasure In Simple Things on FacebookFollow Pleasure In Simple Things on PinterestEmail Jackie

christmas is in the air

December 10, 2021

four things tote

Holiday decorating comes in a close second to holiday wrapping for me.

Traditionally, the day after Thanksgiving is a day for retreating to my ‘wrapping room’ for a full day of creating wrapping for gifts I plan on giving.  Sometimes, like this year, I am not able to fit in my favorite creative activity of the season.

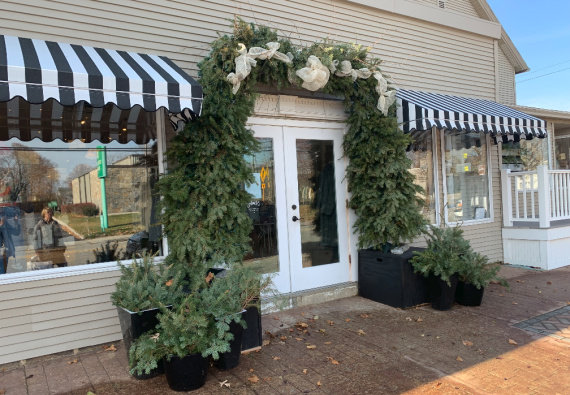
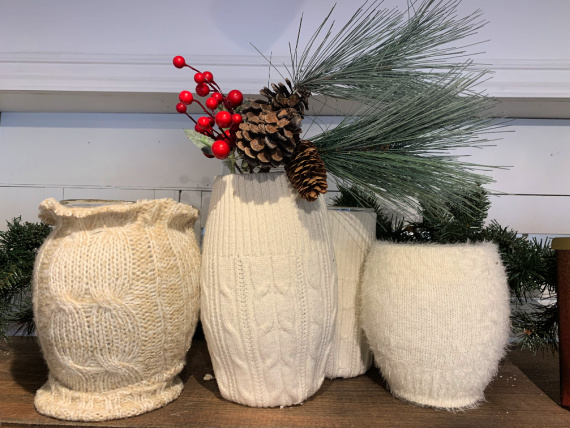
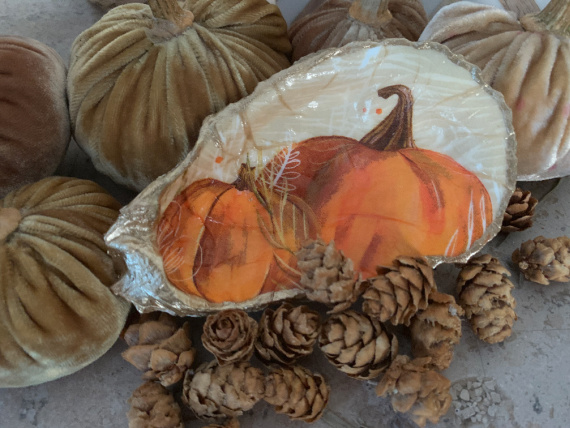
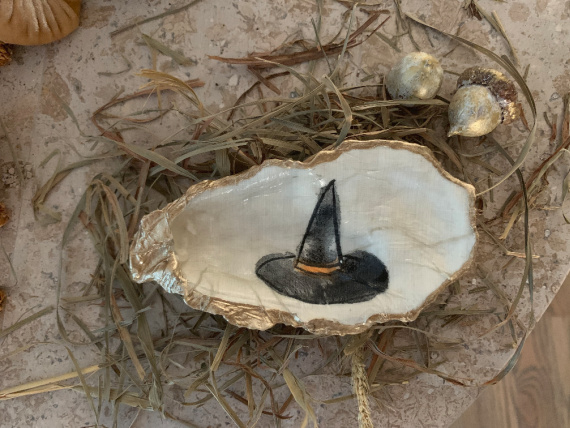
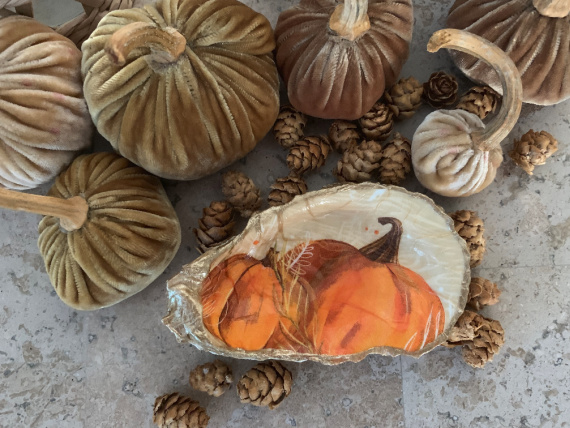
But something I always have time for is to incorporate new items I have found or made during the year to my holiday decor.  Today I am sharing a few.

chandelier ornament

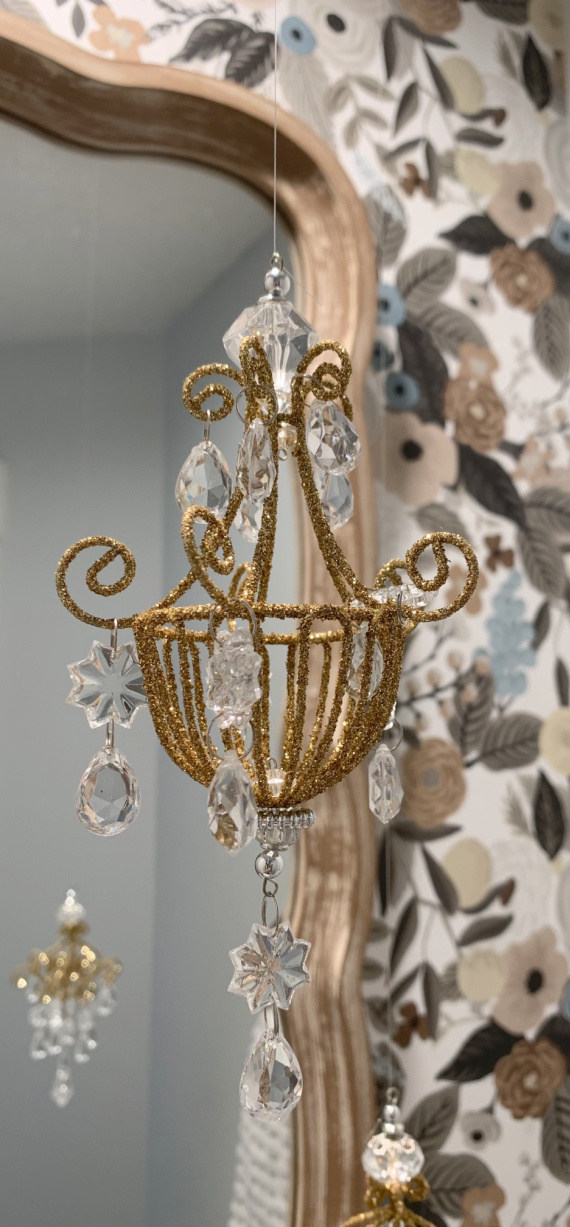
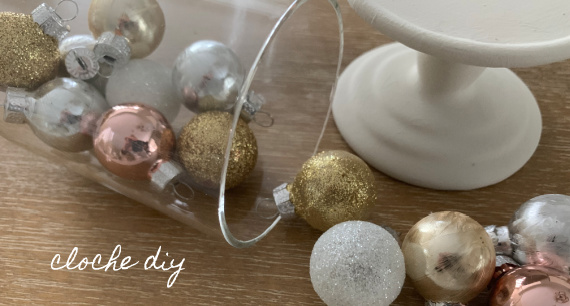
You know I have a great new bathroom this year (click here to see) and, of course, I needed to find a few decor items to add to it for the holiday season!  I found these swoon-worthy chandelier ornaments at an after Christmas sale last year – aren’t they perfect?

And, I love these sparkly guest towels I found at T.J. Maxx.

guest towel

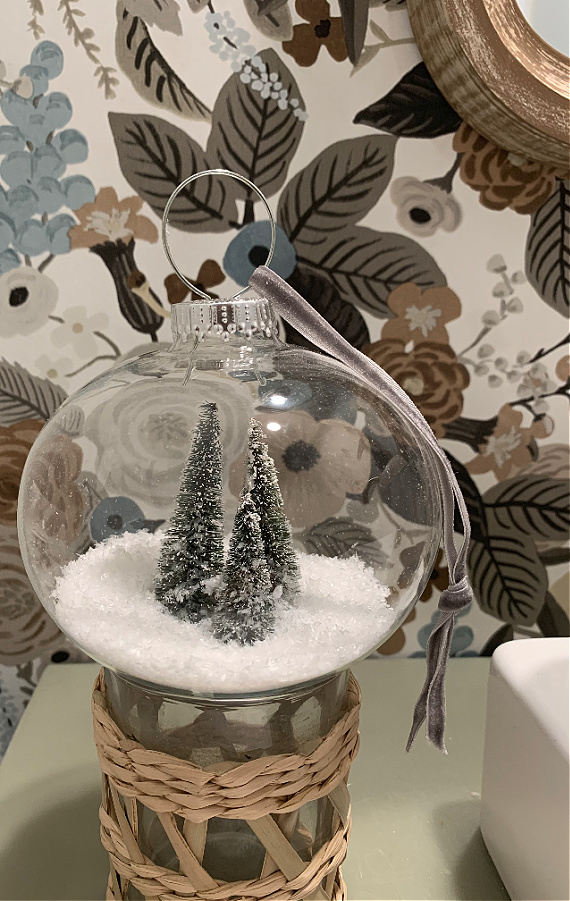
A special ornament always looks best displayed on its own.  This one is just propped on top of a rattan covered drinking glass.

snow ornament

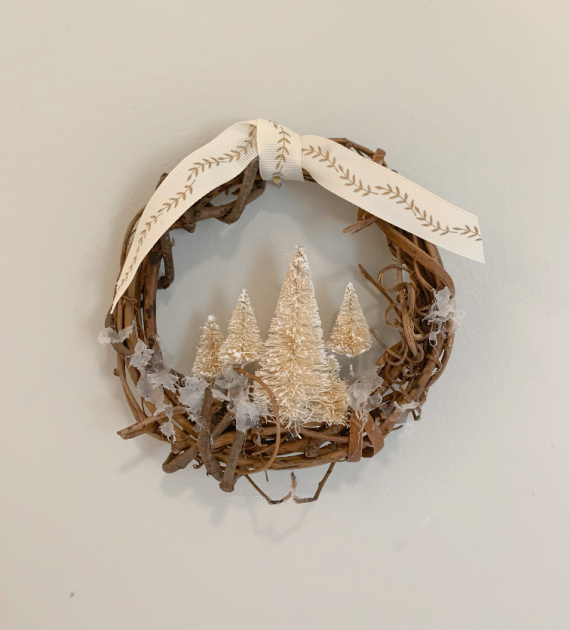
And, I made this mini wreath specifically to use in the new bathroom.  (At the end of last holiday season I made tons of 6″ wreaths using many of my collected ribbons and bottle brush trees – so fun to make!)

wreath

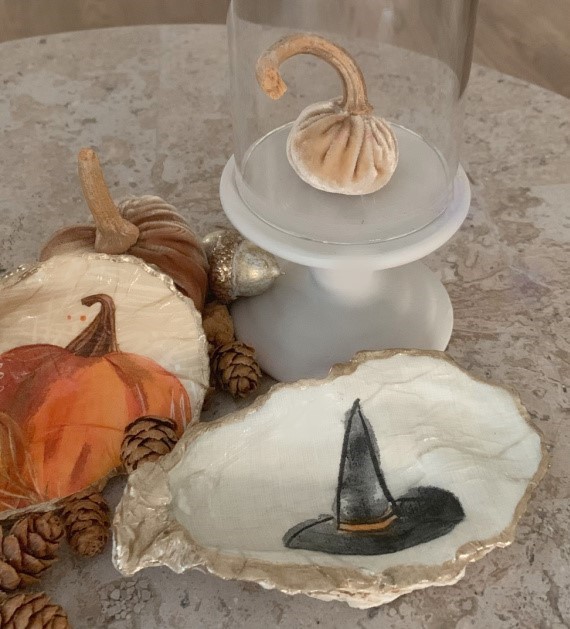
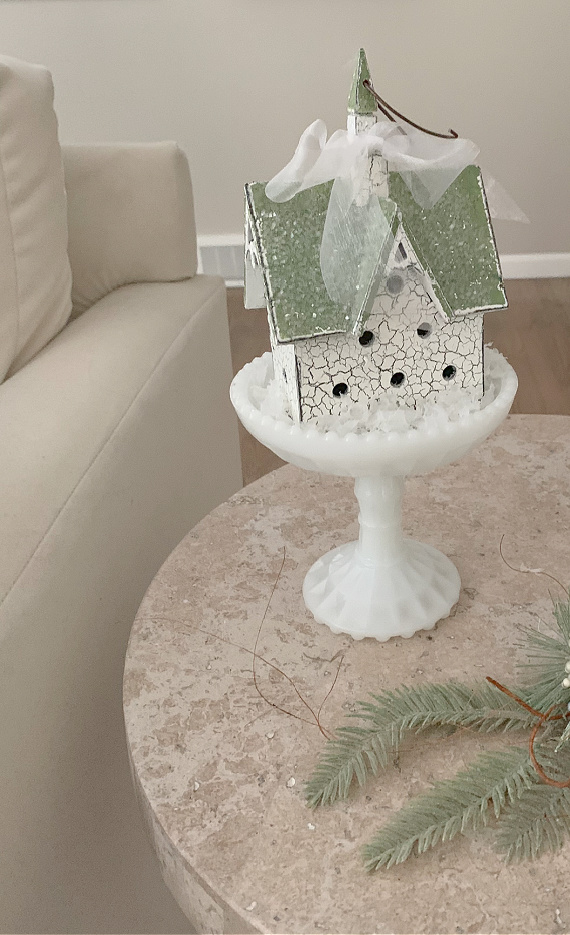
New incorporated items popped up in other parts of the house as well.  I picked up this pretty white pedestal dish at a thrift shop and it is so perfect for displaying a single decor item.

pretty christmas house

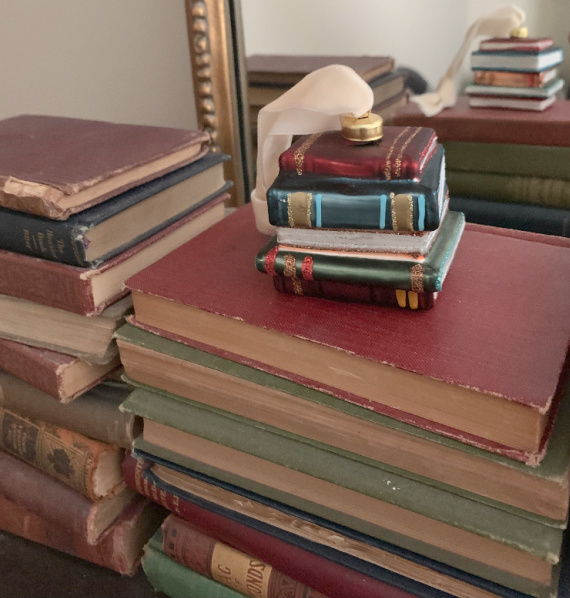
And, my favorite new ornament is this stack of books!

book ornament

Have you incorporated any new items into your decor this year?  It is fun to find things throughout the year that may work during the holidays.

Thanks for stopping by!  Remember to take pleasure in simple things, Jackie

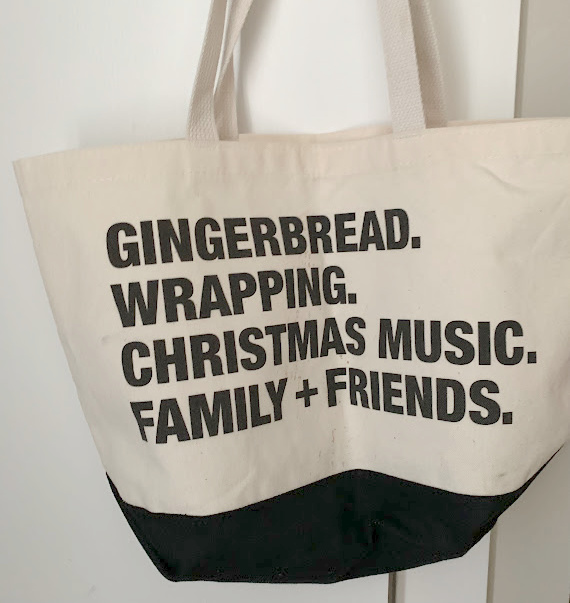
P.S.  If you are interested in ordering your own 4 favorite things tote, like the one I’ve shown on the start of this post, check out The Shop Forward.

no comments

sweater weather decor

December 3, 2021

storefront

One of the great things about spending some time visiting favorite stores at the holidays is picking up some decor inspiration.

I have a quick DIY to share with you from a visit to one of my fave gift shops.

sweater vase closeup

Out and about on a recent shopping excursion, I saw these vases at Grace in Niantic, Connecticut all wrapped up in ‘sweaters.’  So cute, right?

What a great way to turn any old, boring clear vases (the ones that come from the delivered floral arrangements) into fun seasonal elements!

And even if you don’t have any old sweaters or clear vases laying around – they are the perfect items to thrift!

sweater vases

Love this!  Use sweaters that best match your decor.  Check out my creations in upcoming Instagram stories!

Happy crafting!  Thanks for stopping by!

Remember to take pleasure in simple things, Jackie

no comments

frozen holiday yogurt bark

November 19, 2021

frozen yogurt bark

If you follow this blog, you know how much I love frozen treats – ice pops…frozen drinks….I’m a sucker for any icy goodness!

Well, I came up with a frozen, guilt-free holiday treat.  No, it is not an ice pop!  It is a frozen holiday bark!

candy dish of frozen holiday bark

I mixed 2 cups plain nonfat Greek yogurt with ¼ cup honey and 1 teaspoon of vanilla extract.  I spread this mixture on a parchment-lined baking sheet to about a ¼” thick – it made an 11” x 7” slab on the parchment.

Next, I added some fun extras – dried cherries, pistachios, and cocoa chips.

ingredients for yogurt bark

So now my guilt-free creation is looking like a festive holiday bark!

I popped it into the freezer to set and then broke it into pieces to eat!  The remaining pieces are stored in a covered container in the freezer.

Fun, right?

yogurt bark pieces

There are so many fun variations to try – you can come up with some using your favorite extras – dried fruit, raisins, sunflower seeds, nuts, sesame seeds, etc.  I like the consistency of the chewy dried fruit with the yogurt.

I haven’t been this excited about a snack since I discovered frozen grapes!  Maybe if I make a version with lemon peel I could forgo my Thanksgiving lemon meringue pie?  Now I wouldn’t go that far!

Thanks for stopping by!

Remember to take pleasure in simple things, Jackie

no comments

mini cloche diy

November 5, 2021

diy cloche

This is one of those super easy, super satisfying DIYs!  I happen to see these great mini cloches in the Target bargain section.  And, they weren’t made of plastic – they were ceramic with glass domes!  I was so in love with them, but, of course, not in love with the color!

target cloche

I knew it would be super easy to fix them up by simply painting them with chalk paint!  What an easy transformation!

halloween cloche

And, they will be super for Christmas!  Since I don’t yet have my Christmas decorations out, I purchased an ornament at Walmart for $1.98 just so I could use the ‘guts’ of it to give you an example of a Christmas themed mini dome!

collage diy cloche

mini winter cloche

There you go!  And they will look super displaying some of my little bottle brush trees!  Everything looks better in a cloche!

Thanks for stopping by!  Here’s to some great finds in the Target bargain bin!

Have a fabulous weekend and remember to take pleasure in simple things, Jackie

no comments

not your grandma’s pumpkins

October 29, 2021

pumpkins on a log

If you’ve shopped for pumpkins recently, you know the pumpkins available today are not your grandmother’s pumpkins!

bumpy pumpkins

pumpkins in greens

The basic round orange pumpkins I knew as a kid have been replaced with endless varieties of pumpkins and squash.  A trip to a local farm stand can be as aesthetically stimulating as a visit to a museum!

two tone pumpkin at barn

pumpkin assortment

With the weather in Connecticut starting to get crisp, I spent part of a recent day off checking out such a museum – a local farm!  I wasn’t planning on buying anything – just checking out what was on display!

basket of white pumpkins

stacked pumpkins

I’m sharing some of what I saw on my visit – probably my last farm stop of the season – though I may make a stop at the one that serves apple cider slushies!

colorful assorted pumpkins

unusual pumpkins

I hope you are enjoying some of what fall has to offer near where you live.

bumpy two tone pumpkins

pretty hierloom pumpkin

Thanks for stopping by!  Remember to take pleasure in simple things, Jackie

no comments

pumpkins with natural style

October 22, 2021

stacked pumpkins with dried

At Terrain recently, I couldn’t help but admire some of the pumpkins adorned with natural elements.  They reminded me of some pumpkins I decorated with found materials last year.  You can see those by clicking here.

heirloom pumpkin with dried

I thought you may be inspired by the ones I saw at Terrain.  I especially like the decorated heirloom pumpkins!

decorated heirloom pumpkin

white pumpkins with dried flowers

I hope these photos will get you started on decorating some of your own!

decorated gourds

Enjoy!

dried flower pumpkin

Have a fabulous weekend and remember to take pleasure in simple things, Jackie

no comments

pumpkin oyster shells

October 8, 2021

pumpkins oyster shell

I don’t know what happened this year…by now I would normally be knee-deep in velvet pumpkins!  I always enjoy creating pumpkins from velvet and adding real pumpkin stems.  You’ve also seen me try new fabrics – new and vintage – each year.

I hope, if you have been following this blog, you have tried making some yourself.  You can find detailed instructions by clicking here.

This year though, I haven’t made a single fabric pumpkin!  I guess because I had been working on the oyster shell garland, I just stayed in oyster shell mode for fall!

pumpkin oyster shell

And, instead of pumpkins, I’ve been making fall themed oyster shells!  If you want to try making some yourself, the complete instructions can be found be clicking here.

I hope you are inspired to create some fall decor of your own!

Have a fabulous weekend and remember to take pleasure in simple things, Jackie

no comments

fall chair planter diy

September 24, 2021

closeup plants for fall

An unwanted chair is the perfect piece to use as a fall planter!  While everyone else is decorating with cornhusks and scarecrows, use an old chair to create a unique vessel for some pretty fall flowers.

before chair planter

You don’t need much…an old chair with an upholstered seat, some old screening, a staple gun, and some potting soil.

chair planter steps collage

The seat is removed and screening is stapled in its place.  Handling the screening requires a lot of caution – it can be sharp.  Thick gloves to protect your hands from cuts are probably a good idea.  If you don’t have any old screening, you can buy some at Home Depot.  They sell thin screening that comes in a roll that is very inexpensive.  I bought some and cut it with regular scissors.  I cut a square larger than the square I needed because I allowed for space for soil.  I used a staple gun to staple the screening around the frame of the chair.

replace chair seat with screening

After the screening was secure, I painted the chair.  You can leave your chair as is or paint it in any manner you desire.  I used Annie Sloan Coco chalk paint I had left from another project and then added some dark wax.  (A bright pink chair with pink flowers would be fun for October – breast cancer awareness month!)

Once the chair finish is completed, the fun part begins!  Pick out an assortment of plants that you want to plant in your chair – I like visiting a local nursery for some small varieties.  I knew I wanted a tall purple grass as the main plant!  I also added a couple pumpkins, not that I expect them to last long – the squirrels make short work of them at my house!

fall chair planter

A chair certainly is a fun alternative to a barrel or other common fall planter and it can be used for many years to come!  Use your annual junk pick up to find a good candidate for your planter!

pumpkin stack

Thanks for stopping by!

Have a fabulous weekend!

Remember to take pleasure in simple things, Jackie

no comments

falling for green

September 17, 2021

green pumpkins in chair

Gone are the days when pumpkins were only orange!  Those of us neutral décor lovers were certainly ecstatic when white pumpkins came onto the scene years ago…what could be better?!

green and white pumpkins

wall of pots

But there are other options these days, and although white pumpkins are still my fave, some of the heirloom varieties make me weak in the knees!

heirloom tower

green pottery

Heirloom pumpkins are more widely available now – I recently saw some lovely ones priced very reasonably in shades of green and gray at Trader Joe’s.

group of pumpkins

pretty sage green pumpkins

Decorating for fall in hues of green takes on a whole new meaning when pumpkins in smokey sage can be added to the mix!

pumpkins at entrance

4 pumpkins

Today I am sharing some swoon-worthy décor using green tones during a recent visit to Terrain.

sage green pumpkin

pumpkin arrangement

Thanks for stopping by!  Have a fabulous weekend!

pots

Remember to take pleasure in simple things, Jackie

P.S.  Fun fact – for years I avoided wearing green because I have green eyes and I hated the attention when green clothing would accentuate my eyes!

no comments

diy oyster shell garland

August 27, 2021

home made shell garland

Painting or decoupaging shells is fun, but a shell in its natural state is a thing of real beauty.  I’m getting a jump on the holidays by putting together a garland of natural oyster shells. I did add a little paint – some golden highlights along the edge of the shells.  A holiday garland needs a little sparkle!

I started by collecting a bunch of oyster shells all around the same size – about 2”.  This is a very easy size oyster shell to find on my town beach so I picked a few up every time I’d walk at the beach.  I rinsed them off but they didn’t really require any additional cleaning – the ocean did that for me!

gold edged shells

On a rainy day, I spent some time drilling a hole in each shell.  I used a masonry bit to make a hole in each shell in the center, about a ½ inch from the top.  This is super easy to do by putting each shell, one at a time, into a vice to hold it still while drilling.  It only takes a few seconds to make each hole.   This way, there are no accidents if the drill slips – it may take a little longer, but safety first!  I also wear eye protection.

drying painted beads

I estimated I would need a couple dozen shells for this project.  I could always go back and get more if I decide I needed them.  I intend to use the garland on my fireplace mantel, and I thought a couple dozen would be a good number since I wanted to string them between natural wood beads.  My plan was to alternate the shells with the beads on some fishing line.  (By the way, fishing line is a must have for decorating – it blows string, thread, twine etc. away in the strength department.  I use it so much in my decorating – particularly at the holidays and it has been invaluable setting up store displays.  I learned this very young because my dad was a boat owner and also an avid fisherman – there was always fishing line handy in our garage!  The larger the number or ‘test’, the stronger the line.  The number indicates how many pounds of a fish the line can hold before breaking!)

shells and beads

I purchased some wooden beads in 3 sizes.  I decided on a pattern for my garland in advance by laying out the shells and the beads on a table and deciding what looked best.

Next, I added a little holiday bling!  Using a champagne gold metallic paint and a thin paint brush, I painted a thin gold edge around the perimeter of each shell.  Aren’t they beautiful?  One of these shells would look gorgeous mounted in a shadow box frame!

shell garland title

Next, with the assistance of some skewers and some paper cups, I painted some of the wooden beads with the same gold paint I used on the shells.

I decided to white wash the largest size bead.  I did this in the same way I painted the gold beads, but I used a 50/50 white paint/water mix.

vertical hanging oyster garland

After all the beads were dry, I strung them in my decided upon pattern onto the fishing line.  The shells would be tied on last.  I didn’t want more than one hole in each shell – if I strung them with a single hole they would not hang the way I wanted – so, I tied each one on with fishing line after the beads were all strung.

A very easy project, but oh so satisfying!

creating a diy garland from shells

I think I may have a seaside theme to my holidays this year – I’ve been collecting some miniature bottles for another ‘beachy’ project!  Maybe paint a few more oyster shells with added gold script names to use as place cards for the table?  Glue a faux pearl to the inside?

Thanks for stopping by!  Have a fabulous weekend!

Remember to take pleasure in simple things, Jackie

no comments

Back to top