Subscribe to Pleasure in Simple Things via RSS ReaderFollow Pleasure in Simple Things on InstagramFollow @InSimpleThings on TwitterLike Pleasure In Simple Things on FacebookFollow Pleasure In Simple Things on PinterestEmail Jackie

full instructions for decoupaged oyster shell trinket dishes

April 28, 2020

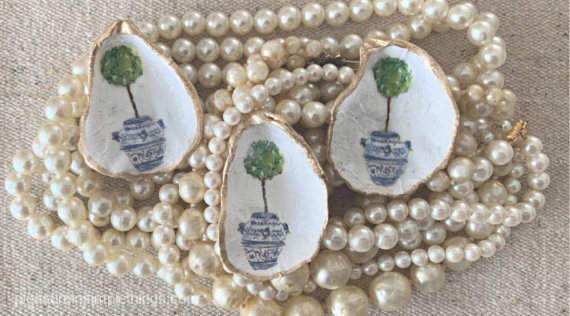
topiaries decoupage oyster shells

I usually don’t have a lot of patience for decoupaging, especially on a small surface like a shell since I could just as easily paint a pattern with a brush!  But, the challenge of finding an interesting pattern/color to use on the shell makes it a fun project for me – similar to picking out yarn combinations for knitted scarves!  Although, the current quarantine situation has strictly limited my choice of materials since I have to make do with what I currently have on hand.

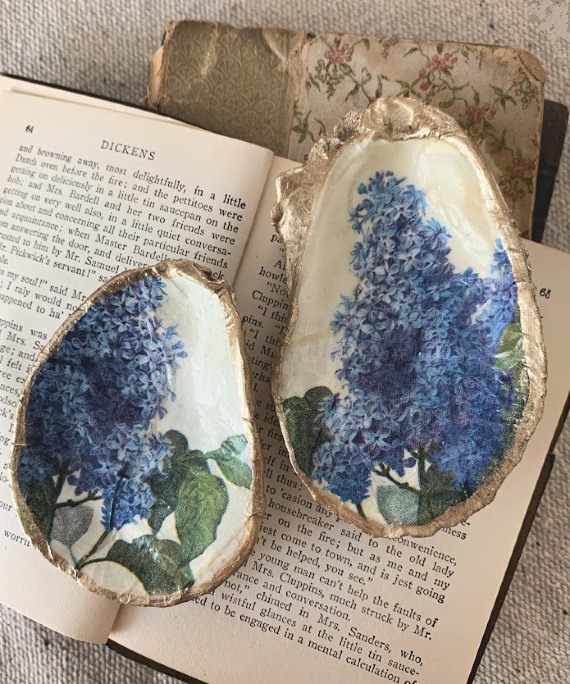
lilac decoupaged oyster shells

Decoupaging is pretty easy.  A decoupage material is used to attach paper to a surface and is brushed on top of the paper as well to provide a protective surface.  Decoupaging shells is a little trickier because the surface you are applying the paper to is irregular.  This is the reason why using tissue paper or a napkin is a much better choice for this application over a heavier paper – it won’t show wrinkles as much when applied.  To get the best possible result when decoupaging a shell, use a paper napkin – removing the back layer and just using the top, thin layer with the imprinted design.

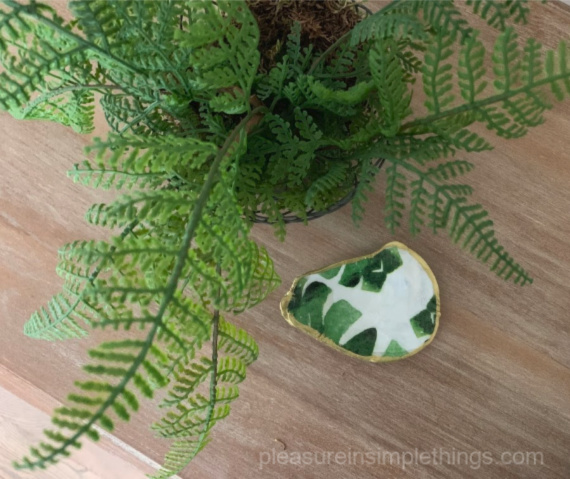
fern dish decoupage shell

Decoupage material is widely available at a craft store or Target – it is basically just a white glue mixed with enough water to make a thick, spreadable consistency.  When I was a kid, I would make it myself using the large container of white glue my dad kept in the garage.

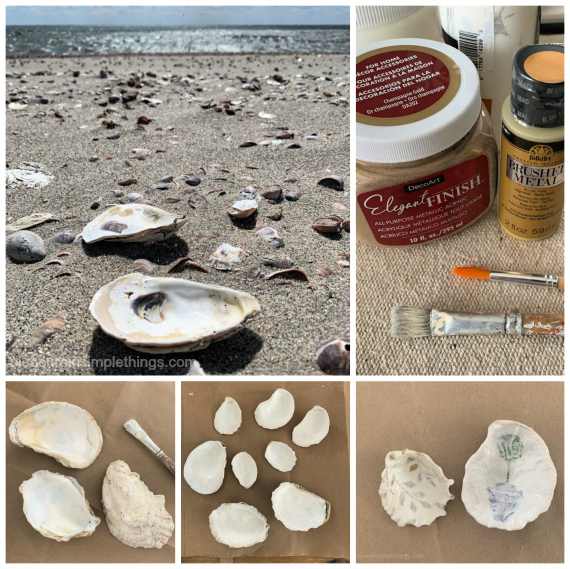
oyster shell decoupage materials

To make decoupaged oyster shell trinket dishes you will need:

  • decoupage material (Mod Podge is a popular one)
  • 2 paint brushes – one with soft bristles (1/2” wide) and a smaller, detail brush
  • paper cocktail napkins in designs of your choice (separating them so you are only using the top layer of designed paper)
  • white acrylic paint
  • gold metallic acrylic paint (or gold leaf – but acrylic paint is less expensive) I prefer a more subtle gold color like antique gold or champagne gold rather than a bright gold.
  • oyster shells (or shells of your choosing) – any size but in general, the larger the pattern on the paper used, the larger the shell

The decoupage process can get a little messy, so be sure to cover your work area.  The shells should be clean.  If you plan on using light colored napkins, be sure to use some white acrylic paint as your first step – to cover the dark spots on the inside of the shells so they will not show through the napkin material after decoupaged.  It is probably easiest just to paint the inside of all the shells white to start with nice, clean canvases.

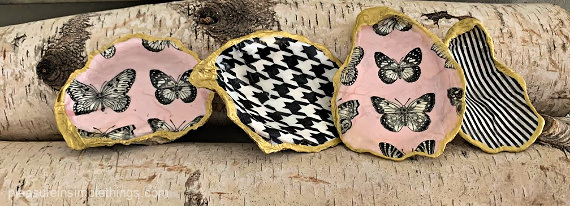
butterfly decoupage oyster shells

After the white paint is dry, use the soft bristled paint brush to cover the entire inside surface of the shell with the decoupage material.  Then, take the desired napkin (top layer only) that has been cut to a manageable size and press it onto the inside of the shell (pattern side up), being careful not to move it (to prevent tearing).  Once it is in place, you can use your finger or the end of the paintbrush to gently push out any obvious wrinkles in the paper.  Next, use the paint brush to very gently brush a thick coat of the decoupage material onto the entire surface of the napkin you have just attached to the inside of the shell.

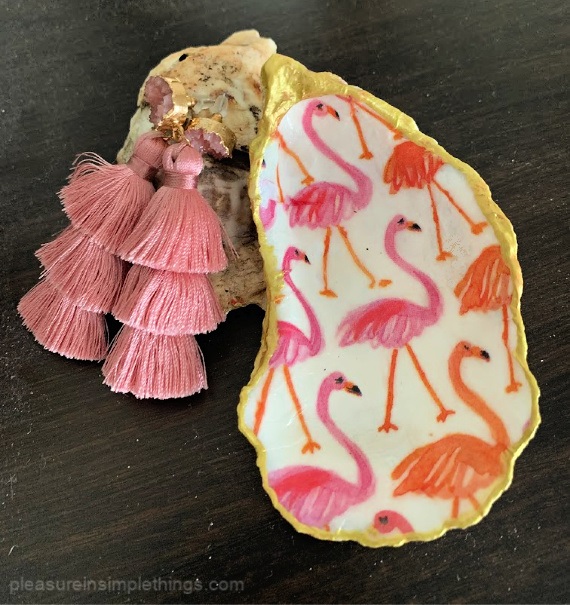
flamingo trinket dish

Once it is completely covered, you are going to carefully tear the excess paper away from the shell.  This is accomplished by gently using a pulling down motion while tearing.  The sharp edge of the shell makes it pretty easy to tear the thin paper.  The surface will look very milky – that is how it should look.  At this point, let your shell(s) sit overnight.  You will be pleasantly surprised to see how great the dry shell looks when you return the next day!

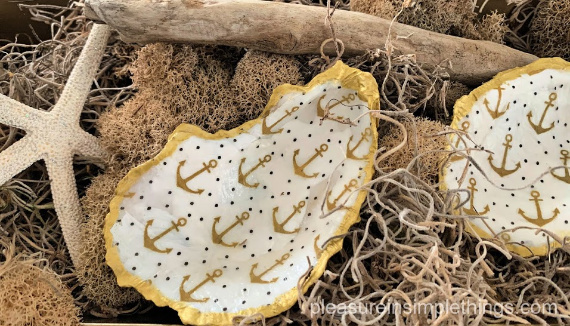
decoupaged shells with anchors

Clean your brush using very hot water – remember the decoupage material is basically glue!  (For the same reason, you may have to put the top of the decoupage material container under hot running water to loosen the glue when you next reopen it.)

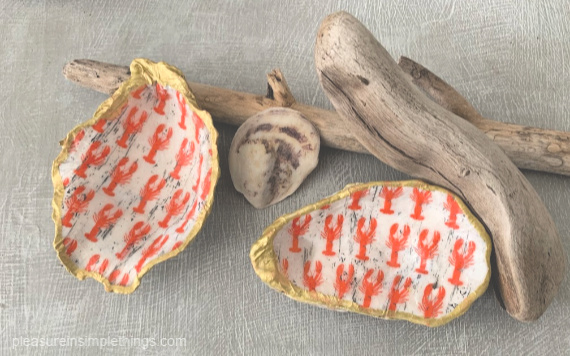
lobster design on oyster shells

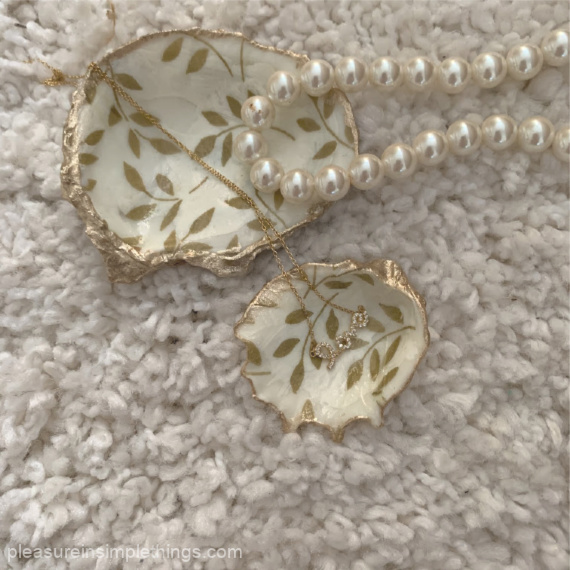
For the finishing touch, when your shells are completely dry, you can add a thin gold edge by brushing the gold paint along the edges of the shell with the detail brush.  A thin border of gold accentuates the beautiful organic shape of the shell – each one unique!

And that, my friends, is how to make a decoupaged oyster shell trinket dish!  As you can see, I did my best to explore different colors – using most all the cocktails napkins I happened to have on hand!  (I think most of the napkins I used came from Home Goods or Christmas Tree Shops.  I know the one with the rope motif came from Ikea.)

trinket dish gold and white shell

Thanks for stopping by!  Remember to take pleasure in simple things, Jackie

P.S.  Please note that a Dremel can be used to add holes to the shells if you would rather use them as ornaments and/or hang them.  I plan on using some to make necklaces.  If you are interested in other shell DIYs:  for another oyster shell project, click here.  For shell candles, click here.  For a monogrammed shell tie-on, click here.

1 comment

ring my bell

August 9, 2019

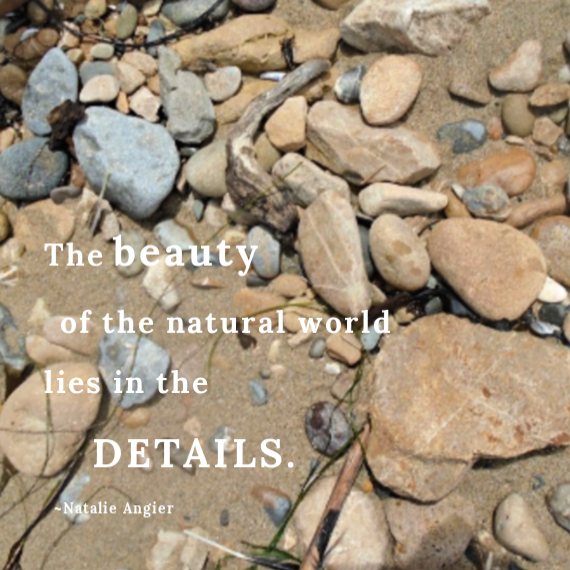
Quote details

If you follow my blog, you know by now how much I enjoy details!  I used one of my California photos with an Angier quote to include in today’s post just to emphasize this thought!

The reason I mention it is because the smallest of details made my day and I want to share for today’s Friday field trip!

What small detail?  A new doorbell!

Yes, I got excited about a new doorbell!

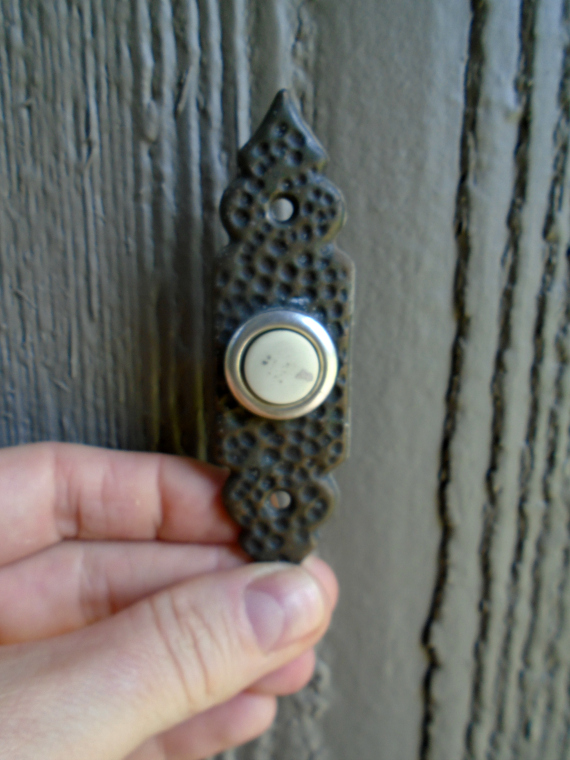
If you look at the old one:

old doorbell

You can see it is nothing to get excited about!  I knew I needed to replace it with something I could enjoy looking at!

So, I did just that!

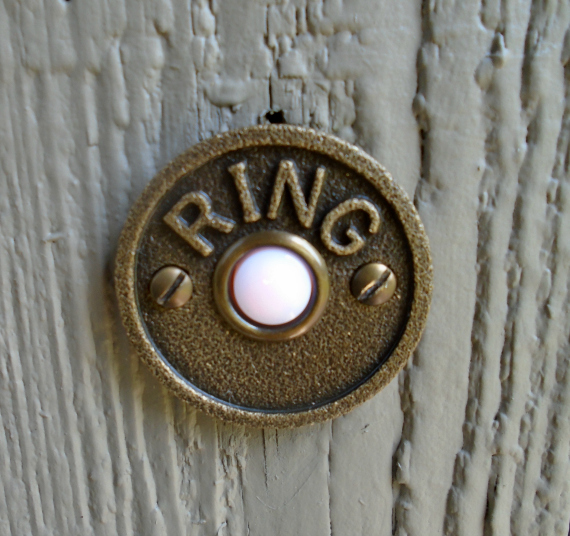
Now I really love my doorbell!  What do you think?  Cute?

new doorbell
I hope today’s post will inspire you to change one little detail this weekend that will put a big smile on your face!

Thanks for stopping by!  Have a wonderful weekend, Jackie

no comments

just do it chandelier

April 3, 2018

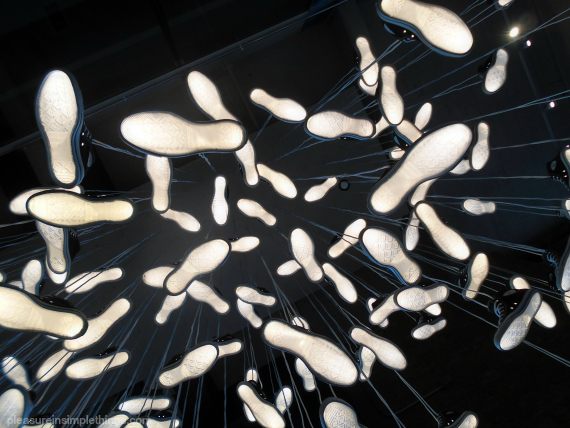
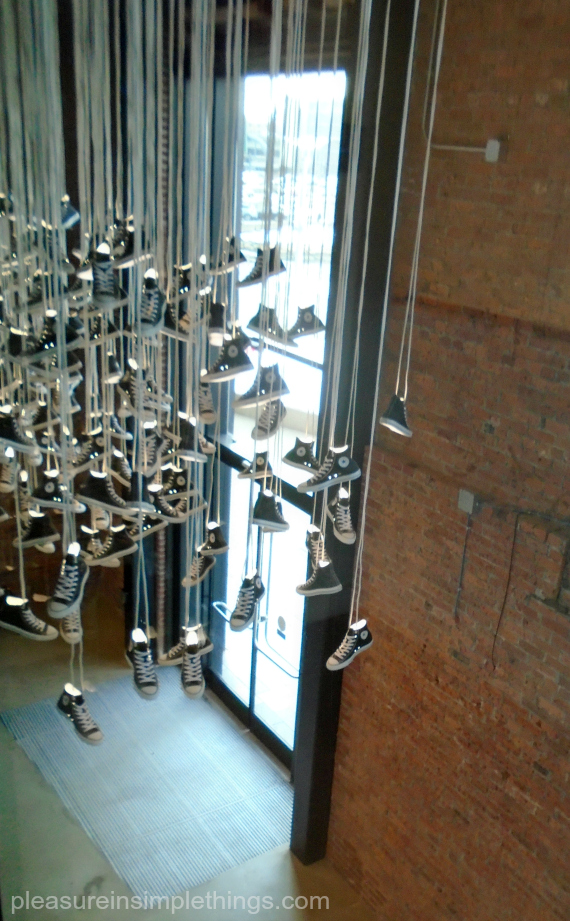
converse chandelier 2

I know my life runs in themes – either that or, my attention to detail just seems to make it easy to create themes in everyday life!

converse global headquarters

On a recent trip to Boston, I made a visit to the global headquarters and flagship store location of Converse (a wholly owned subsidiary of Nike, Inc.)  It was of particular interest to me on this visit because I had just decided to start reading the book Shoe Dog – a memoir by Nike’s creator, Phil Knight -and I was completely immersed in all things Nike.

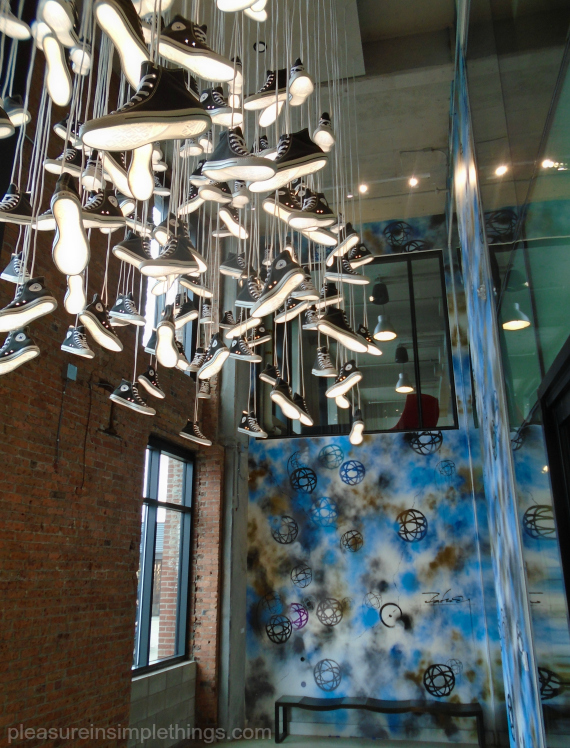
converse chandelier 1

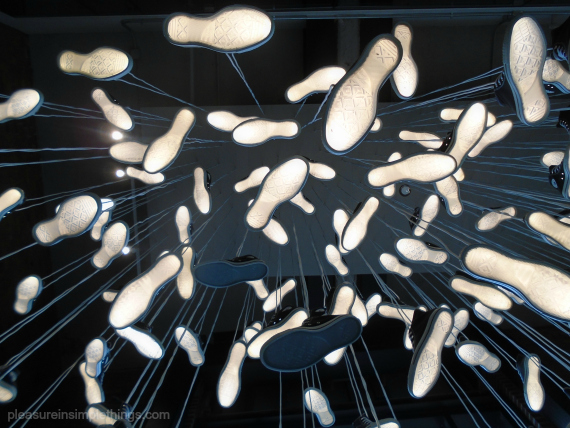
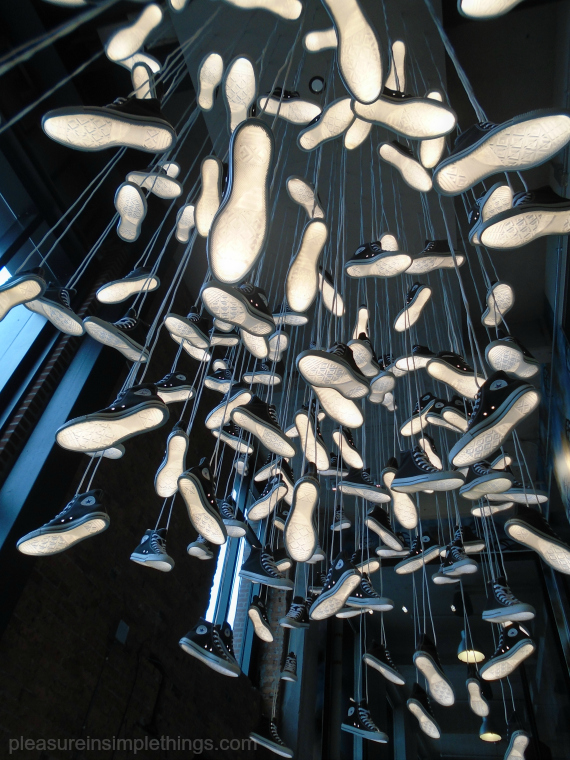
My favorite part of the headquarters décor, and what I want to share with you today, is the fabulous Chuck Taylor sneaker chandelier installation in the Converse lobby!

converse chandelier 3

The creation is so amazing and so absolutely perfect for the headquarters!

converse chandelier 4

This creativity gives just a tiny hint of the immense amount of creative talent housed inside the building!

converse chandelier 5

I hope you enjoyed seeing this super cool chandelier!

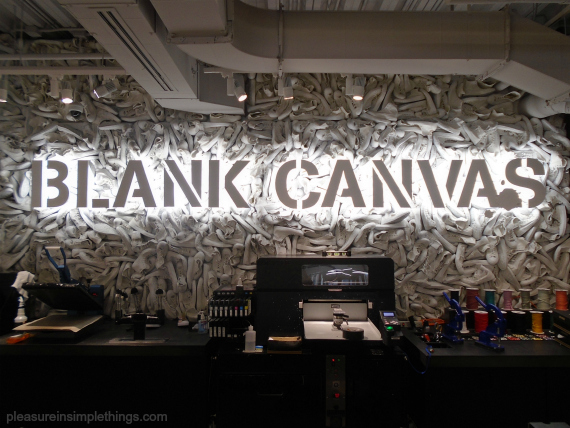
blank canvas 1

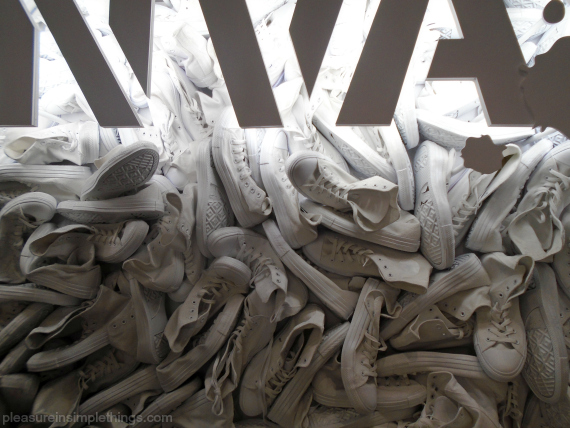
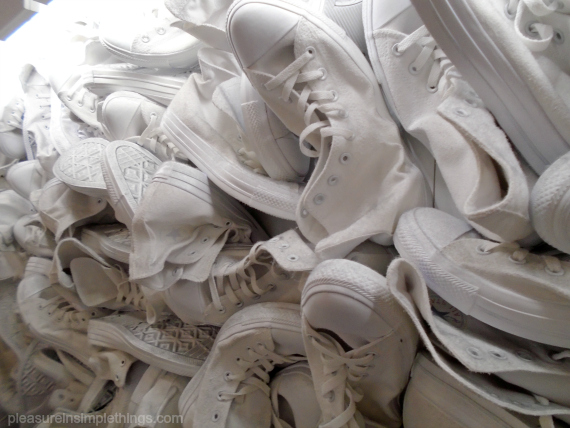
Converse Blank Canvas is a unique customization experience only available at the flagship store location. With the help of a designer, visitors can customize and embellish sneakers they purchase at the store.

blank canvas 2

blank canvas 3

view from converse headquarters

A view from inside the Converse global headquarters, located at Lovejoy Wharf, a historic waterfront area and part of Boston’s iconic Freedom Trail.

Check out my newest Chuck Taylor (Chuck 70s) purchase (I also got a coordinating sweatshirt!) from the Converse flagship store in Boston.  I’m really loving the reverse terry fabric!:

chuck 70 reverse terry collageSee more views of my new kicks on my Instagram!

Thanks for stopping by!  Remember to take pleasure in simple things, Jackie

no comments

anthro’s reopening

April 4, 2017

Anthropologie Westport pleasure in simple things blog 017

The much anticipated (for me anyway) grand opening of the relocated Anthropologie in Westport, Connecticut has happened!  I am excited to share some photos of the store on opening day – now located in the center of town in the old YMCA building.

Anthropologie Westport pleasure in simple things blog 002

Anthropologie Westport pleasure in simple things blog 210

The view while making your purchases at the newly reopened Anthropologie store in Westport, Connecticut.

I planned on sharing some photos on Friday field trip this week to give you a sense of the gorgeous new space, but when I started going through my photos,  I realized I needed more than one post to give you some sense of the aethestics.

Anthropologie Westport pleasure in simple things blog 019

Anthropologie Westport pleasure in simple things blog 146

Anthropologie Westport pleasure in simple things blog 114

So, today I will share a few photos as well as sharing a few more photos on Friday!  Believe me, it deserves two posts! :)

Anthropologie Westport pleasure in simple things blog 014

Anthropologie Westport pleasure in simple things blog 081

The visual team did an amazing job at this store!  More display people should take note of their use of negative space…my biggest pet peeve in styling is lack of restraint. Anthro are masters at using negative space in displaying their aesthetic in an artistic way.

Anthropologie Westport pleasure in simple things blog 137

Anthropologie Westport pleasure in simple things blog 190

If you live within commuting distance to Westport, be sure to check out this beautiful new location!

Anthropologie Westport pleasure in simple things blog 167

Anthropologie Westport CT

Thank you for stopping by!  Remember to take pleasure in simple things, Jackie

4 comments

5 easy tips for fall decor

October 7, 2016

displaying-gourds-on-a-bench-pleasure-in-simple-things-blog

For today’s Friday field trip, I am sharing 5 easy tips to help inspire you to create great fall displays.  And, even more exciting, I have included photo examples from Terrain – my favorite home and garden store!  Here goes:

Highlight one unique piece.  Find one really unique pumpkin or gourd and use it as a focal point.  It may be a gourd with magnificent coloring, a pumpkin with many bumps, a gourd with a unique shape, or a pumpkin with a really cool twisty long stem!  Put a focus on that unique piece by displaying it on its own in a basket, on a table, or under a cloche.

highlight-a-unique-piece-fall-decor-pleasure-in-simple-things-blog

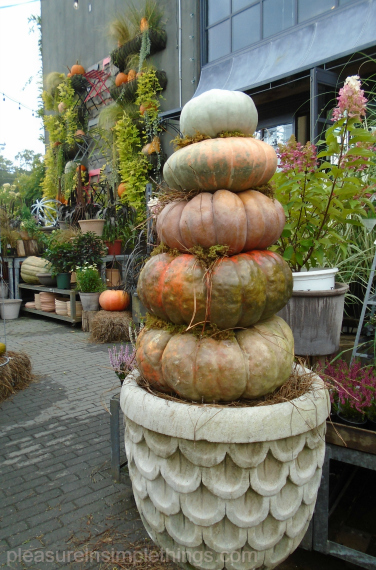
Stack ‘em up.  A really easy way to create some drama is to stack up some pumpkins for a fall ‘topiary.’  Since this can be done on any scale, it is a great decorating idea on any budget!

mini-topiary-pumpkins-pleasure-in-simple-things-blog

displaying-pumpkin-topiary-pleasure-in-simple-things-blog


pumpkin-topiary-pleasure-in-simple-things-blog

Display en masse. Using any one item in multiples makes a design statement.  Put multiples of a piece or plant in a basket or on a chair or bench for an easy but impactful display. The ‘odd man out’ is also a fun way to display pumpkins.  Add an ‘odd man’ to a display of multiples.  For example, have tons of mini white pumpkins and add one orange pumpkin – or vice versa.

displaying-pumpkins-en-masse-pleasure-in-simple-things-blog


displaying-en-masse-pleasure-in-simple-things-blog

Open it up.  If you are displaying a bunch of items, particularly colorful ones, use an open container to give a full view of the items on display.  If you look around, you probably already have something you can use – like an old tomato cage or some chicken wire!

pleasure-in-simple-things-blog-fall-displays-in-open-containers

terrain-pumpkin-tower-pleasure-in-simple-things-blog

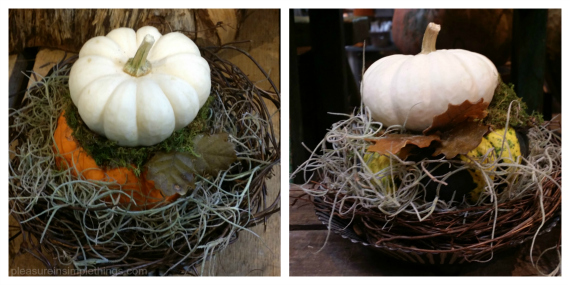
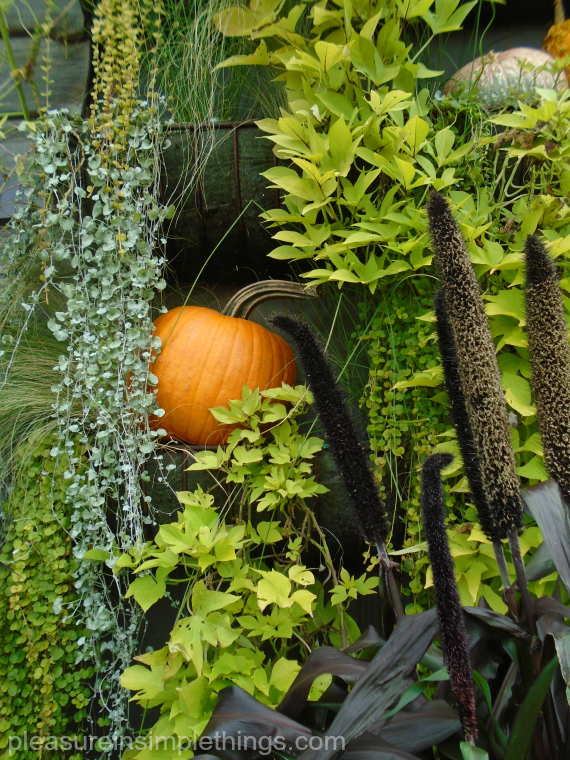
Add a pumpkin.  A very simple tip, yet an effective one, is just to add a pumpkin or two to any of your existing vignettes or plantings – indoors or out.  Without much expense, a few pumpkins can go really far to transform your current arrangements for the season!  Maybe add a little hay and some Spanish moss as well…easy!

fall-decor-pleasure-in-simple-things-blog-add-a-pumpkin

adding-a-pumpkin-or-two-pleasure-in-simple-things-blog

hanging-fall-arrangement-pleasure-in-simple-things-blog

I hope I have inspired you with today’s fall design tips and a visit to Terrain!  Thanks for stopping by!

add-a-pumpkin-for-display-pleasure-in-simple-things-blog

Have a wonderful weekend and remember to take pleasure in simple things, Jackie

no comments

inital ball jar embellishment

August 2, 2016

Inital Ball Jar DIY embellishment pleasure in simple things blog

I find joy in the details and today’s simple DIY is a perfect example!

I found this raised initial Ball jar at Terrain.  I really liked the idea of an initial on the Ball jar, but I wasn’t crazy about the shiny silver lid provided with the jar.  I also thought the initial needed a little embellishment.

using gold leaf for a diy pleasure in simple things blogThese items were easy enough to remedy with some gold spray paint and a little bit of gold leaf.

A gold leafing kit is an essential part of any craft supply stash since there are tons of little uses for it. These kits are easy to find at craft stores.

DIY Inital Ball Jar pleasure in simple things blog

I first spray painted the lid of the jar with a gold metallic spray paint…easy enough!   Next, I applied the gold leaf.  I brushed some liquid adhesive provided with the kit onto the area where I wanted the gold leaf.  I purposely did a messy painting job because I didn’t want it to look too ‘perfect.’  (I thought I may even want to sand a little of the gold leaf off after I had it completed to make it look a little worn.)   I used a cotton swab for to apply the adhesive, rather than getting a brush dirty – and after the application, I just threw out the cotton swab!

 Ball Jar pleasure in simple things blog

After the adhesive got a little tacky, I carefully placed a little piece of the gold leaf over the initial and pushed it down with a clean, soft cloth.  Lastly, I added a sealant, provided with the kit, to keep the gold leaf in place and prevent discoloration.  (I applied this with a cotton swab as well.)

Be sure to follow the directions provided with your gold leaf kit for best results!

Raised Inital Ball Jar DIY pleasure in simple things blog

I love the result!  I got rid of the shiny silver lid and that little speck of gold leaf on the initial made this monogrammed jar perfect!

Thanks for stopping by!

Remember to take pleasure in simple things, Jackie

no comments

bridesmaid proposal bags

July 12, 2016

vegan leather bridesmaid proposal bags pleasure in simple things blog

Today, brides-to-be don’t simply ask a few close friends to serve as their bridesmaids.  Rather, they create a whole “would you be my bridesmaid?” occasion to request their friends’ services.

The most popular way to do this seems to be a ‘bridal box.’  This is when a box is sent to each potential bridesmaid through the mail.  Inside each box is a gift chosen by the future bride, requesting each recipient serve as a bridesmaid.

unique bridal proposal bags pleasure in simple things blog

I thought; why not use a ‘bridal bag’ instead of a box!  A custom bag seems so much cooler than a box!

Working with the future bride and my favorite custom bag creator – Ralph & Martha – this is what we came up with! (You may remember Ralph & Martha from my anchor bag post – click here to see more on that.)

ralph and martha bridal proposal bags

The resulting custom creation was a vegan leather bag displaying each gal’s initial in metallic gold and a gilded tassel pull!  When completed, the bride enclosed little surprises inside each bag before distributing them.

tassels on bridesmaid proporal bag pleasure in simple things blog

We toyed with the idea of printing the text ‘would you be my bridesmaid?’ on a custom fabric for the lining, but decided against it.  Instead, the bride wrote an individual personal note to each potential bridesmaid and the lining fabric was used as an opportunity to give a hint of the wedding ceremony location.

fern bag pleasure in simple things blog

The same fern fabric used for the bag’s lining was used to create a surprise bag for the bride-to-be!

bride's bag pleasure in simple things blogI hope you are inspired to create, or help create, a bridesmaid proposal that is unique!

Thanks for stopping by!

Remember to take pleasure in simple things, Jackie

2 comments

january book giveaway!

January 1, 2016

jan giveaway pleasure in simple things blog

Happy New Year, my friends! Not only is it the end of 2015, but it is also the end of the month and time for a new giveaway. Since it is the start of a new year, I have something different planned for this month. Instead of a book title, I am gifting a set of journals and some pretty new pencils!

giving away journals for jan 2016 pleasure in simple things blog

The idea is to start 2016 with plenty of new ideas and documented dreams right from the start! I am hoping to inspire your creative spirit and to encourage you to write about your dreams and goals instead of deciding to give up something or to come up with a resolution from the typical list of 10 or 12 everyone you know seems to also come up with.

journal giveaway for jan pleasure in simple things blog

Leave me a comment and you will be entered to win the journals and pencils. Good luck!

journal giveaway pleasure in simple things

The winner of last month’s giveaway, Birds of a Feather coloring book by Vicki Sawyer, is Mari. Mari’s name was chosen randomly from the comments I received.  Congratulations and thank you to everyone that left a comment to enter the giveaway! Send me an email Mari and let me know where to send the coloring book and coloring pencils! Enjoy!

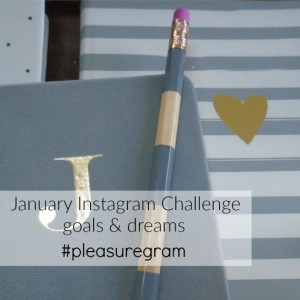
For those with Instagram, this month’s challenge is to share a photo that gives a glimpse of your goals and dreams for 2016…use your imagination to share your dreams using hashtag #pleasuregram!  Can’t wait to see what you share!

January 2016 Instagram challenge pleasure in simple things blog

Thanks so much for stopping by!  Wishing you many new dreams for 2016!

Remember to take pleasure in simple things, Jackie

4 comments

pink for breast cancer awareness

October 9, 2015

pink pumpkins for breast cancer awareness pleasure in simple things blog

A quick post for Friday field trip today…I have been busy painting and I thought you might like to see what 50 pink pumpkins look like!

pink pumpkins for october breast cancer awareness pleasure in simple things blog

overhead view of 50 pink pumpkins pleasure in simple things

Remember October is breast cancer awareness month!  Thanks for stopping by.  Have a wonderful weekend!

I believe in pink quote pleasure in simple things blog

Remember to take pleasure in simple things, Jackie

no comments

50 shades of pink pumpkins

October 6, 2015

chalk paint pumpkins for breast cancer awareness pleasure in simple things blog

Usually, at this time of year, I am creating some pumpkins. It may be pumpkins made of velvet. It may be real pumpkins carved with sea-themed designs. Or, it may be my favorite white pumpkins enhanced with paint or decoupage.

Usually, though, at this time of year; I have given in to the idea of fall and have started creating some fun pumpkin crafts. This year, my time is particularly limited. Working three jobs and seven days a week leaves me little free time for fun projects.

annie sloan pink pumpkin pleasure in simple things blog

So, in the interest of using my time effectively, I decided to use my pumpkin creativeness in a way that will serve as more than just fall décor. I am using my limited free time to paint pumpkins pink as a way to celebrate breast cancer awareness month. My goal is to paint 50 pumpkins in different shades of pink!

Annie Sloan Chalk Paint pumpkin pleasure in simple things blog

Armed with Antoinette, Old White, and Primer Red Annie Sloan Chalk Paint and some large drop cloths, I started my project – now just 6 pumpkins in! In this way, 50 homes will display a pumpkin that celebrates more than a decorative item. It serves as a way to remind our neighbors to practice good breast health. If one person sees a pink pumpkin and takes a moment to consider what it means, I think the painting was well worth my time!

Annie Sloan painting 50 shades of pink pumpkins pleasure in simple things

So, instead of decorating pumpkins for fall décor this year, I am painting them to decorate a celebration of good breast health! Please consider displaying a pink pumpkin in front of your home this year to show that pumpkins can remind us of more than just Halloween!

Thanks for stopping by. Remember to take pleasure in simple things, Jackie

no comments

« Previous Entries