Subscribe to Pleasure in Simple Things via RSS ReaderFollow Pleasure in Simple Things on InstagramFollow @InSimpleThings on TwitterLike Pleasure In Simple Things on FacebookFollow Pleasure In Simple Things on PinterestEmail Jackie

country living rhinebeck 2018

June 8, 2018

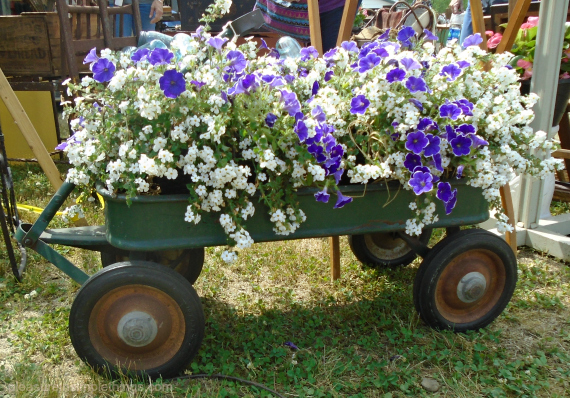
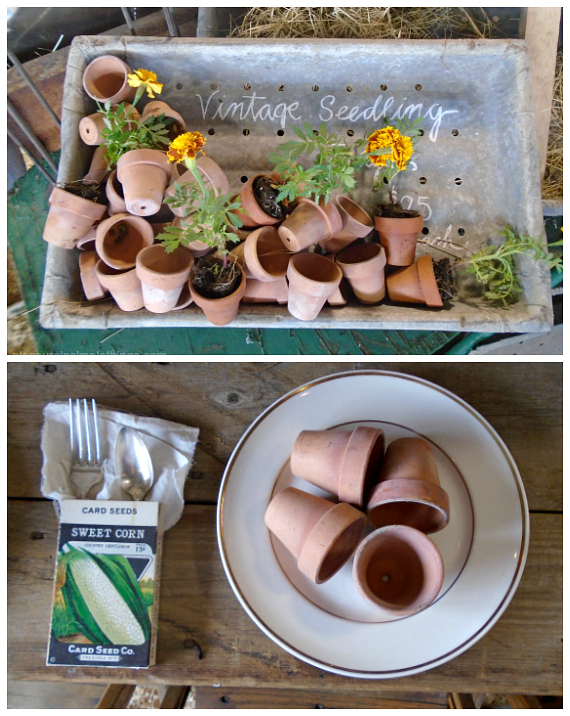
wagon with flowers

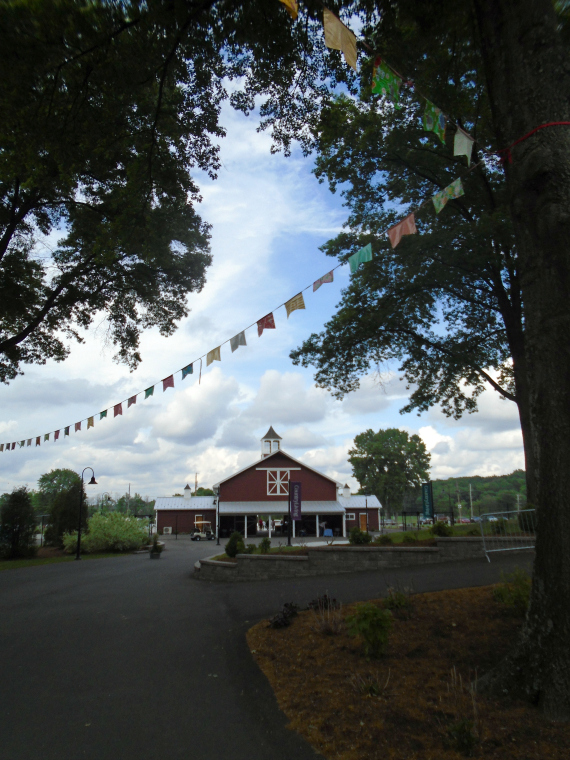
My very favorite fair is the Country Living Fair.  I love it.  And, I have to say that Rhinebeck, NY – which happens to be the closest location of the fair to where I live – is also my favorite location.  The Dutchess Country Fairgrounds provide a fabulous event location.  The grounds are lush and green and, in addition to all the fabulous vendors, seminars, and demonstrations, the fairgrounds provides great food, free parking, and well-maintained restrooms.

buttons

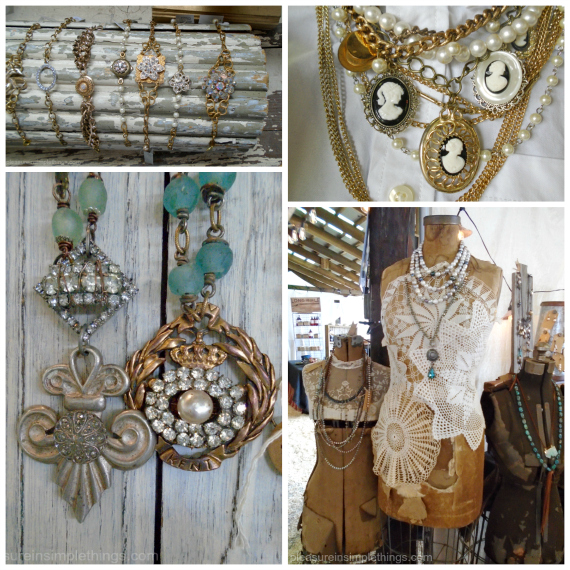
Country Living jewels

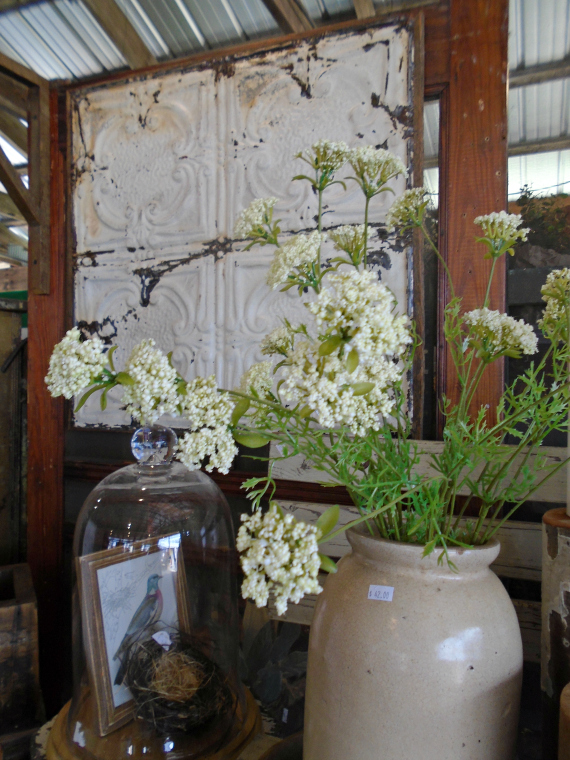
still life

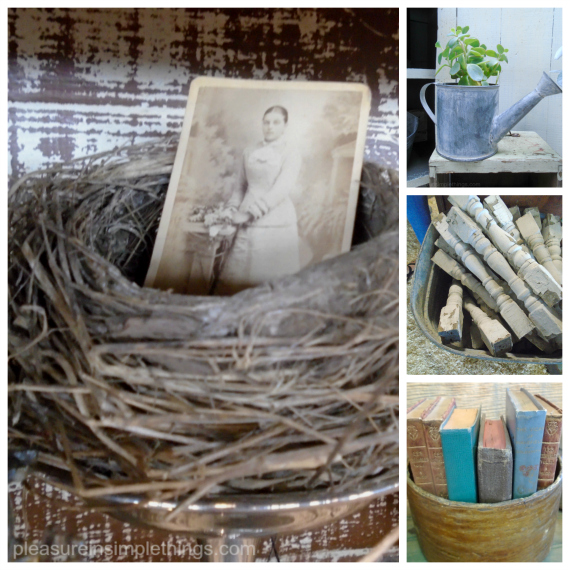
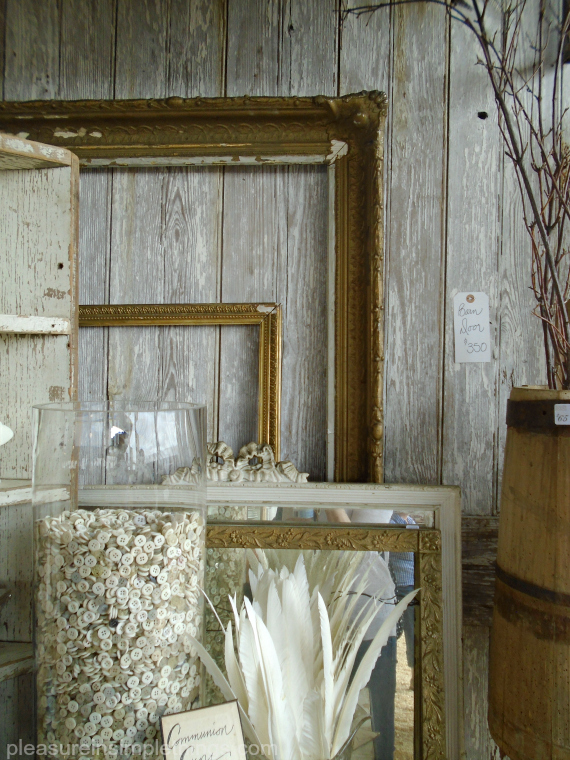
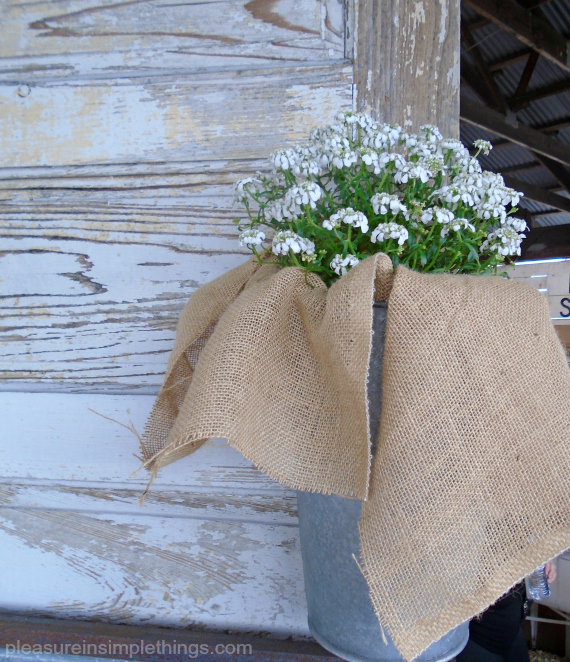
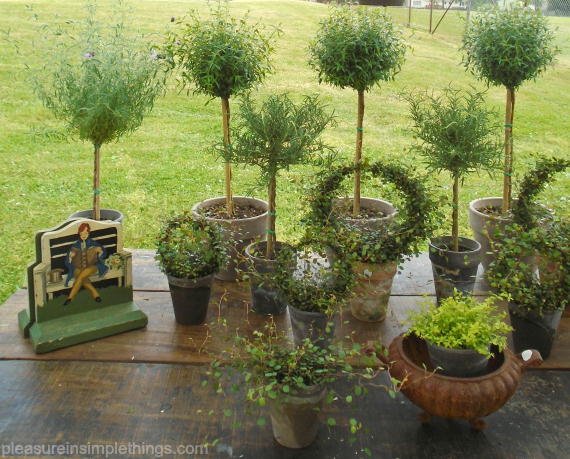
I thought you might like to see a glimpse of this year’s fair offerings, so I am sharing some photos today on Friday field trip.  My favorite booth was the one put together by South Porch Antiques.  They not only provided a great selection of antiques, but (as always) they also did so in a stunningly visual way.

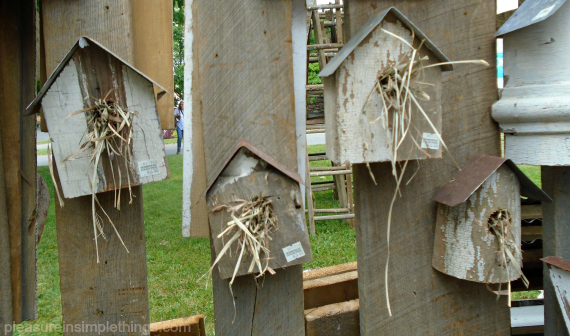
wall of bird houses

Country Living Collage

windows

Enjoy the photos!

frames etc

flowers in a bucket

angel vines

P.S.  Something really fabulous happened to me in Rhinebeck at the fair and it made me so happy I chose not to skip the fair this year!  I met one of my idols!  Not only did I meet her, but we shared a hug and I got a chance to talk a little paint with her!  You may have guessed by the word ‘paint’ that the person who I met was Annie Sloan!  What a thrill!   (Thanks to my sweet friend for capturing it on film! xo)

fair entrance

Have a wonderful weekend!  Remember to take pleasure in simple things, Jackie

no comments

christmas movie nostalgia

January 5, 2018

The Winter Warlock

Last year I shared photos from the holiday display at the Beaumont Farm in Wallingford, Connecticut.  It was such a cool display of scenes from the movie Christmas Vacation.  Since I shared those photos, I came to realize that Bill Beaumont, owner of the farm, creates a display every year and has been for around 15 years.

the workshop

entrance to santas workshop

Each year, Beaumont creates a display using a classic Christmas movie as inspiration.  This year, I didn’t make it to the farm until after Christmas, but I still want to share this year’s display for today’s Friday field trip.

mountain of the whispering winds

Beaumont chose an oldie this year – a stop motion Christmas television special originally broadcast in 1970.  The Rankin/Bass production is called Santa Claus is Comin’ to Town, based on the song of the same name.

Topper the penguin

If you have ever seen this classic, you know Fred Astaire is the narrator of the movie.  He tells the story of how Santa Claus and several traditions came to be.

North Pole mail

Beaumont did an amazing job of portraying the movie on the corner of his farm – creating 9 characters and 6 scenes that truly give visitors the feel of the original production.

santas worskhop window

Welcome to Somber Town

I wasn’t sure I had seen the movie, but once I started touring the display, I instantly recognized the evil Winter Warlock…I also remembered Burgermeister Meisterburger and Fred Astaire’s postal carrier character.

Mayor Burgermeister Meisterburger

How about you?  Do you remember this movie?

wanted Kris Kringle

I would love to request Elf for next year’s display.  ;)

winter warlock

Thanks for stopping by!

Remember to take pleasure in simple things, Jackie

To see last year’s Christmas Vacation display, click here. 

no comments

love is in the air

February 5, 2016

VDay

I often think of how everything in life comes down to being a great editor. It is the most important skill we possess. Our editing of life’s choices and resources is a reflection of who we are…it creates our image, establishes our integrity (or lack of), and develops our character. With the constant stream of choices that present themselves to us; it is the editing that determines everything in life.

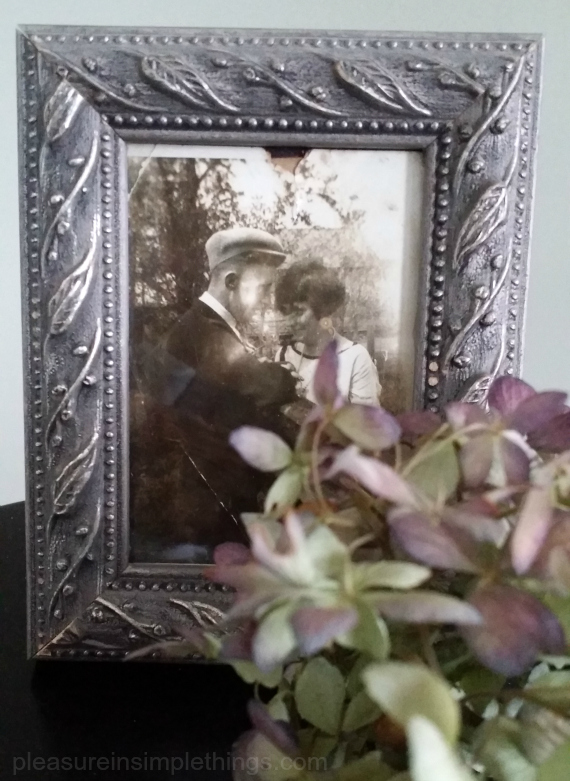
One of the biggest editing assignments we can take on is the one of choosing a spouse -– the ultimate test of editing skill! I have been thinking a lot about this in the past week because one of my children is now engaged! With the news of the engagement, I started thinking about this ultimate test of editing and how the editing of past generations led our family to what it is today.

VDay

A romantic moment shared by our ancestors – 2 generations ago.

So, for today’s Friday field trip, I just wanted to share those few thoughts as I celebrate a very special engagement and the start of another generation of romantic moments.

Thanks for stopping by.

Have a wonderful weekend and remember to take pleasure in simple things, Jackie

no comments

taking down the tree

January 5, 2016

christmas tree is undone pleasure in simple things blog

Is it hard for you to say good-bye to the Christmas tree?

It is for me! I had to take down the entire collection of holiday decor on New Year’s Day because that was the only day I had a little scrap of free time to complete the chore. Packing away all the holiday treasures and kicking the tree out to the curb are not easy tasks!

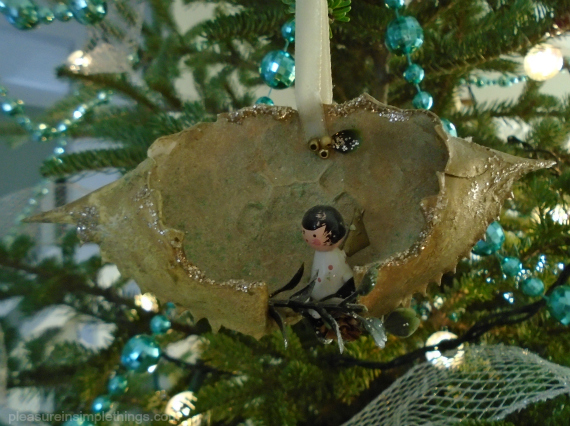
a sweet crab shell homemade ornament pleasure in simple things blog

The very last ornament I took off the tree was one that has made it through four generations! It was handmade from a crab shell found locally. The ornament was like a flagship piece for the Christmas of 2015 – not only is it a family heirloom, but it fit in perfectly with my sea glass Christmas theme. Can you believe this fragile piece of crab shell has lasted four generations?

But yes, I finally did take down this last ornament and the tree now sits on my front lawn awaiting pickup!

sea glass mantel take down pleasure in simple things blog

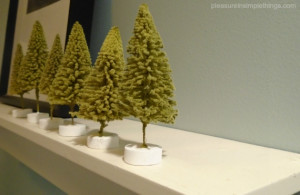
I had just about all the decorations down except for one side of my mantle. On it, I had a collection of bottle brush trees; some in sea glass shades. That was when I decided not to take down every piece of décor…so what if I left a few trees on the mantle? What would it hurt?

And, guess what? I left a few trees in the bathroom as well!

taking down christmas pleasure in simple things blog

Sometimes it is just too hard to say good-bye. ;)

Thanks for stopping by!

Happy New Year! Remember to take pleasure in simple things, Jackie

2 comments

annie sloan virgin

May 27, 2014

vanity redo with annie sloan paint pleasure in simple things

I have been intending to try Annie Sloan paint for a long time…honest!

I once even tried to convince a local store to carry it.  I just never found the time to actually use it on a project.

Well, thanks to a talented group of ladies that put together ‘Inspire Me DIY’, I was motivated to get working on a piece of furniture given to me by a friend over a year ago, when I found out about the project on Lucy’s (Craftberry Bush) Instagram feed.

pleasure in simple things vanity redo before photo

Enter Annie Sloan!  So, I refinished my first piece using Annie Sloan chalkboard paint and, of course, I am obsessed with the product!  Maybe in the back of my mind I thought this might happen and that is the reason why I put off my first project for so long!

This was my process:

  • 2 coats of Annie Sloan Paint in Paris Grey
  • 1 coat of clear wax
  • Some sanding/distressing
  • 2nd coat of clear wax
  • Coat of dark wax
  • I lined (all but one) drawer in an Anna Rifle paper design.  One of the top drawers is lined in felt (for jewelry).

After some late night work sessions into the wee hours of the morning, my results:

pleasure in simple things vanity redo after photo

I am thrilled!  It’s great to get my first project under my belt (yes, there will be more!)  since it takes a while to feel comfortable using any product for the first time.  I did have a few panic moments and I thank Danielle at Finding Silver Pennies for the encouragement I needed to keep me going.

pleasure in simple things vanity redo

I am not too sure about the knob choice.  What do you think?  I bought the knobs at Anthropologie before I started the project because I loved them and because the color was almost the same color as the walls (Martha Stewart paint in shortbread) in the room where I plan to park my new creation.

pleasure in simple things vanity redo

pleasure in simple things vanity redo

I thank Mary so much for the vanity…I wanted it because it reminded me of my grandmother – working on this project made me wish it was my grandmother’s vanity I was redoing  – her vanity held so many special memories of my childhood.  But, a great part about this project was it brought to mind some many special moments between me and my grandmother…and, I love that looking at this vanity will always remind me of her.  I can’t wait to see how it looks in my guest room!

pleasure in simple things vanity redo

Anyone have any seating ideas?

Thanks for stopping by and thanks to all the great ladies that organized Inspire Me DIY…because of you, this stalled project got up and running!

Remember to take pleasure in simple things, Jackie

P.S.  I have my eye on a piece for my next project…I wonder if my son will notice if I sneak out a side table from his apartment?  For those in my part of the world (Fairfield County, Connecticut), Annie Sloan paint is available at Junktique Recycling in Norwalk.

Sharing at Craftberry BushFinding Silver Pennies, Sand & Sisal, and Coastal Charm.

13 comments

recreating the freeze pop

May 23, 2014

pleasure in simple things watermelon ice pops

Today’s Friday field trip is kickin’ it back to my childhood.

I’ve always loved freeze pops.  When I was a kid, that’s what I called the ice pops that came in a long plastic tube…tubes of sweet iciness that brought with them reminders of many hot, fun summers.  So, when I recently discovered that food-safe plastic tubes were available online, I had no choice but to purchase some – pronto!

pleasure in simple things watermelon basil ice pop

As the years have gone by, I have been more and more hesitant to pick up my old favorites at the grocery stores.  Because, I have to admit, the list of ingredients in those pops is pretty scary!  This made the idea of creating my own even more intriguing!

I have been playing around with possible flavor combinations. I am still working on some recipes…and others, like the basil watermelon or the spicy chocolate, I have already perfected!

pleasure in simple things watermelon ice pops

For Memorial Day, I am making ice pops from my watermelon recipe to share with my partner in freeze pop crime (aka, my son) who has been known to help me devour an entire box in a very (too short to admit) amount of time!

pleasure in simple things watermelon basil ice pop recipe
If you want to make some yourself and don’t have the plastic sleeves, use this recipe with ice pop molds or go old school with small paper cups and wooden sticks.   The recipe can also be frozen up in ice cube trays to add to sparkling water or lemonade.

pleasure in simple things ice pops in plastic sleeves

The ice pop plastic sleeves filled, tied, and ready for the freezer.

To make these frozen confections, I first made basil simple syrup to use as a sweetener for the watermelon.  I love basil with watermelon and the flavor profile makes for a more adult flavor than the watermelon by itself.  The leftover syrup is wonderful for sweetening ice tea or lemonade…it is also great drizzled on fresh strawberries or strawberry shortcake.  Or, it can be a wonderful addition to a summer cocktail!  If you want to add a little ‘kick’ to your pop, I bet a little melon liquor would be a nice addition to the recipe.

pleasure in simple things watermelon basil ice pops

I hope I have inspired you to try creating some of your own frozen treats this weekend.

Remember to take some time this Memorial Day to honor those who have paid the ultimate price to ensure our freedom and to thank all those who serve our country both now and in the past.

Have a wonderful weekend and remember to take pleasure in simple things, Jackie

Sharing with Craftberry Bush, Shabby Nest, and Crafts a la Mode.

no comments

vintage handkerchief lavender sachets

May 9, 2014

vintage handkerchief sachet diy

Back in my grandmother’s time, handkerchiefs were an art form.  There were so many beautiful handkerchief designs – many embroidered – and every lady carried one.

I remember my grandmother always having one tucked up her sleeve.  Everything was made to last in my grandmother’s time, and this included handkerchiefs.  They were always fashioned of cloth, not the disposable variety of today.

vintage materials for sachets

Because of this, there are still many lovely old handkerchiefs around today.  I saved many from both my grandmothers because of the sentimental value, but over time I have found some great ways to transform these heirlooms into items that are practical as well as beautiful.

For Friday field trip today, I am sharing my favorite way as we travel back to a time of beautiful cloth handkerchiefs and fashion them into lavender sachets.  With Mother’s Day approaching, a sweet sachet made from a family heirloom can make a special gift for mom.

vintage handkerchief sachet

Inevitably, a gift like this may be too pretty to scent a drawer…and, instead…may end up displayed on top of a dresser or nightstand.

If you are not lucky enough to have a family heirloom to use in creating this sachet, vintage handkerchiefs are easily found for only a couple dollars each at yard sales or antique shops.

vintage lace for sachets

Very little lavender is needed to create a sachet, and because it is such a light material, a cup and a half of lavender weighs less than an ounce…be mindful of this when you are deciding how much to purchase.

vintage handkerchief sachets

To create the sachet, cut a square of cheesecloth (about a 7” square) to hold the lavender.  I use the cheesecloth so the lavender won’t directly touch the hanky, but the scent will still come through.  You will only need one quarter to one half cup of lavender.  You can adjust the size of the cheesecloth and the amount of the lavender depending on the size of the handkerchief you use.

vintage hankies

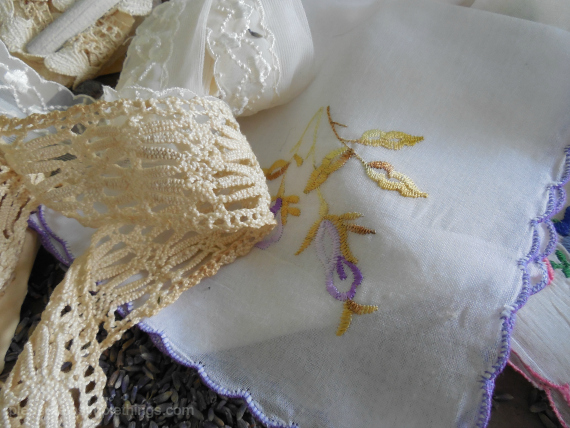
Tie the cheesecloth with a piece of twine and position the ball of lavender in the center of the handkerchief – enclosing the lavender ball in the handkerchief with a piece of ribbon or lace.  I chose some vintage lace.  That’s it!  Beautiful…and, what a heavenly smell!

vintage handkerchief sachet

Handkerchief sachets also make wonderful bridal shower or wedding favors.  They can even be personalized with an embroidered initial, name, or date.

quote with vintage lace

Have a wonderful weekend and a blessed Mother’s Day!

Remember to take pleasure in simple things, Jackie

Sharing at Crafts a la Mode, Craftberry Bush, and Timewashed.

6 comments

vintage teacup earl grey crème brûlée

May 6, 2014

earl grey creme brulee

Serving crème brûlée from vintage teacups is sure to make a family bridal shower, tea party, or Mother’s Day a special one!  What could be better than serving dessert from your grandmother’s teacups?  I think individual desserts add a special quality to a meal all on their own, but to add the sentiment of serving it in a special piece of history makes it all the sweeter!

basket of roses

Everyone thinks of  crème brûlée as a special occasion dessert, but it is not a hard one to create.  Traditionally, it is cooked in the oven, but I have found that good results are possible with a no-bake method.  You can use any no-bake recipe or the one I found online and, by using my simple variation, can create Earl Grey crème brûlée!

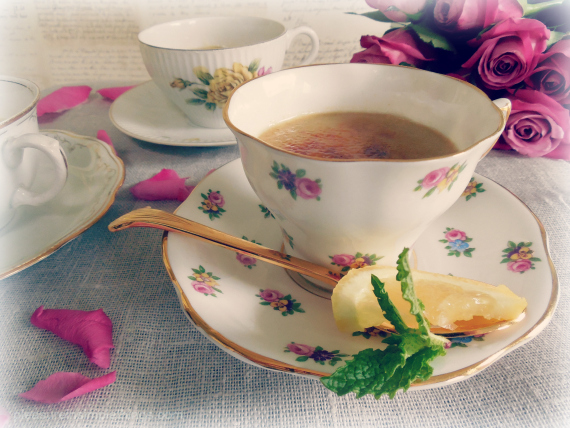
creme brulee in teacups

Most teacups are not oven safe and I would not advise putting family heirlooms in a hot oven…a vintage piece with sentimental value is not something to experiment with!  This is the reason I went with a no-bake method for my Earl Grey crème brûlée…I think it is the perfect flavor profile to combine with vintage teacups!  If Earl Grey is not your thing, just don’t add it to the recipe.

earl grey creme brulee

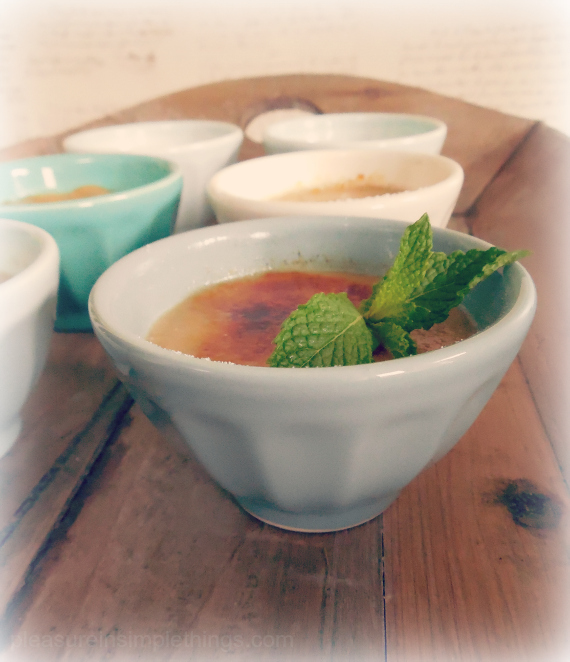
If you prefer a more contemporary choice of vessel, I recommend the mini latte bowls from Anthropologie…the perfect size to hold 3 ounces for a small, individual portion.

earl grey creme brulee in Anthropologie bowls

I found the no-bake recipe I used from Completely Delicious during an internet search – it is easy and makes the perfect amount of custard for a special dessert for a mom (and maybe a couple of grandmas)…it will fill 3 or 4 teacups or 4 mini latte bowls.  Following this recipe (click here), make these changes to create Earl Grey crème brûlée:

After completing step 1, place 4 Earl Grey teabags into the hot mixture and let it sit for 10 minutes.  After 10 minutes, dunk the teabags a couple of times and then gently squeeze the liquid out of the teabags and into the pan (being mindful that the mixture will be hot.)

Continue with the recipe, substituting 1 teaspoon of vanilla for the 1 Tablespoon listed.

Be sure to strain the mixture.  I found while testing no-bake recipes that this is extremely important for a smooth texture – don’t skip this step!  (As a special note – I was very cautious with my kitchen torch – I didn’t venture near the edges of my special cups!)

earl grey creme brulee in teacups

To play up the tea theme, add lemon and mint as garnish. :)

tea quote with roses

If you are an Earl Grey lover as I am, you may enjoy trying these Earl Grey cream puffs.  I also love adding the flavor to shortbreads…I still have Earl Grey ice cream on my list of experiments…maybe this summer. ;)

teacup creme brulee

I hope I have inspired you to think of ways to use your own heirlooms to create some special memories.  We will continue the family heirloom theme on Friday when I show you how to create a special diy gift using an old family treasure.

Thank you for stopping by and remember to take pleasure in simple things, Jackie

Sharing at Coastal Charm, Sand & Sisal, and Silver Pennies.

1 comment

book giveaway for may!

April 29, 2014

Beekman dessert cookbook

April is already coming to a close and that means it is time to announce the winner of the April book and to let you know the book selection for May!  I am happy to announce that Lindsay from Pennsylvania is the winner of a copy of Ecobeauty by Lauren Cox with Janice Cox.  Congratulations!  This book is sure to come in handy to create some Mother’s Day surprises!  I will be sharing a couple of the natural beauty product recipes from the book in the days ahead to help all my friends create some beautiful gifts!

beekman boys book photo

I am excited about May’s book selection!  Have you heard of the Beekman Boys?  You may have seen them on the Cooking Channel.  I had the opportunity to see them in person recently when I attended the Philadelphia Flower Show.  At the show, I picked up a copy of their book  The Beekman 1802 Heirloom Dessert Cookbook.  I love this book!  I am so excited by it, that I had to pick up another copy to include as a monthly giveaway to send to one lucky follower!

The book is so beautifully put together and the photos are truly inspiring.  Since I am a ‘farm to table’ kind of gal, I love the way the recipes are organized by season.  The most recent recipe I tried from the book was one using fresh mint – one of the first spring selections from the garden.  The mint bars were so yummy and fresh tasting!

Beekman boys mint bars

Trying a spring recipe for mint bars from The Beekman 1802 Heirloom Dessert Cookbook.

I know you will enjoy this marvelous dessert recipe book.  Just leave a comment here or on Facebook, Twitter, or Instagram or send me an email message during the month of May for a chance to win a free copy of this month’s selection.  The winner will be announced at the end of the month.  Good luck!

Thank you so much for stopping by!  Remember to take pleasure in simple things, Jackie

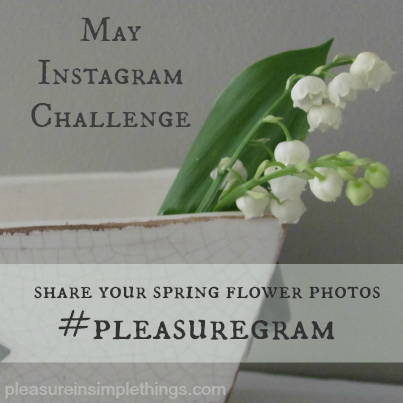
Instagram users, please read on for the pleasure in simple things May Instagram Challenge!

For May, we are sharing our flower photos…it can be a flower from your garden, from a garden you visit, or even a patch of beautiful wildflowers you spot along the side of the road!  Please share your inspiring flower photos for the whole month of May using the hashtag #pleasuregram.  Enjoy!

May Instagram Challenge


6 comments

may day flowers

April 25, 2014

may day flowers

For Friday field trip this week, we are stepping back in time to honor an old tradition that celebrates the start of spring.   Up until the end of the 20th century, part of the May Day tradition included leaving flowers anonymously on neighbor’s doorsteps on May 1st as a signal to the start of spring.

may day tradition

Last year I had some fun making hanging flower containers with driftwood, shells, and repurposed glass tubes.  This year, I am creating some gifts of floral spheres that are easy to create using flower oasis and grocery store flowers.
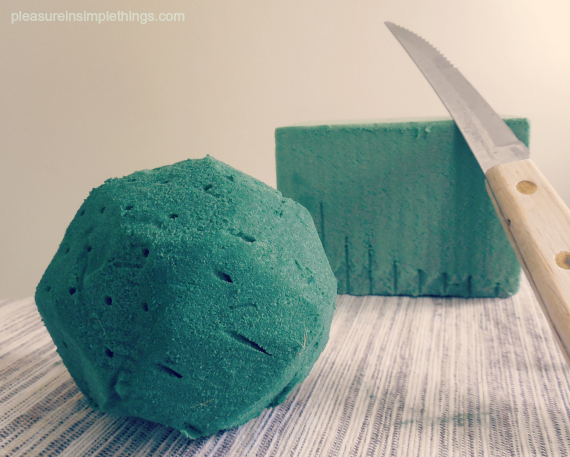
oasis ballI am starting by cutting a block of oasis material into a four inch square.  (Oasis is available at any dollar store, craft store, or flower shop.)

The material is very easy to cut with a serrated knife, but can be messy – be sure to cover your work surface with newspaper before starting this process.

After cutting a square cube, sculpt the material into a sphere shape using your knife.

Once the shape is created, let the material soak up water by submerging it in a container of room temperature tap water.

Next, add flowers.  Pins or fasteners will not be required to attach the flowers if flowers with stiff stems are chosen – like the ones I have used here.  Just leave some length on the stems so they can be poked into the material.

Place the flower heads in close enough to each other to prevent seeing glimpses of the surface (to avoid needing any additional filler flowers).

A 4″ cube can easily be filled with a small bouquet from the grocery store florist…or flowers from your garden – if you are lucky enough to be in a part of the country that makes this possible!

may day purple flower

Now you have created a beautiful sphere shaped flower arrangement that can be displayed in any small container that accommodates the size of the sphere.  I have used a sugar bowl and a small flower pot.

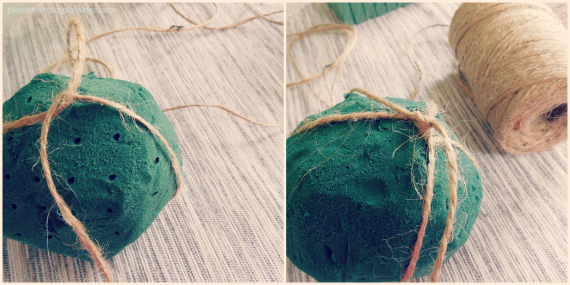
No fear, if you want to continue the May Day tradition of hanging your arrangement, this is easy to accomplish.  Before adding the flowers, attach some twine around the sphere and you can easily hang your May Day arrangement.

may day flowers in a sugar bowl

Take note that hanging is possible because of the small size of the sphere.  Because the added water adds weight to the sphere, this would not work with a larger size sphere – the twine would cut through the material.  And be sure to use twine – moisture from the water would stain a ribbon.
preparing circular oasis

I much prefer the sphere displayed in a container, but if you need to follow the tradition to the letter, your arrangement can be hung on a nearby doorknob. ;)

circle of hanging flowers

Happy May Day!

may day yellow flowers

Thank you so much for stopping by.  Have a wonderful weekend!

Remember to take pleasure in simple things, Jackie

Sharing with Craftberry Bush, The Shabby Nest, and Common Ground.

1 comment

« Previous Entries