Subscribe to Pleasure in Simple Things via RSS ReaderFollow Pleasure in Simple Things on InstagramFollow @InSimpleThings on TwitterLike Pleasure In Simple Things on FacebookFollow Pleasure In Simple Things on PinterestEmail Jackie

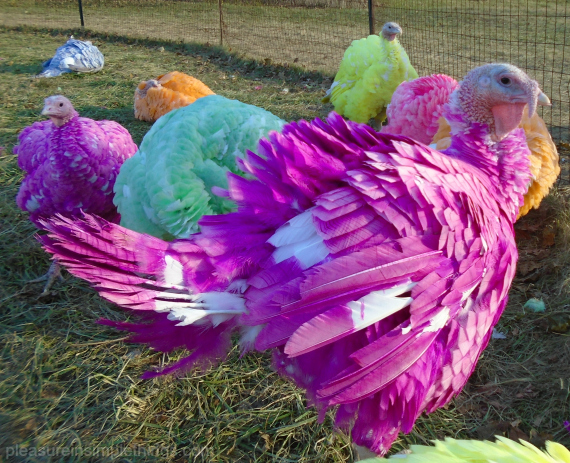
rainbow turkeys at gozzi’s farm

November 28, 2017

pink turkey in Connecticut

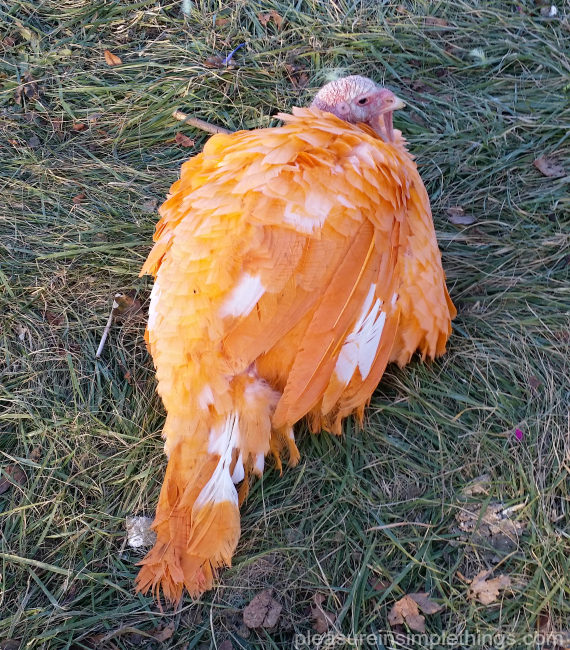
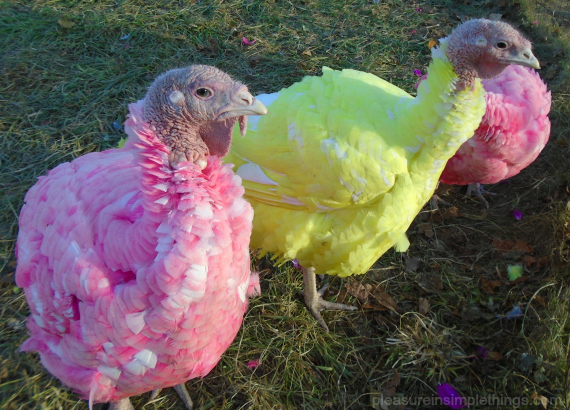
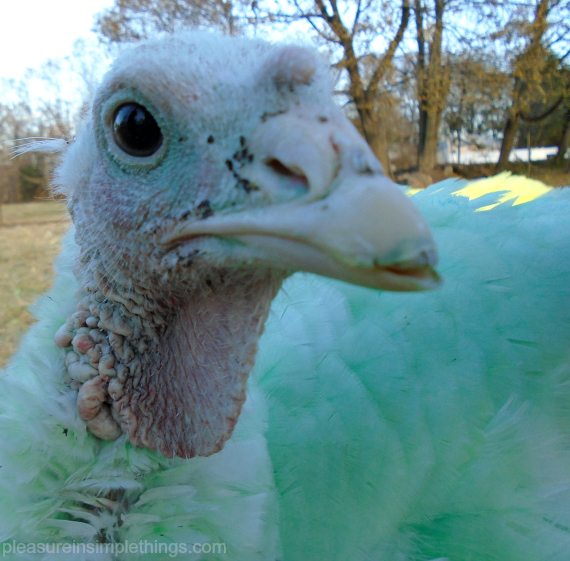
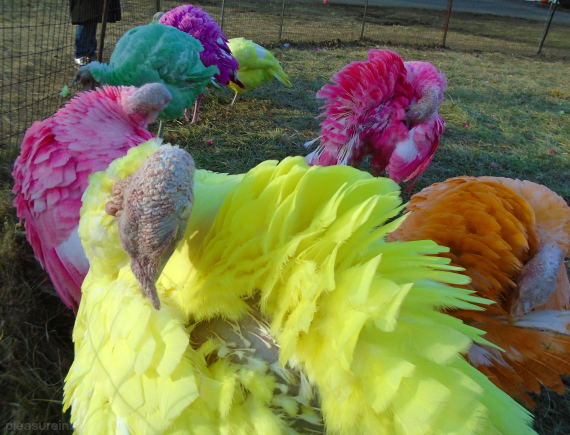
You don’t need to purchase a turkey during the holidays to make a tradition of visiting Gozzi’s Turkey Farm in Guilford, Connecticut.  If not purchasing a turkey, why visit a turkey farm?  To get a glimpse of the rainbow colored turkeys, of course!

Orange turkey at Gozzis

Rumor has it that the 15 or so white turkeys housed in a turkey pen each year outside the store were first dyed with 100% natural vegetable based dyes back in the 1940’s and the practice has been maintained as a tradition ever since.

pastel turkeys in CT

To me, the turkeys give more of an Easter vibe than a Thanksgiving vibe, but they certainly are interesting to look at!

Gozzi’s Turkey Farm has been in business over 75 years, developing one of the first strains of white turkeys on the East Coast.

close up of green turkey

With the rise of large turkey producers, Gozzi’s does not sell the large quantities of fresh birds that it once did at its peak back in the 1970’s, but many families still make an annual tradition of purchasing a fresh Gozzi bird!  Many area families also make an annual tradition of viewing the colorful turkeys in the front pen!

ruffled feathers of colored turkeys

This small local turkey farm is located on Route 1 not far off I-95 and the turkeys are in the pen and free to view from Thanksgiving through Christmas during good weather.

gozzis turkey farm sign

Thanks for stopping by!

boots on the farm

Remember to take pleasure in simple things, Jackie

no comments

terrain holiday 2017

November 21, 2017

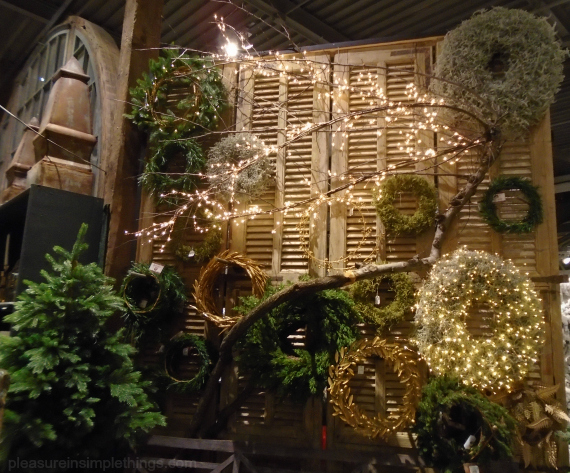
lighted wreath wall

Typically, this is the week everyone starts thinking about holiday shopping.

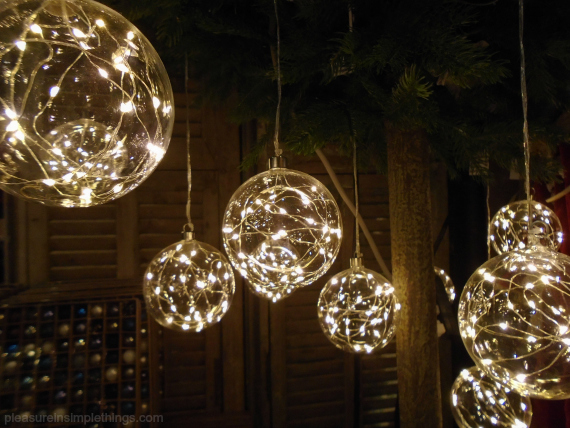
lighted balls Terrain

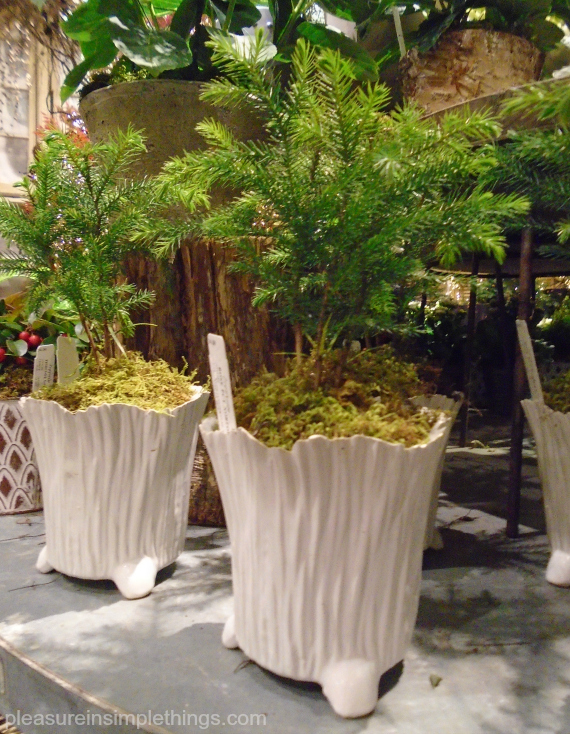
fir trees at Terrain

I have definitely started thinking about it myself and I have visited a few of my favorite stores.  Because I am such a visual person, I don’t really enjoy internet shopping.  I like to see the merchandise and enjoy how it is styled and displayed.  And, I certainly appreciate a beautifully and creatively wrapped purchase over a box left at my doorstep!

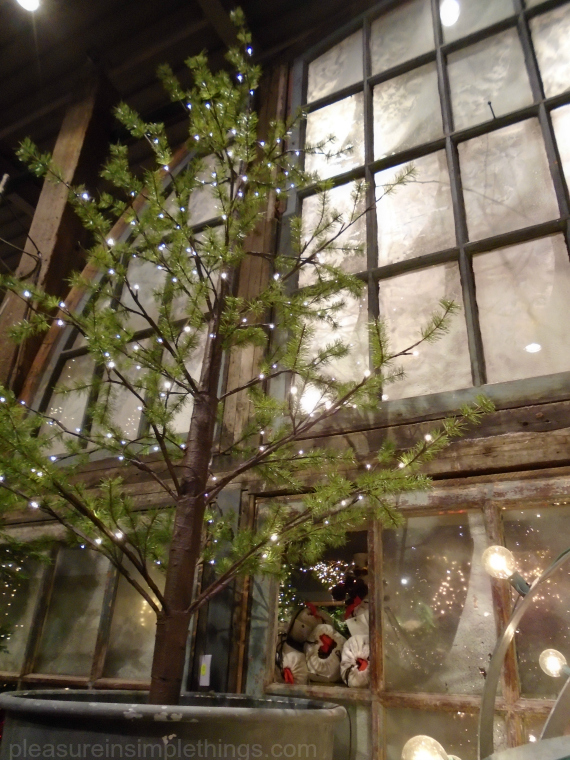
lighted tree Terrain

building a zinc village

As a homage to brick and mortar stores, this week I am sharing a few photos from my favorites this holiday season.

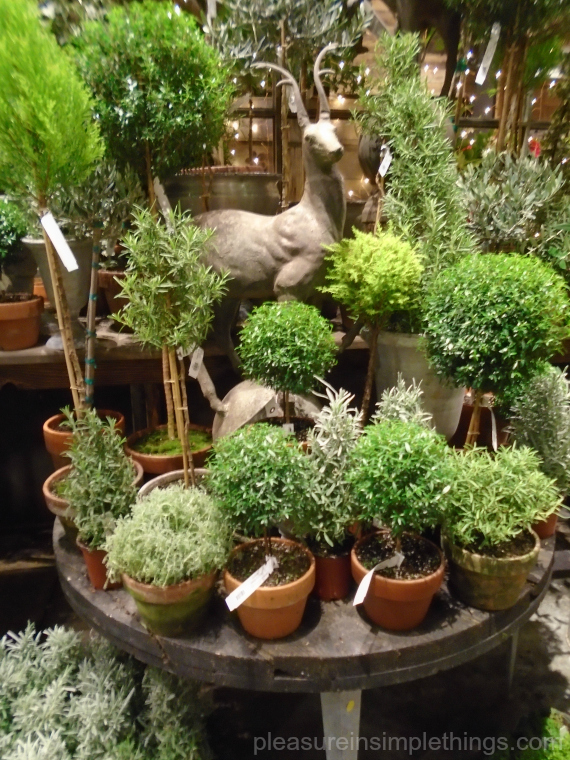
greens for the holidays at Terrain

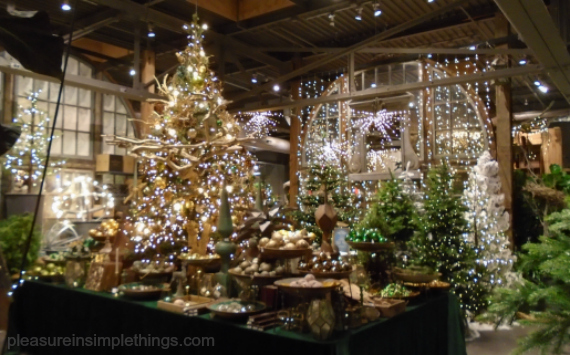
Holiday Magic at Terrain

Today, some photos from my favorite home and garden store – Terrain.  For overall holiday décor, Terrain is hard to beat!  A visit to the Westport store is a sure way to put your holiday spirit into overdrive as well as inspire your holiday décor!

Terrain Holiday

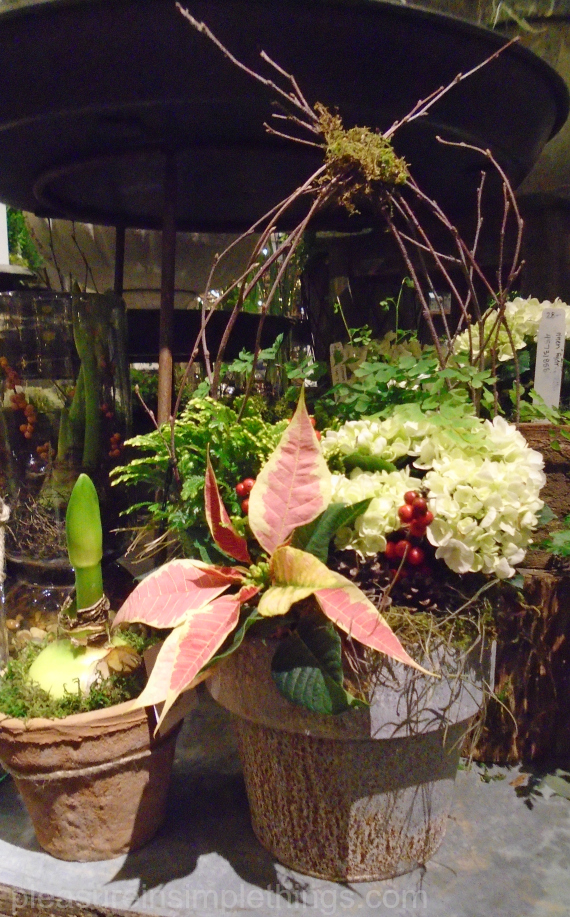
holiday plant at Terrain Westport

Thanks for stopping by!

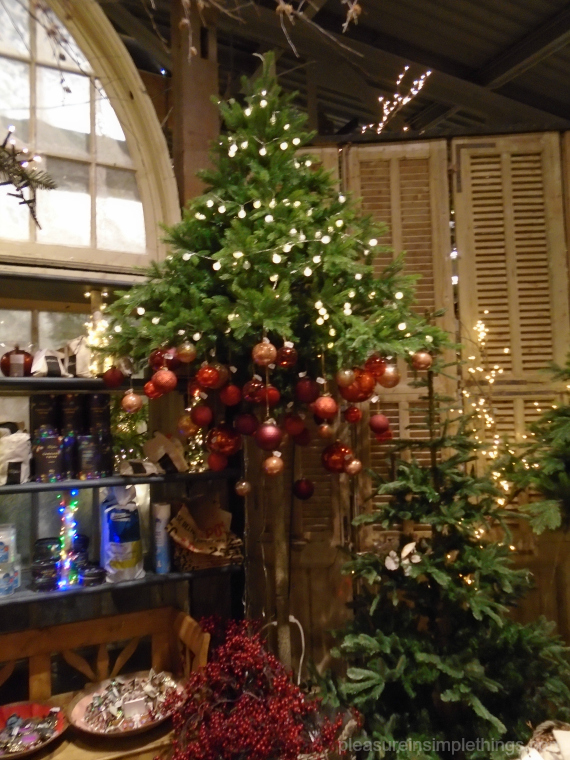
Holiday tree with red bulbs

Remember to take pleasure in simple things and have a blessed Thanksgiving!   xo Jackie

no comments

holiday cookies

November 17, 2017

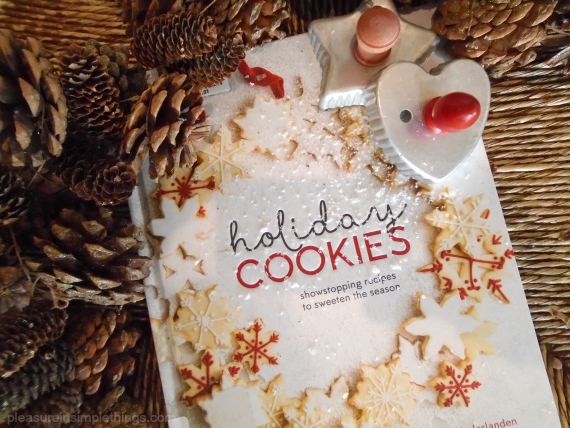
Holiday cookies cookbook

2017 has been a good year for cookbooks.  There have been a wide variety of new books published.  This selection includes cookbooks by celebrities like Oprah Winfrey, Sarah Michelle Gellar, and Zac Posen – as well as cookbooks by famous chefs like Bobby Flay, Wylie Dufresne, Jacques Pepin and Richard Blais.

But, for recipes to use for holiday gifting, I have a favorite cookbook release this year and I would like to share the title with you today on Friday field trip.

holiday baking

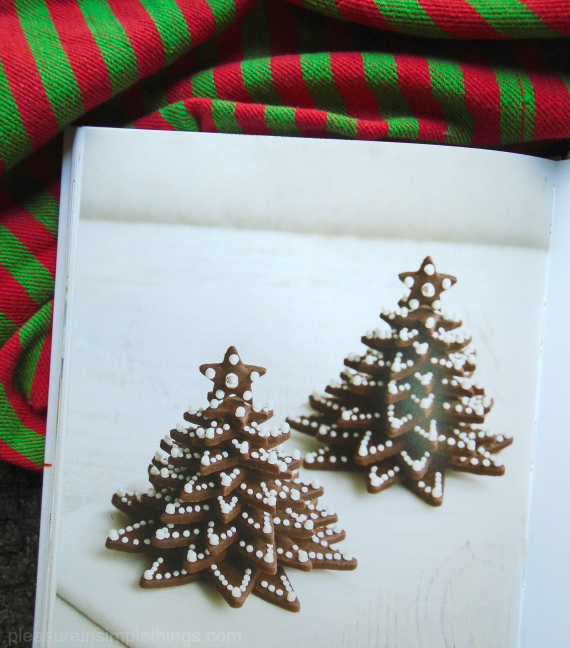
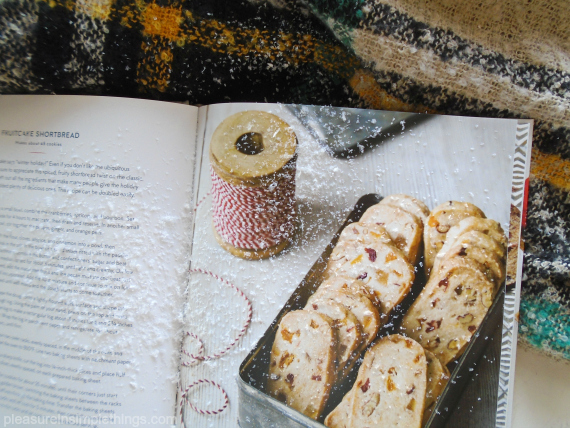
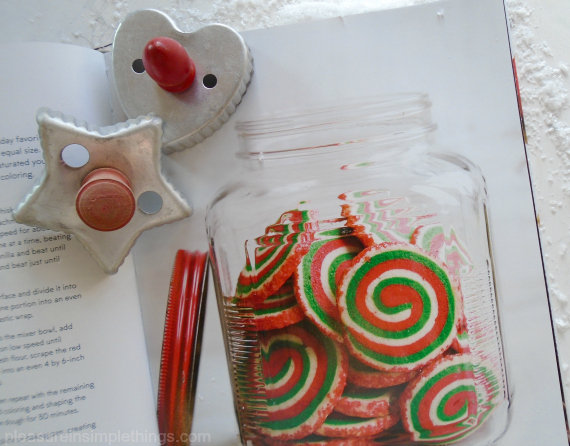
The book?  Holiday Cookies:  Showstopping Recipes to Sweeten the Season by Elisabet der Nederlanden.  With some intriguing new dessert recipes accompanied by fabulous photos, I am really enamored with this book!  Can you tell why based on the few photos here?!

holiday cookie trees

The holidays are a time when most people succumb to food temptations and I am no different!  For me, it is definitely a new sweet that will do me in! On Thanksgiving it is all about Eileen’s lemon meringue pie…as far as Christmas is concerned?  You never know!

new holiday cookbook

Because baking is my favorite, I add some new recipes to my holiday repertoire each year – adding some new treats to include with my old standbys!  Making something new to gift to others is a special part of my holiday routine.  This year, the new recipes I try are definitely coming out of Nederlanden’s book!

holiday pinwheel cookies

I can’t wait to share my creations with you on future Friday field trips!

Browse through some of this year’s new cookbooks at your local library!   I hope you are inspired to try at least one new dessert recipe this holiday season! ;)

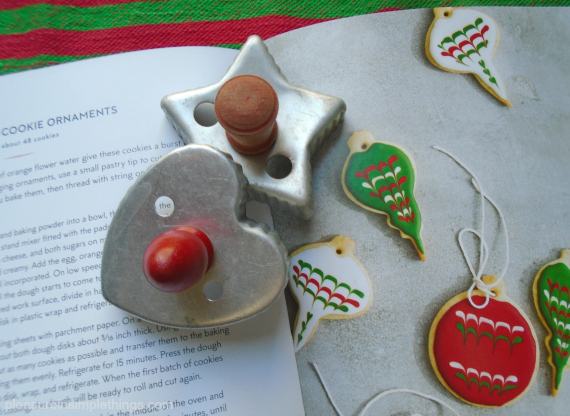
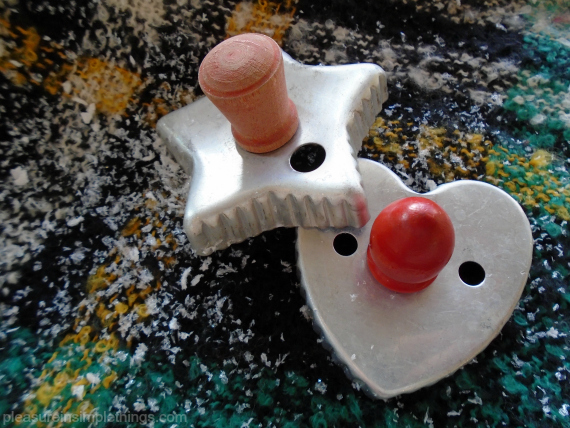
antique cookie cutters

Thanks for stopping by!

Have a fabulous weekend and remember to take pleasure in simple things, Jackie
no comments

marbleizing baby boos

October 24, 2017

diy marbleizing pumpkins

The best part of October is getting creative with pumpkin decorating!  And, there are so many ways to do so!

Today, I just wanted to take a moment to share the simple technique for creating a marbleized pumpkin.  I thought most people had tried this technique by now, but if you haven’t – you need to!

A marbleized pumpkin is super easy to create.

baby boo and diy green marble

The only materials needed are some warm water, a bottle of nail polish, and a disposable container large enough to accommodate the pumpkin you are planning to marbleize.

I use a disposable container to make clean-up quick and easy and to avoid damage to a regular dish or bowl.  For mini pumpkins, a disposable foil lasagna pan is perfect.

Fill the container with warm water.  Drizzle some of the nail polish over the surface of the water by pouring it in a thin stream in an irregular pattern.  Not much is needed.

marbleizing pumpkin processHold a pumpkin by the stem and dip it into the water.  The nail polish will adhere to the pumpkin in an irregular pattern.  Twist the pumpkin while in the water to create varying patterns.  If you are not understanding how this could work, don’t worry!  After trying it with one pumpkin, you will experience an ‘aha’ moment.  After that one try, you may well be addicted to the process and its many possible outcomes!

some diy marbleized pumpkins

I like to use white pumpkins with a nail polish that coordinates with my décor.  The green I used on these pumpkins creates a look that looks great in my dining room amid my ferns!

Of course, dark colors look the most dramatic.  And, you can use more than one color on a single pumpkin if you’d like.

I hope I have inspired you to try marbleizing a pumpkin!

white baby boo green marbleizing

P.S.  There is a video in my Instagram feed and on my Facebook page if you’d like to see the green marbleized pumpkin creating in process!

Thanks for stopping by!

Remember to take pleasure in simple things, Jackie
no comments

happy spring friends!

April 14, 2017

Happy Easter from pleasure in simple things blog

Hello all!  Please have the very happiest of weekends!  It is a hectic one for me since I am working this weekend and also trying to get ready for a family meal on Sunday – I’m on desserts!  I am taking inspiration from Chef Adam at Sift Bakery :)

For Friday field trip today, please enjoy my favorite homage to Earth Day, coming up on April 22nd.

Click here to see Repurposed Brown Bags.  Have a wonderful weekend!

Remember to take pleasure in simple things, Jackie
no comments

50 shades of gray eggs

March 28, 2017

gray easter eggs pleasure in simple things diy

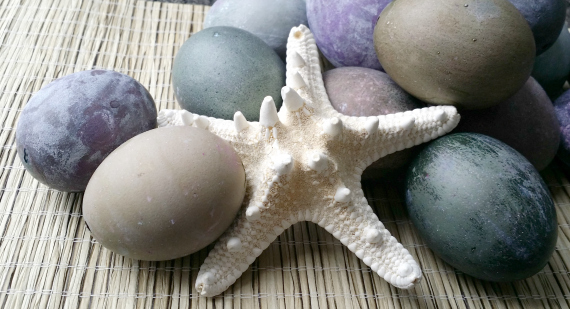
Easter eggs don’t have to be in bright rainbow colors!  This year, I have a gray theme going on.  I think I picked gray because I really want to redo a bathroom in gray and gold, but don’t have the funds needed to do a great job!  So, for now, my Easter eggs will have to satisfy my bathroom vision!

gray easter eggs pleasure in simple things 1

I started by prepping the eggs.  I remove the insides first.  This way, if I want to keep the eggs, they are good for as long as I want them!

basket of gray easter eggs pleasure in simple things blog

I use a pin to put a hole in each side – starting with the smaller side of the egg.  After I get one pin prick, I add a few more to make the hole a tad bigger.  It helps to hold the needle with a dish cloth to get a good grip on it.  Gripping the needle near the end and moving slowly, I pierce the egg using a controlled motion.

eggs for easter pleaasure in simple things blog

After both holes are made, I use an opened paper clip to pierce the insides of the egg.  Pushing the paper clip in, out, and around many times…the more the insides are broken up, the easier it flows out!

gray and gold easter eggs pleasure in simple things blog

On some of the eggs I added gold with gold metallic paint – sometimes using a toothbrush to splatter the paint onto the egg.

Then, I gently blow on the smaller of the 2 holes to completely remove the inside of the egg.  This is a good project during television watching!  (Not during This Is Us though – no distractions needed during that show!)

initial easter egg pleasure in simple things blog

Here I used gold leaf to create an initial on one of the dyed eggs.

For the coloring part, I make my own dye using food coloring.  I simply mix 1 tablespoon white vinegar, 1 cup hot water, and food coloring in a cup – one for each color – making sure the container can fit an egg.  I use paste food dye because the colors are more intense, but the drops that most people have in their kitchen work as well.  The liquid food coloring requires at least 20 drops to the mixture to make a good egg color.

gray easter eggs pleasure in simple things 2

Now for the fun part…decorating!

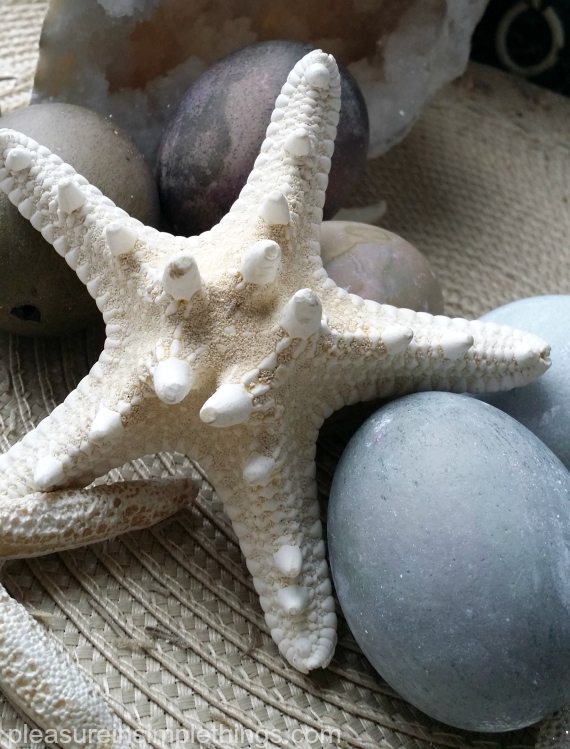
starfish and easter eggs pleasure in simple things

I hope I have inspired you to create some dyed eggs of your own.  If you need some decorating ideas, click here to see a few of my egg decorating ideas from the past, or click here for picnic themed Easter eggs.

dyeing easter eggs pleasure in simple things blog

Thanks for stopping by and checking out some of this year’s egg creations.  Remember to take pleasure in simple things…like dyeing an Easter egg!  xo Jackie

no comments

diy easter bird nests

March 21, 2017

forsythia and nest pleasure in simple things blog

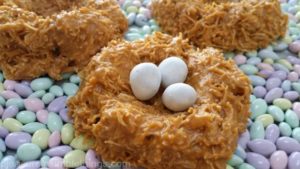
In the spirit of spring, today I am sharing an easy DIY for one of the many nests I make out of edible materials.  This one is simply shredded wheat and chocolate chips.

candy easter nest by pleasure in simple things blog

The shredded wheat is the original unsweetened variety that comes in the big ‘logs’…I think you must know what I am referring to.  For the chips, I have used butterscotch flavored chips – chosen because of the color.  You can use the chocolate ones if you prefer a dark brown color for your nests.  White chips are also an option and can be used as white or can be tinted with food coloring in any color you choose.

nests for Easter pleasure in simple things blog

To make:  For 4 small nests, you will need 2 shredded wheat ‘logs’ and about 6 ounces of butterscotch pieces.  First, separate the wheat logs as shown below and set aside.

candy nest collage

nests pleasure in simple things blogMelt the butterscotch pieces slowly over a double boiler just until melted.  Remove from heat and gently fold in the prepared shredded wheat until coated.  Form four nests on waxed paper and leave to harden.  Use jellybeans or small candy eggs to decorate.

These nests make great table decor and are perfect on an Easter table.

nest place card pleasure in simple things blog

I hope I have inspired you to create some of your own nests!

rabbits and nest pleasure in simple things blog

Thanks for stopping by!  Remember to take pleasure in simple things, Jackie
no comments

hanging plants in eggs diy

March 14, 2017

plant diy hanging eggs pleasure in simple things blog

It does seem a little bit crazy to think that while the snow is piling up outside, I am posting an Easter project!  But, hey – we have already changed the clocks and Target has more flavors of Peeps on display than I have ever seen in my entire life!  There are even Peep Oreos on the shelves!  So, I will not feel guilty about starting Easter DIYs!

diy Easter hanging eggs pleasure in simple things blog

And, if 2 feet of snow is happening while I post this, so be it!  Today’s Easter DIY is a simple one – hanging plants…but, the plants are hanging in eggs!  I guess I could have made the egg hangers myself.  It would probably have been long and tedious work not to break any shells in the process.  And, putting the holes in the eggs would be very delicate work!

hanging eggs pleasure in simple things blog

Instead, I found the eggs at Terrain for $2.50 a piece…a price well worth the convenience!  With hanging eggs at the ready, the project was super simple…I just planted – very carefully – in each of the eggs and hung them from branches.  Don’t they look super festive!

planting hanging eggs pleasure in simple things blog

If you want to do this project completely on your own, you can empty out the eggs, make 2 holes and add twine for hanging, but I recommend purchasing eggs ready to go from Terrain!  Or, if you prefer, plant in eggs that don’t hang.  (I like to plant shamrocks or pansies in eggshells.)  For this project, I chose to plant in natural eggs, but you may decide to plant in eggs that you have dyed.  Have fun with it!

diy hanging egg pleasure in simple things blog

I hope I have inspired you to plant in eggshells!

Thank you for stopping by!  Remember to take pleasure in simple things, Jackie
no comments

valentine coffee sleeve diy

February 7, 2017

easy DIY Coffee Sleeves pleasure in simple things blog

Today, I am sharing a really easy Valentine DIY that is sure to make someone smile!   For no cost at all, it is easy to upgrade those sleeves you get on your cup of morning Joe!

Why not make one to slip on your loved one’s coffee before delivering it on Valentine’s Day!  Or, add a special message or photo to your child’s hot cocoa!

DIY Coffee Sleeves on pleasure in simple things blog
The supplies needed are easy:  decorative paper, a knife or scissors, a used coffee sleeve (you don’t throw these out, do you?), spray adhesive, and a glue gun.  Just cover a used coffee sleeve with a decorative paper!

steps in making a recycled coffee sleeve pleasure in simple things blog

If you want to get fancy, you can use fabric.  Here I used some scrap felt.  I cut a heart shape in the felt; adding a piece of decorative paper behind the opening before adhering the felt piece to the coffee sleeve.

DIY Coffee Sleeves pleasure in simple things blog
For this one I used a birch bark looking paper.  I drew on the heart and initials with a marker and rubbed it off some so the writing wouldn’t be as sharp.

DIY valentine Coffee Sleeves pleasure in simple things blog

Here I used a paper with some script writing…you may want to use some sheet music of a special song or an old book page with a special poem.

DIY Coffee Sleeves reuse pleasure in simple things blog

Think of the possibilities!  The paper I used in the second photo was actually a recycled Terrain bag!  (Click here for more Terrain bag uses!)

I hope I have inspired you to create a coffee sleeve for a special Valentine!

Thank you so much for stopping by!  Remember to take pleasure in simple things, Jackie

no comments

my ‘punny’ valentine diy

February 3, 2017

candy pun diy pleasure in simple things blog

The valentine season is not complete for me without at least one ‘punny’ candy gift!

I am sharing one from this year on today’s Friday field trip!

Here is my package candy topper for some gummy eggs!  The candy came from Ikea’s candy bins…they have some cute, pun-worthy selections!

Egg Candy valentine pleasure in simple things blog

I created my topper, sizing the image 1200 x 1800 pixels.  Then, I printed it four times on a sheet of 8 ½” x 11” card stock.  Next, I attached the topper to a plastic bag of candy.  For fun, I packaged some up in a mini frying pan…so cute, right?

candy egg pun diy pleasure in simple things blog

I hope I have inspired you to create a ‘punny’ candy topper or tag of your own!

candy valentine diy pleasure in simple things blog

If you’d like my egg topper image, just shoot me an email and I will email it to you.  This candy also works well with ‘don’t yolk with me’ or anything about being ‘egg-static!’

candy pun valentine diy pleasure in simple things blog

For more detailed assembly instructions for toppers or some additional ideas for puns, you may like:

  • To use with candy chalk, click here (printable included).
  • To use with candy lips, click here (printable included).
  • To use with candy olives, click here.
  • To use with candy sharks, click here (printable included).

Have a wonderful weekend!  Remember to take pleasure in simple things…like a good pun!  xo Jackie

no comments

« Previous Entries     Next Entries »