Subscribe to Pleasure in Simple Things via RSS ReaderFollow Pleasure in Simple Things on InstagramFollow @InSimpleThings on TwitterLike Pleasure In Simple Things on FacebookFollow Pleasure In Simple Things on PinterestEmail Jackie

holiday at country living fair atlanta 2018

November 16, 2018

pine forests of stone mountain

Last week on Friday field trip, I shared some photos of my trip to Atlanta to the Country Living Magazine Fair.  As promised, I have a few more photos to share.  Last week I shared autumn themed photos.

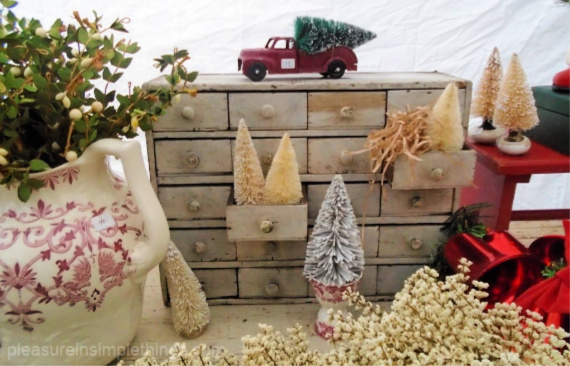
holiday drawers

This week, just a few holiday themed photos from the fair, to give you a little seasonal inspiration!

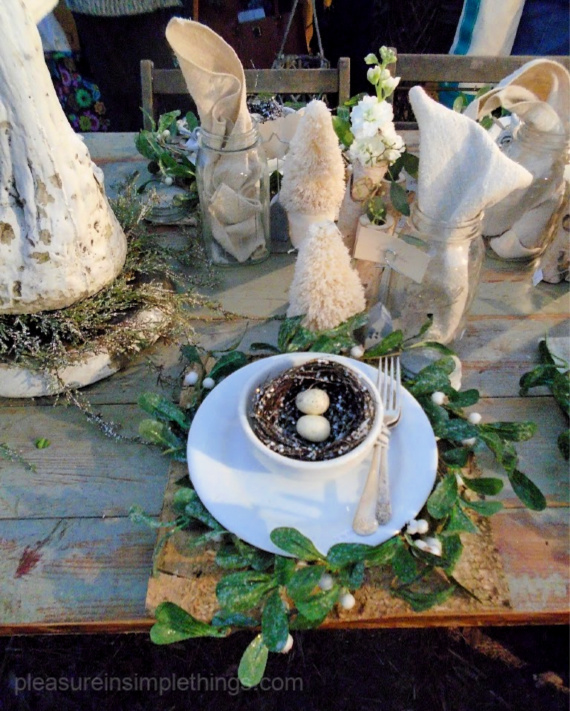
holiday tablesetting

Many of the vendors did create holiday displays.  And, even in the rain, they were fun to enjoy!

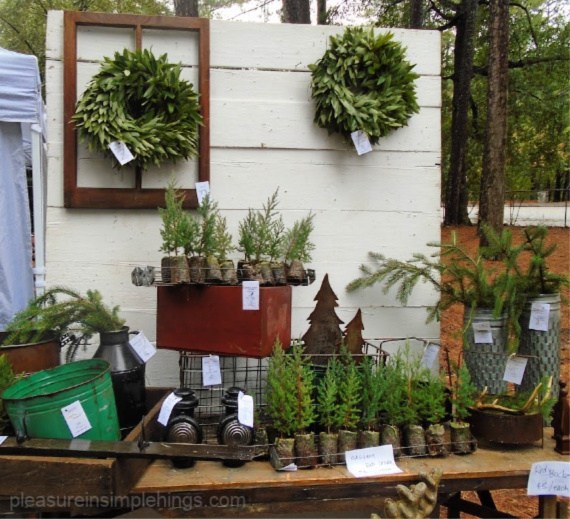
christmas greens

Thanks so much for stopping by!

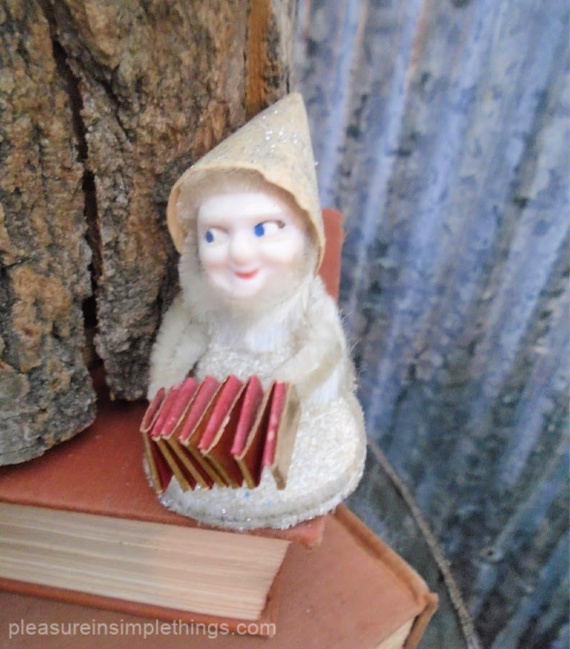
small elf

Have a really fabulous weekend!  Have you started your Christmas shopping yet?

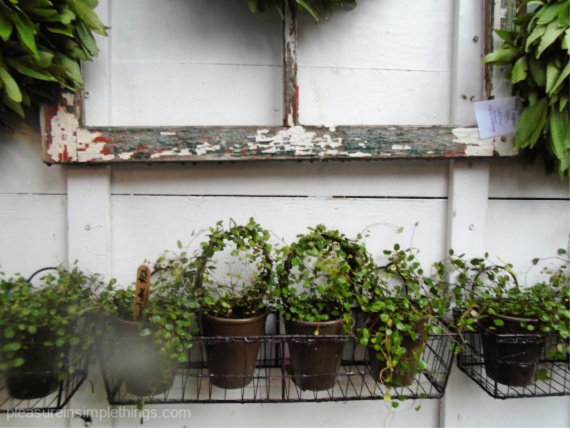
angel vine plants

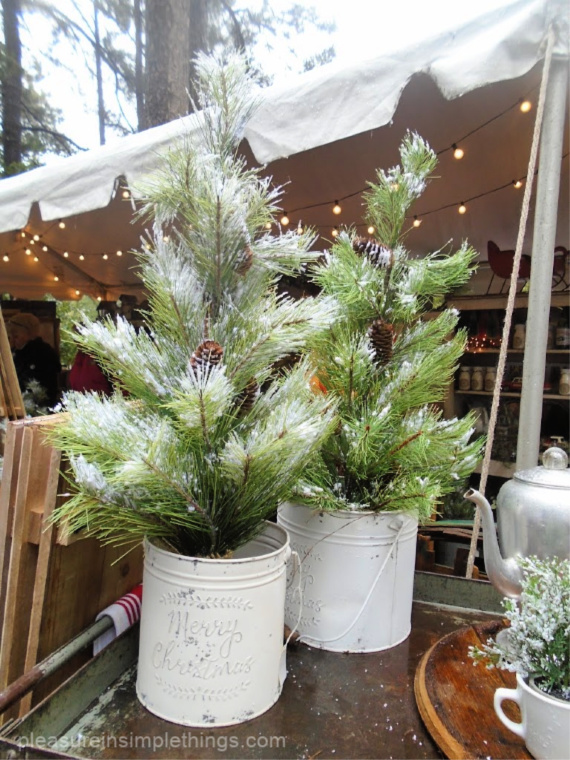
xmas trees in white planters

Remember to take pleasure in simple things…especially during the holiday season, Jackie

no comments

diy tic-tac-toe

November 13, 2018

sand and sea diy

Now that we are well into November, are you starting to think of Christmas?  I have tried to cut back on my holiday shopping and this seems a common way of thinking among my friends as well.

I think it is far better to give experiences rather than material presents and I am trying really hard to keep that guideline in my mind as the holidays approach!

tic-tac-toe on the beach

That being said, there is nothing like a little homemade gift to surprise a little one come the holiday!  And, a homemade gift can definitely help create an experience as well!

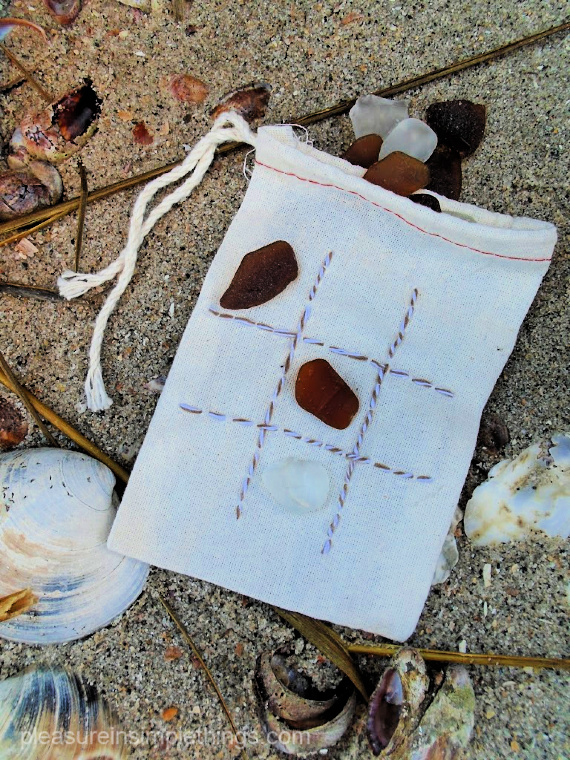
Today’s DIY project is the perfect example!  It is super easy to make and it can be used to create a fun experience to give a child – how to play tic-tac-toe!

supplies for homemade game

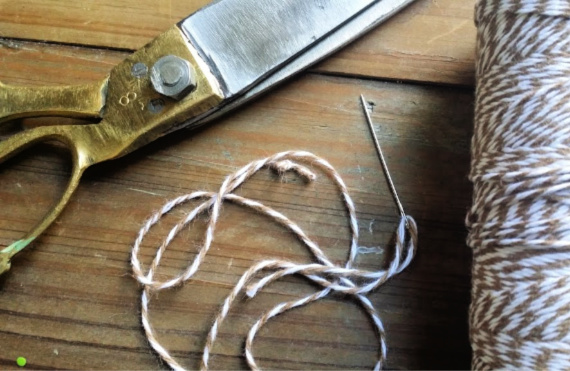
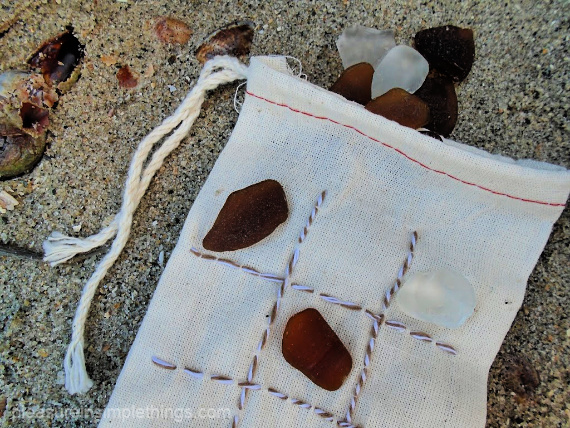
The only supplies you will need are:  a small muslin bag (mine is being reused from a jewelry purchase), embroidery thread or baker’s twine, a sewing needle, and a handful of small items.  I used sea glass for my small items but you can use pebbles, shells, buttons, or small candies like m&ms…be creative and use what you have!  I made my DIY tic-tac-toe for no cost at all!

travel tic-tac-toe diy

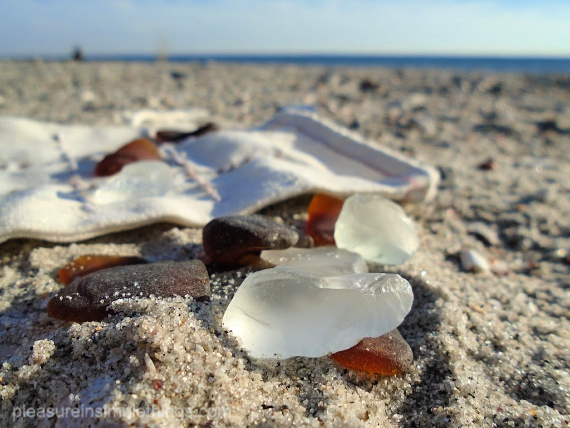
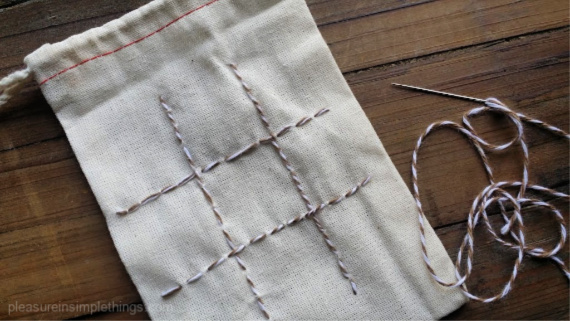
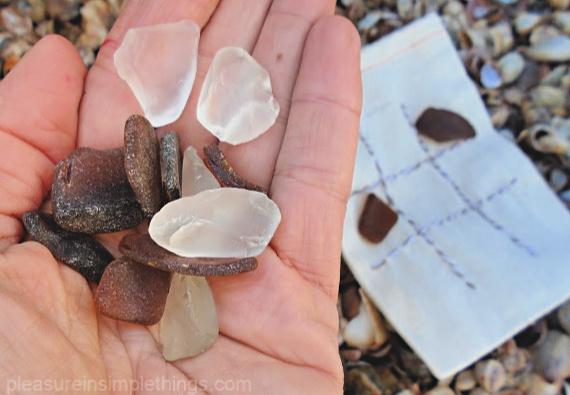
I used brown and white baker’s twine to sew a tic-tac-toe board onto the muslin bag.  Then, I just collected a handful of sea glass in two different colors to use as the playing pieces.  The pieces are handily stored inside the bag when not in use.

collecting sea glass for diy

How easy is that!  I hope I inspired you to create a DIY tic-tac-toe game to gift to that perfect little someone this Christmas – personal instruction included!

diy tic tac toe on the beach

Thanks for stopping by!  Remember to take pleasure in simple things, Jackie

no comments

deviled eggs, hold the mayo

July 10, 2018

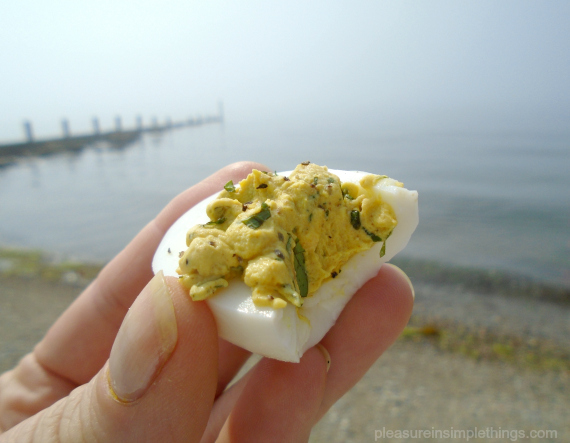
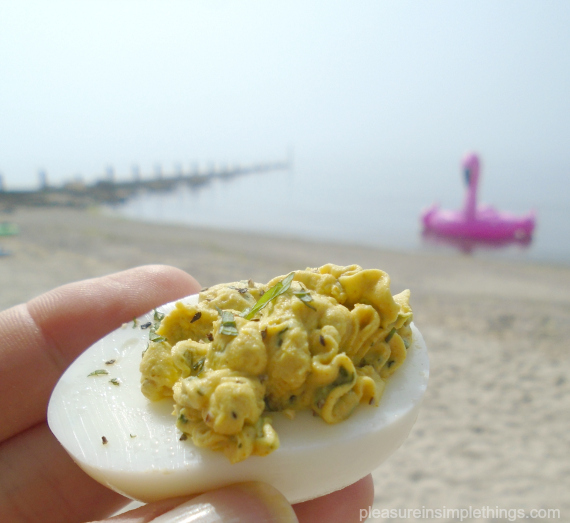
delicious no mayo deviled egg at the beach

People find it hard to believe I don’t like mayonnaise.  It’s true.

And, I think the reason I have never been crazy about deviled eggs is because of the mayonnaise in the filling.  I’ve always eaten the outside, white of the egg and left the filling!

I decided if the mayo could be eliminated from the filling of the egg, I could enjoy the entire deviled egg!

So, for this year’s 4th of July celebration, I made deviled eggs…minus the mayo!

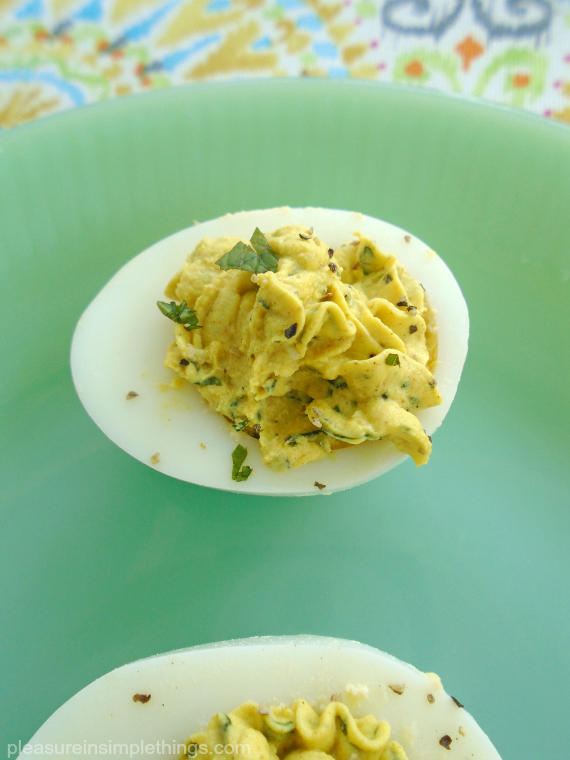
no mayo deviled egg

My idea was to substitute yogurt – which I do like – for the mayo.  I always have plain nonfat Greek yogurt in my fridge.  I added that, as well as some fresh herbs from my garden, to the yolks of eggs for my deviled egg filling.

I boiled up a dozen organic eggs and got to work!

Here is what I ended up adding to a dozen egg yolks:

  • 1/3 cup plus 2 Tablespoons organic, plain, nonfat Greek yogurt (you can adjust to desired consistency)
  • 3 Tablespoons fresh chopped cilantro
  • 3 teaspoons fresh chopped mint (plus more for garnish)
  • 1 1/2 teaspoons curry powder
  • 3/4 teaspoon black pepper
  • 3/4 teaspoon turmeric
  • 3/4 teaspoon sea salt

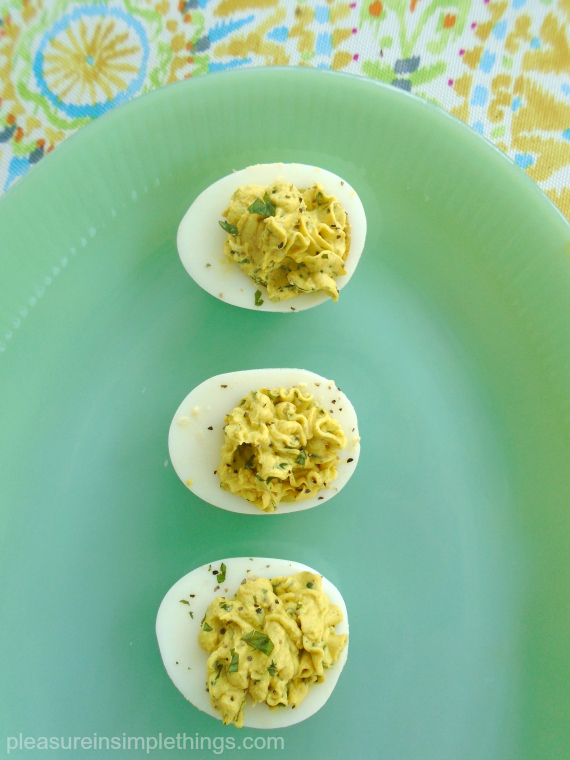
I cut the 12 eggs in half lengthwise.  The 12 egg yolks went into a bowl and were mixed with the ingredients above.  I mixed well with a fork.  (Maybe a mixer could be used here for more of a whipped consistency filling, but I didn’t have one available.)  After the filling was mixed well, I piped it (not very neatly, as you can see!) back into the egg white halves and finished with salt and pepper to taste and some chopped fresh mint from my garden to finish!

a trio of no mayo deviled eggs

My deviled egg creations came out really tasty!  Now that I have tried a nontraditional filling, I think next time I experiment with deviled eggs, I may just remove the yolks altogether!  Alter the spices to suit your taste.  (Try the Trader Joe’s everything bagel spice!)

deviled eggs at the beach

Thanks for stopping by!  Have a really fabulous and safe holiday!

Remember to take pleasure in simple things, Jackie

no comments

the party flamingo

July 3, 2018

party flamingo in for the night

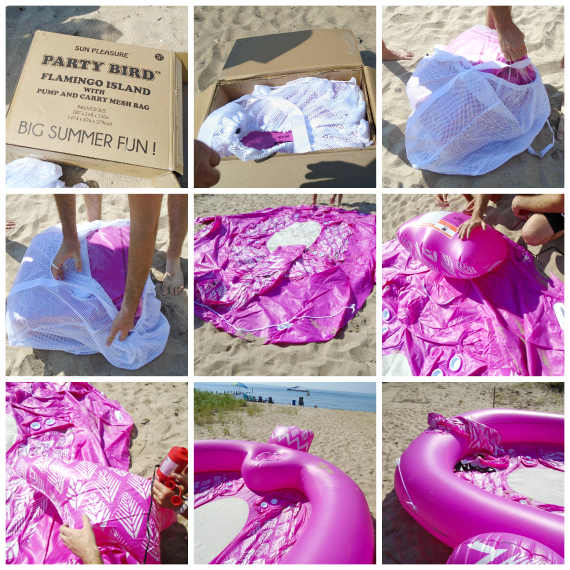
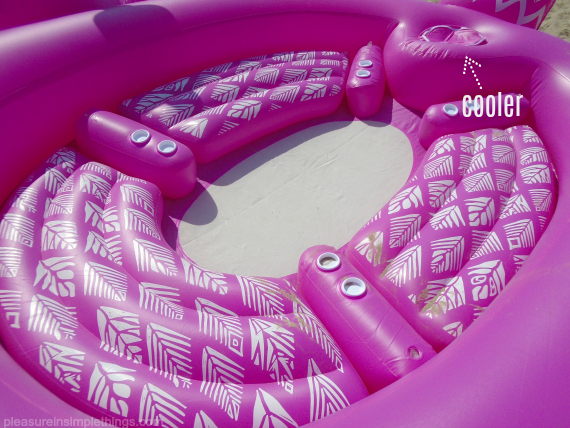
Since today’s post is right during the holiday week, I’d like to introduce you to our new addition for the holiday.  Here, my friends, is Floyd!  He really has a way of getting people together and making them smile!

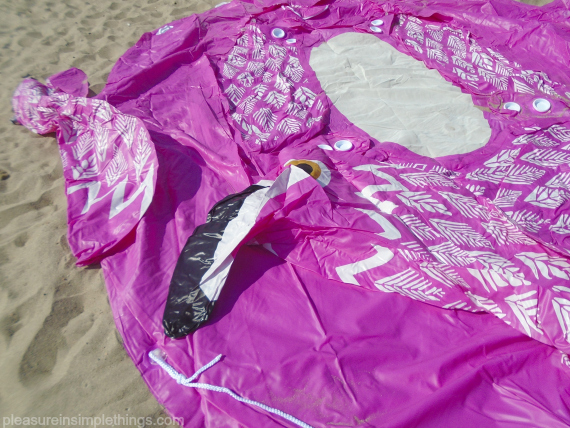
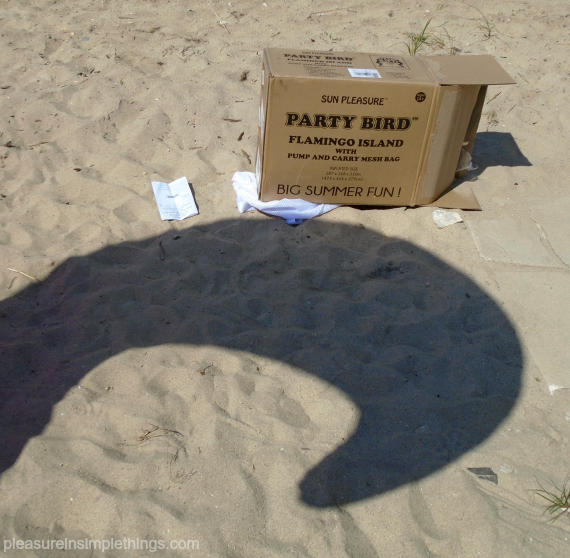
building the party flamingo

Standing over 15 feet tall, he has an imposing presence.  He can keep a very large group entertained and is very accommodating – providing his own cooler and plenty of seating with multiple cup holders!

the beginnings of Floyd

da da...

inside of party flamingo

height of the party flamingo

Floyd or no Floyd, I hope you are enjoying your weekend as much as we are!  Thanks to my son for including Floyd in our holiday festivities!

party time on the flamingo

Have a fabulous and safe 4th of July!

anchored for the night party flamingo

Remember to take pleasure in simple things, Jackie

P.S.  Click here for the link if you want to order your own Floyd – have him delivered close to where you will use him since he is pretty heavy.  He comes with an electric pump, so you will need to be near an outlet or have an extension cord to get him inflated.

no comments

mint watermelon iced tea

May 29, 2018

festive ice tea glass

Don’t you love the new item section at Trader Joe’s?  It is always so fun to see the latest products offered for sale and there are always some great ones!  (How about that cauliflower gnocchi?!)

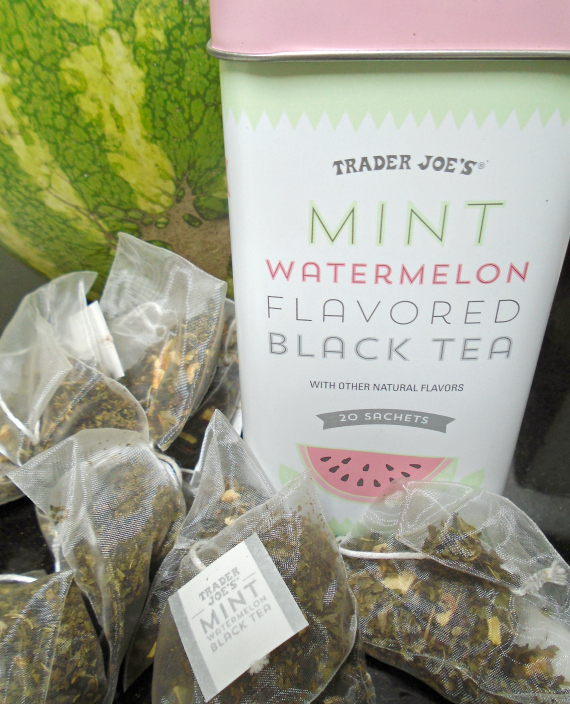
One of the newest products I picked up on a recent visit was the mint watermelon tea.  I planned to make up some iced tea for Memorial Day weekend and was immediately drawn to the ‘watermelon’ part of the tea description – even though the ‘mint’ part was mentioned first.

mint watermelon tea

When I made up a batch of the tea, I found the mint flavor was definitely way more pronounced than the watermelon flavor.  But, after a little adjustment, I got the subtle watermelon flavor I was after!

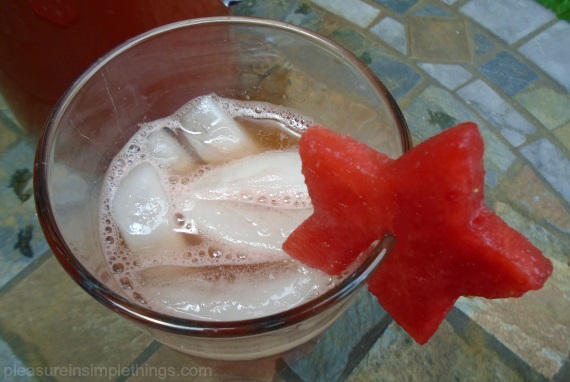
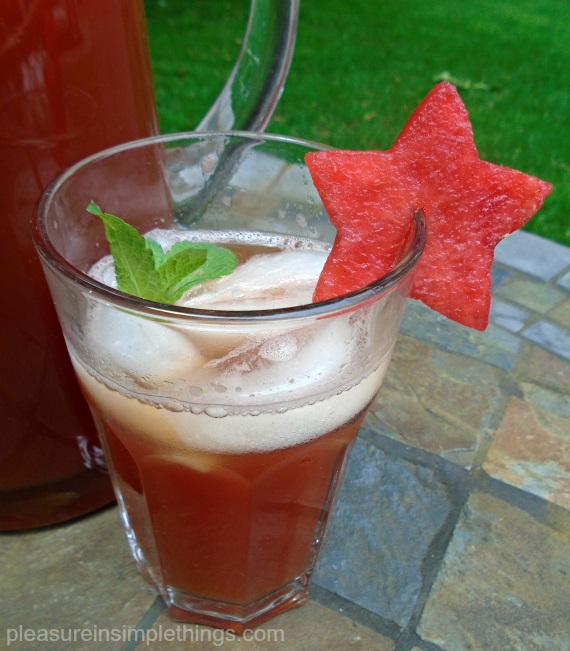
I brewed up 2 ½ quarts of tea, using 10 tea sachets.  After steeping and cooling the tea, I added some watermelon puree to it before pouring it into a pitcher.  To make the puree, I just cut up some fresh, seedless watermelon and liquified it in the blender.  (I cut the watermelon into small cubes and used 3 cups worth in the blender.)

watermelon and mint garnish in ice tea

If you love mint, you will probably like this tea without the adjustment.  I don’t use sweetener in my tea, but you may want to add some if you like some sweetness to your tea.

I hope you enjoyed a wonderful holiday weekend!  Here’s to a short work week!

Remember to take pleasure in simple things, Jackie

no comments

mother’s day diy flower pot

April 24, 2018

diy flower pot

Here is a fun DIY that is easy to create for a sweet Mother’s Day gift.  Once you have a pot made, you can add a plant or pretty much anything that will fit inside!

For me, this project is a great use of Annie Sloan Chalk Paint since it does not use much paint and I always seem to have small amounts of paint left in all my paint cans!  It isn’t an issue that the weather hasn’t cooperated for painting outdoors since pot painting is a small enough project for me to manage indoors.
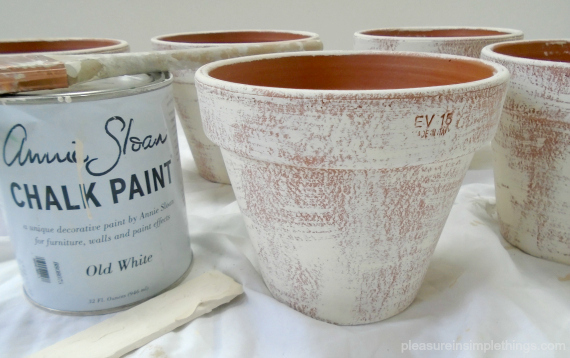
flower pot diy annie sloan

You will need a paint brush, a light color paint (I used Annie Sloan Old White), a paint in a contrasting color for the lettering (I used some leftover black house paint), and a terracotta flower pot (I got mine at Home Depot).  You may also want to print out a typestyle you like from your computer printer to use as a guide for the painted lettering.

The first step is to ‘dry brush’ the light color paint onto the pot. Dry brushing is a technique where paint is applied to a dry brush and then wiped off so that only a small amount of paint is on the brush when applied to the surface being painted.  Not all the bristles of the paint brush are coated in paint and this results in the surface showing through the paint in sections – giving a vintage look.  If you have never done this before, you can practice on a scrap piece of cardboard – don’t worry, it won’t take long to get the hang of it!
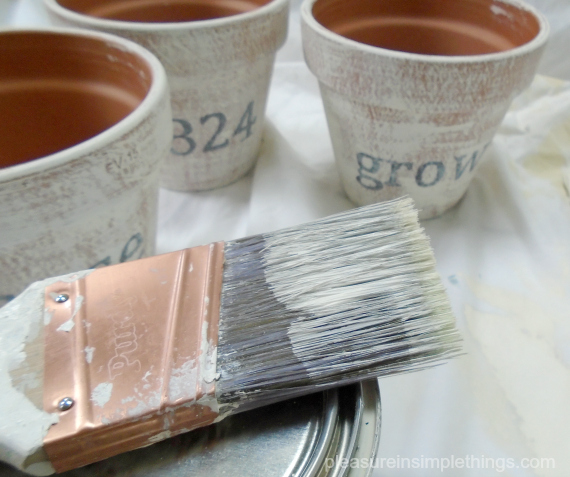
painting flower pots

Once the pot is dry, you can write the desired message onto the pot using a pencil.  Then, use a thin paint brush to paint over the pencil with a dark color paint.

A word of inspiration, a name or nickname, the name of a flower, a zip code, a house number…use one of these ideas or, one of your own, to paint onto the pot.
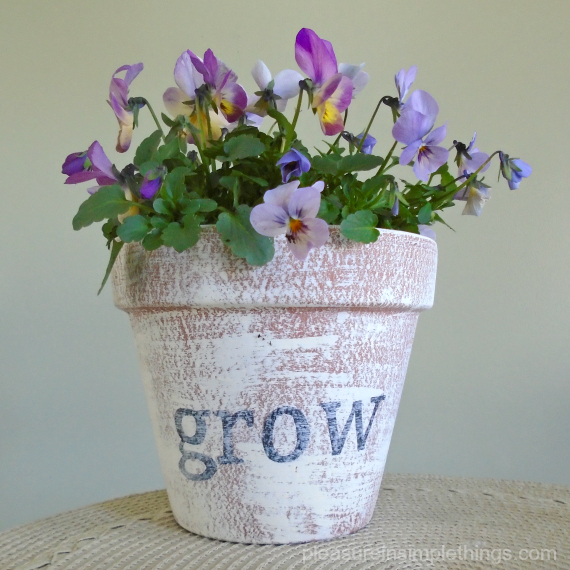
pansies in a diy pot

If you aren’t comfortable hand lettering onto your painted pot free-hand, you can use a purchased stencil.  Or, a less expensive way would be to print out the letters in the size and typestyle you want from your computer printer and then use the print out to create a homemade stencil.  Or, cut the printed letters out and then trace them with a pencil onto the pot.  (Note:  If you are using a stencil, just remember that the pot is rounded so the letters need to be drawn individually.  If you use a stencil of an entire word, it will not curve properly around the pot.  Position each letter at a 90-degree angle from the top of the pot.)

annie sloan painted pot with pansies

As an optional final touch, after the lettering is dry, use the dry brush technique with the light color paint over the letters.  I prefer to do this last step so the letters look a little more vintage and not so perfect.
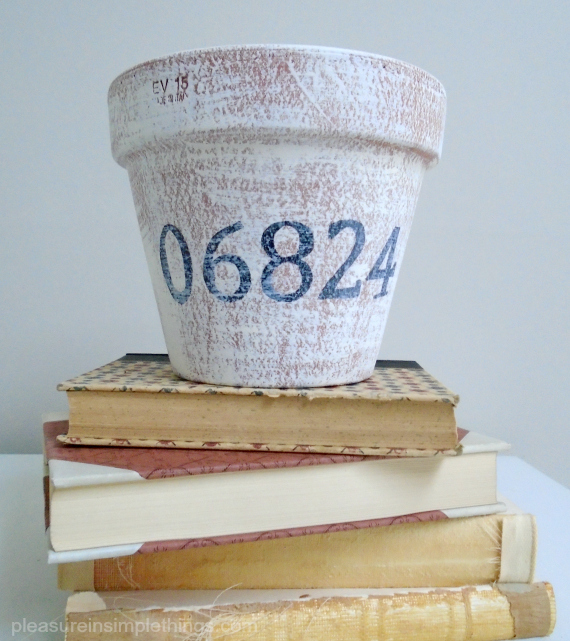
zip code flower pot

I hope I have inspired you to make and fill some pots for Mother’s Day gifts!
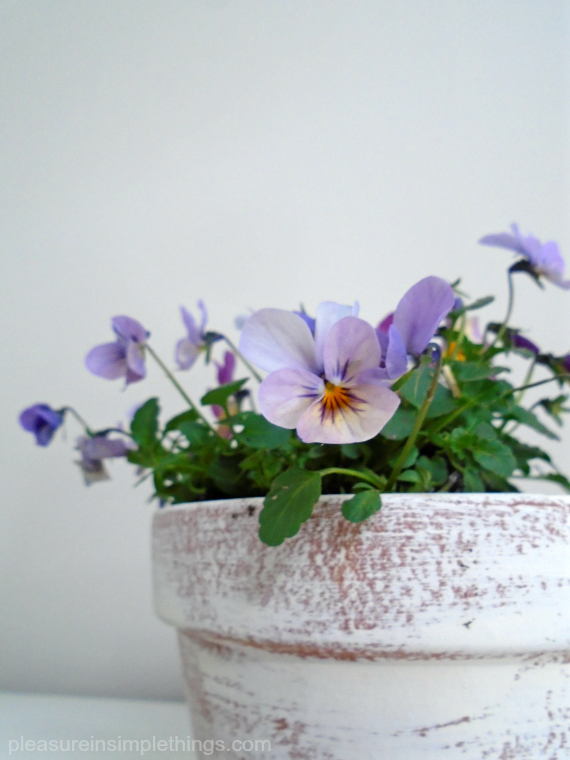
pansy closeup with diy pot

Thanks for stopping by!  Remember to take pleasure in simple things, Jackie

no comments

mother’s day lavender almonds

April 10, 2018

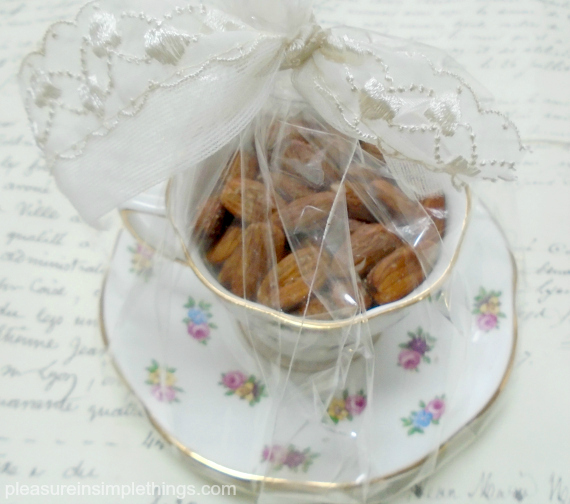
lavender almonds in a teacup

On my last trip to Boston, I was at the market near the waterfront.  One of the vendors was selling many different flavors of a variety of nuts.  I tried quite a few flavors and picked out some to bring home.

After I got back home and sampled my purchases, I found my favorite of the nuts were the ones flavored Limoncello lavender.  I thought the aroma and subtle taste of the lavender on the nuts was fabulous!

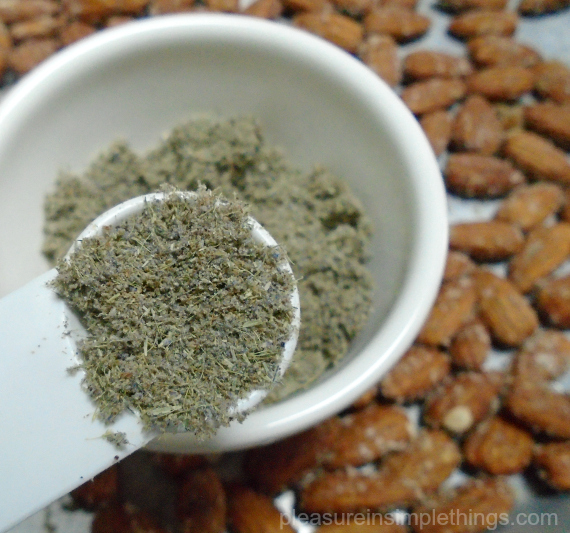
measuring lavender for flavored almonds

The nuts I brought home didn’t last very long and I found myself wishing I had more!  It wasn’t long before I decided to make my own lavender flavored almonds…substituting vanilla for the Limoncello.  After several attempts at creating vanilla lavender almonds, I found the recipe here to be the winning combination of ingredients.

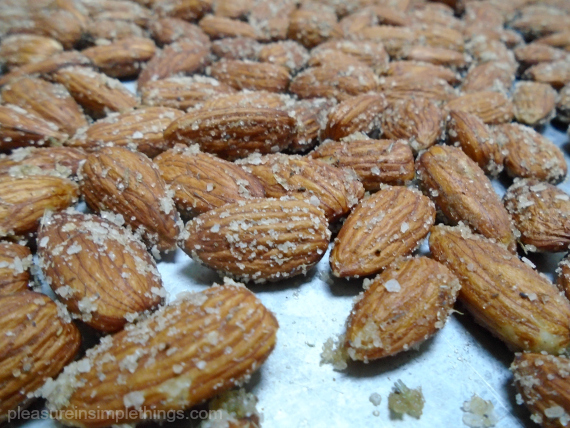
making lavendar almonds

I wish someone had invented a scratch and sniff computer screen so you could smell the heavenly aroma of the lavender!  Give the recipe a try – maybe you will be inspired to adjust the flavors/amounts to your own taste and come up with your own flavor combination!

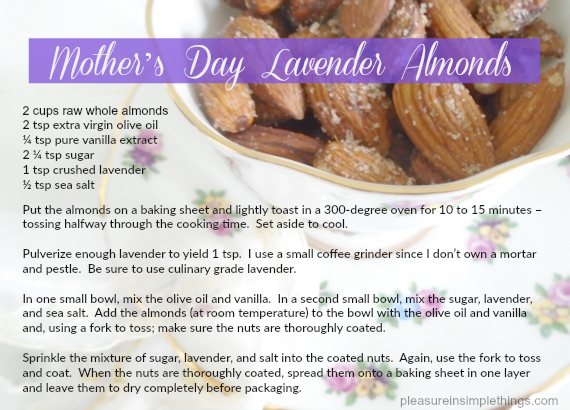
pleasureinsimplethings recipe for lavender almonds

I think this treat is great to gift for Mother’s Day!  Try packaging the almonds in a pretty jar or a vintage teacup!

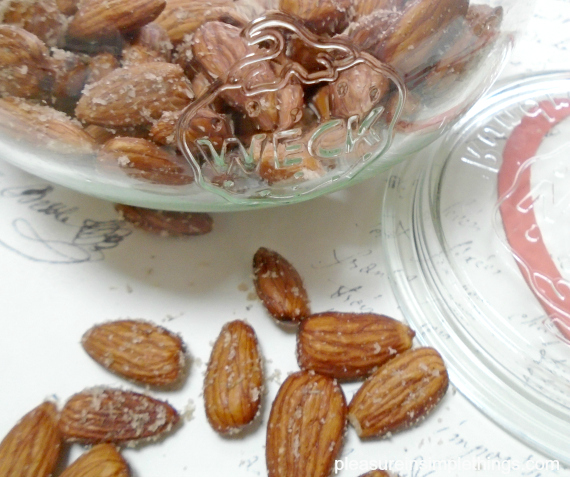
lavender almonds in a Weck jar

Maybe for the next holiday I will try to recreate my second favorite flavor –  the bananas foster flavored nuts!

Thanks for stopping by!  Remember to take pleasure in simple things, Jackie

no comments

chicks in a puddle

March 27, 2018

easter table peep

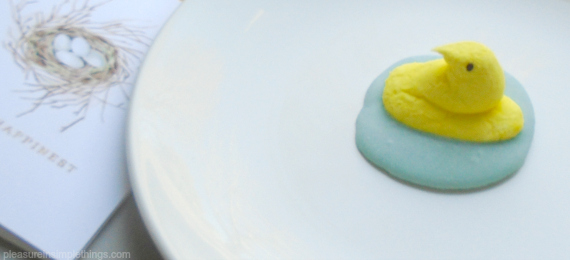
Even though Easter usually has no shortage of candy available, it is still fun to add a candy favor to each Easter place setting.  You have seen me make edible candy nests in the past (or candy turkeys at Thanksgiving), but today I am making ‘chicks in a puddle.’

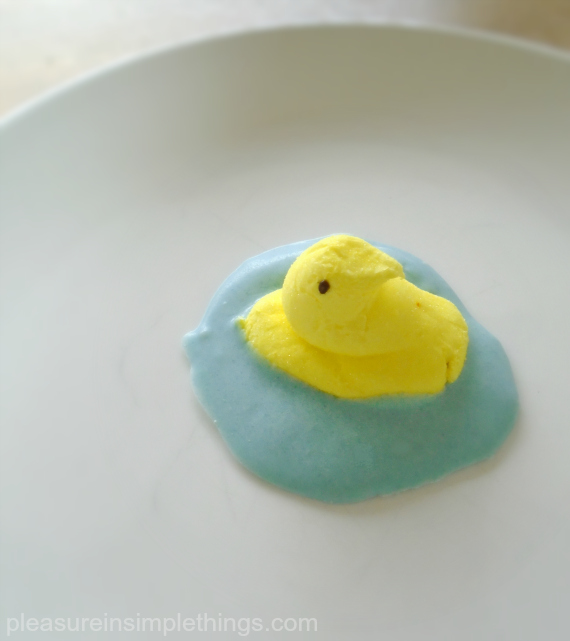
chick in a puddle on a plate

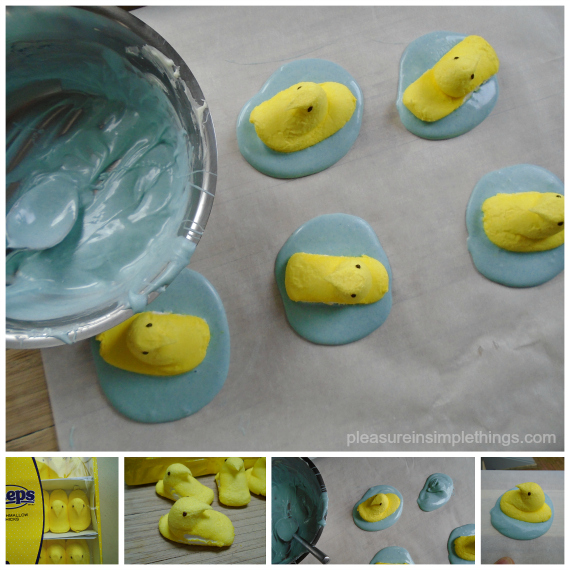
You can easily replicate these in minutes as a super simple DIY.  Only 3 items are required to pull it off – candy chicks, white chocolate baking pieces, and a little blue food coloring.

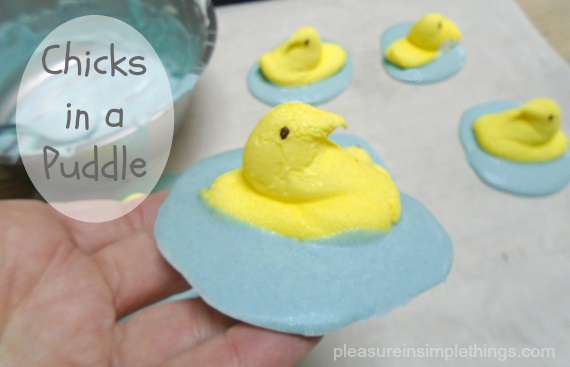
chicks in a puddle

My ‘chicks in a puddle’ are simply candy chicks sitting in a ‘puddle’ of white chocolate that has been tinted blue!

To create your own, melt some white chocolate chips, from the baking section of the grocery store, in a double boiler.  When melted and smooth, add a little food coloring to the chocolate – to tint it a light blue color – and mix thoroughly.  With a teaspoon, spoon the chocolate in small ovals onto wax paper or parchment to create ‘puddles.’  While the chocolate is still warm, press a candy chick into each ‘puddle.’   Place the ‘puddles’ into the fridge for a minute or two to speed up the setting.

This can be a fun activity with the children or grandchildren!

making chicks in puddles

That’s it!  Aren’t they cute little additions to the dinner plates?

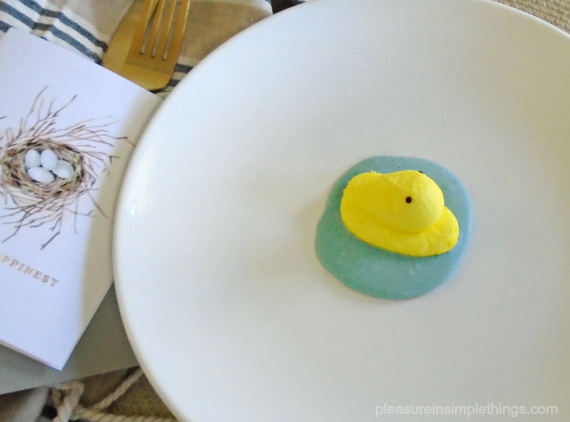
chick on a plate with card

I hope you are inspired to create some chicks in a puddle for your Easter table!  A great tie-in for a child’s Easter basket is the book Puddle by Hyewon Yum!

Thanks for stopping by!  Remember to take pleasure in simple things, Jackie
no comments

polar bear easter egg

March 20, 2018

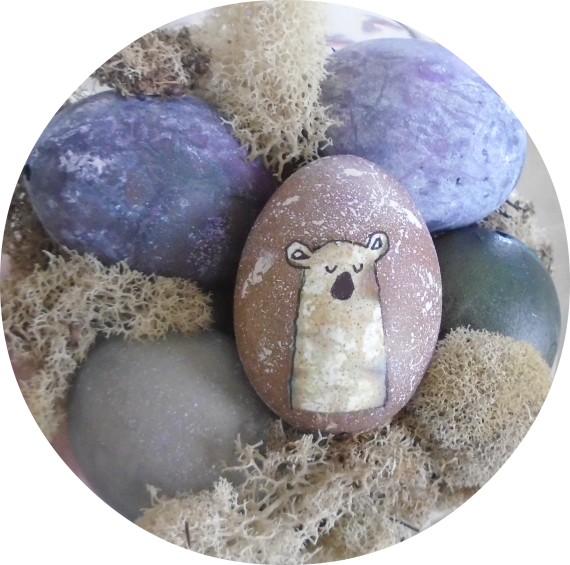
polar bear on a glacier Easter egg

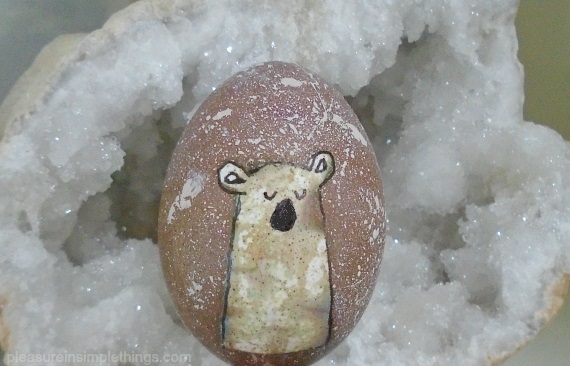
Today, I am sharing another DIY Easter egg design.  And, even though you may not be interested in making a polar bear designed Easter egg, you can use the technique I used here to create a design of your own.

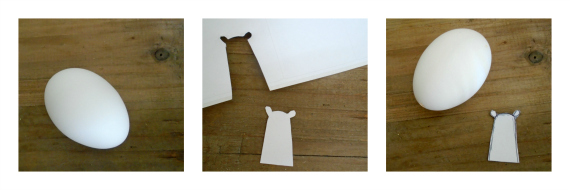
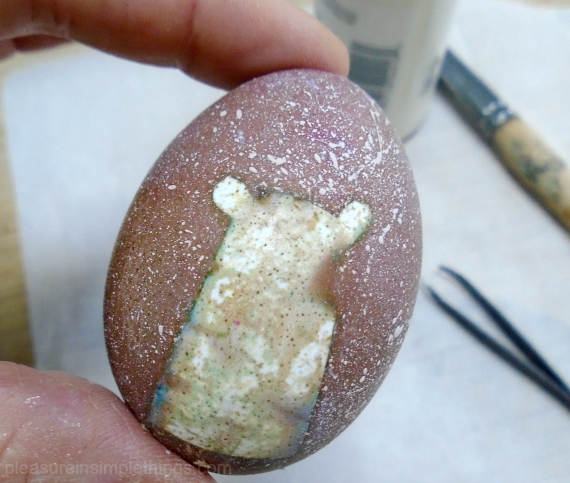
I started with an emptied-out egg.  The first thing I needed to do was to make a polar bear template to use on the egg.  I used a mailing label to draw a simplistic design of a polar bear.  Why a mailing label?  Because, I would next adhere the sticker shape I created to the egg.  Since I was dyeing the egg to contrast in color from the white polar bear, the shape of the sticker would resist the dye – leaving a white polar bear shape on the egg.

preparing egg and template for polar bear egg

removed sticker on polar bear egg

Removing polar bear shaped sticker after dyeing the egg.

After the egg was dyed, I splattered it with white paint, using the same technique I used on my constellation designed eggs.  I really glopped the paint on, because I wanted to give a suggestion of a heavy snowfall!

When the paint was dried, I used a pair of tweezers to carefully pull the sticker off the egg.  As you can see, it didn’t keep the spot perfectly white – some dye did get under the sticker.  The effect is almost like a batik.  Wax can be used in place of the sticker (like that used for Ukrainian Easter eggs) to eliminate any dye from getting through, but I really like the effect when some dye makes it under the sticker.

Finally, I used a thin, black, permanent marker to outline the polar bear shape and gave him a nose and some eyes.

plesureinsimplethings blog easter egg

Pretty easy, right?  This same technique can be used in so many ways.  I created the polar bear for a friend, but I may continue the theme by creating a penguin next!  Are you wondering what has me thinking of such cold weather friends for Easter instead of bunnies and chicks?  Must be that New England March snow!

I hope I have inspired you to create some new Easter eggs designs!

Thanks for stopping by and remember to take pleasure in simple things, Jackie
no comments

bunny ear napkins with eggs

March 13, 2018

bunny tail easter eggs

Have you ever folded your Easter dinner napkins to look like bunny ears?  You probably have.

Today, I am sharing how to DIY some Easter eggs to use with your folded bunny ear napkins!  I like to make bunny tail eggs for my napkins!

bunny easter eggs with bunny ear napkins

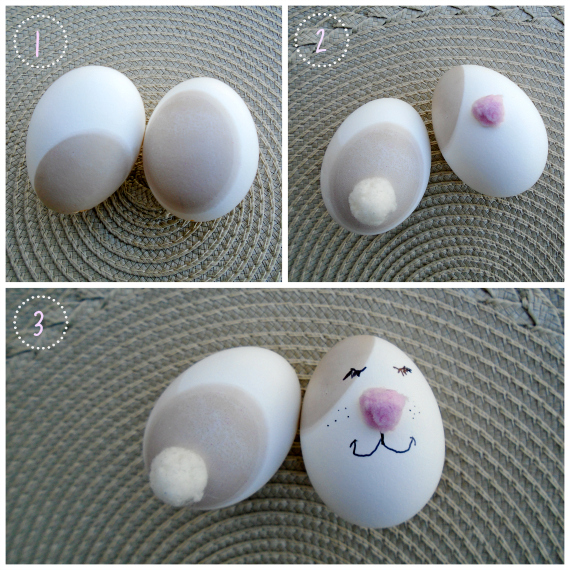
Since I was making one to show you, I decided to also make one with the front of a bunny to demonstrate how easy it would be to include bunny face eggs as well.  You can choose to make just the backside eggs to use with your napkins – like I do – or, mix up bunny backsides and bunny faces on your Easter table!

bunny tail easter egg for ear napkins

All you need are pompoms to glue to the eggs.  Use a white one for the bunny’s tail and a pink one for the bunny’s nose.

To add a little character to my bunny, I first added some spots to the eggs so my bunny would not be pure white.  I did this by making up a taupe egg dye and adding a little bit of color variation to my bunny.  Black or gray dye work for ‘bunny spots’ as well.  Once you have dyed your eggs – if you choose to – use a glue gun to add the tail and nose to your bunny eggs.  A fine point permanent marker is perfect to add the rest of the bunny face detail to the egg with the pink ‘nose.’

bunny ear napkin egg preparation

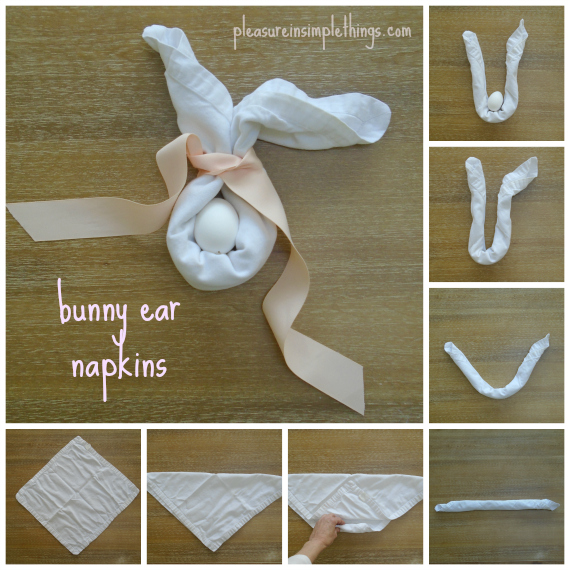
Once the eggs are complete, Use the diagram here to help fold two napkins appropriately.  Add ribbon to keep the eggs in place and to position the ‘ears.’

bunny ear napkin instructions

A perfect little DIY for your Easter table!  Change up the bunny and napkin colors to best match your décor.  I used taupe and white, but you can use whatever colors work for you.  Eggs dyed gray paired with gray napkins work well too.  You can also create a variety of different expressions on your bunnys’ faces.  Have fun with it!

Thanks for stopping by!

Remember to take pleasure in simple things, Jackie
no comments

« Previous Entries     Next Entries »