Subscribe to Pleasure in Simple Things via RSS ReaderFollow Pleasure in Simple Things on InstagramFollow @InSimpleThings on TwitterLike Pleasure In Simple Things on FacebookFollow Pleasure In Simple Things on PinterestEmail Jackie

halloween fun 2024

October 25, 2024

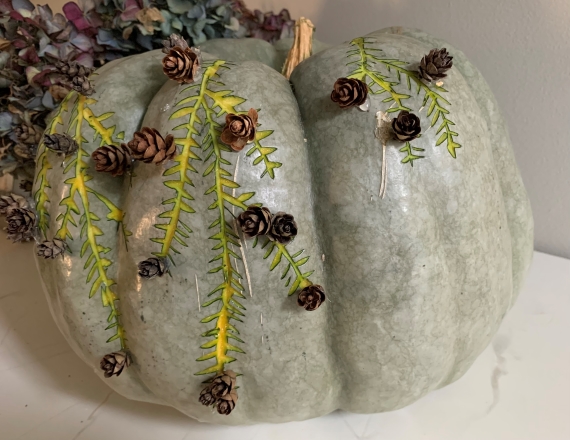
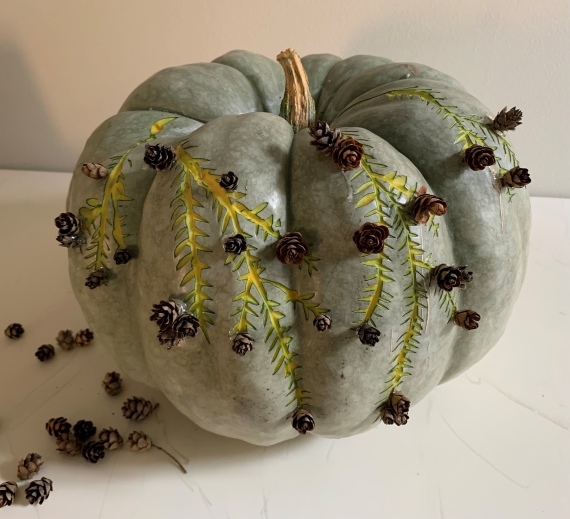
carved blue pumpkin

Although I’m not a big Halloween fan, I usually will carve a pumpkin or two – or, create something in the Halloween spirit.

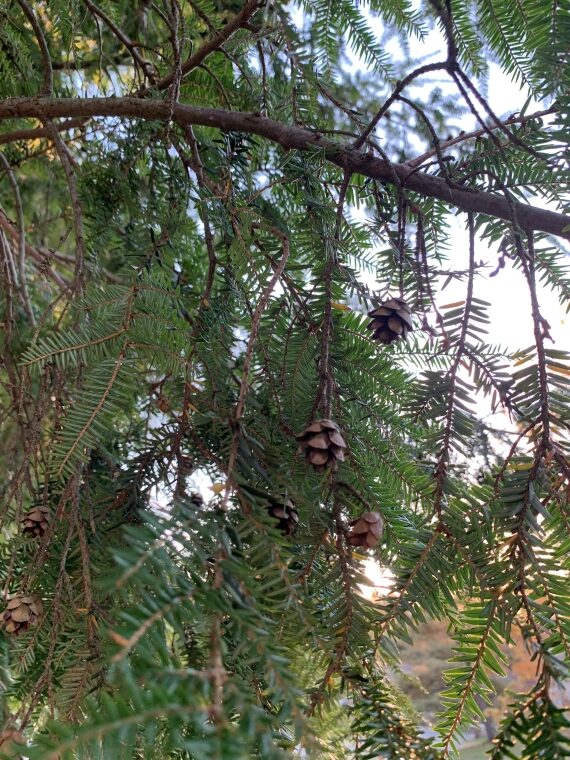
evergreen

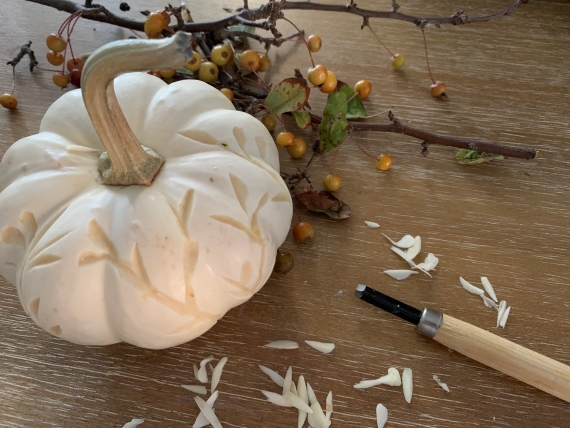
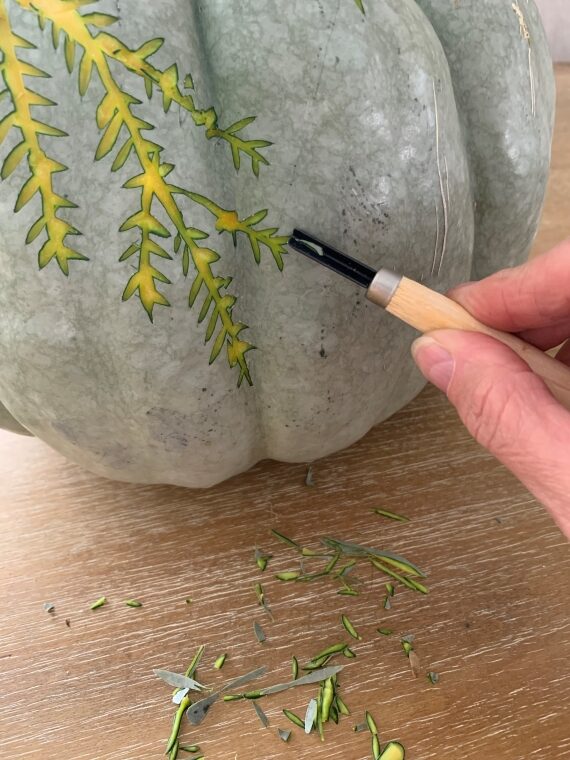
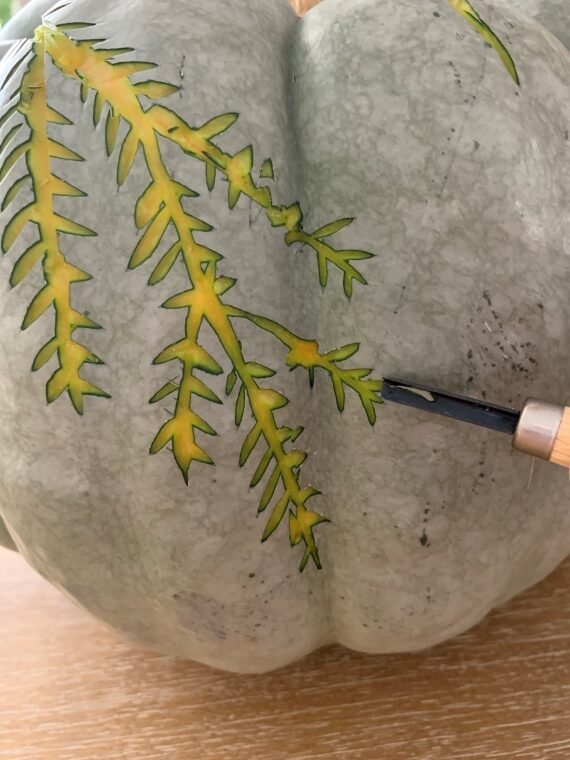
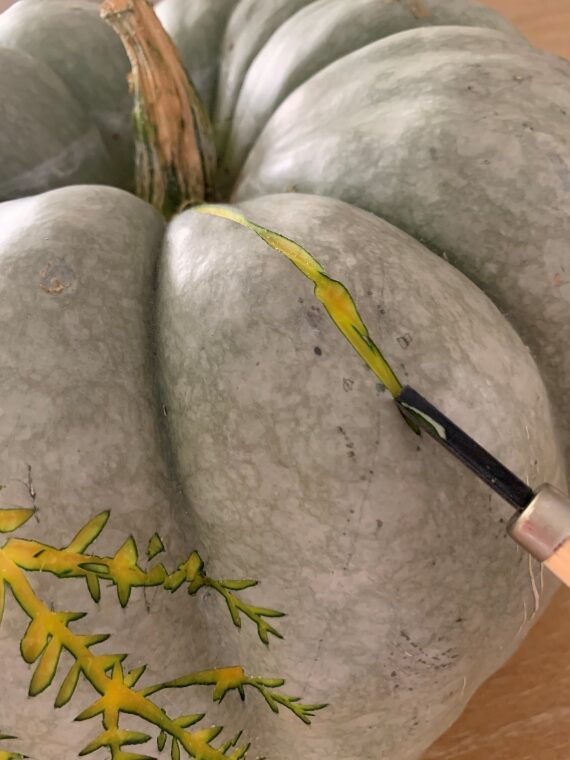
This year, my pumpkin was carved in a little less than traditional manner.  I used wood carving tools rather than a knife.  Carving in this manner is much easier and, I think, can be more interesting.

carving blue pumpkin

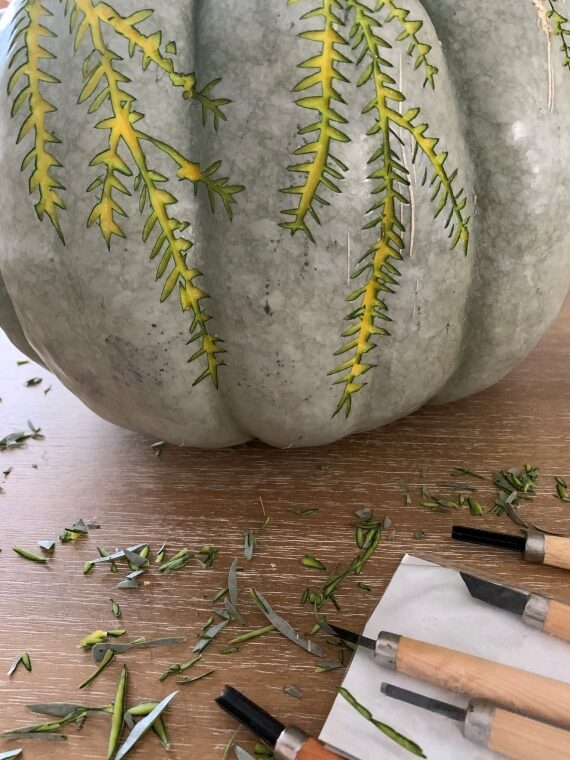
I was inspired by an evergreen tree in my yard.  The tree has the traditional needles and tons of little mini pine cones.  My idea was to carve the pumpkin with ‘needles’ and then add some of the pine cones from my tree.

carving pumpkin

I purchased what is called a blue pumpkin, rather than an orange one, to complete the task.  Because the blue heirloom pumpkin looked almost green, I thought it would work well as my ‘evergreen’ pumpkin.

pumpkin carving

blue pumpkin carving

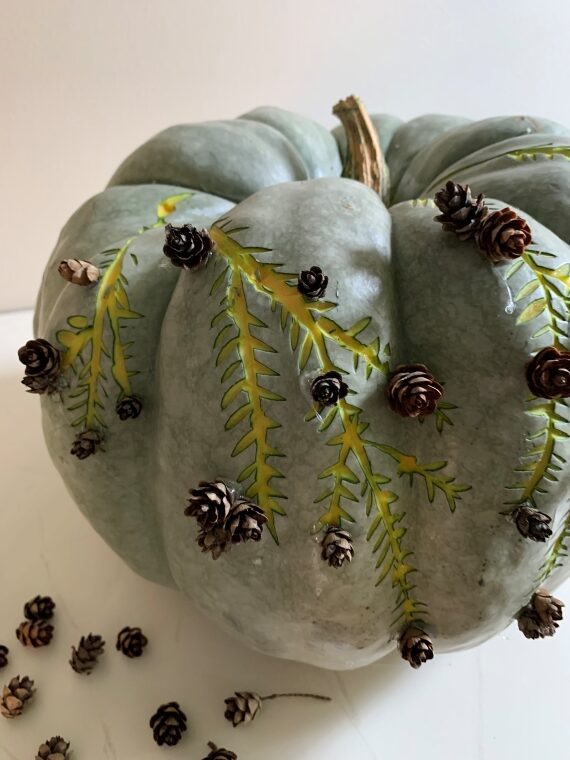
I used woodworking tools to carve the needles.  I had planned on adding the pine cones with straight pins, but I began to wonder if the pumpkin would not live as long with holes punched in it!  With this in mind, after I finished carving, I ended up using my glue gun to add the pine cones.

evergreen pumpkin

I have to say, using the woodworking tools is much easier on the hands than the traditional method of carving through the pumpkin with a knife!

pumpkin with pinecones

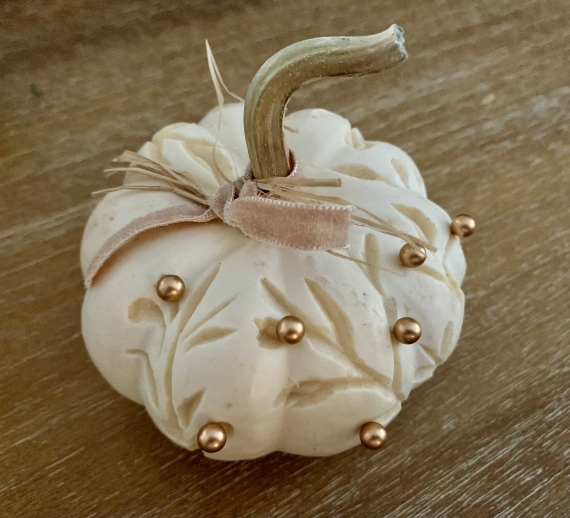
After I completed my pumpkin, I carved a few baby boos to use at place settings for an upcoming brunch.  I love little white baby boos!  I did a little bit of carving and added a ribbon.  I did end up adding some pins on these little guys – some pretty gold ones!

baby boo white carved

white baby boo

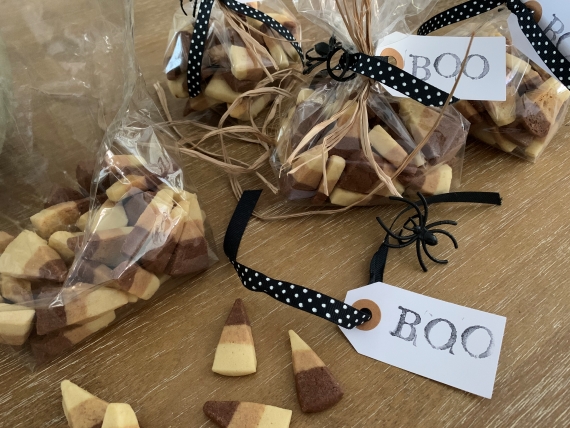
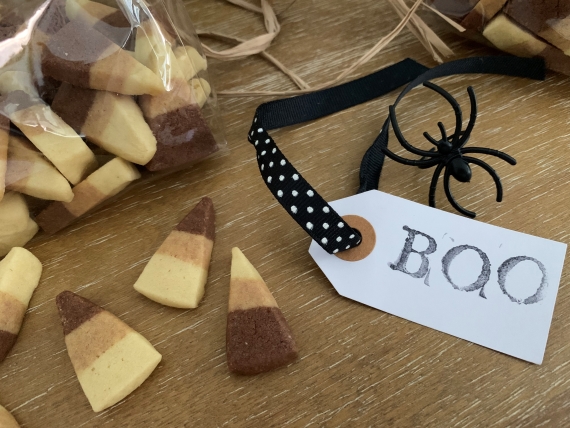
In the Halloween spirit, I also created some favors for my brunch.  I made some butter cookies in the shape of candy corn and packaged them in the holiday theme!  Why are they not the traditional yellow and orange?  Well, I made them totally organic – so I couldn’t use red dye!  I used organic cocoa to create color variations.

packaging candy corn

So, that’s the extent of my Halloween preparations!  I hope you are also creating something fun!

candy corn cookies

Thanks for stopping by!

Have a fabulous weekend and remember to take pleasure in simple things, Jackie

no comments

chocolate bunny beverage servers

March 22, 2024

strawberry milk in a chocolate bunny

Want a fun way to serve milk at your Easter breakfast this holiday?  Use a hollow chocolate bunny!  What child (or child at heart!) wouldn’t like Easter breakfast milk served in a chocolate bunny!

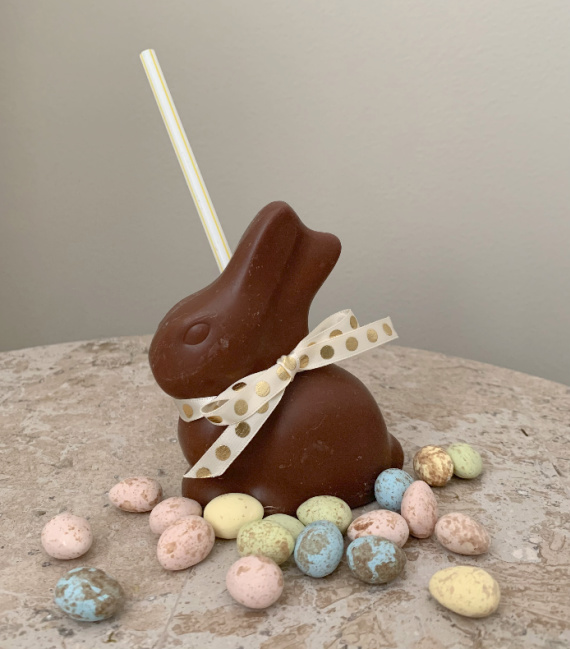
Here I’m using Lindt chocolate bunnies because Lindt 3.5-ounce hollow chocolate bunnies are the perfect size to serve a small drink!  (Each bunny holds about 4 ounces.)  Plus, they are very easy to find…pretty much any store that sells Easter candy will carry them.  I purchased mine at Target.  The bunnies are sold wrapped in gold foil with a bow around their neck.  The bow color distinguishes the type of chocolate of the bunny…a red bow is milk chocolate; a brown bow is dark chocolate and a cream color bow is white chocolate.

milk in a chocolate bunny

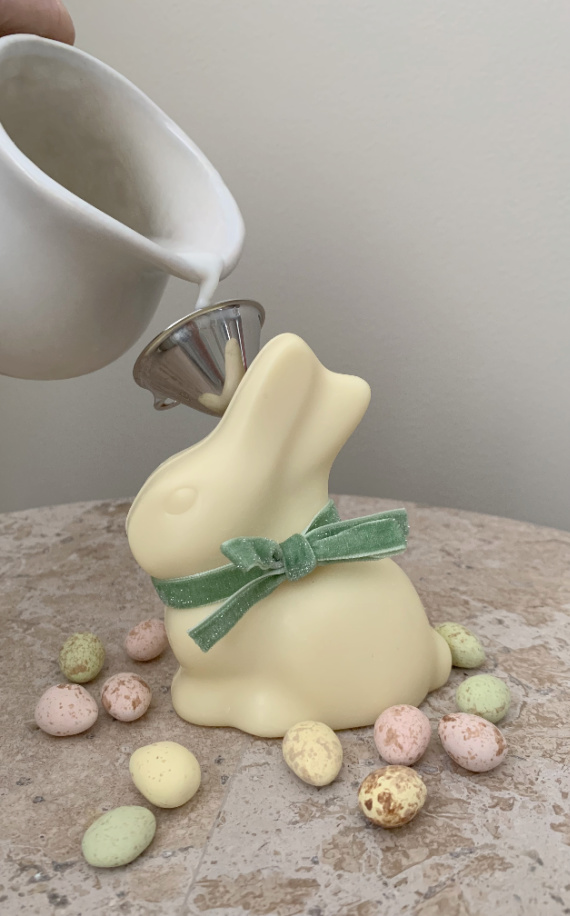
Are you wondering how I got the milk into the bunny?  It was pretty easy.  I heated up the spout of a small stainless-steel funnel.  While the funnel was hot, I gently pushed it into the chocolate bunny to make a hole.  I used the funnel to pour milk inside the bunny via the hole and added a straw to serve!

Easter bunny chocolate beverage

milk in a chocolate bunny

Serving milk in a milk chocolate bunny is the obvious combination of tastes, but there are so many more great combinations!

For my milk chocolate bunny, I poured in banana flavored milk!  I think a chocolate milk would also taste great.  For a more adult treat – how about Amaretto?!

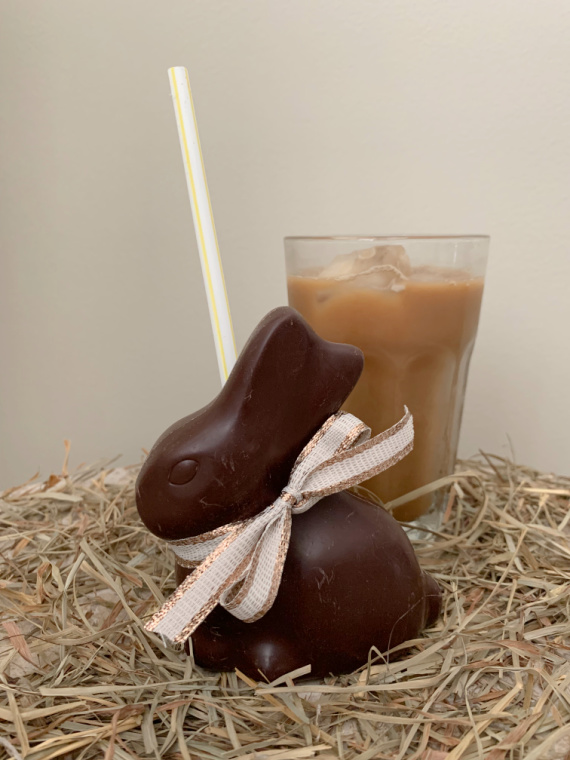
I decided to pour my favorite beverage – iced coffee – into a dark chocolate bunny.  Yummy!!  I bet Kahlua or Baileys would taste great in the dark chocolate as well!

iced coffee in a chocolate bunny

For the white chocolate bunny, I poured in strawberry flavored milk – a great flavor combo!  For an adult version, I would try Chambord or Limoncello!

Wouldn’t these bunnies make a great favor at Easter brunch or breakfast?  Tie a bow onto the bunnies, like I did here, to match your color scheme.  How fun for your guests to eat the container when the drink is finished!

I hope you are inspired to serve a beverage from a chocolate bunny this holiday – what will you serve in your bunny?

Thanks for stopping by!  Have a fabulous weekend!

Remember to take pleasure in simple things, Jackie

no comments

free gingerbread house gift wrap

November 24, 2023

free giftwrap diy

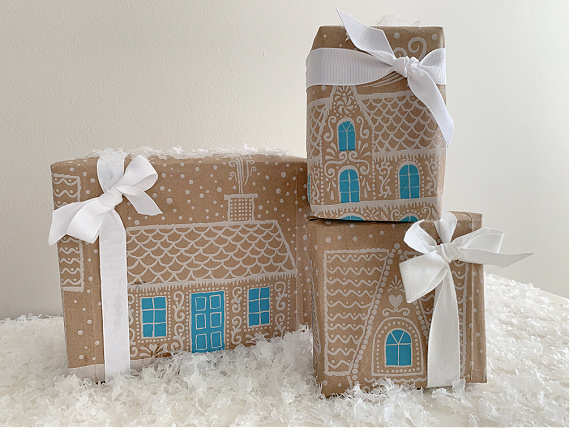
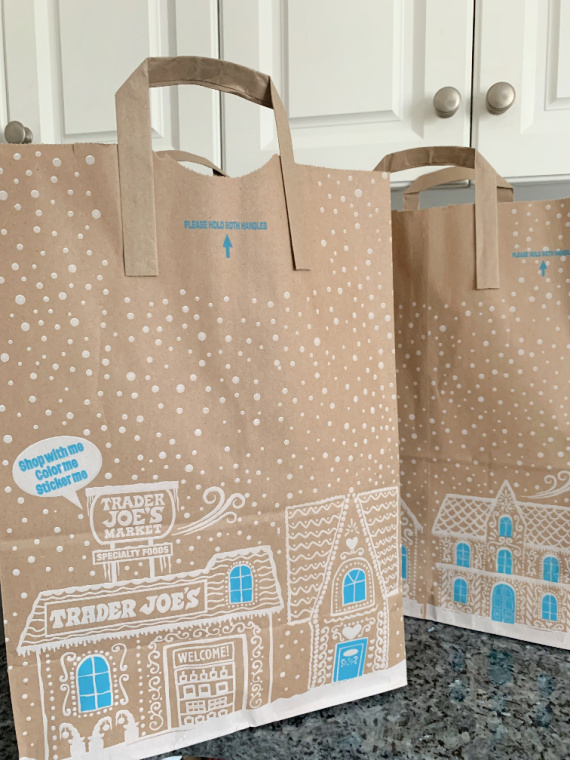
Start saving your grocery bags!  Trader Joe’s has started using its holiday bags and they are super cute to use as holiday gift wrap!  So, forget about adding the bags to your recycling bin and start adding them to your holiday wrapping station!

christmas bags

holiday gift wrap diy

This year’s holiday bags sport a cute gingerbread house pattern with a light blue accent.

gingerbread house bags

free wrapping

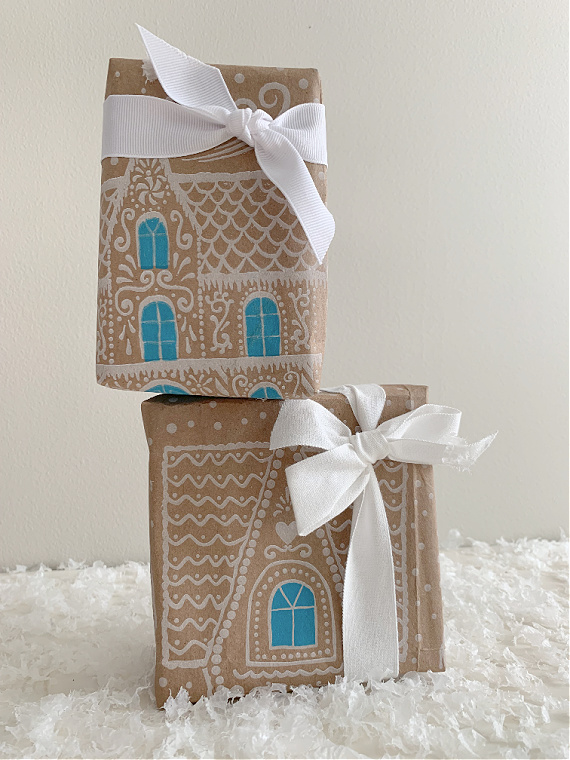
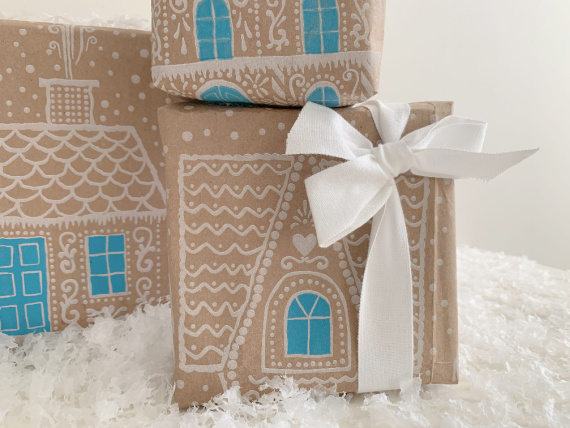
White or light blue ribbon make for a great addition to complete a package.

free wrapping diy

free gift tags


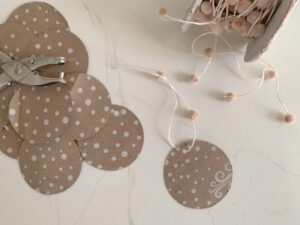
After wrapping gifts with the bags, use the scraps to make gift tags.

I hope I have inspired you to create some free gift wrap from holiday bags!

Thanks for stopping by!

Remember to take pleasure in simple things, Jackie

P.S.  Would you like some other ideas on how to repurpose brown bags?  Click here!

no comments

leaf candle diy

October 27, 2023

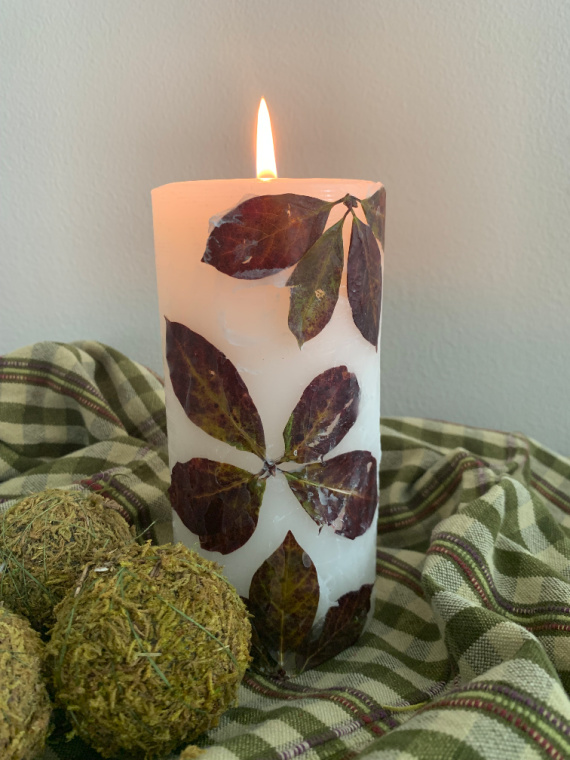
DIY leaf candles

Remember using an iron to press leaves between two sheets of wax paper?  I loved this activity as a kid.  Collecting the most colorful leaves I could find and preserving them was so much fun!  I would hang my finished masterpiece from yarn in front of a sun-filled window.

As an adult, there are so many variations of this craft that can provide satisfying DIY results.

diy leaf candle instruction

One of these variations, you have probably seen, is to use wax paper and an iron to apply leaves to a pillar candle.

As an adult, my taste is a little more sophisticated than back in the day of multi-colored leaves and I shy away from rainbow color palettes – preferring neutral or monochromatic themes.  So, my pillar candle creation will not be full of multi-color leaves!

pretty fall candle

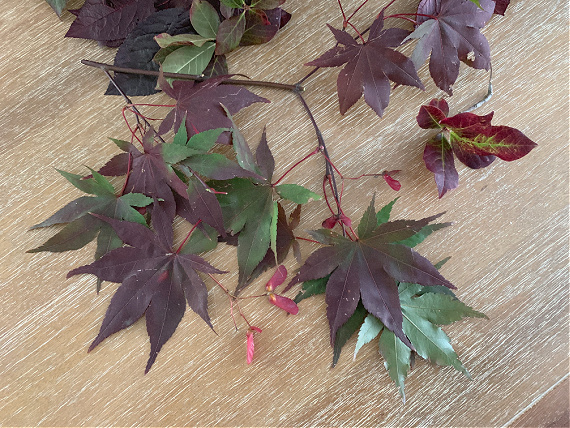
For this project, I went out and collected as many leaves as I could find in a burgundy color palette – burgundy being a favorite accent color of mine.

burgandy leaves

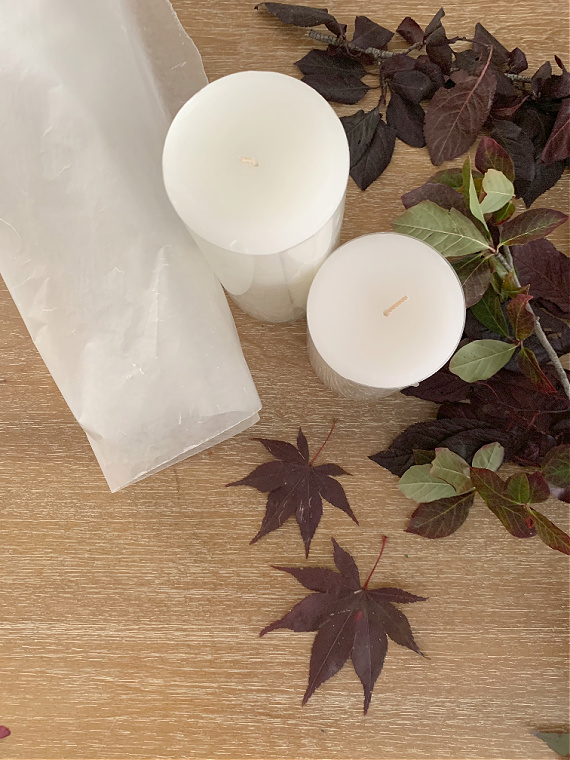
Once the leaves had been collected, the project is really simple to create.  All that is needed, in addition to the leaves, is a pillar candle, wax paper, and an iron.

diy candle supplies

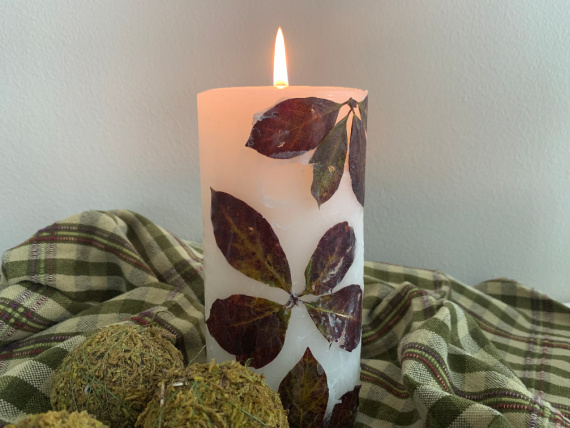
I just cut a strip of wax paper the width of the candle – long enough to wrap around it.  I plugged in my iron to get it nice and hot (not using the steam setting).  Once the leaves are positioned where I wanted them, I put the wax paper (wax side down) over the leaves.  Holding it in place, I ironed the wax paper until I could see the wax melting.  After waiting a few seconds, I removed the wax paper.  Viola!  A beautiful fall candle!

leaves to candles

I hope I have inspired you to create a candle decorated with fall leaves!  Maybe give new life to some old candles and use them for your Thanksgiving table!

easy leaf candle

Thanks for stopping by!

Have a fabulous weekend and remember to take pleasure in simple things,

Jackie
no comments

diy floral egg cups

March 10, 2023

diy flower egg cup

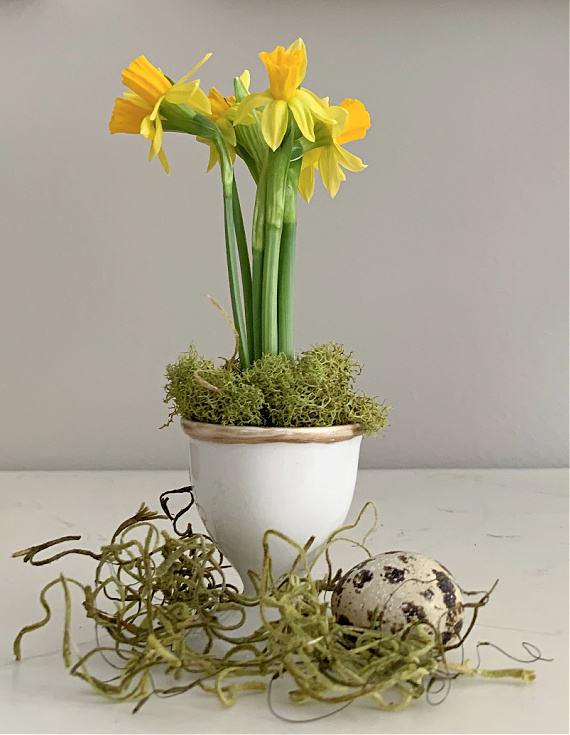
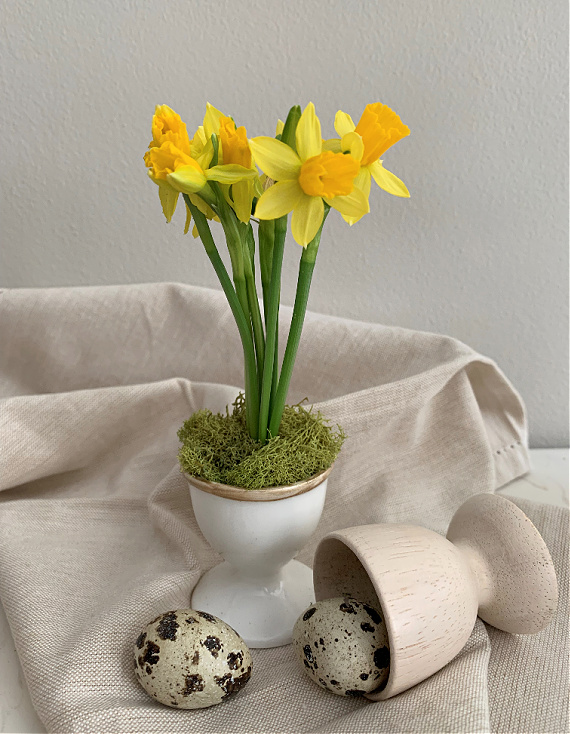
Using egg cups as part of your spring décor is super simple.  Egg cups are very easy to come by this time of year and are very inexpensive.  I think most of mine came from the bargain bin at Target, but I have found vintage ones at thrift stores as well.  Sometimes I add my own embellishments – like the white egg cup in these photos where I added a painted gold metallic rim.

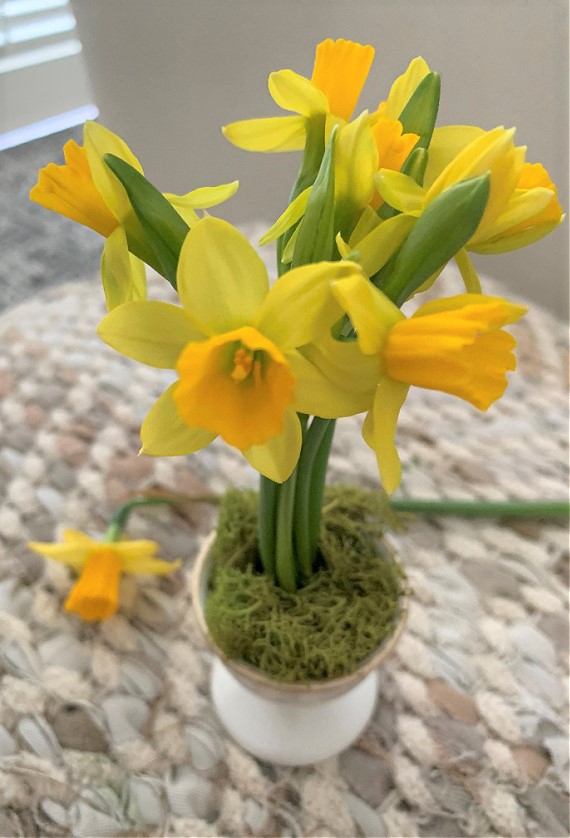
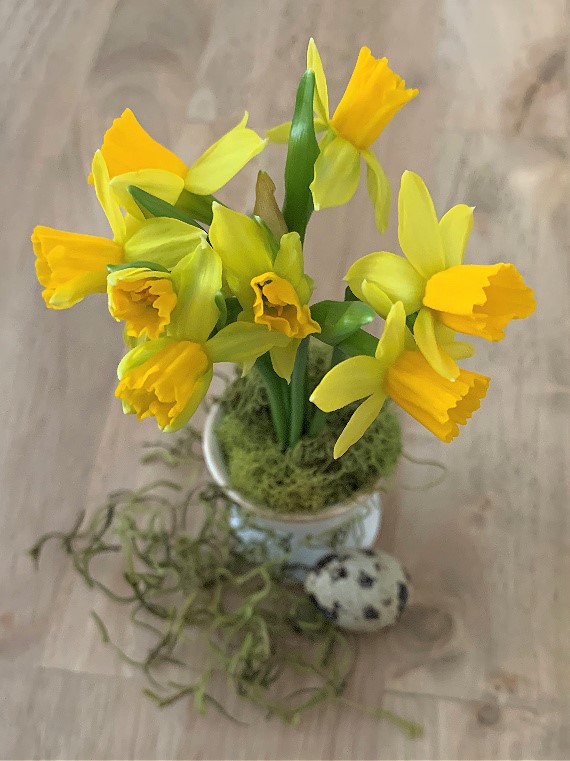
daffodil egg cup

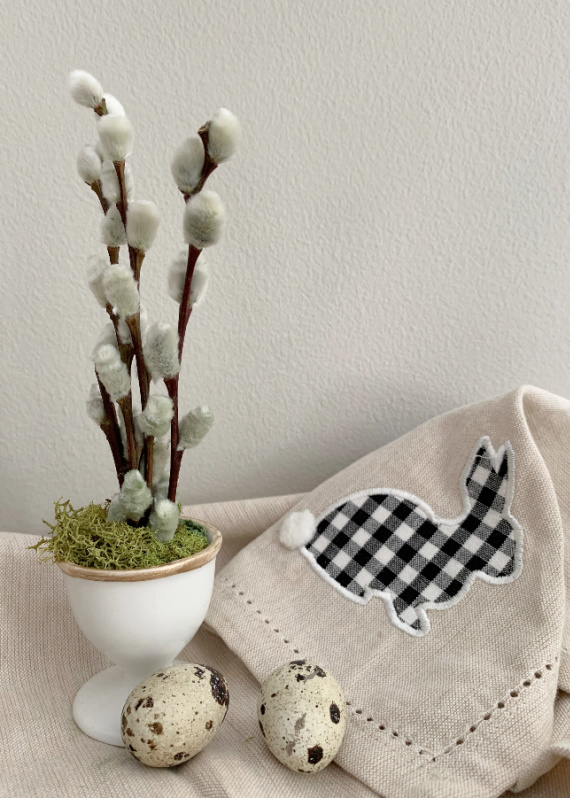
In addition to displaying painted or decorated eggs in egg cups, they also come in handy as vessels for flowers.  Adding fresh flowers to an egg cup is an easy DIY and can serve as a wonderful addition to any Easter table!

diy pussy willow egg cup

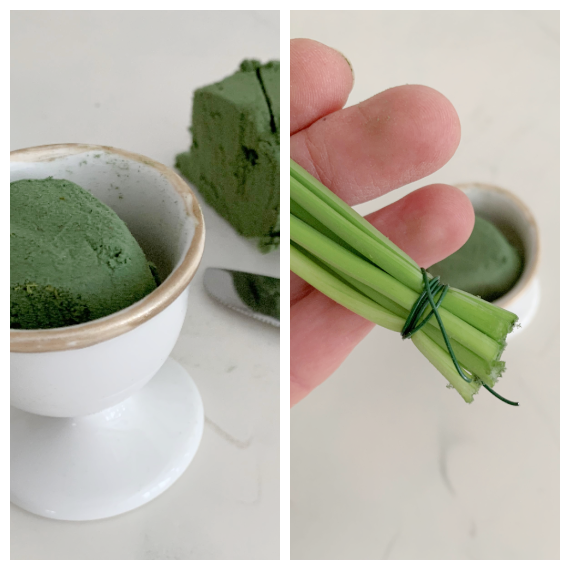
To make a floral egg cup; first, cut a piece of floral foam to fit into the chosen egg cup.  (If working with fresh flowers, be sure to use an egg cup that can hold water!)  Decide on the flowers you will be using and bundle them together. Pick a flower with a stiff stem and use a small piece of floral wire to tie the stems together.  The wire will also be helpful when sticking the flowers into the floral foam – making it easier to push the stems into the foam.  Add water if you are using fresh flowers.  Finish your arrangement with some moss to cover the floral foam.

collage diy egg cupsAren’t these sweet?  Make a bunch to use as place cards on your Easter table and/or as a cute takeaway for each guest.  If you have snowdrops blooming in your yard, they would be perfect to use for this project.  If not, you can find small fresh flowers in plants from your local grocery store or Trader Joe’s.  (I was able to make 4 egg cups from one $3.99 plant from the grocery store.)

diy spring egg cup

I hope I have inspired you to create some egg cup floral arrangements!

daffodil diy egg cup

pussywillow egg cup


Thanks for stopping by!

Have a fabulous weekend and remember to take pleasure in simple things, Jackie
 

no comments

boycotting egg painting

March 4, 2023

Wow!   This is my first post of 2023!  Since I started this blog in 2012, never before have I had such a lapse in posts!  It is very sad to think I haven’t been using my creative side in quite some time!

The good news is that I have been busy organizing myself in finances, work, and wellness and making great progress!

I’m happy to say, I do now, have a couple projects in the works!

One is a coffee table and the second is the transformation of a coat closet into a pantry. (More on these projects as they develop!)

Normally, at this time of year, I would already be working on Easter eggs…coming up with a theme and painting them appropriately.  This year, in a kind of personal protest against grocery prices, I decided not to paint eggs.  I don’t normally buy eggs, except at Easter time, and I decided I am not going to purchase them to paint this year.

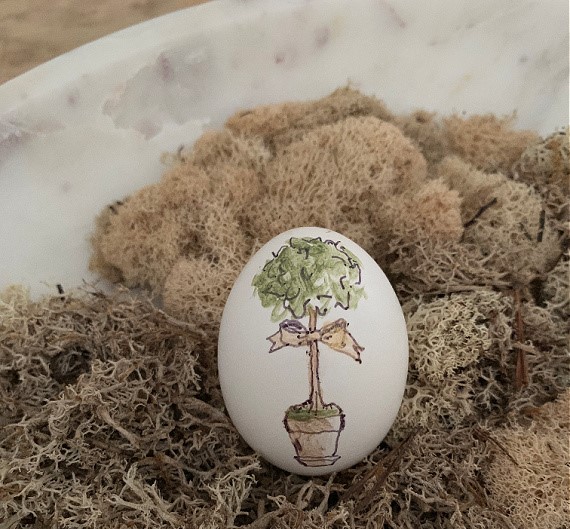
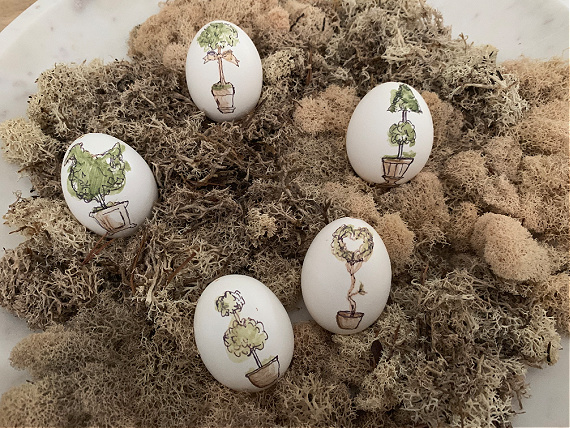
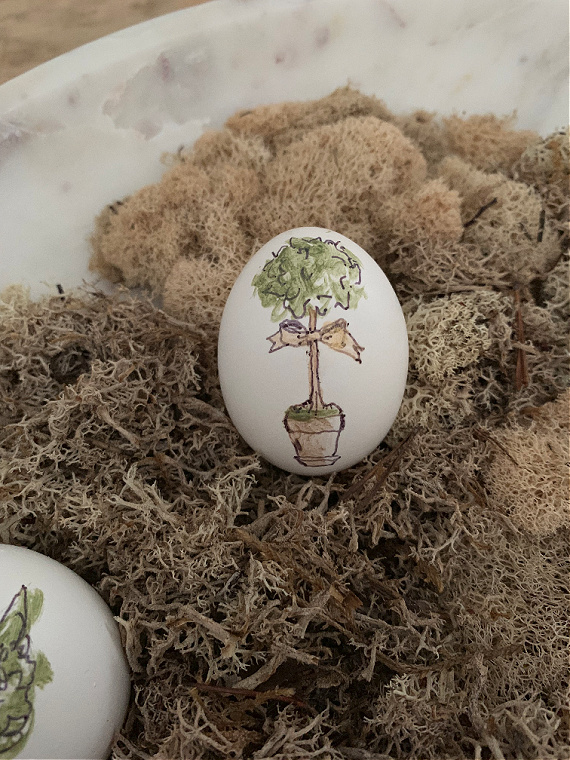
For the purposes of this post, I am including photos of one of my favorite past Easter egg themes – topiary.  (Cactus, picnic, and constellation were also some of my most favorite themes).

topiary easter egg handpainted

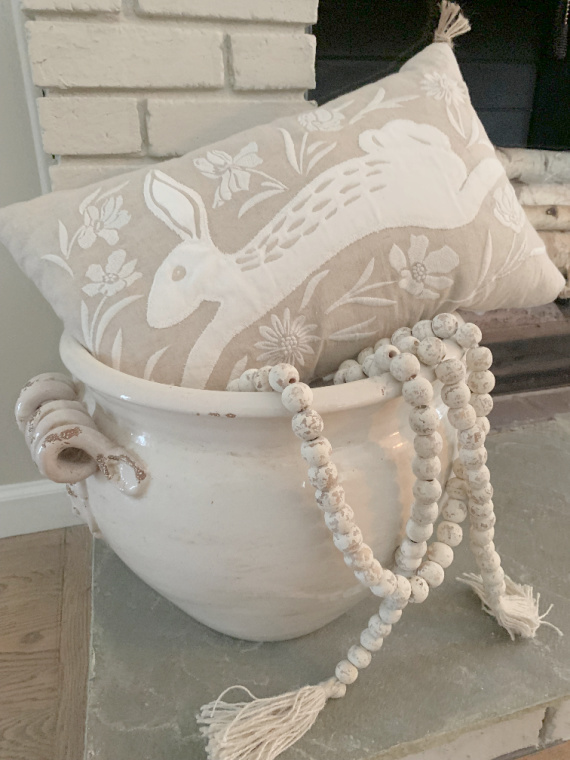
I enjoy having some of the topiary eggs out in a bowl – I don’t think skipping a year of painting eggs will bother me!  I did put out a little bit of Easter/Spring décor – have you?  Remember to bring in some cut branches (magnolia, forsythia, etc.) – it’s the perfect time to force blooming!

fireplace decor easter

I’m counting down the days when the clocks will change because I really dislike leaving for work in the dark and coming home from work in the dark!

Have a fabulous weekend!

Remember to take pleasure in simple things, Jackie
no comments

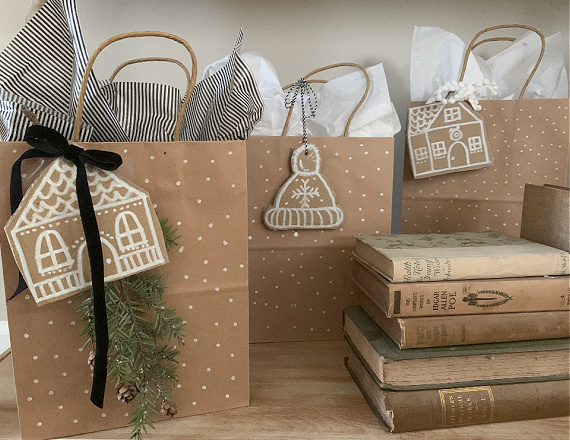
easy diy gingerbread gift wrap

December 2, 2022

gingerbread giftwrap diy

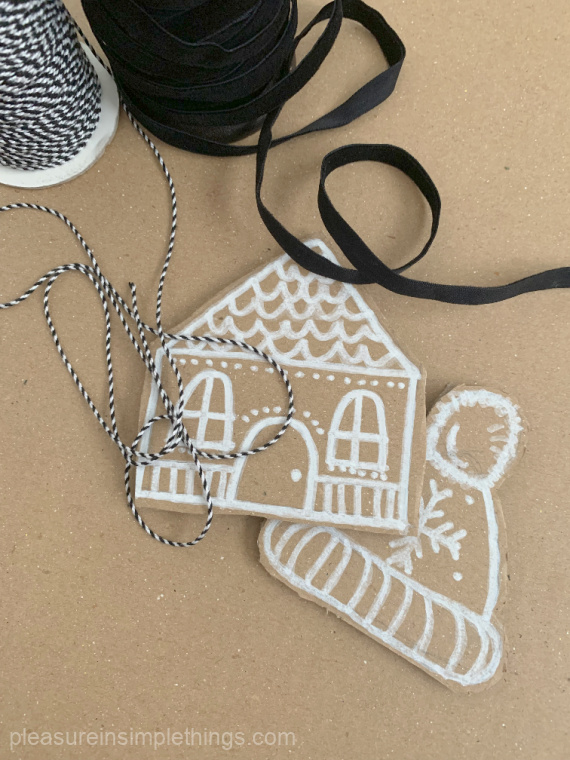
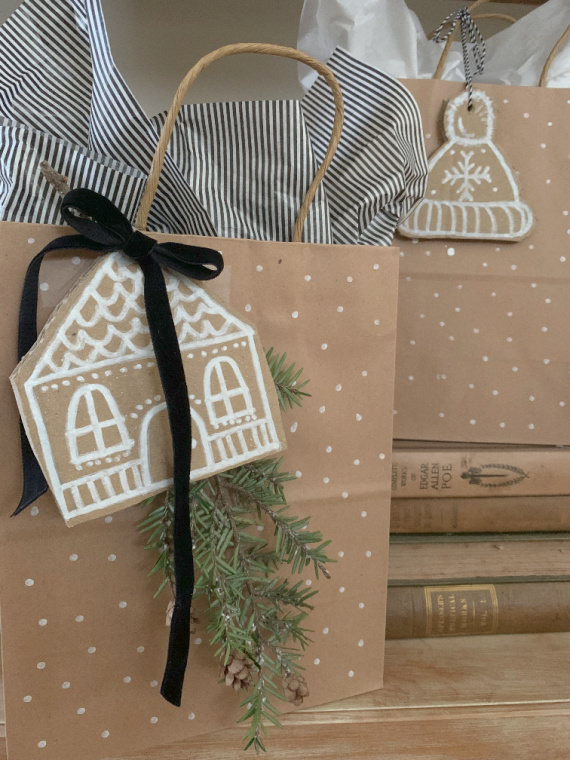
Hi!  I know it has been a minute…but, I’m happy today to have some time to show you a really simple, very low-cost way to wrap your holiday packages!  These DIY gingerbread gift tags are made from discarded cardboard and a marker!  So easy!

diy gingerbread giftwrap

If you don’t already have a white, oil-based marker or a white permanent chalkboard marker, purchase one from the craft store to complete this project.  If you want to make coordinating wrapping paper, purchasing kraft paper is not necessary – brown bags work just as well!  (Note:  Trader Joe’s holiday shopping bags work great since they already have a gingerbread house design on brown paper bags!)

neutral christmas

A pencil can be used to draw some basic shapes onto corrugated cardboard.  (There is certainly plenty of this around with all the holiday deliveries rolling in!)  Then, draw the shapes onto the cardboard using a white, oil-based marker and decorate them as you would gingerbread – except use a marker instead of royal icing!

easy diy holiday tags

When the drawings are completed, cut out the shapes and add a hole in the top for hanging.  Simple!

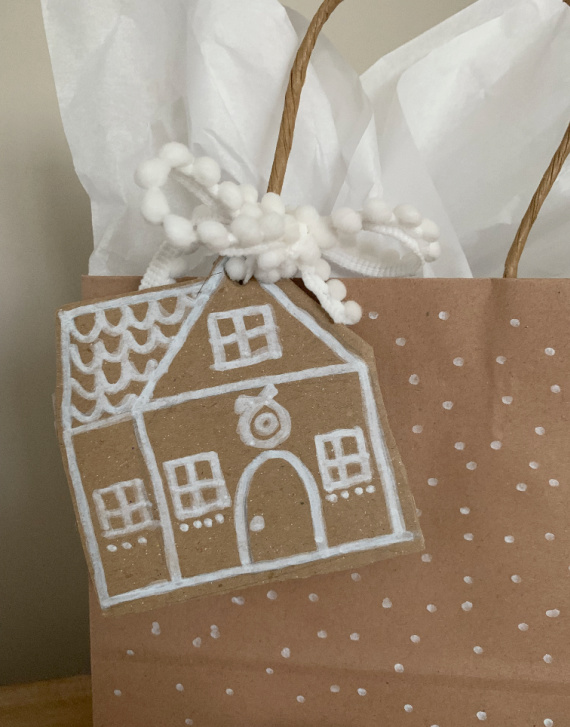
gingerbread house gift tag

To coordinate gift bags, just use the same white marker to add a blizzard of ‘snowflake’ dots.

Isn’t this a great project to do with children?  All their original drawings can easily be transformed into gingerbread gift tags!

holiday giftbag diy

Thanks for stopping by!  Have a great weekend!

Remember to take pleasure in simple things, Jackie
1 comment

diy bunny topped jars

March 4, 2022

diy ceramic bunny jars

Today I have another easy DIY Target bargain bin Easter project!

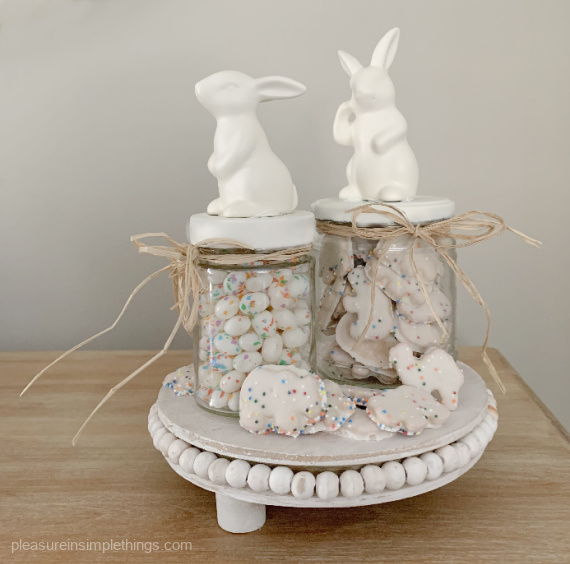
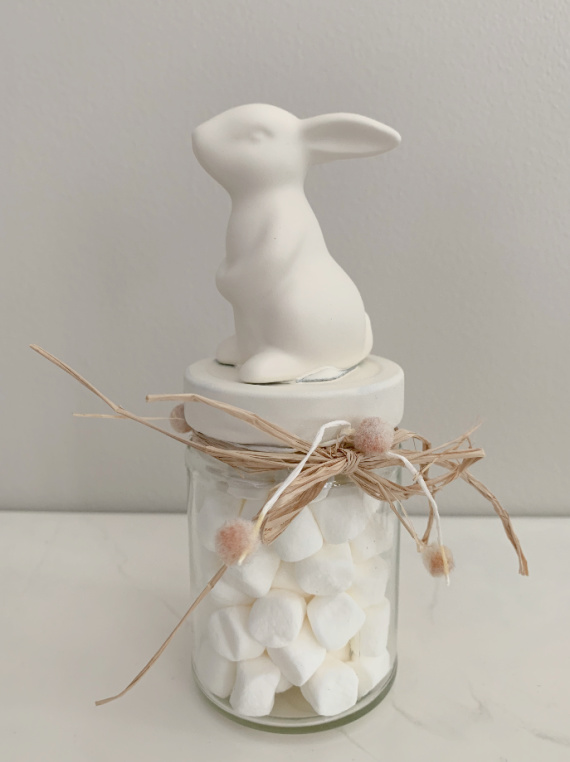
You may remember this squirrel topped jar project (click here).  Well, today I have an Easter version using bunnies!  The bunnies are ceramic and I found them in the Target bargain bin.  When I saw them, I knew instantly I wanted to use them on jar tops so I went straight to the Easter candy section to decide what I would use to fill the jars.

Inspired by walking through all the seasonal aisles, I thought a ‘funfetti’ theme would be cool!  Target had some ‘funfetti’ jellybeans.  I picked those up and then I went over to the cookie aisle and found some iced circus cookies that would also be great with my theme!

I would get the jars I needed for my project from my recycling bin.

collage of DIY

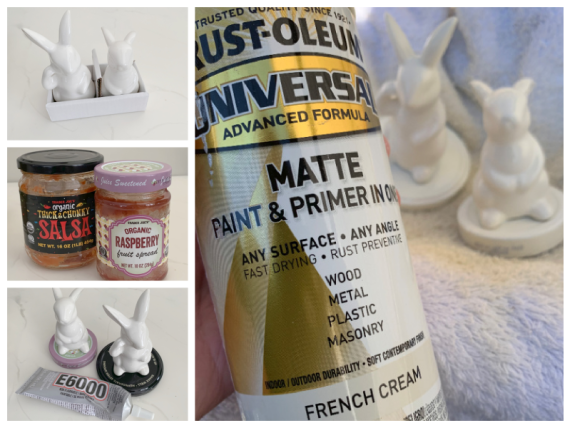
The first step of the project is to prepare the jars.  Usually, labels come off easily after being soaked in hot water.  Any stubborn adhesive usually comes off with acetone (or nail polish remover).  After the jars are delabeled and washed, I prepare the bunnies.  This just requires a little sand paper (or emery board) to roughen up the bottom surface of each bunny.  This makes for a better adhesion to the jar tops.

diy bunny jars

I use a really strong adhesive called E6000 because I happen to have it on hand, but I am sure a glue gun would work as well.  I am very careful to follow the directions on the E6000 label because there are a lot of warnings associated with this product!

After the adhesive is totally dry, the bunny-clad jar tops can be spray painted the color of choice.  I chose my favorite off-white color since I think it goes best with the theme I chose.  And, even though the original bunnies have a shiny surface, I prefer a matte finish.

diy bunny jar

An easy project, right?  And there are so many variations possible based on favorite candy, color, theme, etc.!  I made a couple variations to show you some possibilities – but, they really are endless!

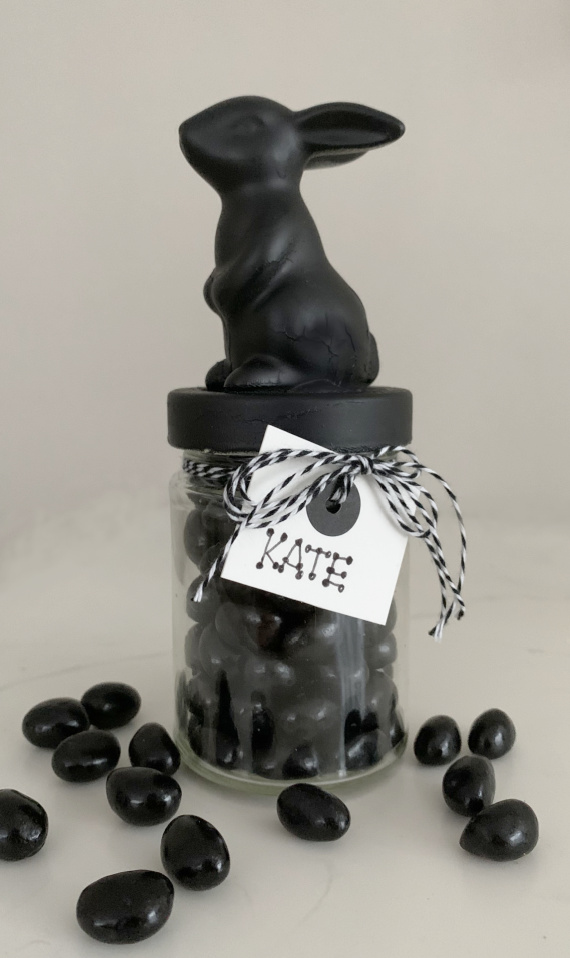
black jelly bean lover

Isn’t there always one that loves black jelly beans? I used leftover chalkboard paint for this one.

Use spray paint left from other projects like I did or purchase some from a building supply or craft store.

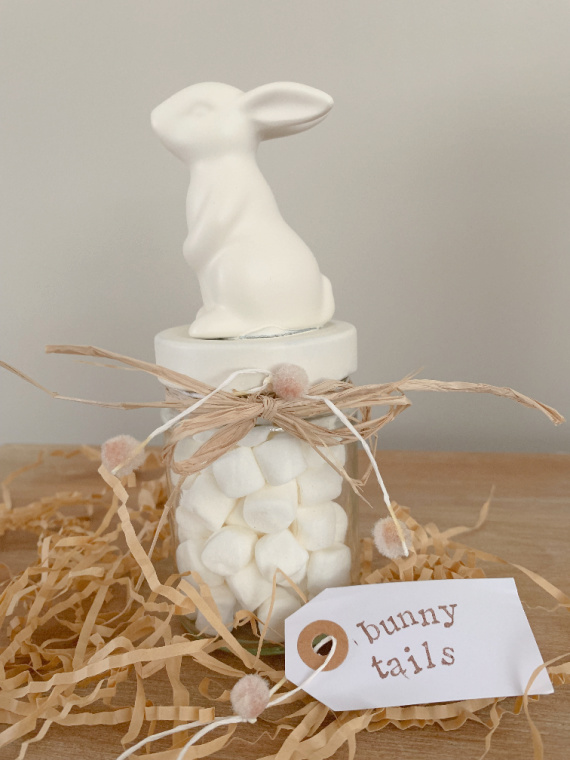
bunny tail jar

Certainly, the jars don’t need to be filled with sugary snacks – these contain carrot and celery sticks!  (These bunnies are painted in a glossy finish.) Or, how about using raisins as ‘bunny poop’?

healthful bunny jars

In my family on Easter, we always have a guess at how many candies are in a candy-filled jar and the winner gets the jar of candy!  You may want to incorporate the same idea into your holiday traditions and make a cute jar to go with it!

jar of bunny tails

I hope you are inspired to create your own bunny jars!

Thanks for stopping by!

Remember to take pleasure in simple things, Jackie
1 comment

wooden eggs from target

February 25, 2022

painted wooden Target egg

I love to shop at Target.  Like many of us, I always have to stop and browse the bargain bins at the store’s entrance.  It is so fun to find a life-changing item that costs a mere $1. or $3!

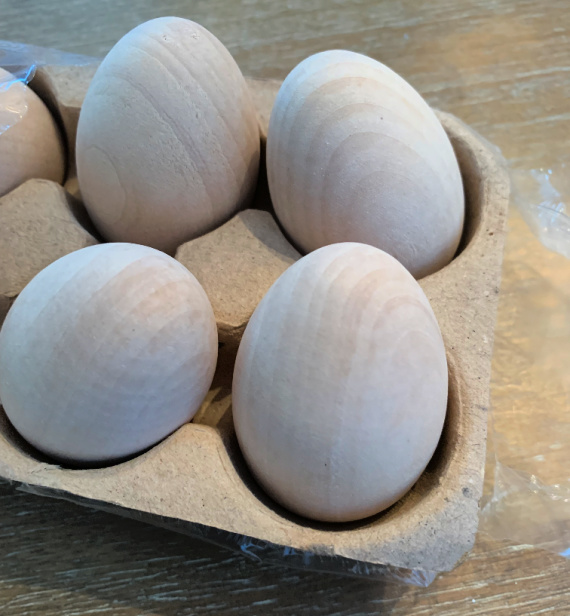
All the Easter items are starting to emerge and I was excited, on my last Target excursion, to find a box of 6 wooden Easter eggs in the front bins.

target wooden eggs

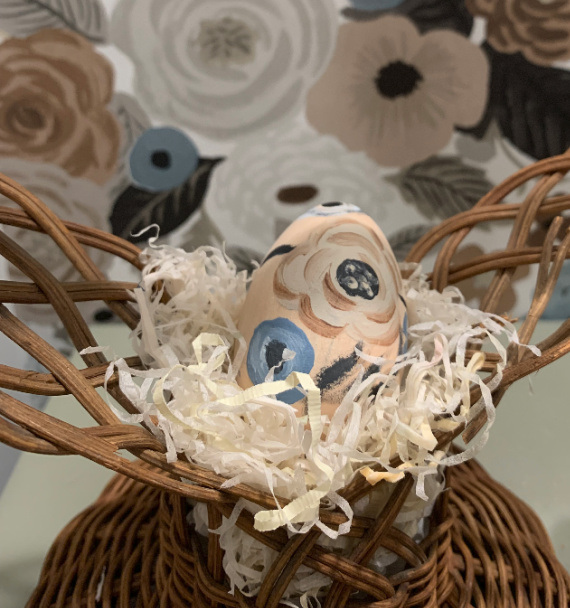
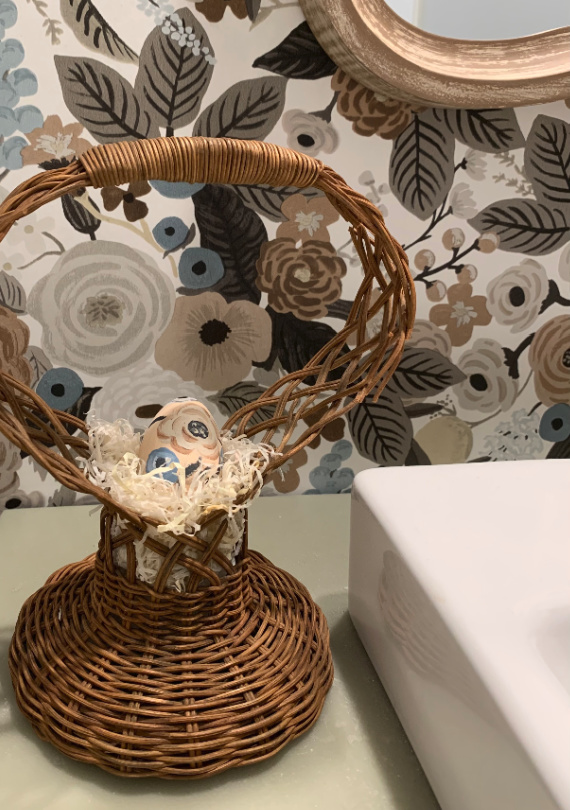
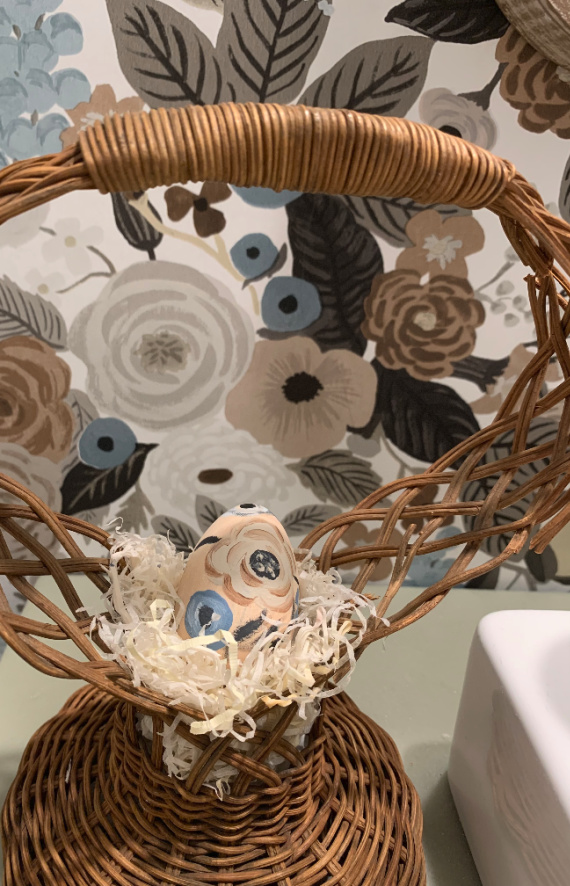
I knew it would be fun to decorate these plain wooden eggs.  I recently acquired a really cool vintage Easter basket at a thrift shop and I knew one of the wooden eggs would fit nicely inside it.

antique easter basket with egg

I took out some Easter décor a few days ago and I had put the vintage basket in my bathroom because I thought it looked great against the backdrop of Anna Rifle wallpaper I had in that room.

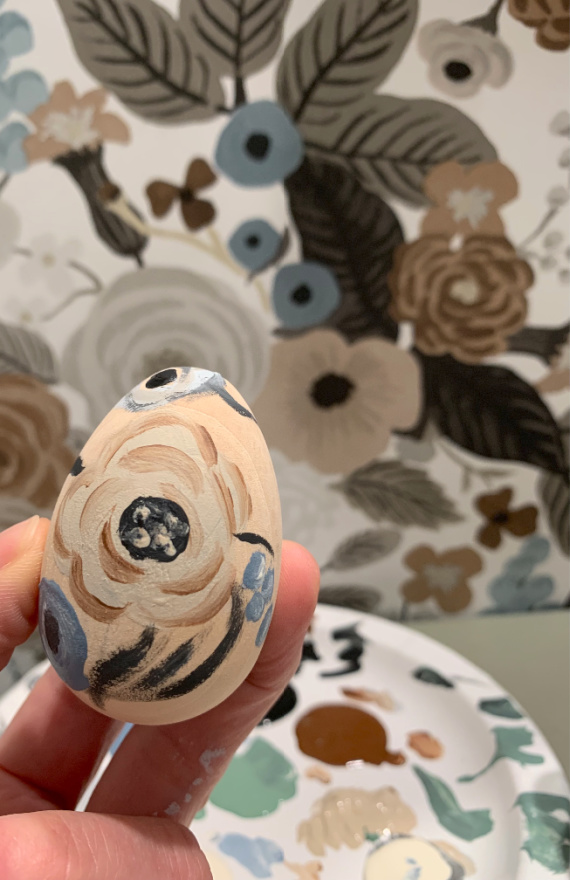
painting a wooden egg

Now that I brought the wooden eggs home, I knew I would paint one of them for the now empty basket sitting next to the bathroom sink on my vanity.  I would just paint a loose interpretation of what was on the wallpaper.  Perfect!  And then I would still have 5 eggs left to decorate!  Maybe I will decoupage a couple of them or maybe add a little gold leaf bunny on one!

antique basket with egg

That bargain bin inspires so many great ideas!

Pick up a pack of wooden eggs, or one of the many other decor items, and have some fun!

Thanks for stopping by!

Remember to take pleasure in simple things, Jackie
no comments

easy diy marker ornament

December 17, 2021

orn holiday diy gold

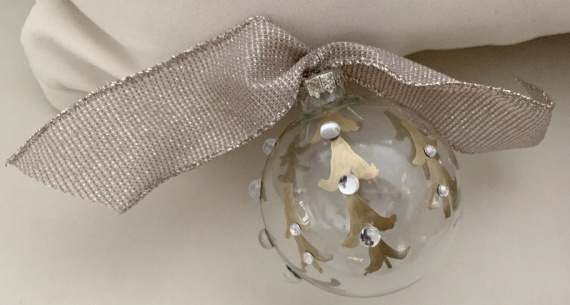
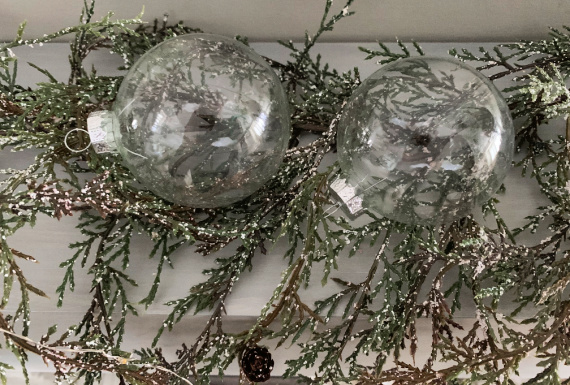
Making holiday ornaments using paint markers and glass balls is always fun to do.  It doesn’t take any talent to come up with a nice looking ornament for tree hanging or as a gift.  The only supplies needed are clear glass ornaments and paint markers.  A pretty ribbon, of course, goes without saying!

before ornament

Craft stores sell boxes of clear ornaments.  Picking up a box or two when they are on sale is a great idea – having these ornaments on-hand means a homemade gift is always at the ready!

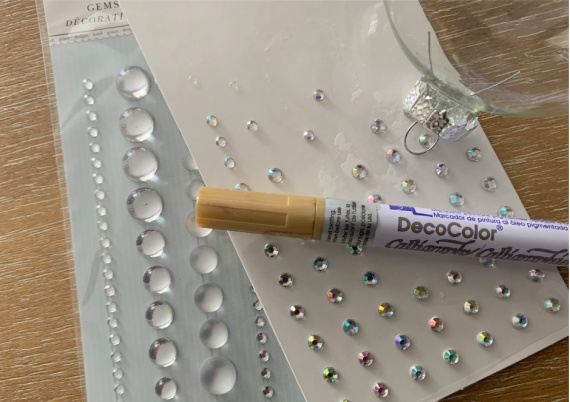
For the design here, in addition to the ornament and marker, I also used some stick-on crystals from the craft store.

diy supplies
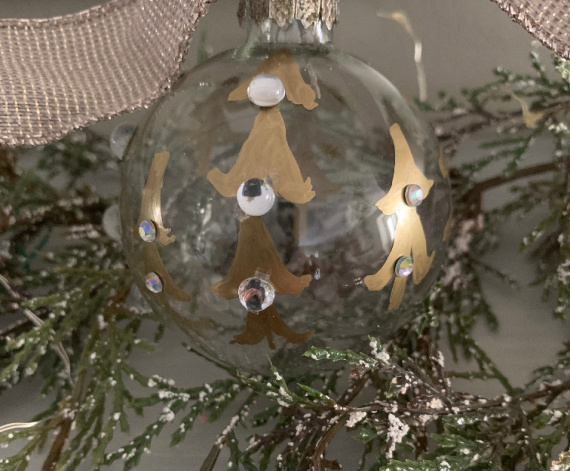
This design is probably the easiest one I have ever done!  Give it a try!  (I spray painted the silver top of the ornament with a burnished gold paint and added some glitter – the silver was a little too shiny silver for me!)

make an ornament

For some more ideas for DIY glass ball ornaments, click here and here.

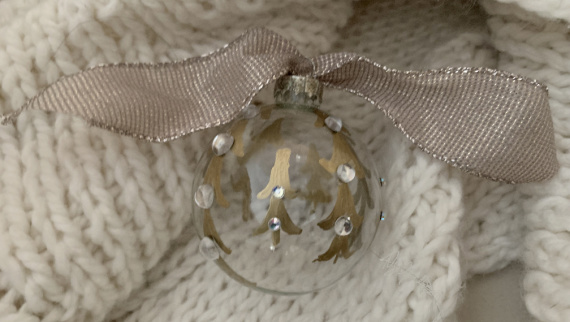
easy ornament diy

I hope you have fun decorating some glass ornaments to give as a hostess gift or to hang on your tree!

Thanks for stopping by!

Remember to take pleasure in simple things, Jackie
no comments

« Previous Entries