After my outdoor mum arrangement died with the recent frost, my friend Wendy suggested I cut some greens from an outside tree to make something to replace it. So, that is what I did!
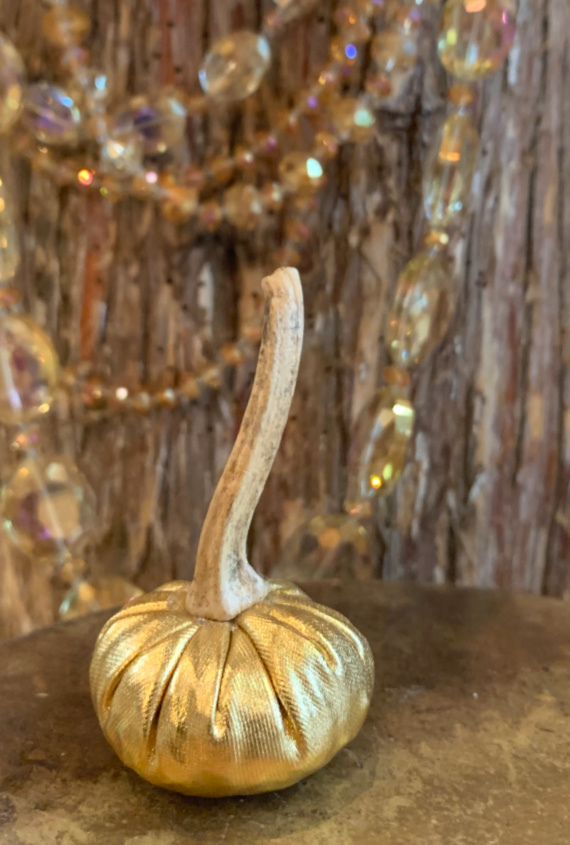
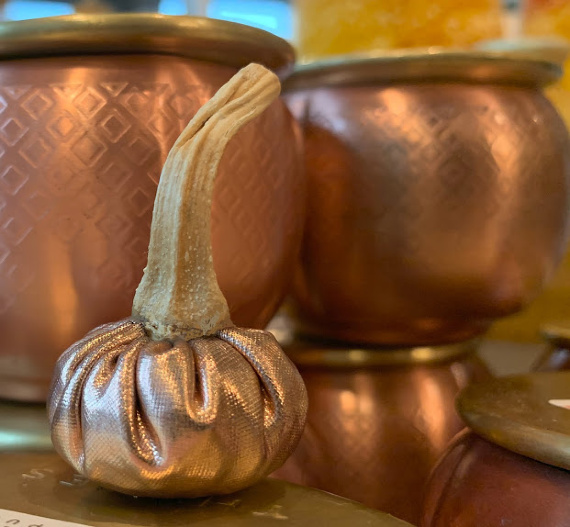
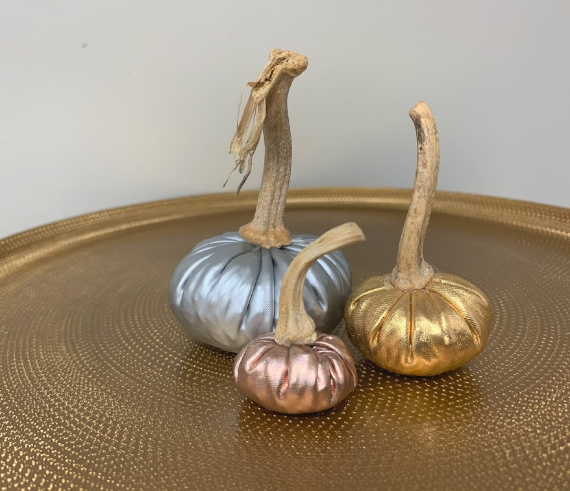
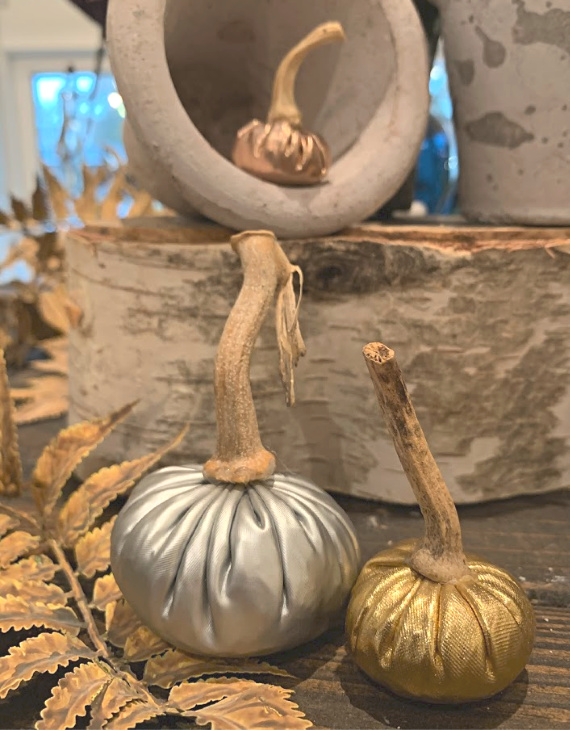
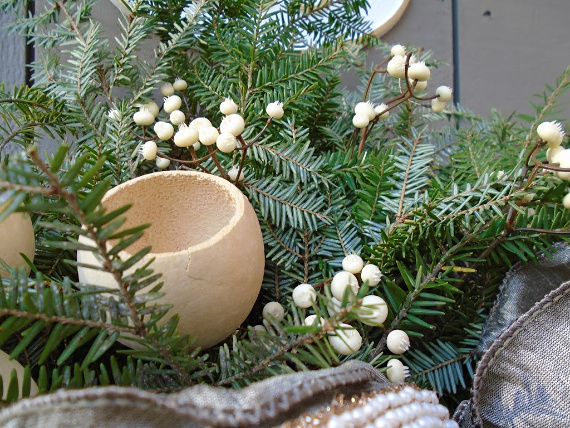
I collected a few items to create my arrangement – some white berries I had in with my gift wrapping supplies, a ribbon I had saved from an old wreath because the colors were so great – so neutral! I thought I needed a little something else so while I was at the craft store, I looked around and found these pod-like things in the natural element section and picked them up. They were the size I thought I needed to fill the space and they were a nice neutral shade.

With what I already had, my supplies cost me under $3. Actually, the worse part of the project was cutting the greens – not that it was hard to do, but it was so cold outside when I did it!
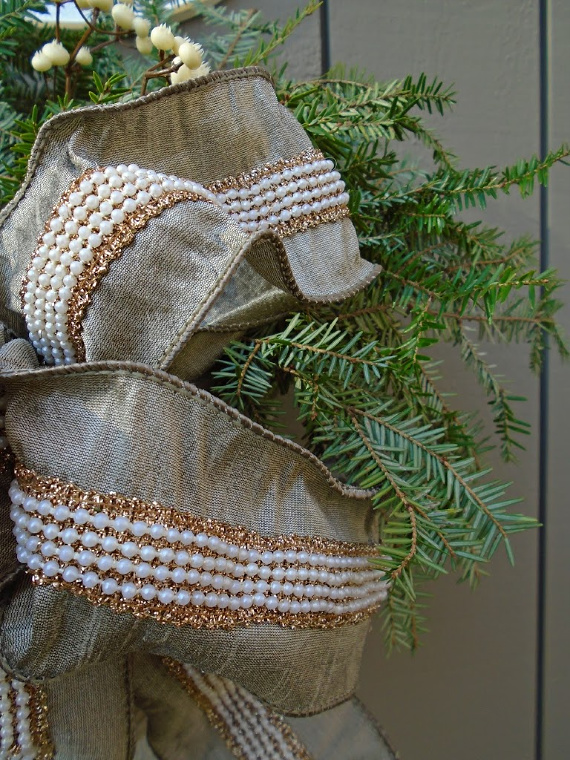
The small basket that contained the mums did not need many greens to fill it. I kept the dirt in the basket from when the flowers were planted in it and simply poked the greens in! Then, I shaped the ribbon the way I wanted it – securing it with a bent-up paperclip (I know – but I couldn’t find any wire so I had to MacGyver it!) and attached it to the basket.

I love the way it came out! Simple and natural looking! Thanks for the tip Wendy!
I hope today’s post will inspire you to create something of your own for your holiday décor, using materials from outdoors!
Have a fabulous weekend!
Remember to take pleasure in simple things, Jackie