Subscribe to Pleasure in Simple Things via RSS ReaderFollow Pleasure in Simple Things on InstagramFollow @InSimpleThings on TwitterLike Pleasure In Simple Things on FacebookFollow Pleasure In Simple Things on PinterestEmail Jackie

diy painted glass vase

July 16, 2012

easy color-coordinated vase

Have you painted the inside of an old jar yet?  It seems to be very popular right now.  When I first started seeing them around, I had to laugh, because when I was young, painting old jars was something my friends and I  would do at the summer playground when we ran out of all other craft materials…after exhausting all the supplies for making tile ashtrays and gimp keychains.

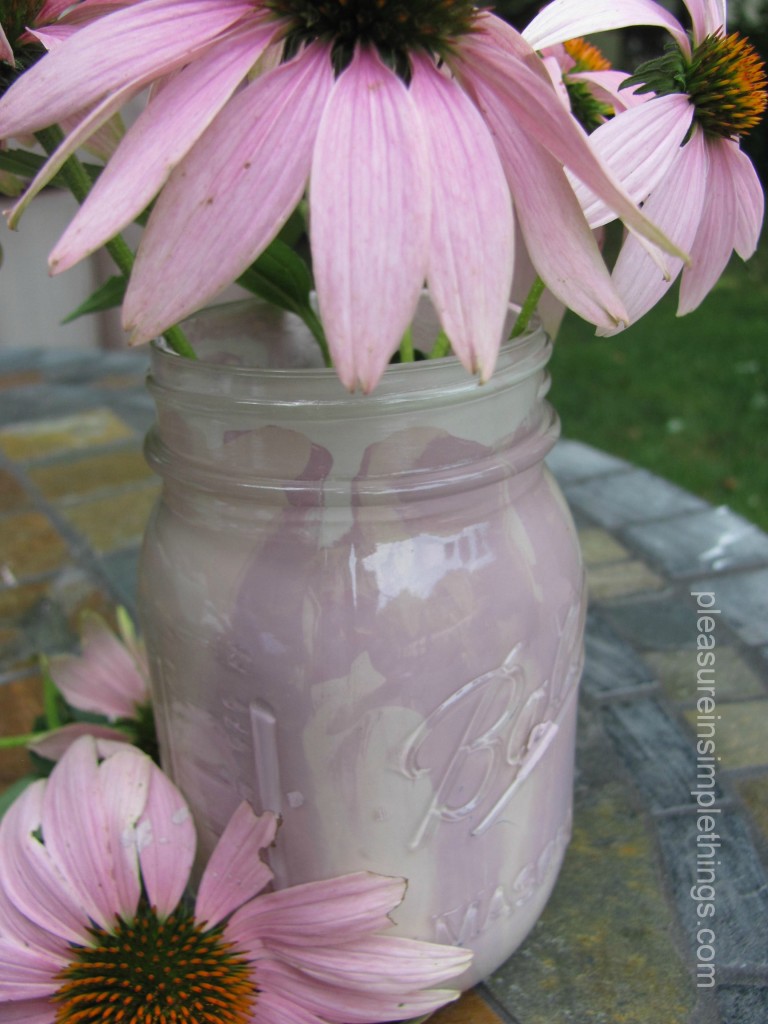
Over the years, I have painted an occasional jar as a nostalgic activity.  I haven’t really been motivated to do it lately…not, that is, until I was in Anthropologie the other day and saw the many jars the store was using as props for their in-store displays.  They had painted the insides of mason jars.  But, rather than painting each jar a solid color, several colors were used in each jar.  The result was almost a tie-dyed look.  Using pastel colors in similar hues, I thought the effect was really beautiful.

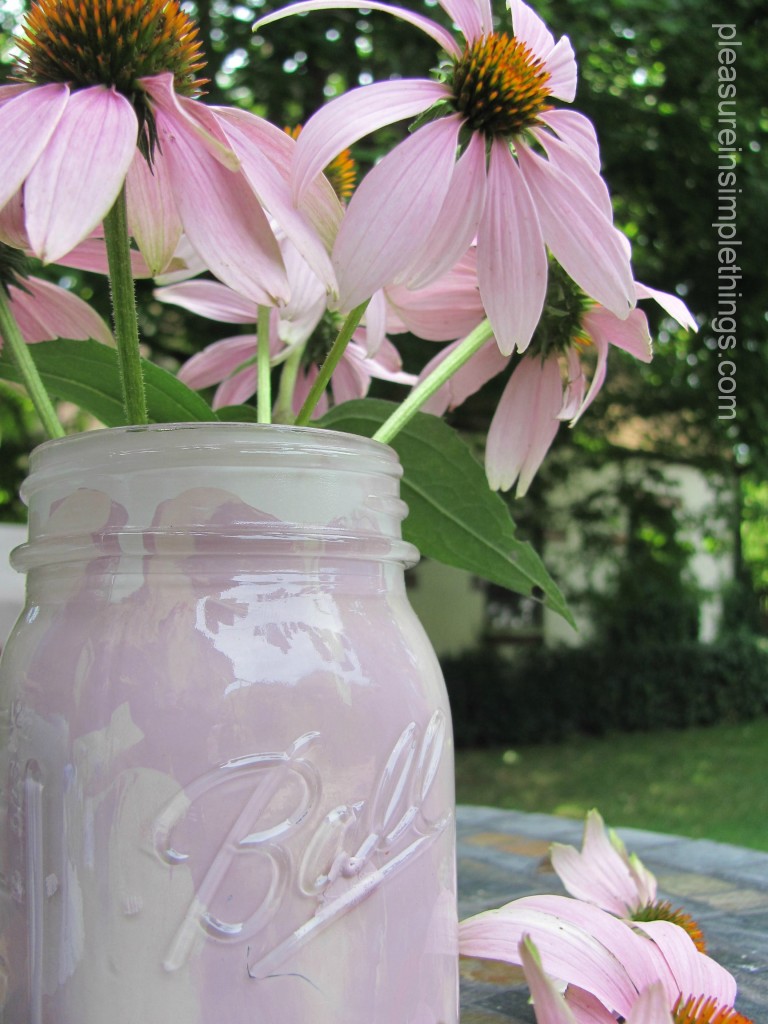
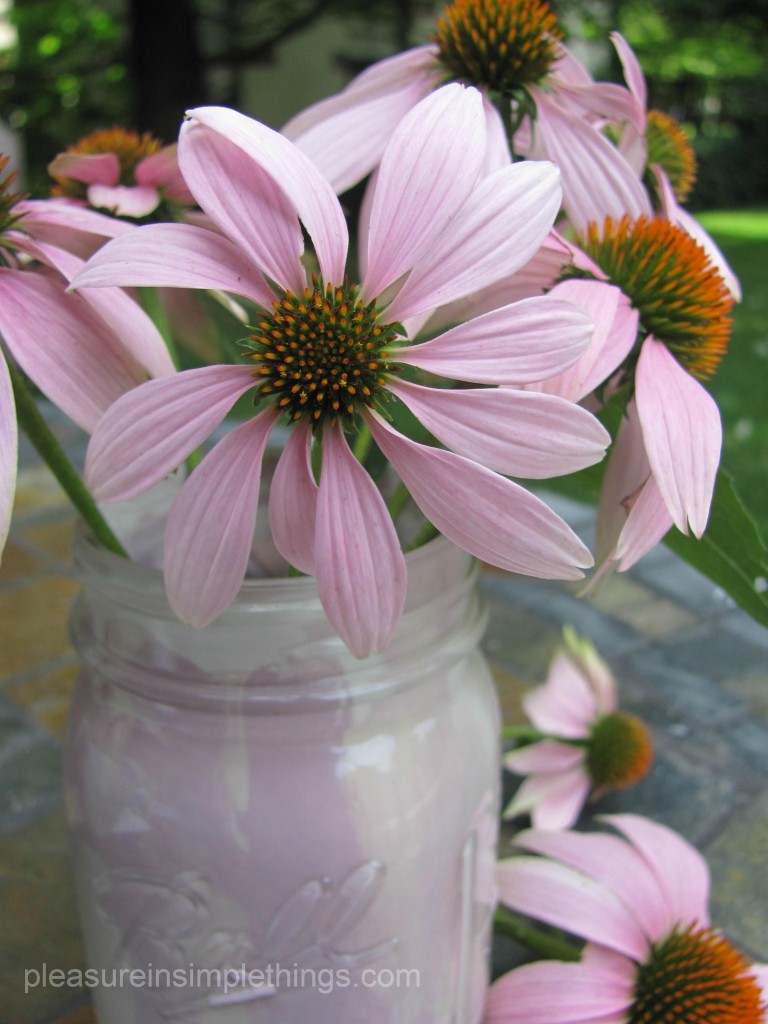
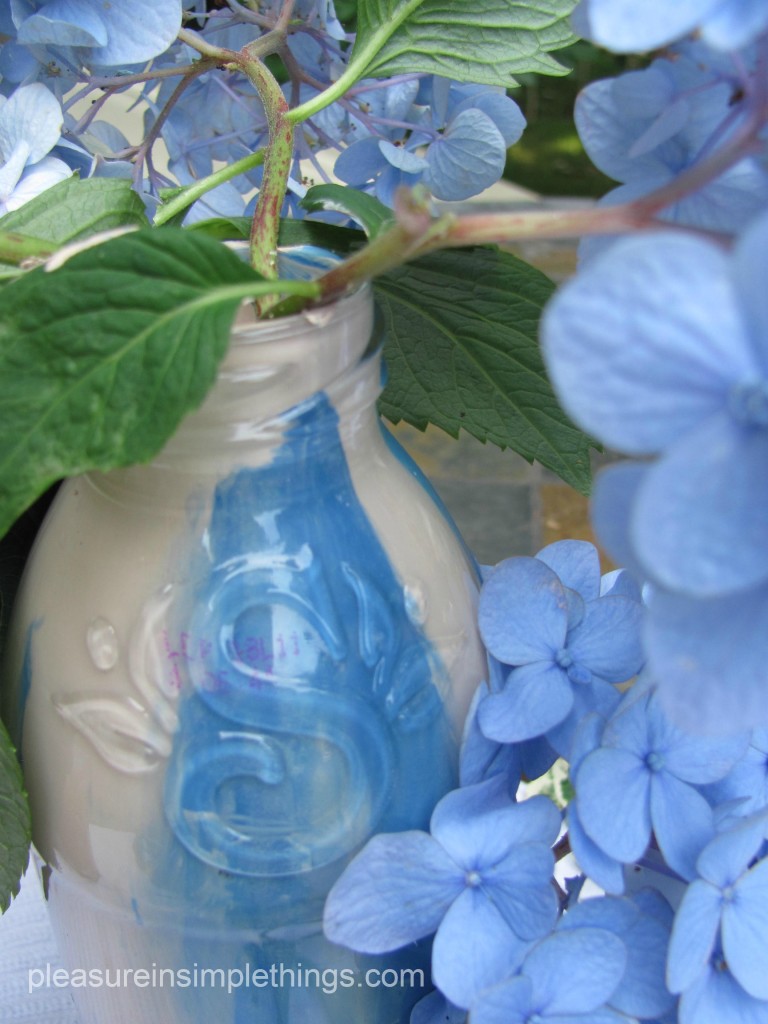
With my coneflowers in full bloom, I decided to paint a jar in colors to coordinate with the color of the coneflower  blooms.  I have purple coneflowers, so I would use subtle shades of lavender and gray.

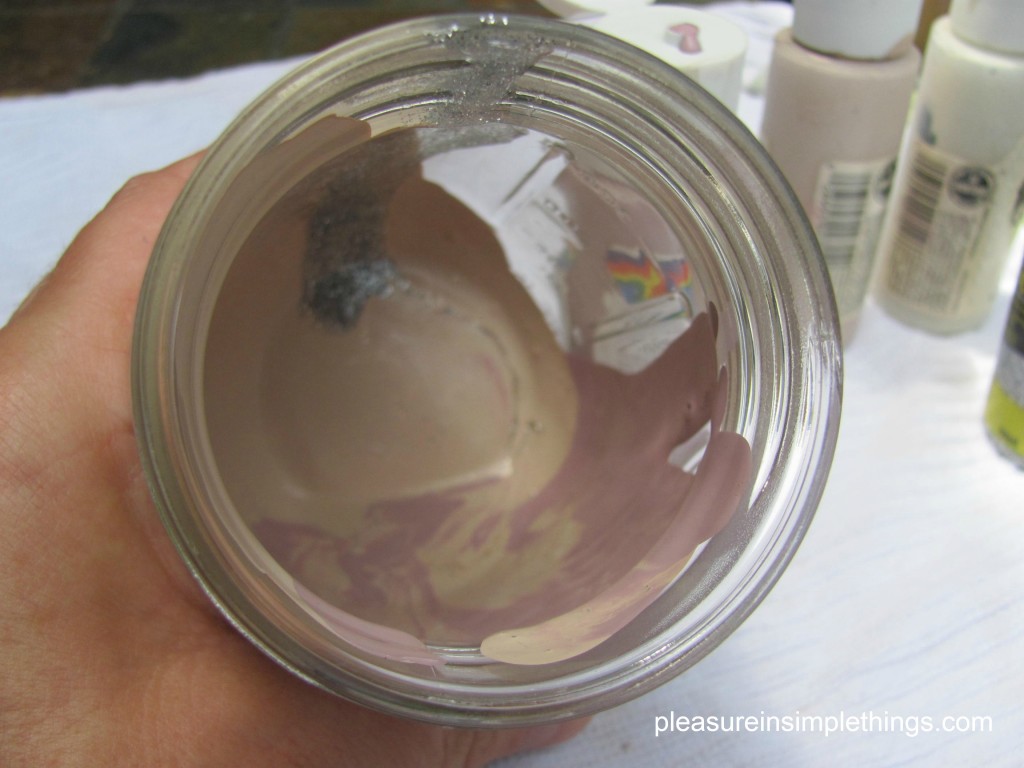
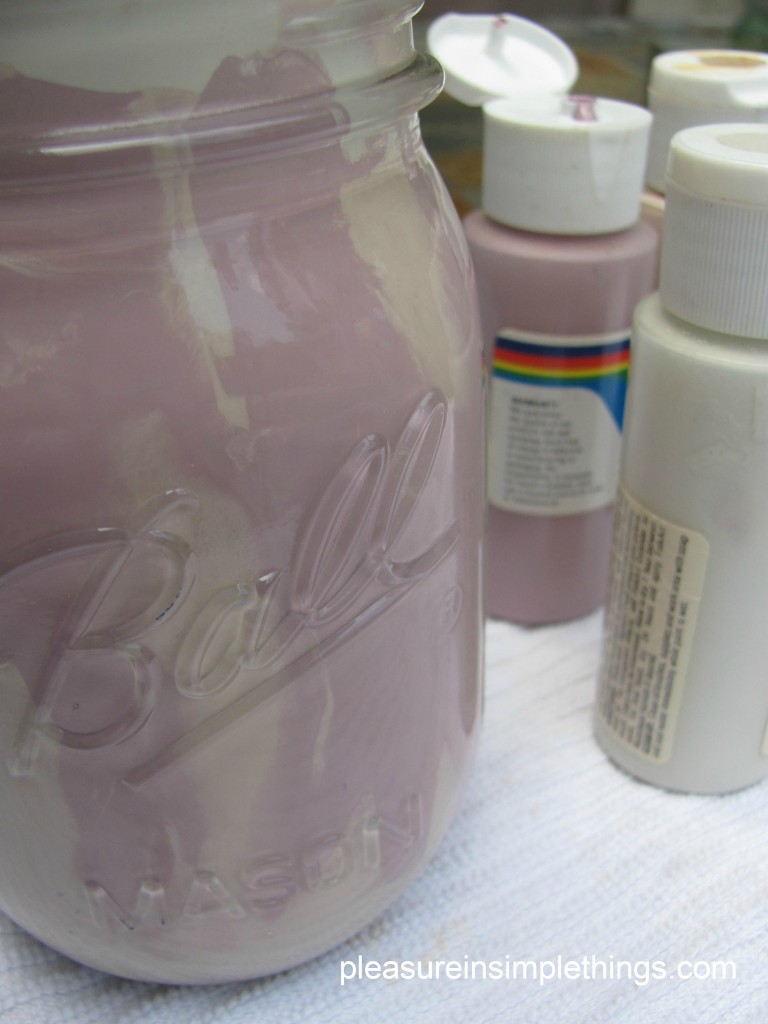
It is such an easy process…if you haven’t yet tried it, don’t feel intimidated.  You can’t mess up :)  Simply pour a little paint into the jar and swirl it around to cover the inside of the glass…that’s it!

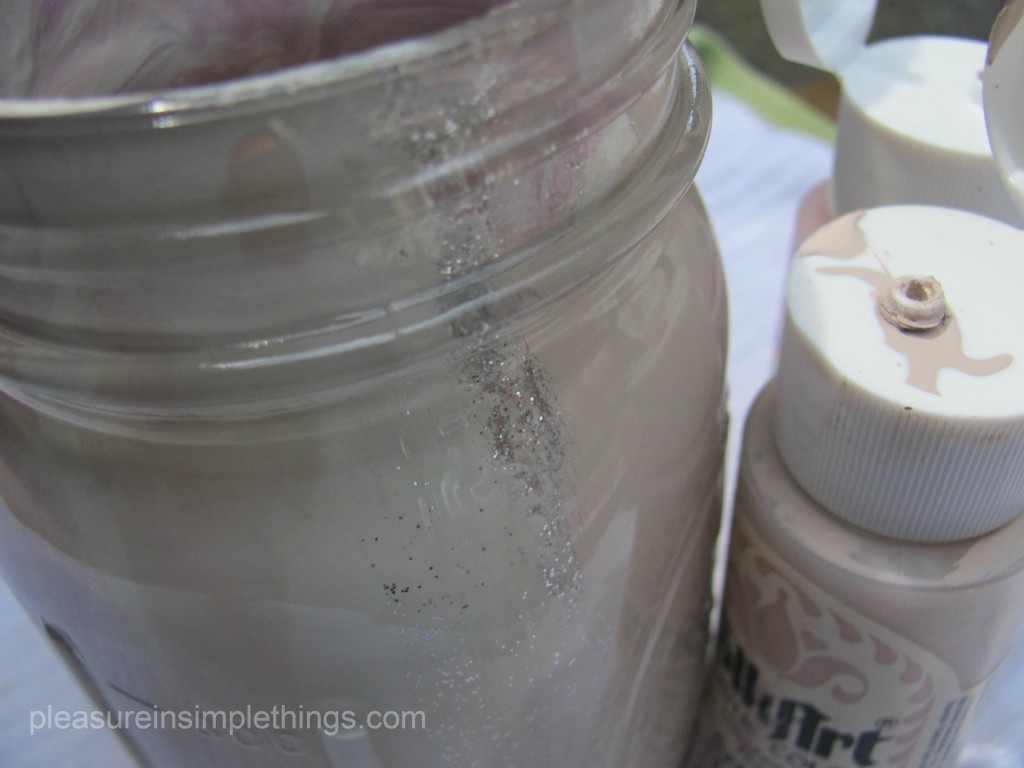
I found out that my craft store plastic paint bottles were perfect for the multi-color application.  I just squeezed the various colors into the jar and swirled them around.  I added a little splash of silver too, just to add a little sparkle.  You can control the pattern the paint creates by controlling which colors hit the glass first.  Let some paint drip from the top to the bottom of the glass.  Then, pour some paint in the bottom of the jar and swirl it around, tipping it to cover the sides.

If you make an experimental jar first, you can get the feel for how you can control the pattern of the paint covering the glass.  I experimented on a couple of Snapple jars that were in my recycling bin, but I saved a mason jar for the vase I intended for the coneflowers.

The great appeal of this project is being able to create a vase in any color scheme you choose, at virtually no cost – repurposing old jars and leftover paint.  It’s easy to instantly create a vase to match a color scheme for a party or a room in your home.

Give it a try!  Please post a photo of your creation on my facebook page:    https://www.facebook.com/insimplethings

Note:  I put a plastic cup inside the jar to contain the water.  I don’t think the water sitting in the paint would provide a happy result ;)

3 comments

diy color-dipped wooden spoons

June 25, 2012

color fun in the kitchen

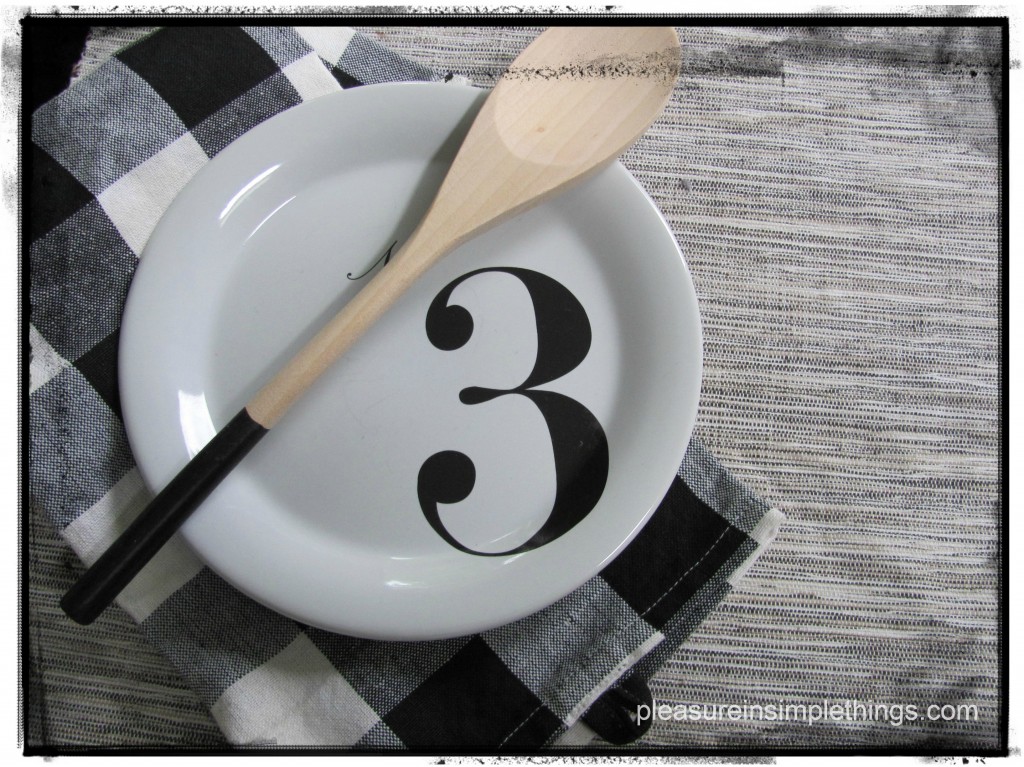
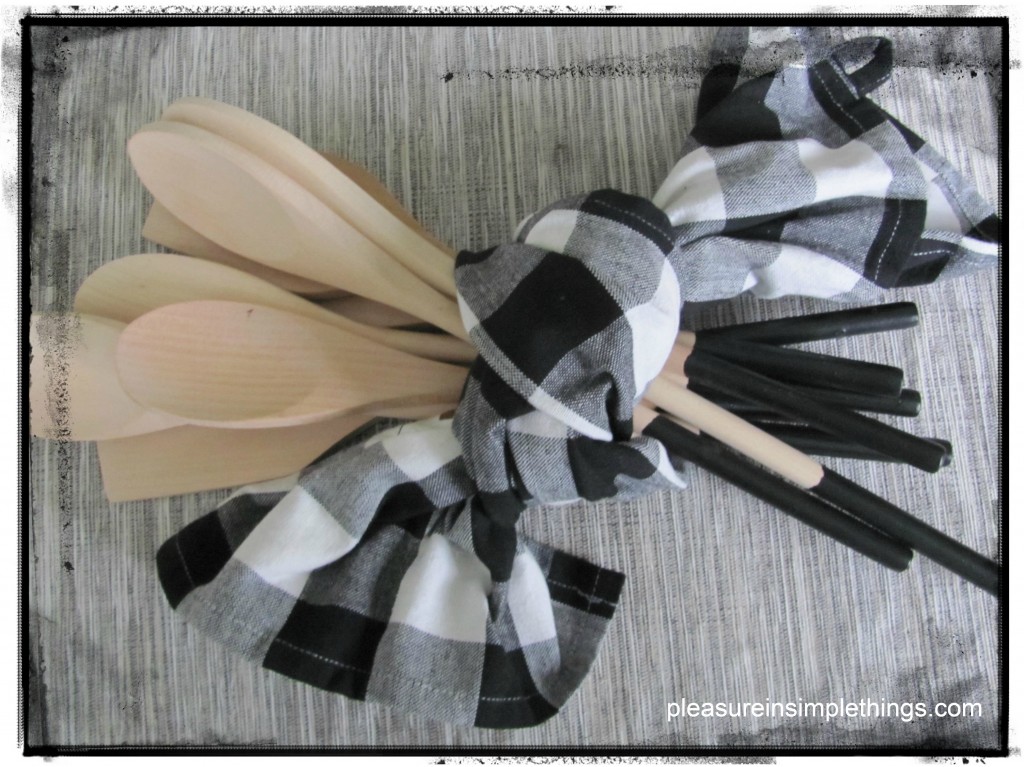
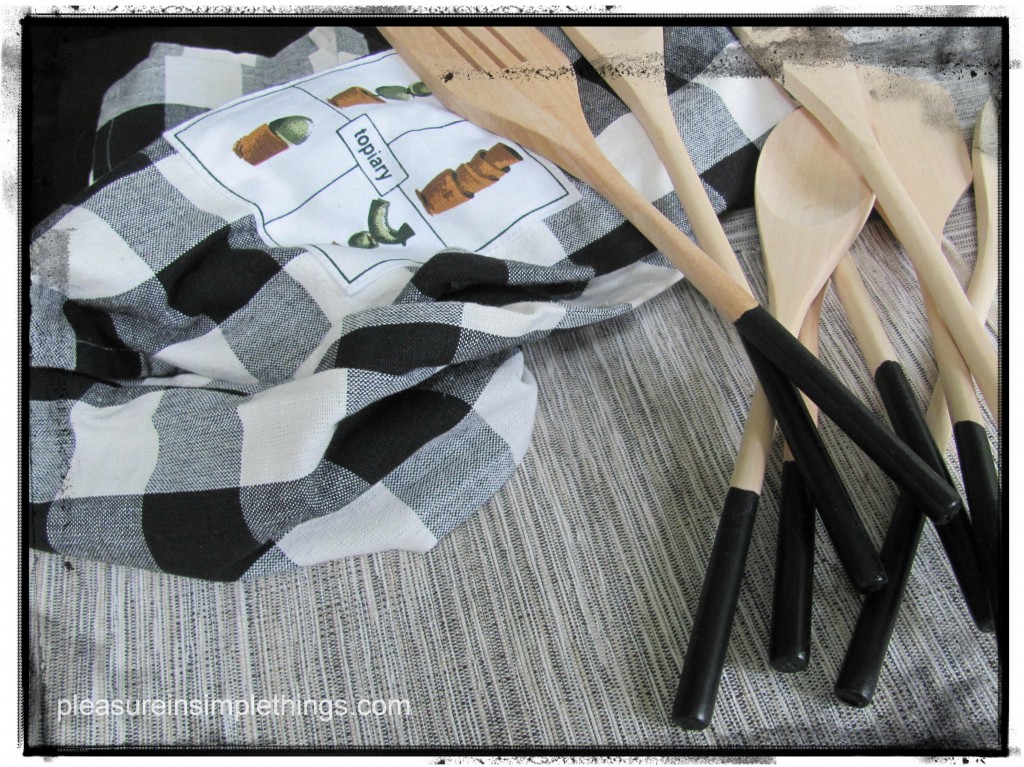
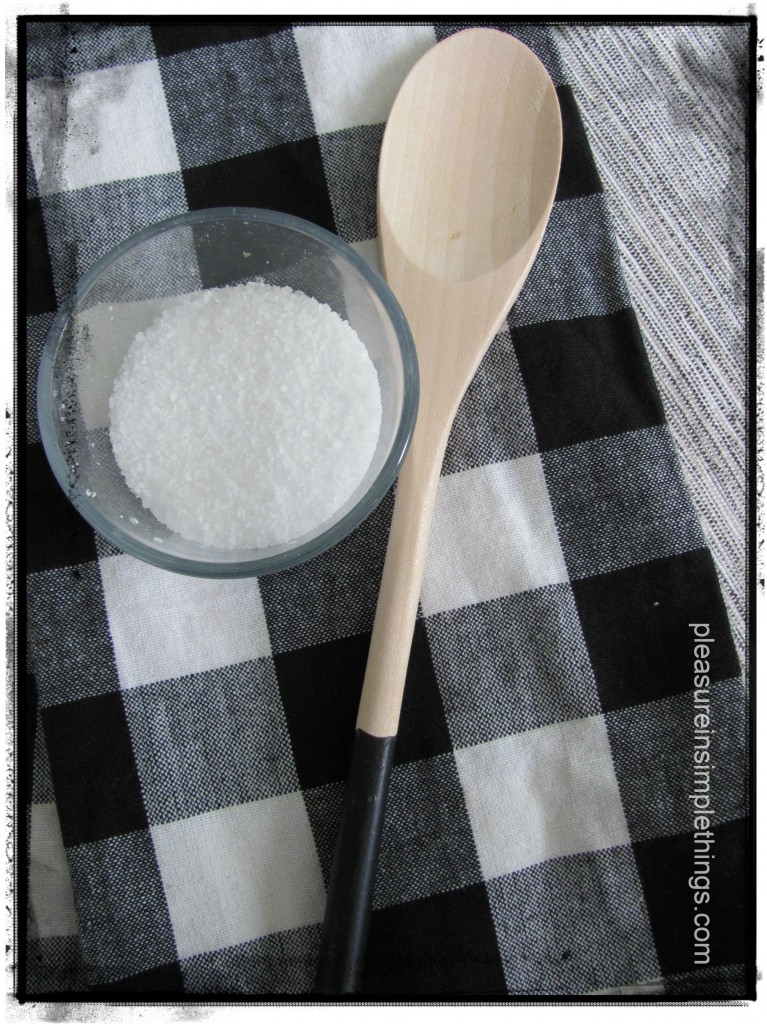
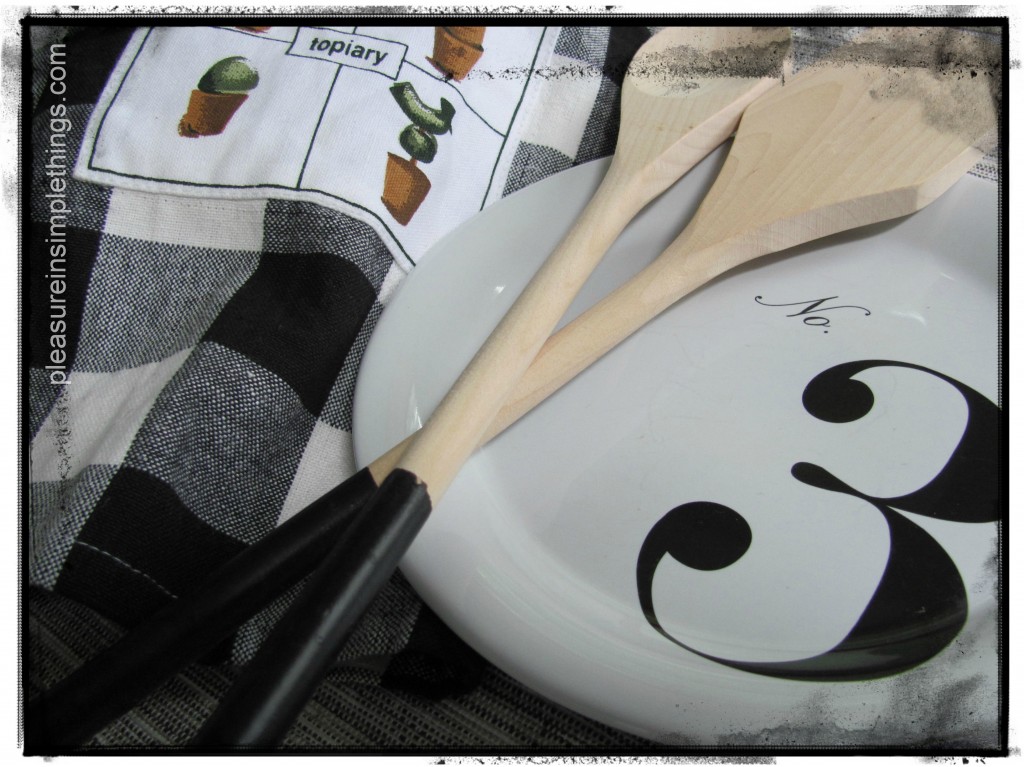
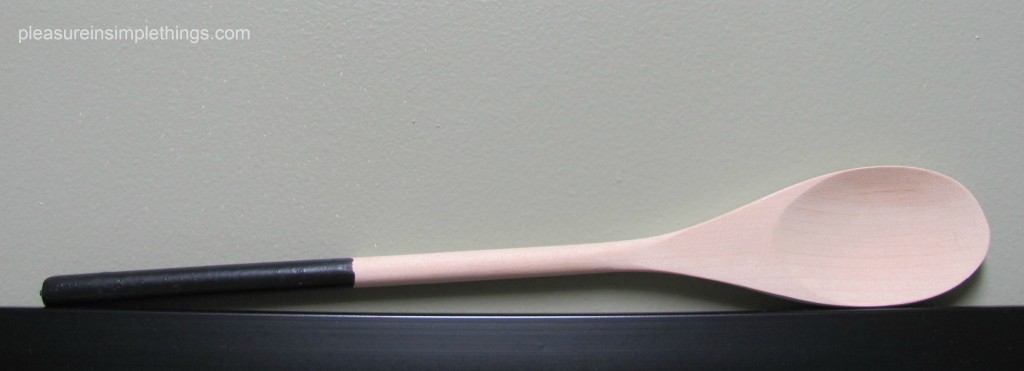
Would you like to create some fun, color-dipped, wooden spoons for your kitchen?  Here is an easy how-to guide.  I decided to make mine in black.  Now,  I realize black is technically not a color…’way back when’  in color and design class with Ms. Burns,  I learned that black is the absence of color, but…I still call it my favorite ‘color’ and my kitchen happens to be black and white.  Not only will black coordinate with the kitchen, but I love the contrast of it against the wood of the spoon.

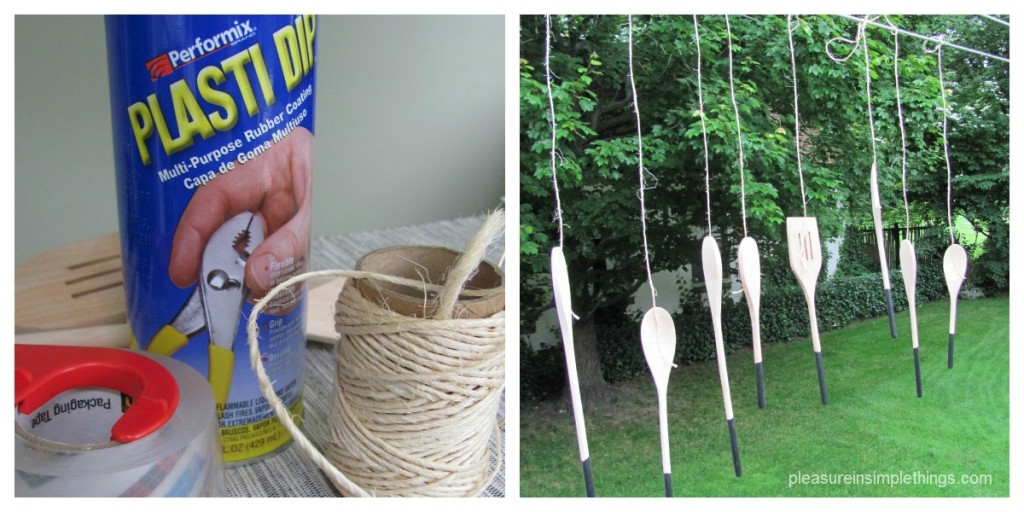
A big part of creativity is always just knowing what products or services are available…hard to use a product if you don’t  know it exists!  Once you find a product that is new to you, finding uses for it is the fun part!  With an open mind, you are sure to come up with some interesting results.   That is the case with a product called Plasti Dip.  It is a product that is available in the hardware store and is most often purchased to use on tools.  It provides a rubber coating – usually used to put a grip onto a tool.  I have made quite a few great discoveries walking the aisles of my local Home Depot.  When I found Plasti Dip, all I could think about was jazzing up some wooden spoons!

A photo of black color-dipped wooden spoons created with Plastidip.

Okay, first I needed the wooden spoons.  As I started looking for some in kitchen stores, I found that some individual wooden spoons cost as much as $5 or more.  So, I headed out to HomeGoods and found  a package of eight for $3.99.  I purchased the Plasti Dip at Home Depot, but according to the Plasti Dip website, their products can be purchased at any Ace Hardware store. 

Following the directions on the can was very simple…just dip the spoon into the product as instructed, and let dry.  I used packaging tape to attach twine to the spoons and hung them up on the clothesline.  Aren’t they great?I think pink would look awesome … particularly if you have a pink Cuisinart…or, how about a pale aqua for that beach house?  The pre-made colors available are:   yellow, white, red, clear, blue, and black.   If you prefer to  mix your own (orange, anyone?)  color, this is easy by purchasing the ‘Create Your Own Color Kit.’

Have some fun with this product!  I have plenty more to use to experiment and already have some ideas on how I will use the rest of my Plasti Dip!

To find a store to purchase Plasti Dip, or for more information on the product, visit their website:  www.plastidip.com

8 comments

homemade (better than bailey’s) irish cream recipe

June 12, 2012

homemade father’s day gift

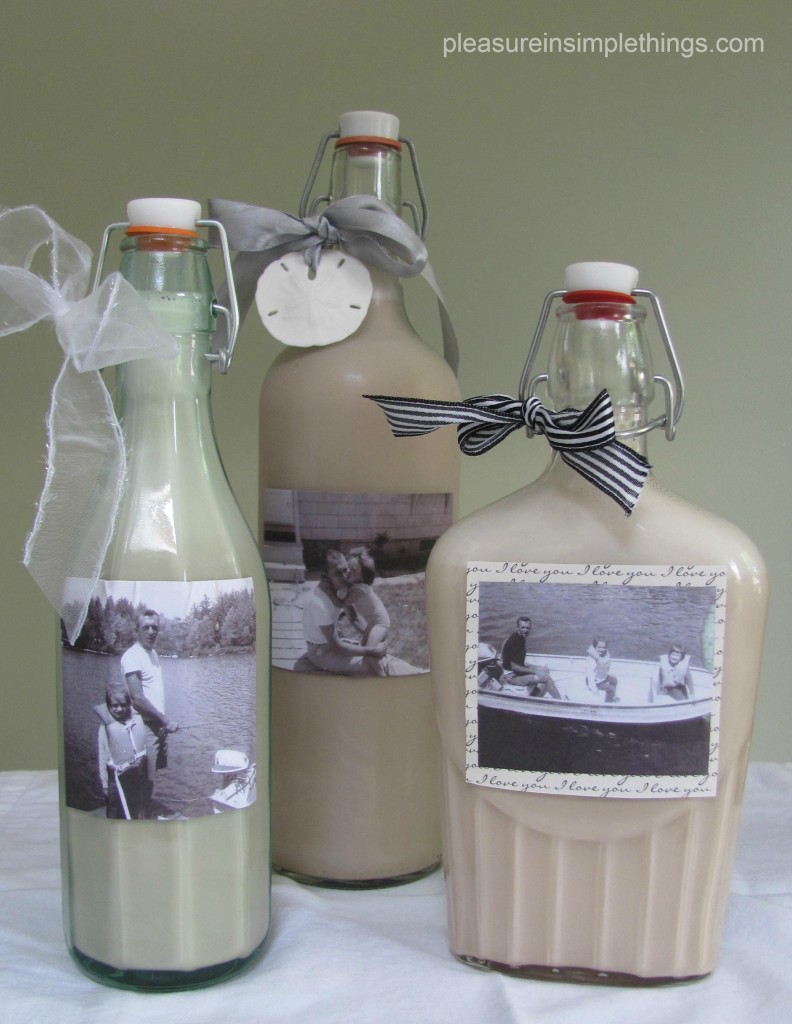
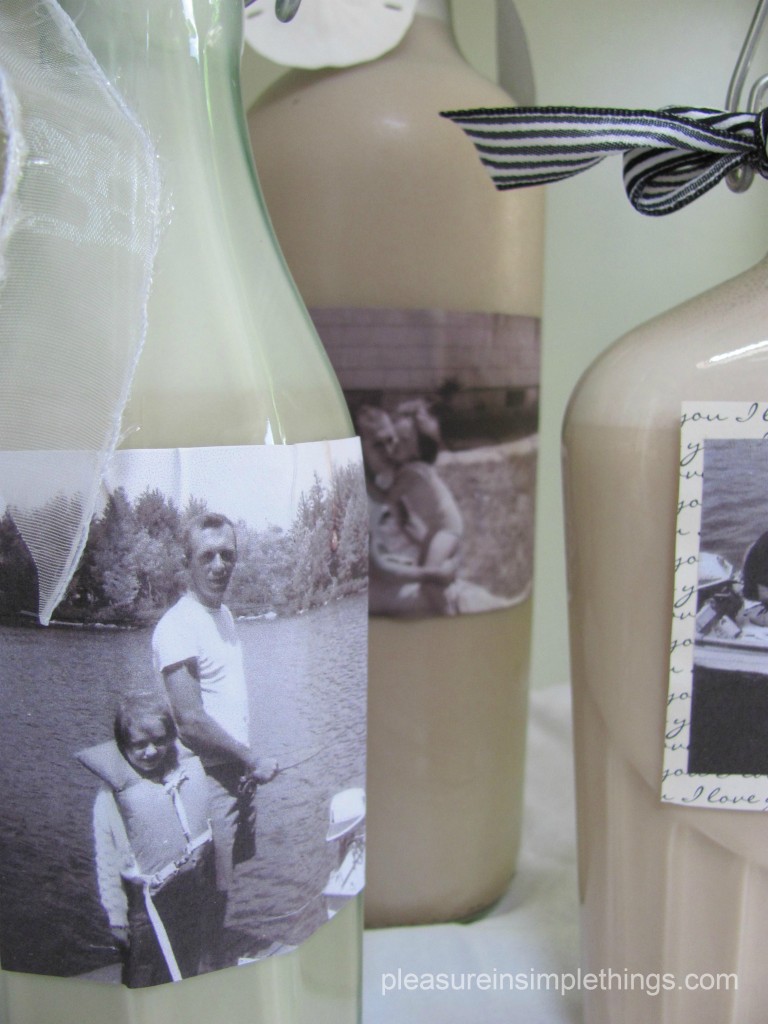
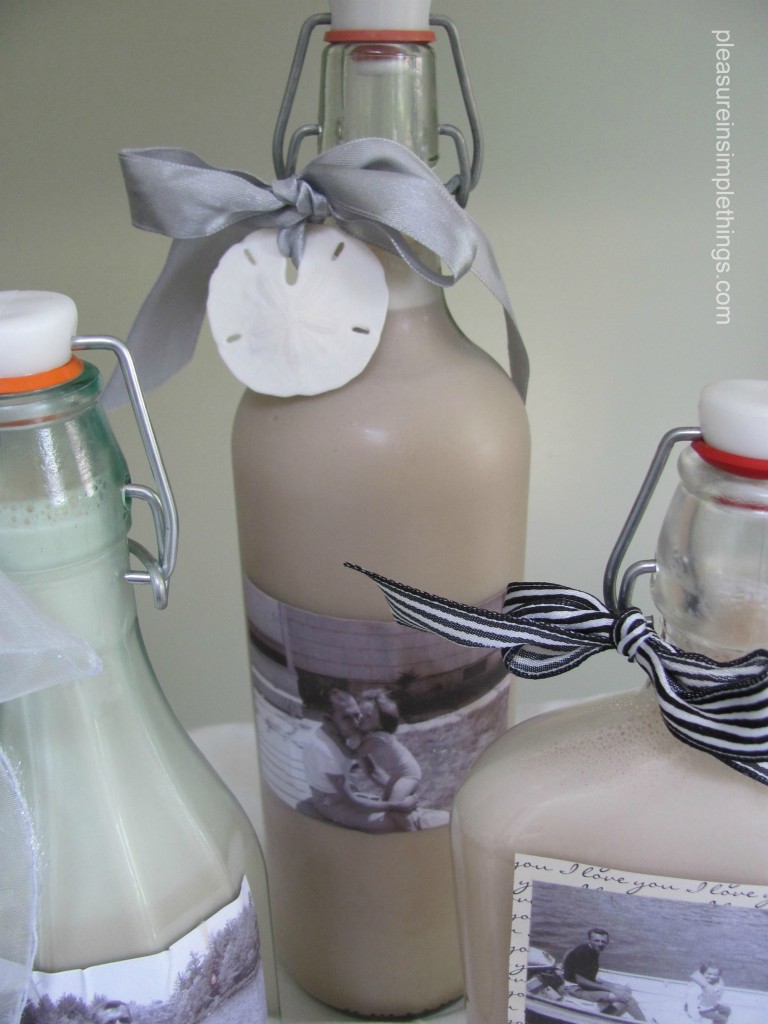
A photo of Homemade (better than Bailey’s) Irish Cream recipe packaged in personalized bottles for Father’s Day.

Father’s Day is Sunday!  Do you need an idea for a special homemade gift?  I have an easy and delicious gift you can make.  Homemade Irish Cream!  Packaged in a personal way, I think it makes the perfect gift for your special guy.

In my opinion, this homemade version  tastes better than the popular brand you purchase in the liquor store.  I suspect that is because it uses fresh dairy, rather than the substitute that must be required to ensure a long shelf life for the ‘real’ stuff.

First,  get yourself some bottles – these can be repurposed or purchased.  I found the ones pictured here at the store Homegoods…two I bought empty and one was filled with Italian soda;  but was priced the same as the empty ones.  You may already have something you can use at home…check your cabinets and refrigerator for possibilities, use an old canning jar, or check out the home and craft stores.


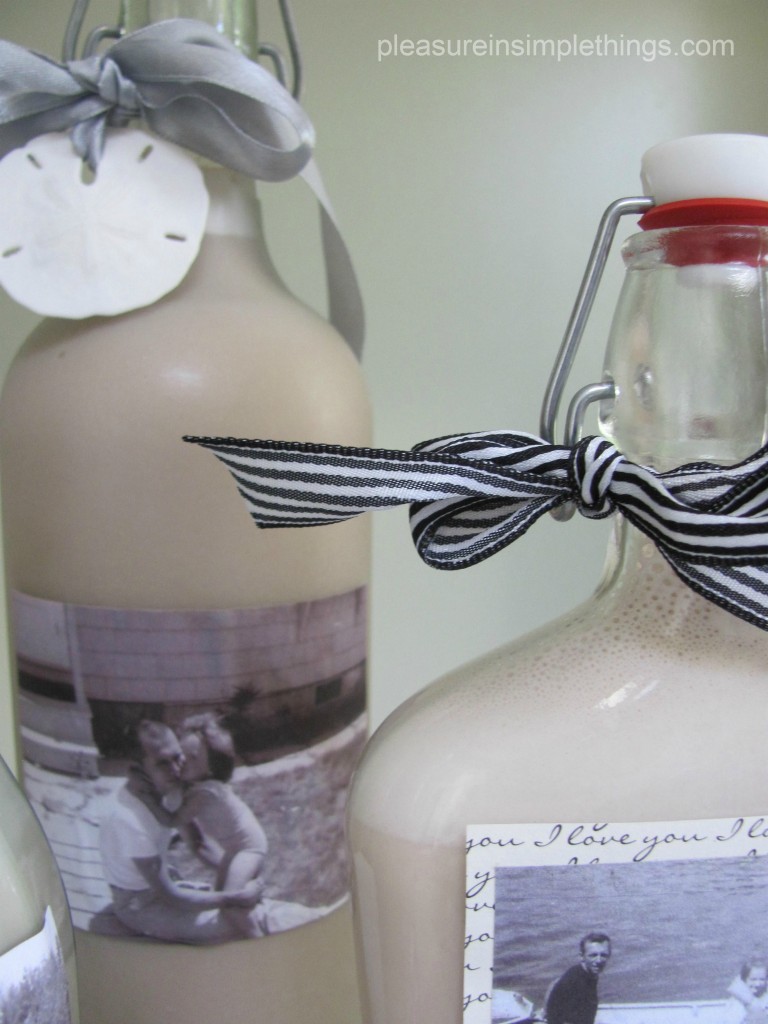
To make the gift personal, I selected some old, favorite photographs  to create labels for the front of the bottles.  I love old black and white photos,  and I chose three favorites of my dad and I together to print onto a sheet of labels.  If you only have color photos; no worries.  You can easily turn your color photos into nostalgic looking black and white or sepia prints using your computer or photo software.  (If you don’t know how to do this, send me a message.  Better yet, ask your children…they are certain to know how to accomplish this.)

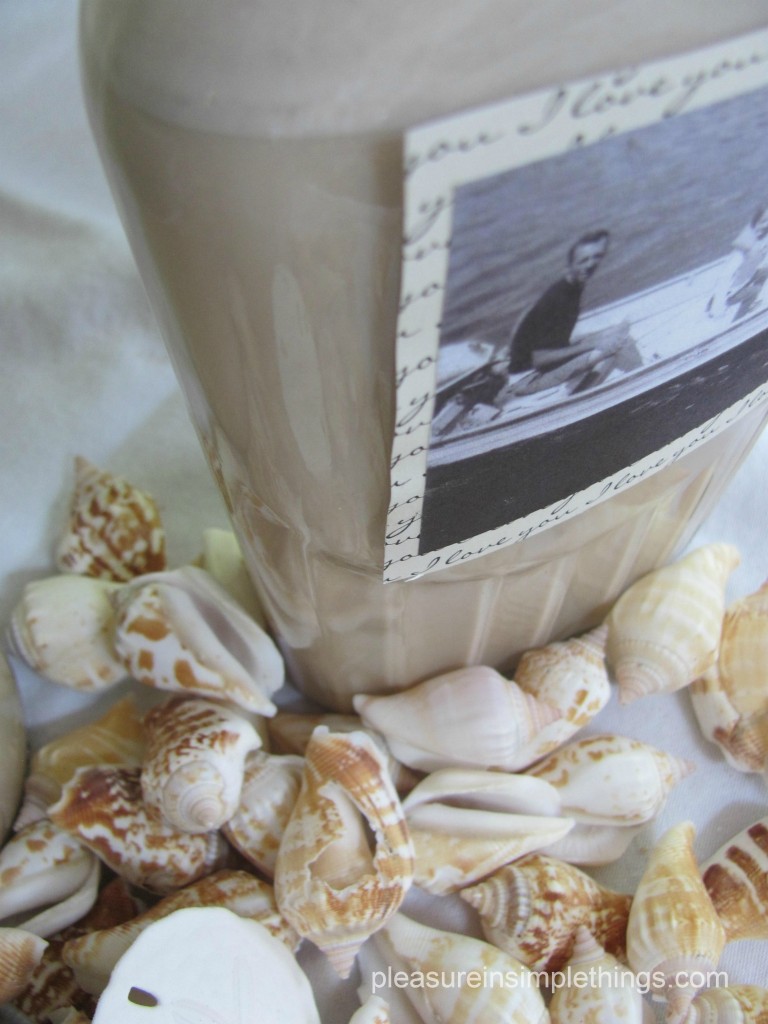
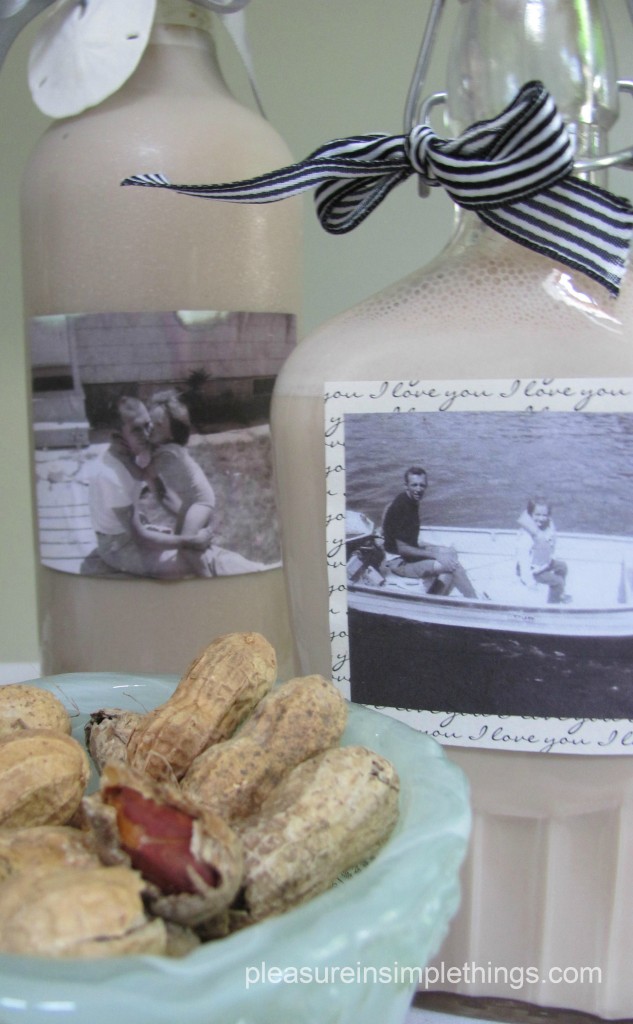
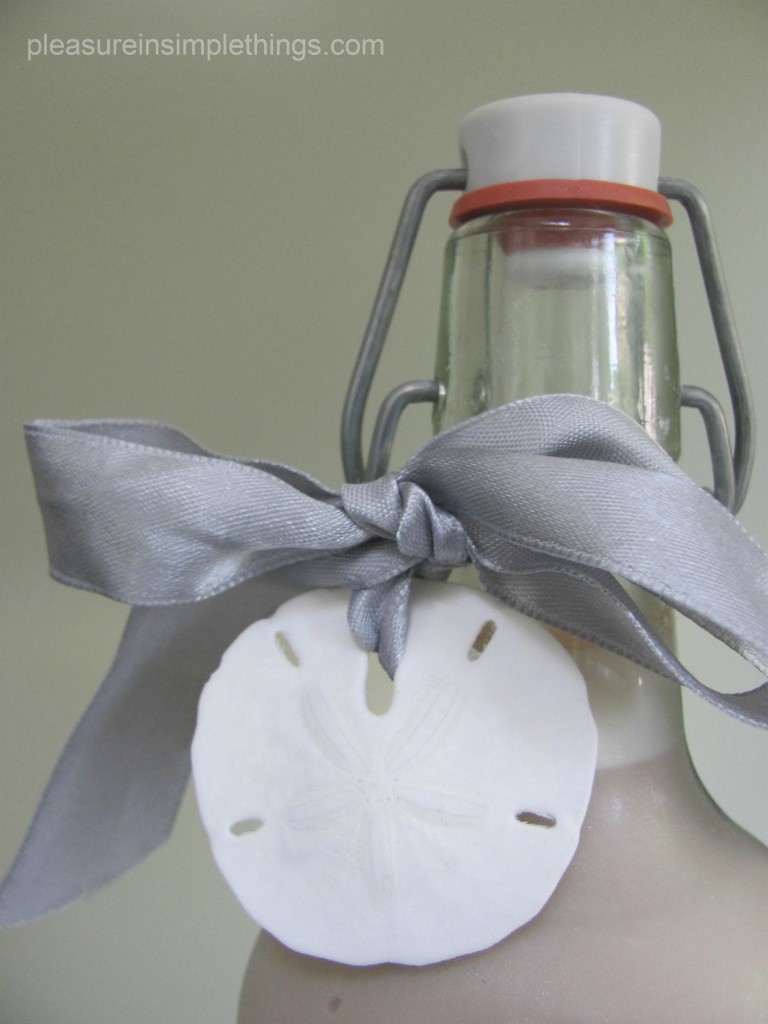
I simply printed the photos on a sheet of regular office shipping labels – nothing fancy.  And, because they were black and white, a color printer was not required.  I trimmed the labels and affixed them onto the bottles.  Then, I finished with some ribbon scraps tied onto the necks of the bottles.  Of course, I had to tie a sand dollar to the neck of one of the bottles.   Do you see the one that says ‘I love you?’  I used a piece of scrapbooking paper I bought for 10 cents (this paper is sold by the sheet in any craft store) and used it as a backing for one of the photos; cutting it slightly larger than the size of the photo to create a frame around it.

A photo of homemade Irish Cream in personalized bottles.

Homemade Irish Cream Recipe

3 eggs

1 cup rye whiskey

2 Tablespoons chocolate syrup

2 – 3 teaspoons vanilla

1 pint half & half

1  14oz. can sweetened condensed milk

Blend eggs for 3 minutes.  Add all other ingredients.  Blend 2 minutes more.  Keep refrigerated .  Will keep as long as the expiration date on the half & half…if it lasts that long. 

Use a funnel to fill the bottles .  Your Homemade Irish Cream is ready for giving!  (Or, if your Dad is more the bourbon guy, you might want to try making him one of these:  Bobby Flay’s Vanilla Bean Bourbon Milkshake)

Try pouring a little in your Dad’s brunch time coffee ;)  Remember to save some for yourself!
9 comments

beachy pencil gift idea

May 6, 2012

mother’s day diy

I still enjoy a beautiful paper product and pretty writing utensils.  I am sure this is also true for many women from older generations…our moms and grandmothers, can also appreciate these ‘old school’ items.  Maybe pencils are a little nostalgic in this day and age, but I still think they make a nice gift; even if providing nothing else but a memory of a bygone era!

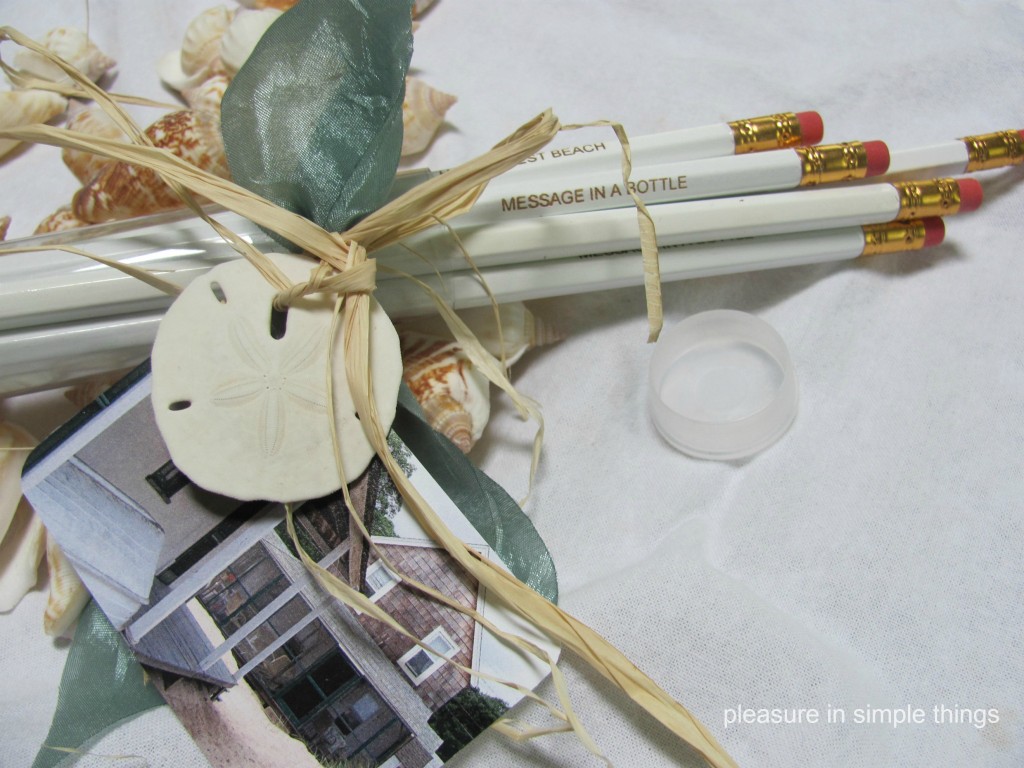
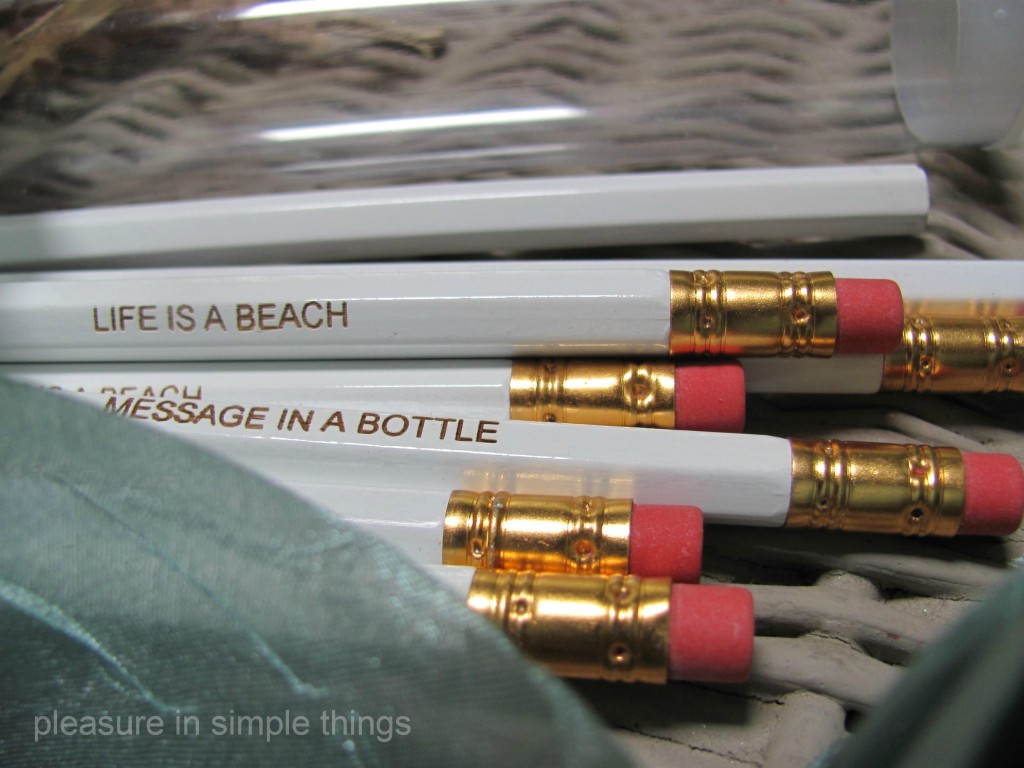
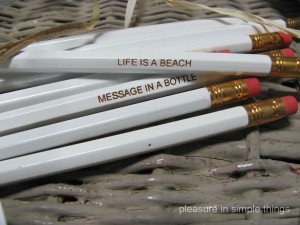
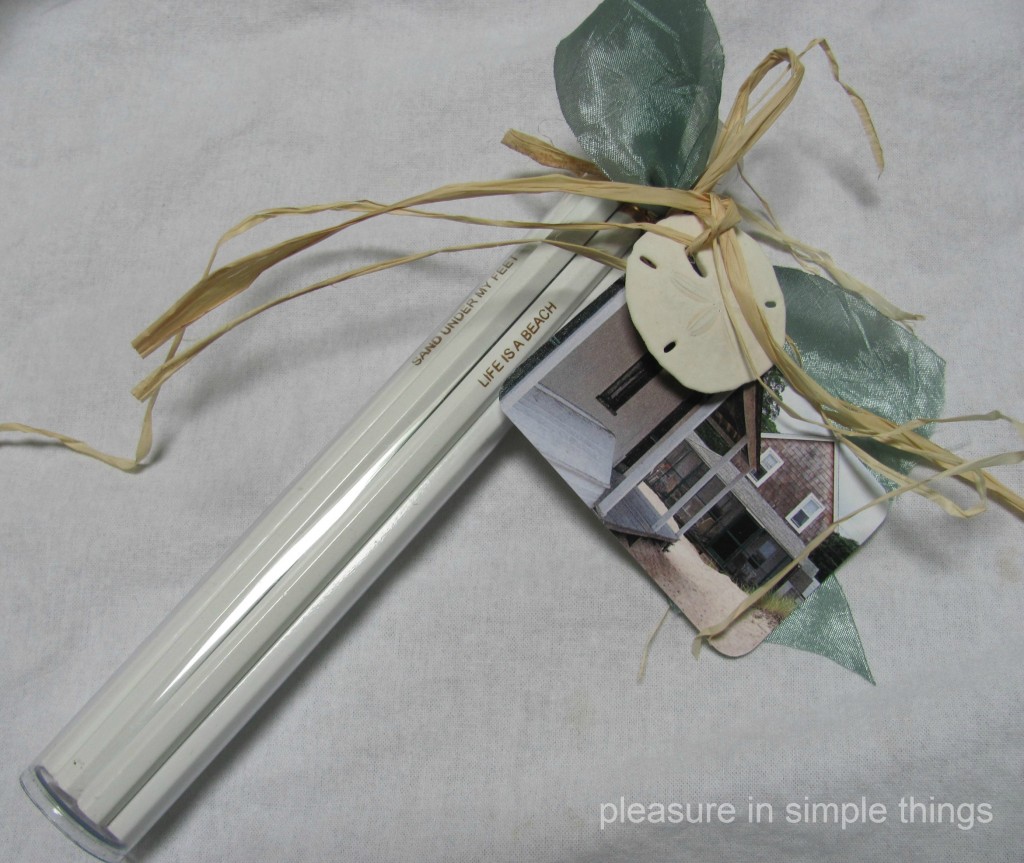
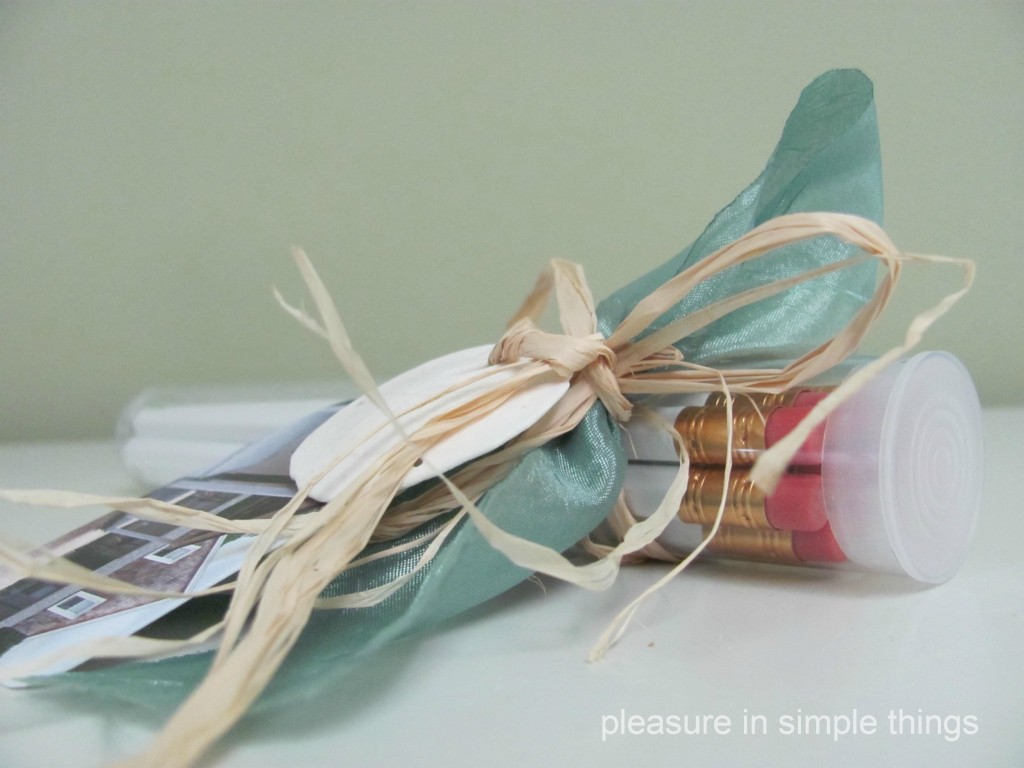
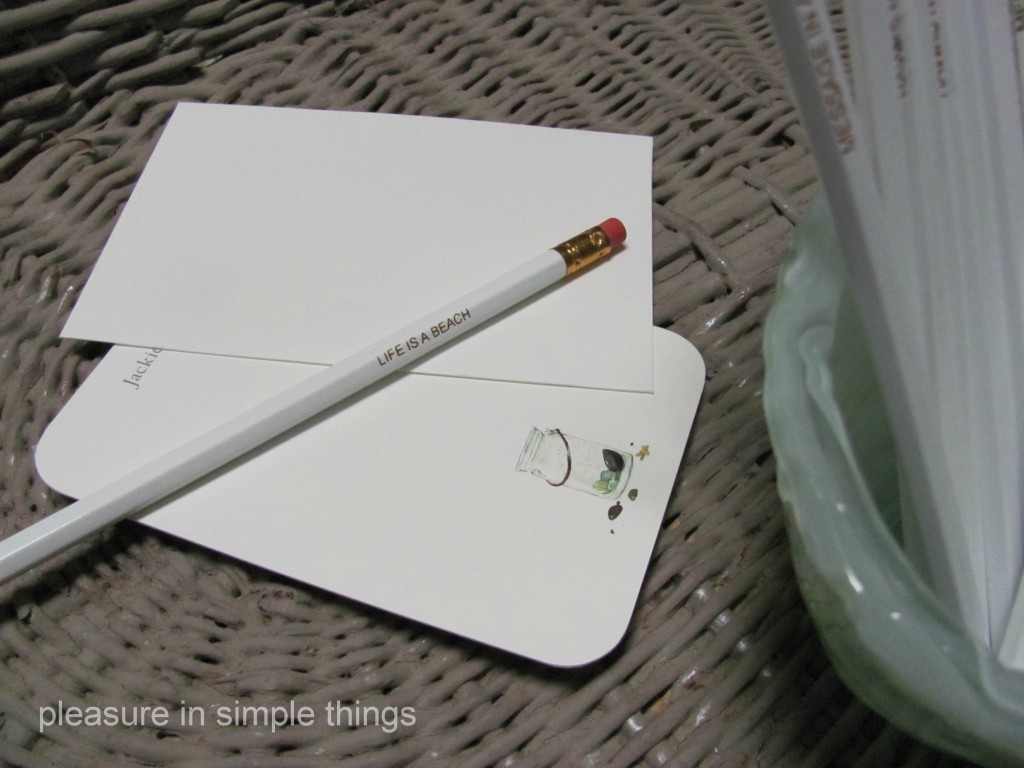
For this gift, I had white pencils imprinted and packaged them in a plastic tube for a practical and inexpensive gift idea.  I used a beach theme and the imprints I ordered for the pencils related to my theme:

  • life is a beach
  • sand & sea
  • message in a bottle
  • sand under my feet
  • sand dollars and seahorses
  • gonna need a bigger boat (no, I didn’t really use this one)
In keeping with the beach theme, you could also use the name or names of your favorite beaches, names of songs related to the beach, or song lyrics (think Beach Boys), surfer lingo (hang ten, surf’s up), quotes, your mom’s favorite sayings (“it’s gonna freeze like that”, “kids day is every day”), etc.  …you get the idea.  The pencils I ordered had a maximum of 30 characters, so I planned accordingly.  Maybe you already have some cool ideas for a Father’s Day set?

Ordering information for imprinted pencils is included at the end of this post.


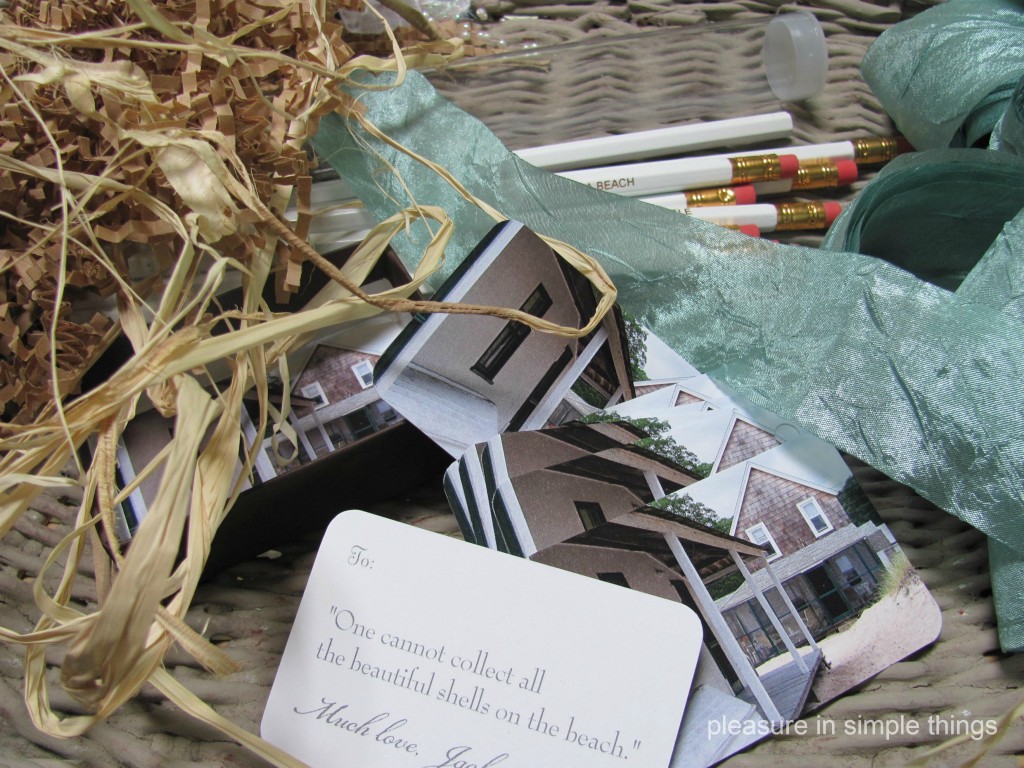
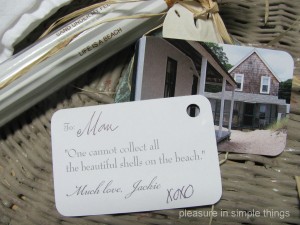
I personalized a gift tag by putting a photo on one side and a favorite saying on the other. Then, I simply punched a hole in the corner to tie onto the gift.


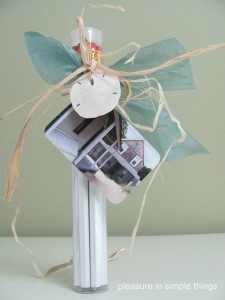
Here is the finished gift…I tied on a piece of ribbon and raffia and attached the gift tag and a small sand dollar.

Ordering notes:  I purchased the pencils at www.lillianvernon.com  White pencils are item 800247 and a set of 12 is $9.99 (they were on sale for $5.98 when I purchased them).  The same imprint is required on all twelve pencils, so you will need to order more sets if you want assorted sayings or quotes. If you are making more than one set, 24 pencils can be ordered for $14.99 on the same website as item 810260.  Remember though, only one imprint per set.  The plastic tubes came from www.thinkgarnish.com  They are called ‘clear plastic tubes with caps’. (I have also used them for candy or straws.)  They are priced at $1.60 each.  Eight pencils fit nicely into a tube.  Decide how many gift sets you want to make in advance so you can plan on the number of tubes and pencils and how many different imprints you will choose.  I have already planned out some Christmas gift pencils that I will package without the tubes…more on that when I start my holiday projects.  The gift tags I had personalized with my own beach photo (my favorite beach cottage…old black and whites of family beach trips work well also) and a favorite quote on the back.   This is really easy to do online using www.cardstore.com  Choose ‘stationery’ at the top of the site and then ‘personalized gift tags’.  You can order 25 for $15. and incorporate your favorite photo.  Put your imagination to work!  Contact me if you have any questions or need ideas for a particular theme.  Have fun with it!   


4 comments

prank gone good

April 25, 2012

diy chalkboard magnets

I walked in the living room over the weekend to find my son’s interesting sense of humor in action…our front door (which is metal) was covered on the inside in magnets…you know, the free advertising kind of magnets…they are business card size?  Apparently he picked up a few handfuls at some event he attended and thought it would be funny to load the door up with them.  So, the next day, as I am removing the magnets (apparently, part of the joke was that he was not planning on removing said magnets) carefully so they didn’t scratch the paint, I am thinking that there must be something clever I can do with all these new- found magnets.  I have often thought I would like to purchase magnetic sheets to experiment with, but I really didn’t want to spend the money on them.  Now I have TONS for no cost to me (except spending a good amount of time removing them from my door).

Well, I was thinking of attaching pictures by printing favorite photos onto labels with a color printer and stick them onto the magnets, but couldn’t think of any metal surfaces I was interested in putting photos on.  Then I remembered the chalkboard Con-Tact paper I had.  When I discovered such a product existed, I had to have it, but have not ever put it to use.  I originally thought I would use it for gift tags, but I have so many gift tags that I love already I never had reason to use it.

Now, the idea of using the Con-Tact paper on the magnets seemed like such a cool idea and SO SIMPLE to execute!  I simply stuck the advertising side of the magnet to the Con-Tact paper and trimmed them appropriately.  They are so easy to cut…

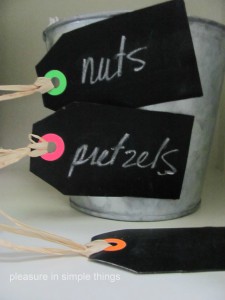
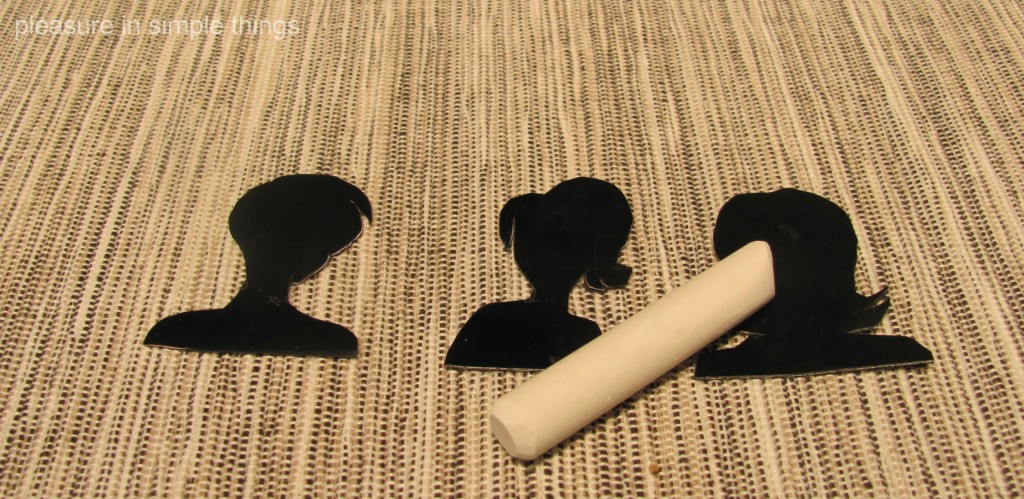
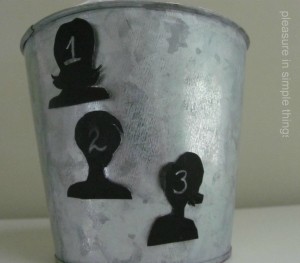
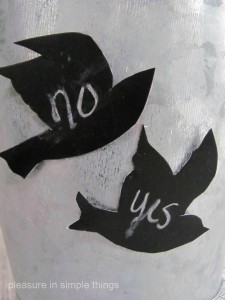
Here are some of the magnets I created….

I think these would also be great with the days of the week for the fridge.


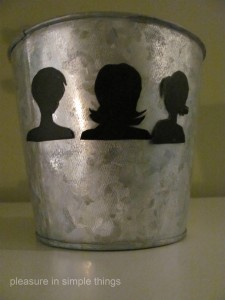
Any kind of silhouette is really fun to do.


Chalkboard Con-Tact paper                                 $8 roll

TONS of business card size magnets                    $0

Old piece of chalk (from the junk drawer)             $0

“Making good” on my son’s prank                        priceless


‘clean’ or ‘dirty’ magnet for the dishwasher

 This project is being submitted to Celebrating Everyday Life recycled & repurposed diy project link party.

7 comments

     Next Entries »