Subscribe to Pleasure in Simple Things via RSS ReaderFollow Pleasure in Simple Things on InstagramFollow @InSimpleThings on TwitterLike Pleasure In Simple Things on FacebookFollow Pleasure In Simple Things on PinterestEmail Jackie

pumpkin play

September 30, 2022

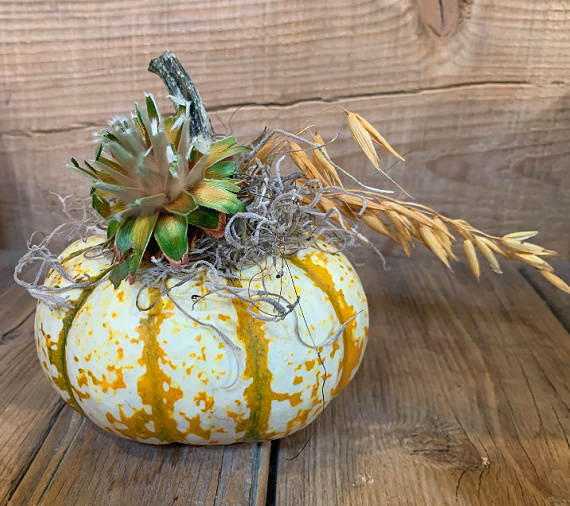
striped mini pumpkin

Planting inside a pumpkin –  whether real or artificial – has been going on for quite a few years now.  Certainly, new colors and types of pumpkins pop up every year, but there are also some ways to make this season’s pumpkin – whether planted, or part of a planting –  look fresh for the current year!

Let’s look at four easy ways to update your planted pumpkin creations this year!

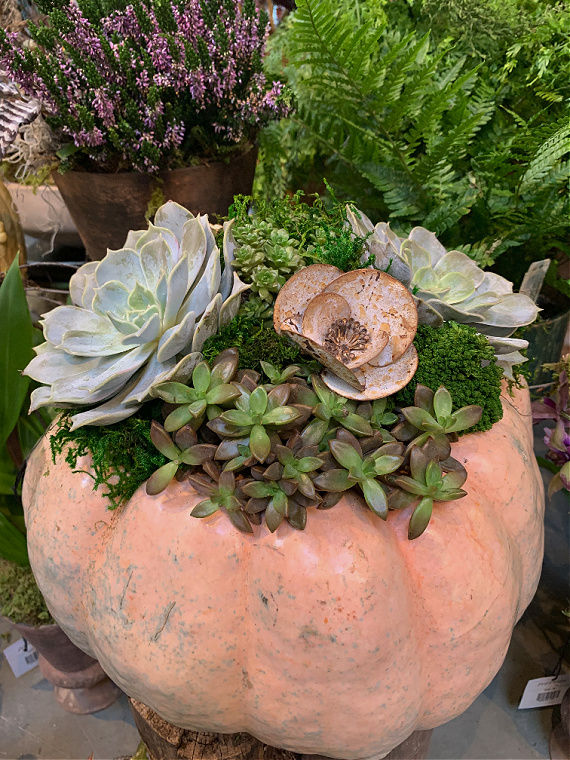
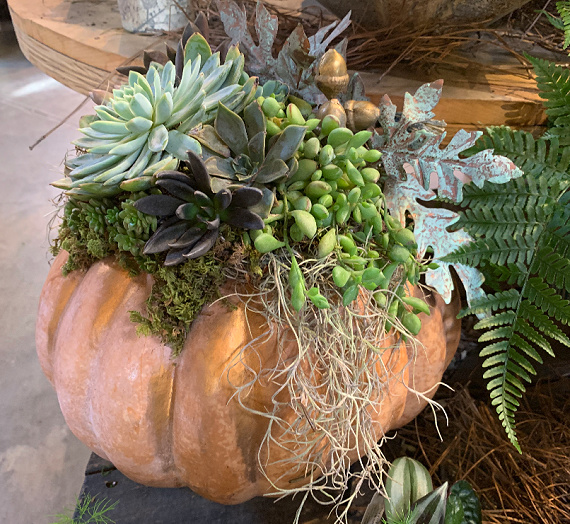
Add a decorative non-living item to your planting.  There are infinite ways to make a pumpkin planting look updated, simply by adding a decorative item to your arrangement.  In the examples here, decorative metal items are used.  Shop your local garden store gift shop or find something unique at a vintage store or thrift shop.

pumpkin with metal flower

pumpkin with metal acorn

A great way to make your arrangement look super current, is to add an item currently trending – in this case, a mushroom!

pumpkin with mushroom

Glue dried items to the outside of your pumpkin.  You have seen me glue dried items to pumpkins in years past and this is a great idea for anyone that feels they don’t possess a green thumb!  A glue gun and some found (or purchased) dried items from nature are all that are required!  And, although this is not exactly a planted pumpkin, it creates the same appeal as one!  Small pumpkins are especially great for this because very little material is needed to add some instant drama!

dried flowers on pumpkin

pumpkin with burgandy dried

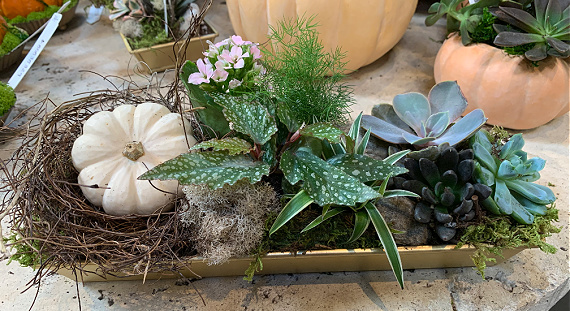
Incorporate a nest into your pumpkin arrangement.  You know I have a passion for nests and why not use them with your pumpkins!  Items from nature are always favorites of mine and nests can mix really well with pumpkins!  You probably already have some nests, packed away with your Easter or spring décor, that can do double duty!

white nest pumpkin

nest with pumpkin

pumpkin in nest

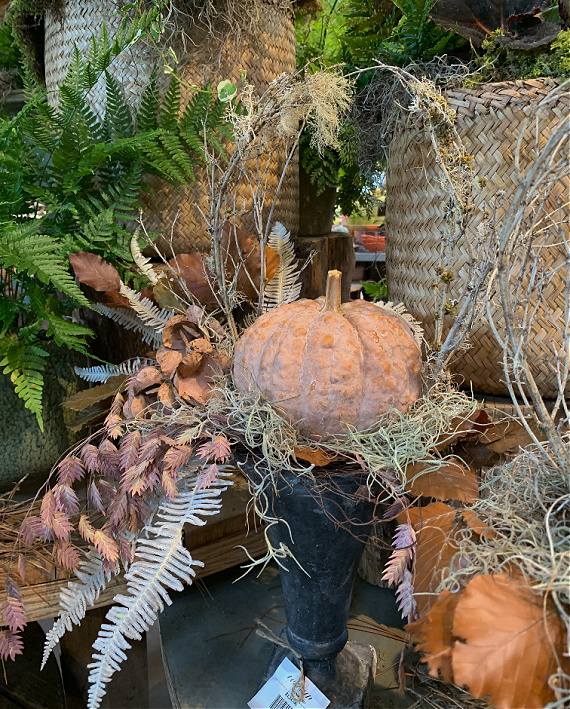
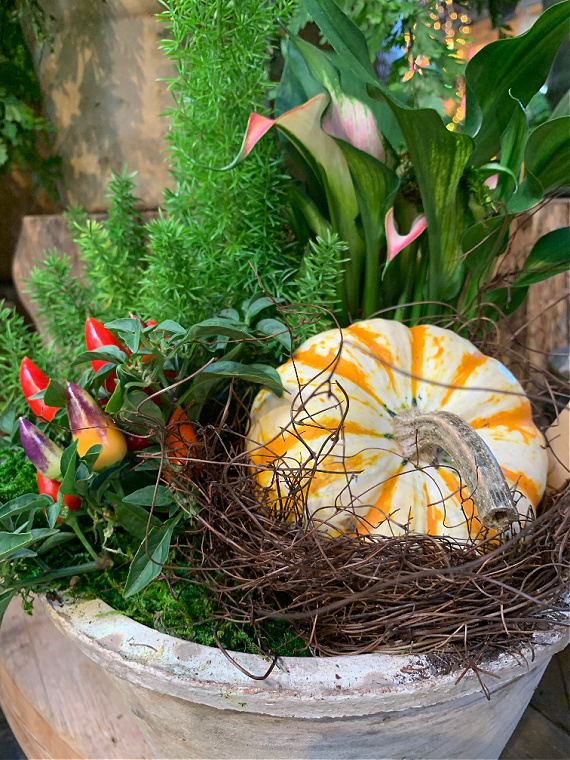
Add a pumpkin to an already fabulous living arrangement.  Any arrangement you already have can look seasonal with an added pumpkin!  Nobody does this better than Terrain – look at the examples here!  Choose a pumpkin(s) that coordinates in color and/or style to your current planting!  Have fun with it!

orchids and pumpkin

pumpkin in black urn

pumpkin and ferns

I hope you are inspired to add some seasonal décor to your home!  The photos I used as examples here were all taken by me at Terrain in Westport.  If you live local, be sure to visit Terrain for The Autumn Bounty Festival on October 1st, 11:00 am to 4:00 pm.

Thanks for stopping by!

Have a great weekend and remember to take pleasure in simple things, Jackie


no comments

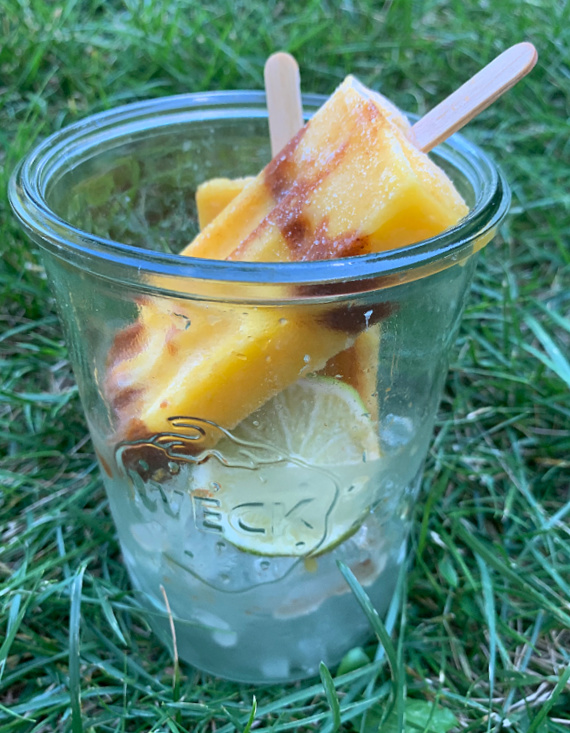
easy mango chamoy paletas

August 19, 2022

palentas mango chamoy

I was only recently turned on to paletas.  They look like ordinary ice pops, but they pack a much greater punch!  Paletas are a Mexican frozen treat made from fresh, natural fruits and sometimes with added milk or condensed milk.  Typically, they seem to be fruit-based but there are some milk-based, creamy flavors as well.  An ice pop made from natural ingredients – what’s not to love!

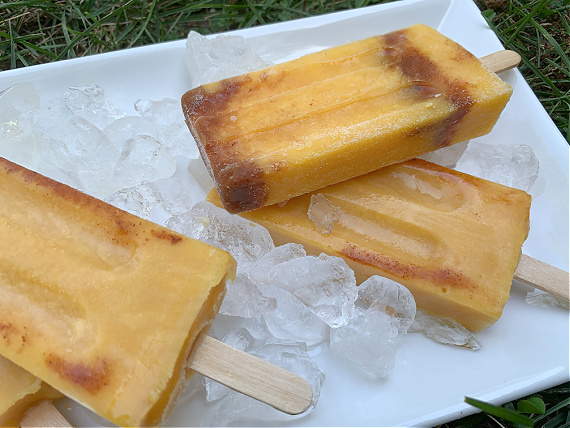
ice pops mango chamoy

My first taste of a paleta was a mango one.  I chose the mango because it was a fruit-based rather than a milk-based pop and because I love mangos!  When I tasted it, I was pleasantly surprised by a spicy flavor undertone that I could not identify.  Turns out the flavor was something called ’chamoy.’  The sweet, spicy flavor combined with the mango was really fantastic!

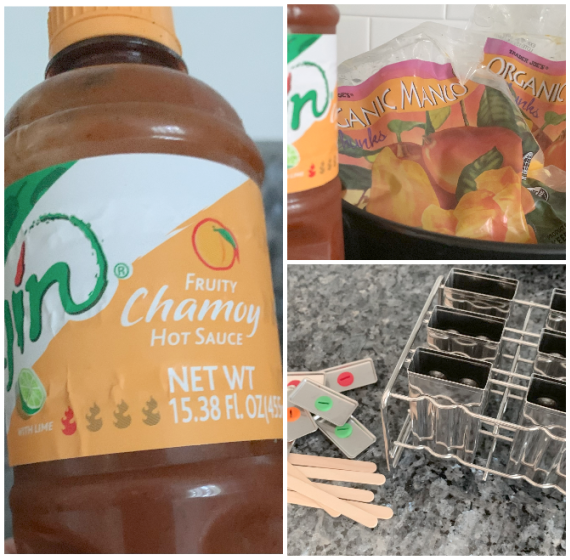
I had heard of the chili/lime spice called tajin (often seeing it rimming the glass of a cocktail), but I was unfamiliar with chamoy.  After some research, I figured out chamoy is a variety of savory sauces and condiments in Mexican cuisine made from pickled fruit.  It can range from a liquid to a paste consistency, and typically its flavor is salty, sweet, sour, and spiced with chilis.

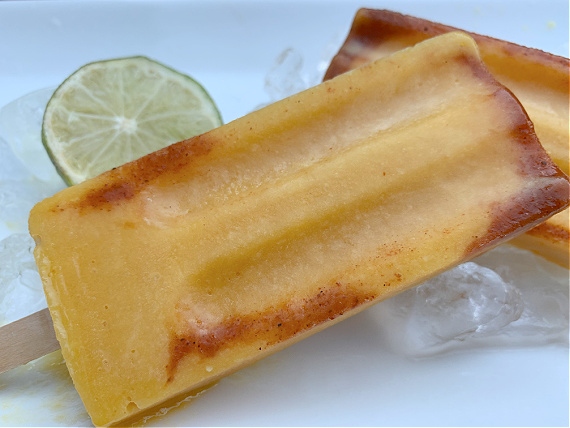
chamoy mango ice popsI decided to try making my own mango paletas with this fabulous taste combination of mango and chamoy.  On my next trip to Trader Joes, I picked up some organic frozen mangos and looked for chamoy in the spice section.  No go!  I ended up sourcing the chamoy through Amazon.

I discovered two important lessons during the process of creating these ice pops:  1.  I am a wimp about spice, and, 2. Chamoy is stronger than you might think!

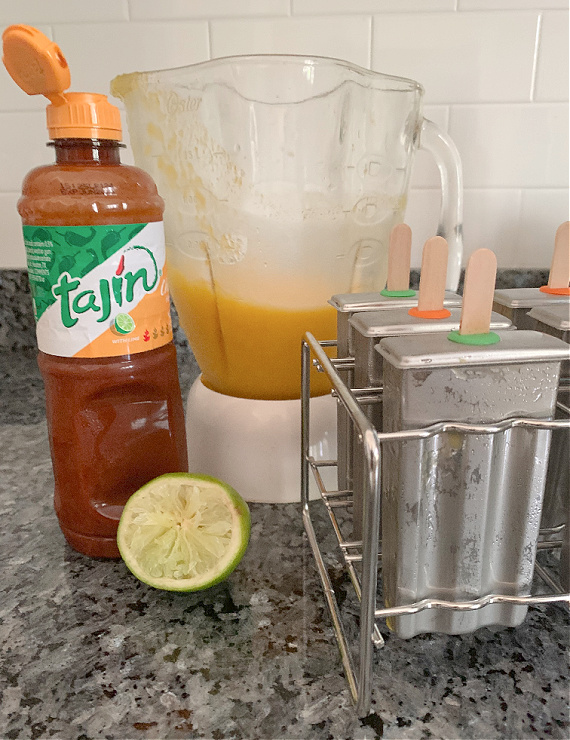
ingredients mango ice pops

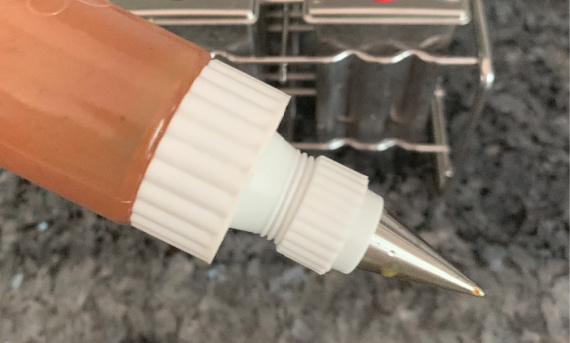
My first batch of pops used about a teaspoon and a half of chamoy in each pop – that was way too much for my taste!  For my second batch, I used a squirt bottle I use to decorate sugar cookies and squirted a much smaller amount into each mold before I added the mango mixture.  You will need to decide how much heat you can take!

squirt bottle

To make 6 paletas, I combined these 4 ingredients in a blender and blended until smooth:

  • 1, 1lb. bag of organic frozen mango chunks, defrosted
  • 1/8 cup of honey (alter to sweeten to your individual taste)
  • 1/8 cup water
  • Squeeze of fresh lime juice

I prepared the ice pop molds by drizzling chamoy into each one – letting the chamoy drip down the sides.  I filled each mold half way with the mango mixture.  Then, I added more chamoy into each mold (I eliminated this step in my second batch of pops – wimp!).  After that, I filled each mold to the top with the mango mixture, put on the tops and sticks, and popped them into the freezer.

mango chamoy palenta

I recently switched from plastic ice pop molds to stainless ones and I adore them!  I have replaced all the plastic utensils in my kitchen over time and the ice pop molds were the last to be converted.  Not only are the stainless ones simple to use, but they are easier to wash than plastic and are much easier to unmold as well!  I highly recommend them – I found them on Amazon.

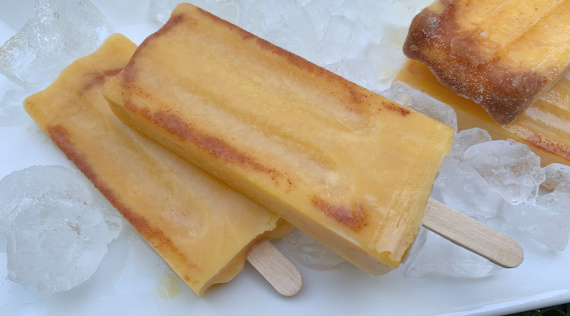
mango chamoy palentas

That, my friends, is how I recreated a mango chamoy paleta!  I am sure I will be trying to create some additional flavors before summer slips away…I hope I have inspired you to try making them as well!  If you prefer a creamy pop, just add some nonfat yogurt!

Thanks for stopping by!

Have a fabulous weekend and remember to take pleasure in simple things, Jackie
no comments

easy diy glazed donut nails

August 5, 2022

easy glazed donut nails

I’ve never had gel or acrylic nails.  Heck, I barely ever polish my nails these days.  With all the gardening and painting/crafting, my nails are barely ever all the same length.  And, if my nails aren’t all the same length, I don’t draw attention to them with polish!

But recently, by some strange miracle, my nails haven’t been breaking and they are, in fact, all the same length!

I don’t go for all the crazy nail trends since I prefer a natural, subtle looking fingernail.  I prefer an understated polish – like Essie’s ballet slippers, for example.

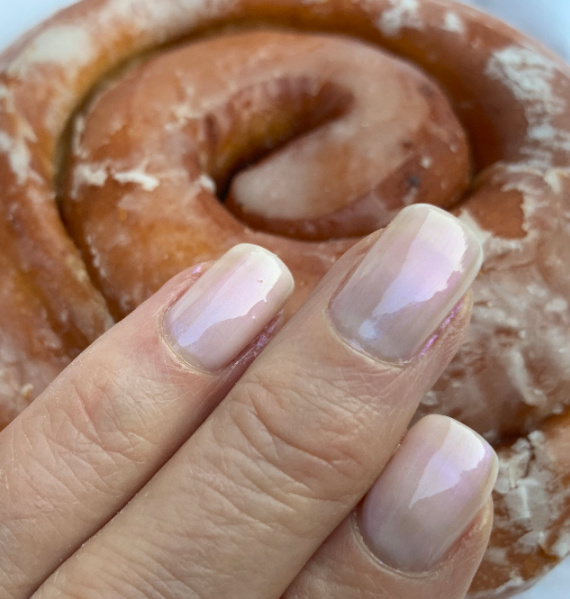
But I have to admit, the ‘glazed donut’ trend is one that I actually like.  It is shiny and subtle and looks oh so much like summer!

I’ve heard that Hailey Bieber was the cause of this trend and that she used a chrome powder to get the look.  Though I was interested in getting the look, I was not interested in getting a salon manicure or buying a bunch of products to get it!

glazed donut nail polish

I ended up getting something that looks pretty darn close and all I did was buy one bottle of Essie nail product to get it!

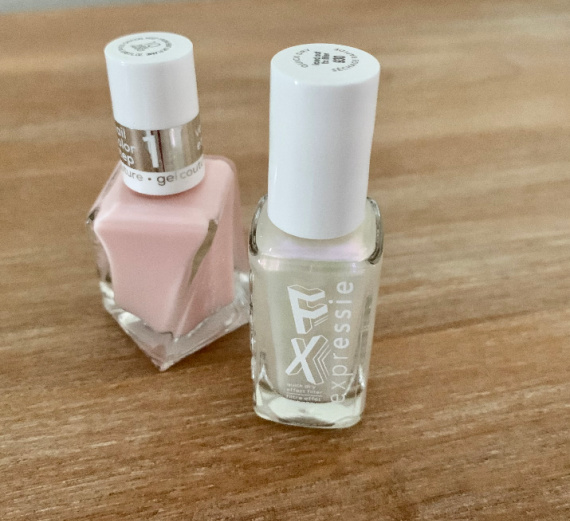
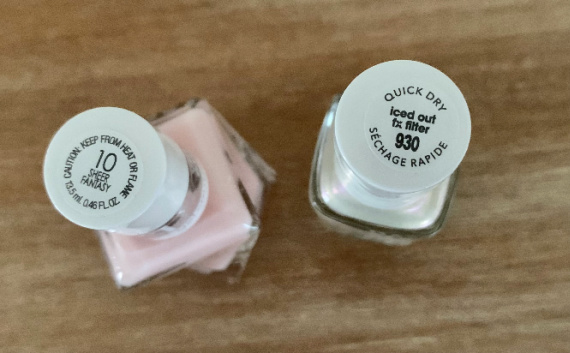
Essie is my ‘go to’ nail brand and I already had some polish in a shade called sheer fantasy that I had picked up as a substitute for ballet slippers when my local Target was out of it.  I purchased Essie FX Expressie from my local CVS in iced out to add more of a luminous look.

products for glazed donut nails

To achieve the trendy glazed look, this is what I did.  I already had a clear top coat and a coat of Essie’s sheer fantasy on my nails.  I added a coat of the Essie FX Expressie in iced out on top of that.  I ended up adding another coat of sheer fantasy to make it a little more subtle – less purple.  I liked the way it looked, so I added a clear top coat and that’s that!  Easy peasy!  An inexpensive version of the glazed donut nail look!

glazed donut nails

I hope you are inspired to try a new nail color of your own this summer!  (Click here to see my dream nail polish collection!)

Thanks for stopping by!

Remember to take pleasure in simple things, Jackie
1 comment

the summer blues…and purples

July 16, 2022

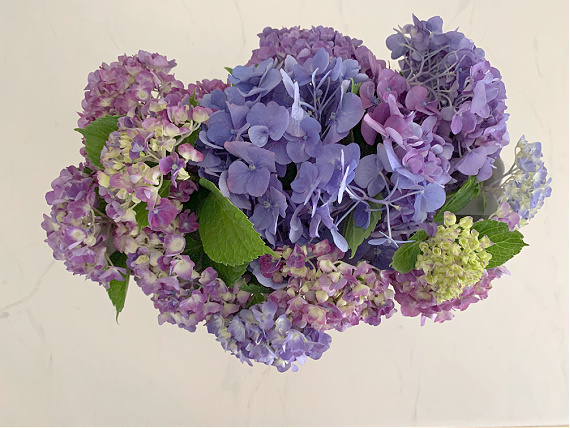
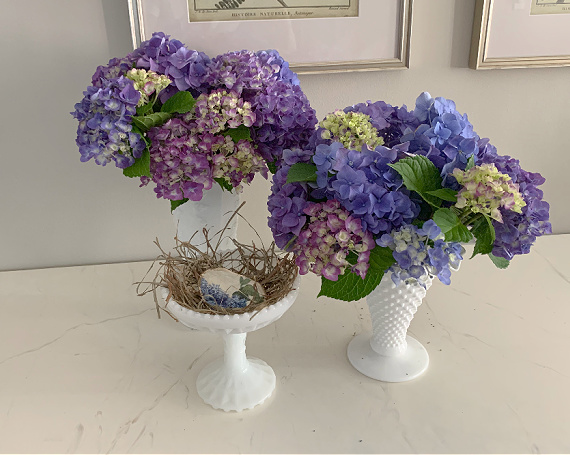
hydrangea overview

Yes, white flowers are my favorite flowers.  Sometimes an exception happens.  When I planned and planted the garden at my current home, I kept a very healthy, well-established hydrangea planted by the previous owner.

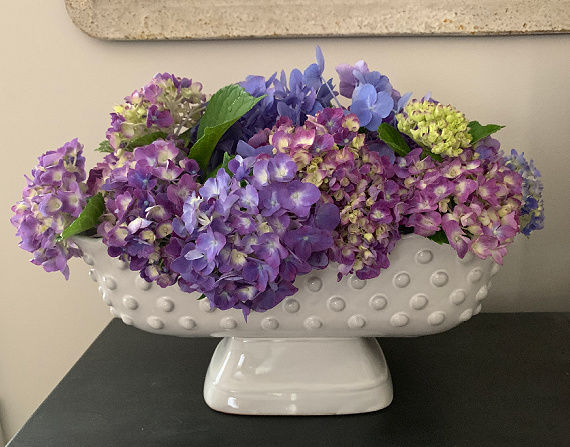
hydrangeas in bowl

If I had planted one myself, of course, I would have chosen one with a white bloom. The one in my yard is not white.  So, during the summer, there are a burst of blue and purple from this lone, non-white blooming shrub in the garden!

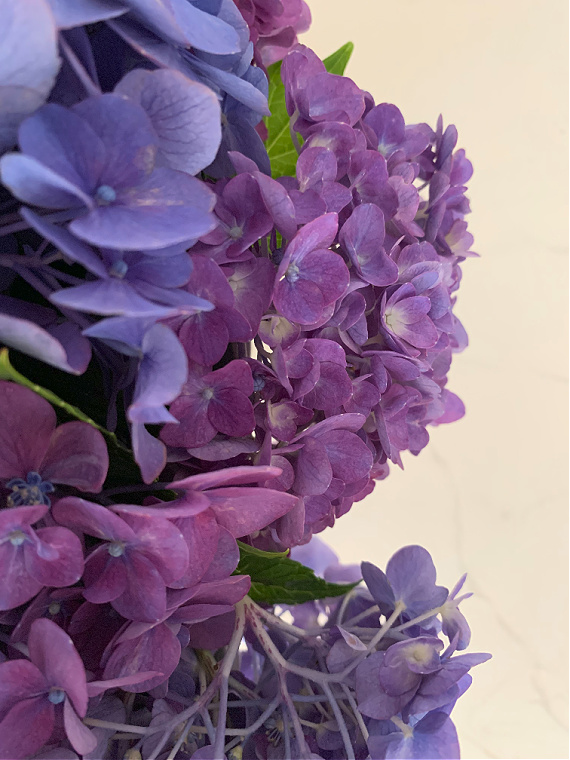
hydrangea petals

There are so many blooms, that no matter how many I cut to display inside or to give away, there still remains a big pop of color in the garden!

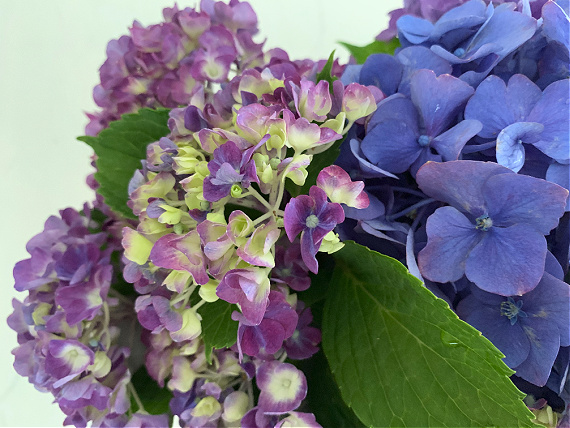
purple hydrangea

The photos I am sharing here are the current arrangements in my house – all from the same single hydrangea in my yard.

close up hydrangea

I didn’t have a flower frog large enough for the pretty low container I used (purchased last year at Target) so I improvised with some scotch tape to help keep the blooms in place.   The tall vases I used are vintage.

vases of hydrangeas

My tips for long-lasting indoor hydrangea blooms:

Cut the blooms in the early morning.  Remove as many leaves as possible.  I like to keep a couple leaves just because I like the way they look in an arrangement.  But, because the leaves use water as well as the flowers – the less, the better.  Using scissors or a knife, make one or two vertical cuts in the stem.  Then, use something heavy to smash the bottom of the stem.  Immediately run the stem under hot water.  These steps stop goop on the inside of the stem from clogging in the bottom of the stem which prevents it from absorbing water.  Immediately put the stem into its container of water.  Follow the same process for each stem.

preparing hydrangea

I hope I have inspired you to bring some outdoor blooms inside!  If you don’t have any flowers in your yard, Trader Joes has very affordable prices for cut flowers!

Thanks for stopping by!

Have a great weekend!  Remember to take pleasure in simple things, Jackie
no comments

no-bake healthful peanut butter cup

May 20, 2022

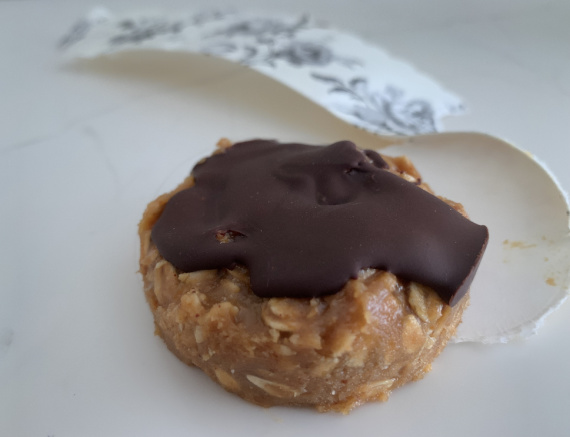
healthful pb cup

These refrigerator peanut butter cups are a great, clean replacement for the candy ones.  I make up a batch to keep in the fridge for emergency cravings!

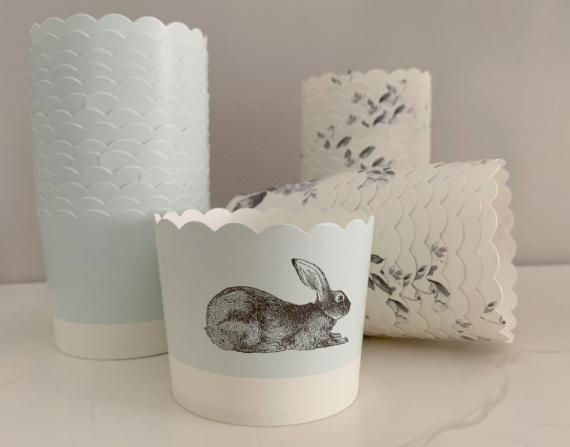
A mini muffin tin can be used to make these, but I prefer the paper baking cups I find in Home Goods for a couple dollars a package.  I make sure the label says they are food and freezer safe.

baking cups

I make 12 per batch (242 calories each), but they can be made a little larger (10 per batch) if you prefer them bigger.  I use all organic ingredients from Trader Joe’s.

Mix together:

  • 1 cup rolled oats
  • ¼ cup almond flour
  • 1 cup peanut butter (peanuts as only ingredient)
  • ½ cup maple syrup
  • 1 tsp vanilla
  • Dash of sea salt

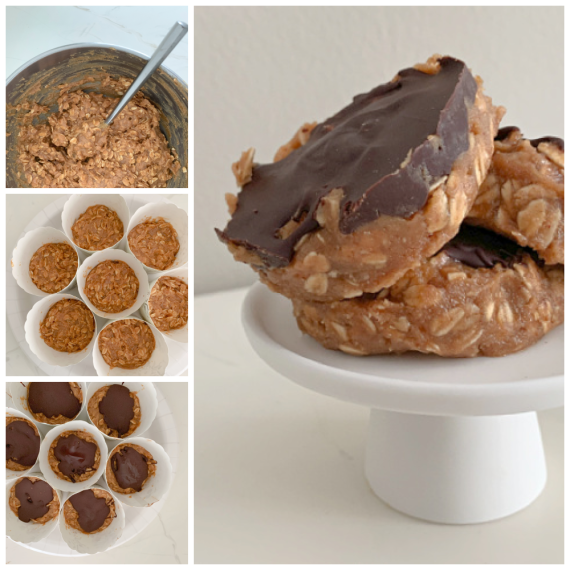
Dividing the mixture evenly among the cups, press into 10 baking cups.  Put the cups into the freezer for an hour to set.

Melt ½ cup unsweetened completely cacao chips and 2 Tbsp almond (or peanut) butter just until smooth.  Spoon the mixture evenly over the 12 cups.  Pop back into the freezer until set.  Store in the fridge or freezer.

healthful bp cup recipe

Tear off the paper cup to eat.  Enjoy!

Thanks for stopping by!  Have a fabulous weekend!

Remember to take pleasure in simple things, Jackie

no comments

early gardening

May 13, 2022

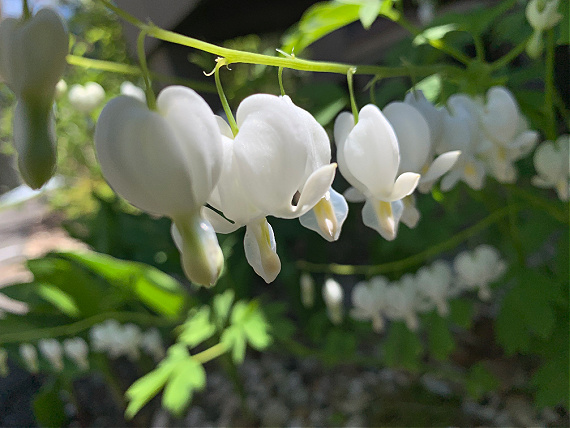
white bleeding heart

May is the time for gardening…and, it is the time when my creative spirit moves from the indoors to the outdoors.  Typically, in this part of Connecticut, Mother’s Day is the ‘all clear’ for frost scares and it is on for planting annuals!

This time of year is so fun – using free time to visit nurseries to hunt for the perfect garden additions, adding plants to the garden, and planting annuals in containers.  For me, this includes searching for the new and unusual in white plants/flowers.  (If you follow this blog, you know I have what I call a ‘virgin’ garden – all the flowers bloom in whites!)

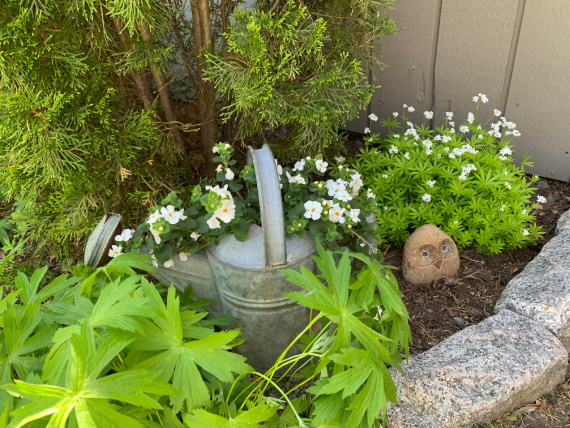
planted watering can

My garden is off to a great start!  It looks as though all my plants are doing well – the established and the new!

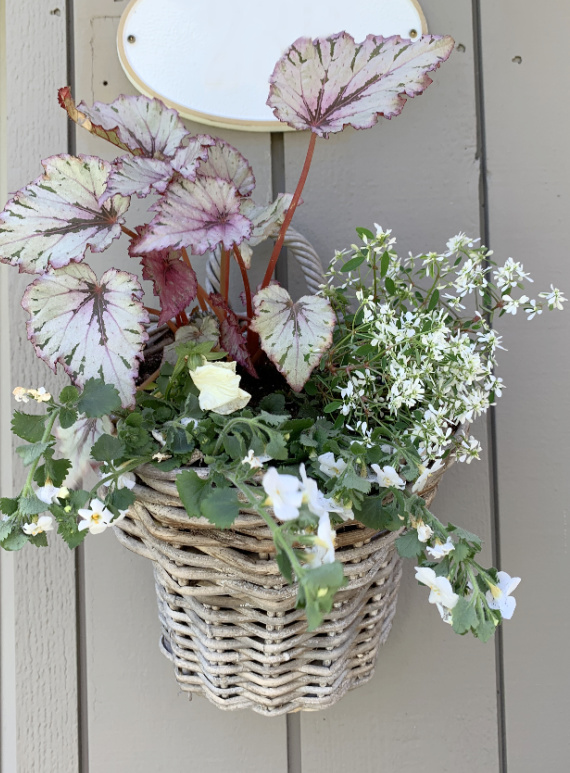
I am starting off the season with just a couple of planted containers.  I redesigned the basket by my front door with some spring annuals and planted in my grandma’s watering can.

planted basket

A small start, but one that brings me great joy!

I hope you find happiness in a pretty plant that you walk by each day or a visit to a local garden store!

Thanks for stopping by!

Remember to take pleasure in simple things, Jackie

no comments

‘beeing’ creative with clam shells

April 29, 2022

clam shell bee

I have a love/hate relationship with bees.  I am a gardener, so I love bees from a nature perspective.  And, honey happens to be my sweetener of choice.  But for all the good bees may do, some of them are extremely annoying!  I have a major issue with carpenter bees at my house – they drive me crazy this time of year!  And, a bee almost killed my favorite little puppy when he got stung in the throat by one!  So, there is that!

Putting all the bad feelings aside, I know many people who keep bees and, who doesn’t love a good bee motif?

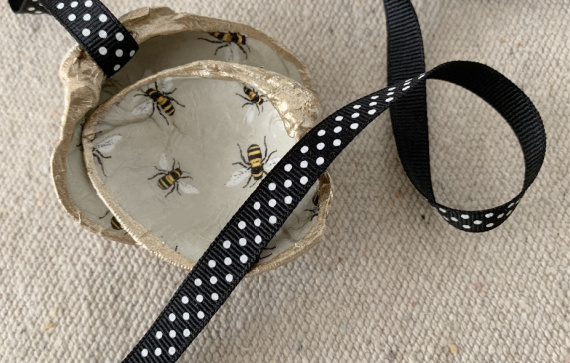
After I created some of the double clam shell decoupaged pieces from the last post, I started playing around with some of the single ones and created a set of shells as a gift for a bee lover.

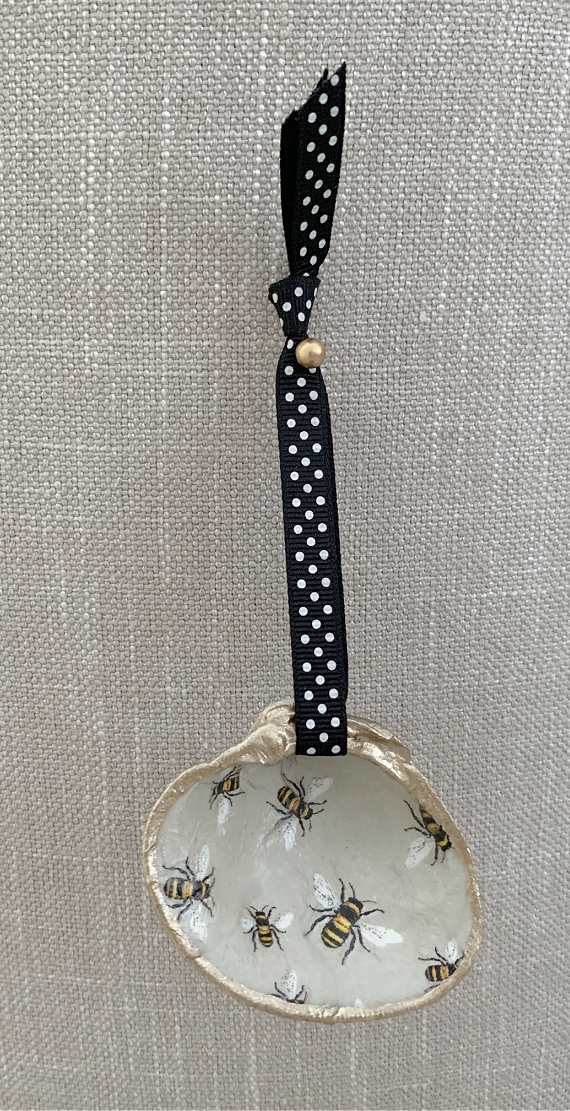
bee clam ornament

I made a couple shells with bee designs and created a hanging shell as well to create a nice trio of ‘bee’ shells!  (FYI:  clam shells are much tougher to drill through than oyster shells!  I forgot just how tough!)

I am happy with how these clam shells turned out and I am looking forward to creating some cute packaging for the set!

bee clam shells

I think I may continue with my shell creations for a time – especially now that beach walks are more frequent with the milder weather!

Thanks for stopping by!

Remember to take pleasure in simple things, Jackie

no comments

decoupaged double clam shells

April 15, 2022

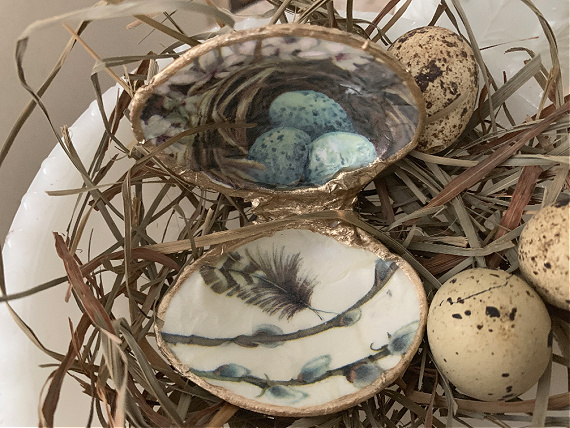
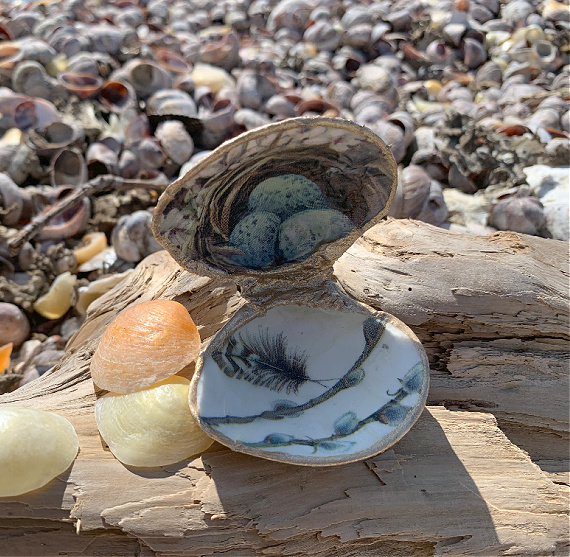
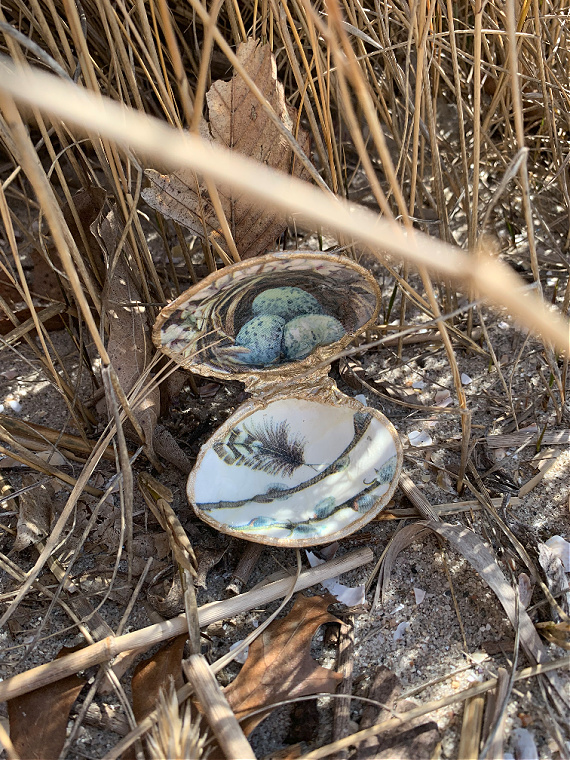
nest double clam shell

You’ve seen me decoupage many a shell!  Oyster shells are definitely my favorite to make, but scallop and clam are fun to do as well!  And, since it is Easter week, I do have a bunny in the mix!

bunny double shell

The procedure is the same as the one I gave you for the oyster shells.  (Click here if you need the instructions.)

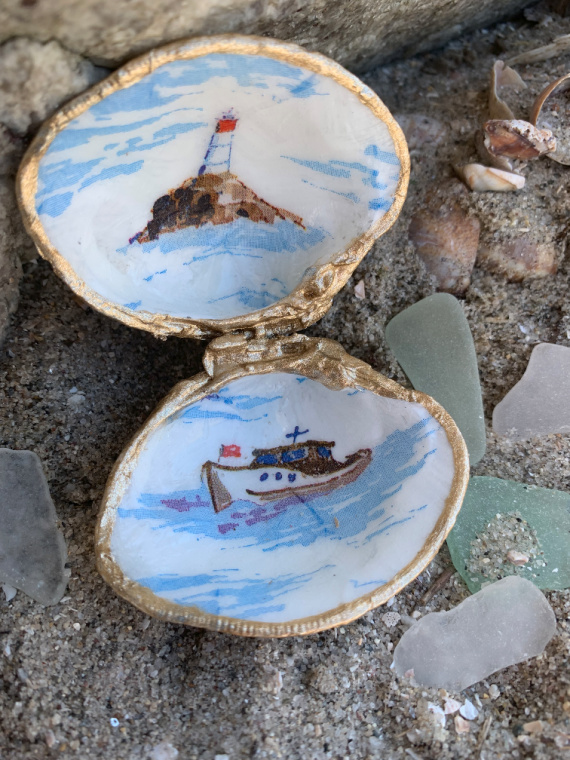
boat double clam

The only difference here is that I used clam shells and I used those that still had the two sides attached.   I decoupaged both sides, being extra careful so as not to break them apart.

nests and eggs double clam

If you haven’t yet tried to decoupage a shell, I hope I have inspired you to try!

holding open clam shell

Thanks for stopping by!

nest shell double

Have a fabulous Easter weekend!

Remember to take pleasure in simple things, Jackie
no comments

diy aussiedoodle canvas bag

March 11, 2022

aussiedoodle bag

I recently spied a canvas bag with a puppy pattern on a holiday clearance table in a gift shop.  I thought it was adorable and wished it was an Aussiedoodle instead of the breed pictured on the canvas since my fave puppy in life happens to be an Aussiedoodle!

Then I started thinking – even if I found a bag with an Aussiedoodle pictured, it probably wouldn’t be a blue merle (his coloring) with one blue eye like my buddy Goose!

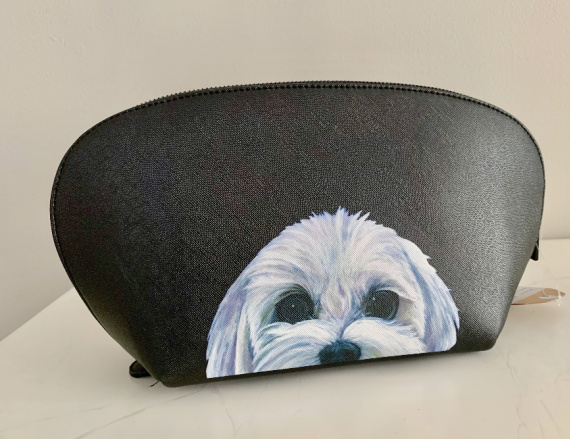
dog pouch

So, I decided to buy the bag I saw on sale and modify it to resemble my friend Goose!

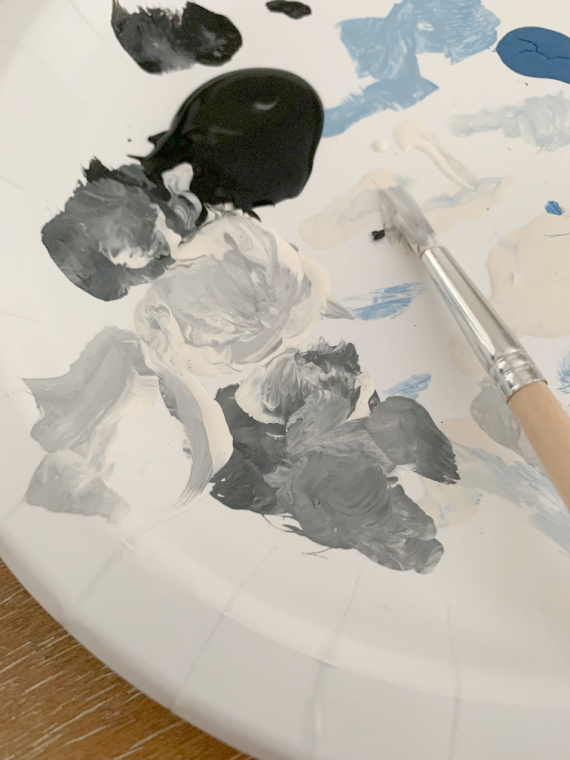
acrylic paints

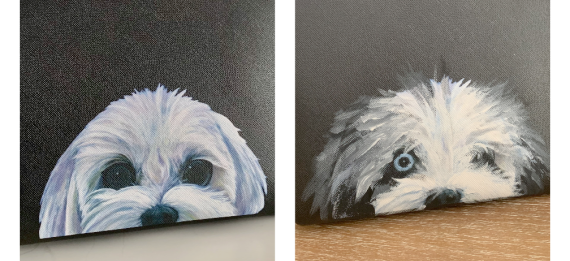
I just used some acrylic paint and revised the image on the canvas.  Now the bag reminds me of my buddy!

before and after puppy bag

Just goes to show that inspiration is everywhere!

goose on the couch


Thanks for stopping by!  Have a great weekend!

Remember to take pleasure in simple things, Jackie
 

1 comment

diy bunny topped jars

March 4, 2022

diy ceramic bunny jars

Today I have another easy DIY Target bargain bin Easter project!

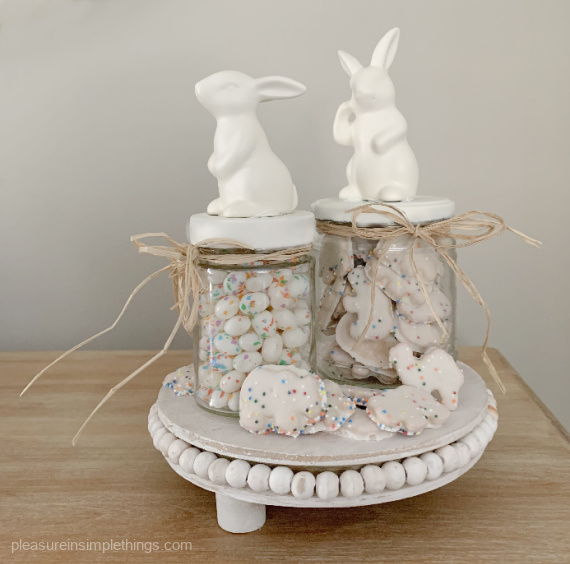
You may remember this squirrel topped jar project (click here).  Well, today I have an Easter version using bunnies!  The bunnies are ceramic and I found them in the Target bargain bin.  When I saw them, I knew instantly I wanted to use them on jar tops so I went straight to the Easter candy section to decide what I would use to fill the jars.

Inspired by walking through all the seasonal aisles, I thought a ‘funfetti’ theme would be cool!  Target had some ‘funfetti’ jellybeans.  I picked those up and then I went over to the cookie aisle and found some iced circus cookies that would also be great with my theme!

I would get the jars I needed for my project from my recycling bin.

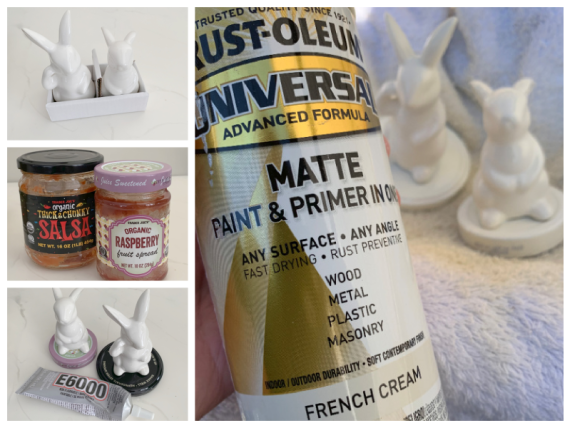
collage of DIY

The first step of the project is to prepare the jars.  Usually, labels come off easily after being soaked in hot water.  Any stubborn adhesive usually comes off with acetone (or nail polish remover).  After the jars are delabeled and washed, I prepare the bunnies.  This just requires a little sand paper (or emery board) to roughen up the bottom surface of each bunny.  This makes for a better adhesion to the jar tops.

diy bunny jars

I use a really strong adhesive called E6000 because I happen to have it on hand, but I am sure a glue gun would work as well.  I am very careful to follow the directions on the E6000 label because there are a lot of warnings associated with this product!

After the adhesive is totally dry, the bunny-clad jar tops can be spray painted the color of choice.  I chose my favorite off-white color since I think it goes best with the theme I chose.  And, even though the original bunnies have a shiny surface, I prefer a matte finish.

diy bunny jar

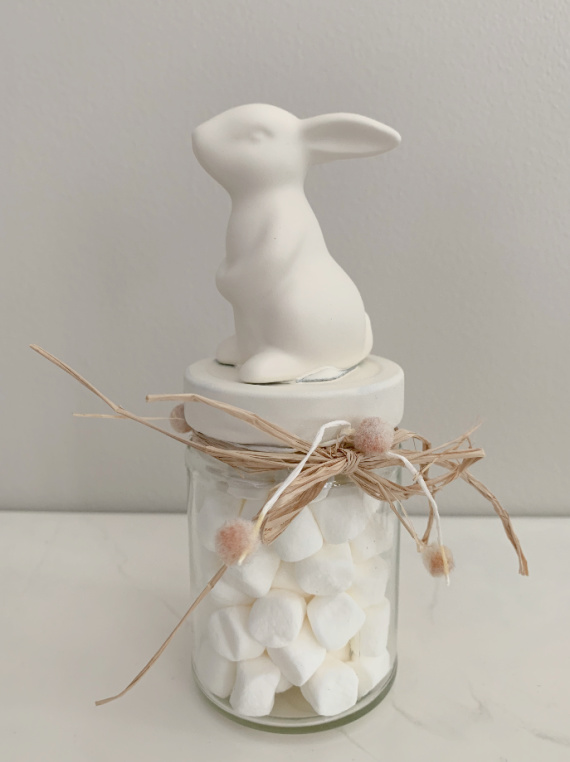
An easy project, right?  And there are so many variations possible based on favorite candy, color, theme, etc.!  I made a couple variations to show you some possibilities – but, they really are endless!

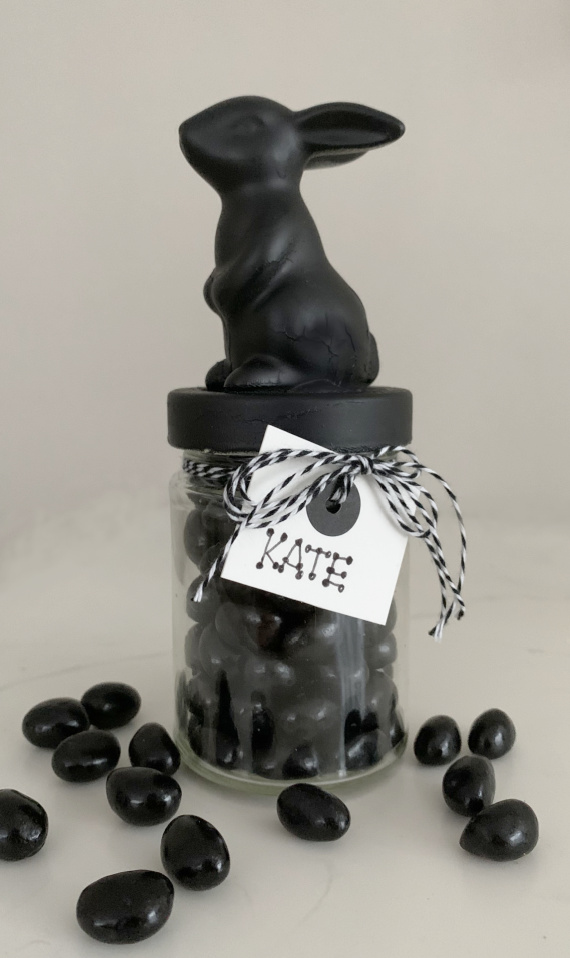
black jelly bean lover

Isn’t there always one that loves black jelly beans? I used leftover chalkboard paint for this one.

Use spray paint left from other projects like I did or purchase some from a building supply or craft store.

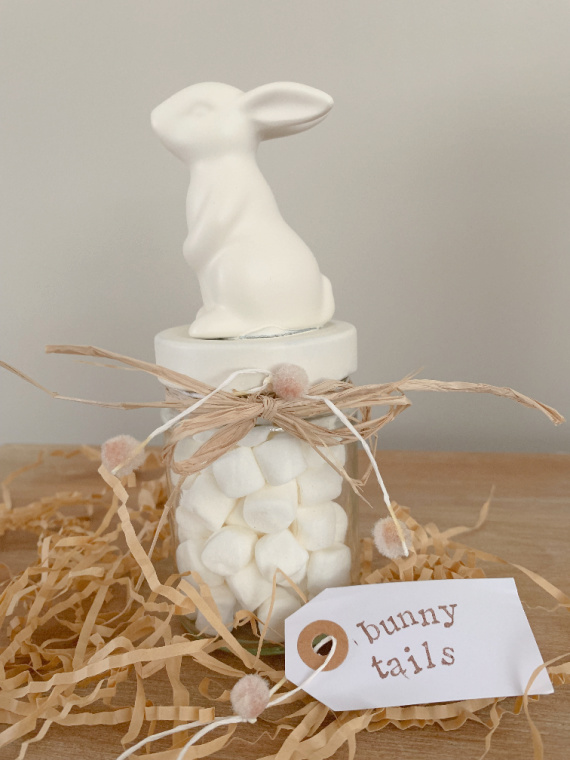
bunny tail jar

Certainly, the jars don’t need to be filled with sugary snacks – these contain carrot and celery sticks!  (These bunnies are painted in a glossy finish.) Or, how about using raisins as ‘bunny poop’?

healthful bunny jars

In my family on Easter, we always have a guess at how many candies are in a candy-filled jar and the winner gets the jar of candy!  You may want to incorporate the same idea into your holiday traditions and make a cute jar to go with it!

jar of bunny tails

I hope you are inspired to create your own bunny jars!

Thanks for stopping by!

Remember to take pleasure in simple things, Jackie

1 comment

« Previous Entries     Next Entries »