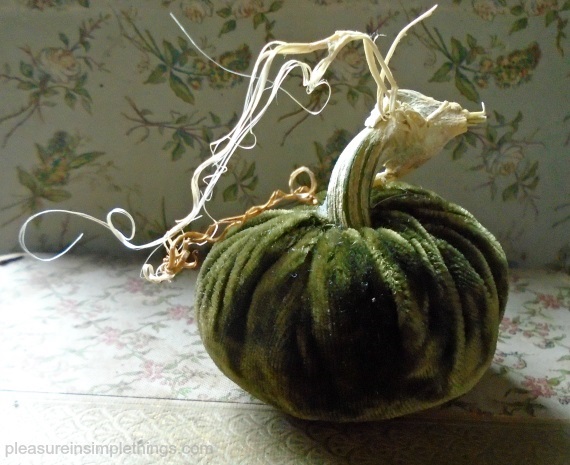
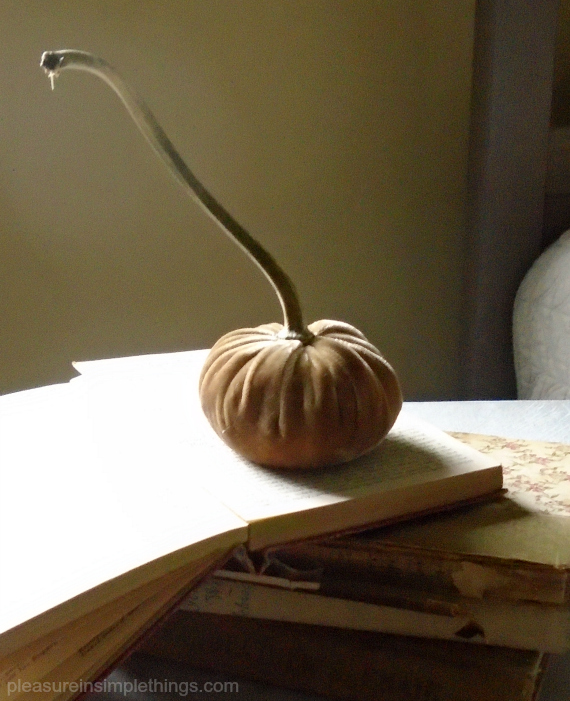
This is one of those months when the book giveaway is not a book! For October, the giveaway is handmade pink velvet pumpkins. Pumpkins; because it is October and pink; because October is breast cancer awareness month.
I encourage everyone to display at least one pink pumpkin during the month, preferably in a really visible location – like a front porch. A great way to show support for breast cancer awareness month!
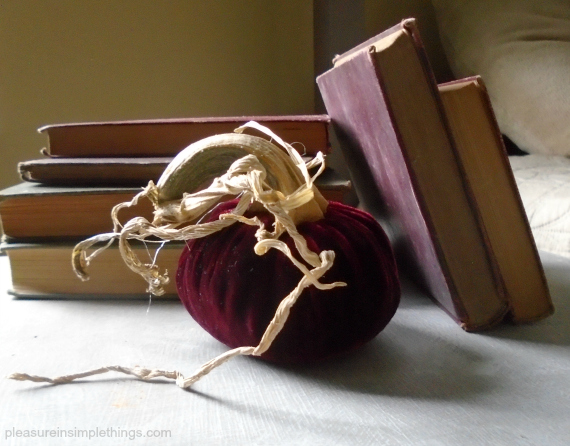
Inside the home, a clear container, a terrarium, or a cloche is great for pink pumpkin display! The container I used here is from Terrain and I am constantly changing up its contents to suit the season!
To win your very own velvet pink pumpkins, made by me, just leave me a comment saying you’d like to win! The winner will be chosen at random at the end of October from the comments received during the month. Win and you will be able to display some pink velvet pumpkins each October!
Congrats to Mary Beth (a self-proclaimed pencil geek) , the winner of the September giveaway of the journal and the set of pencils with my custom imprints. Click here to see more on the giveaway.

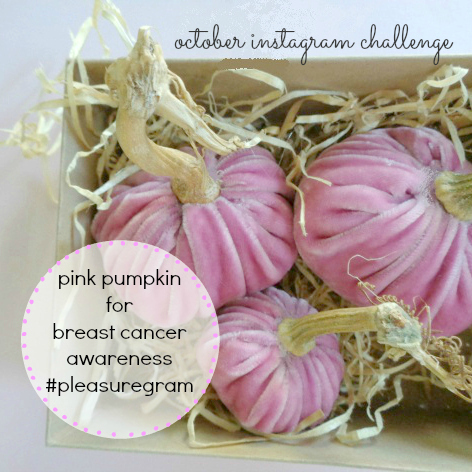
Instagram users, please read on. For the month of October, let’s share our pink pumpkins! Use hashtag #pleasuregram to share any photos of pink pumpkins on display – by you or by someone else!
Thanks for stopping by! Remember to take pleasure in simple things, Jackie