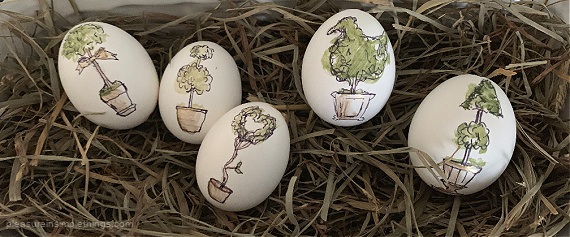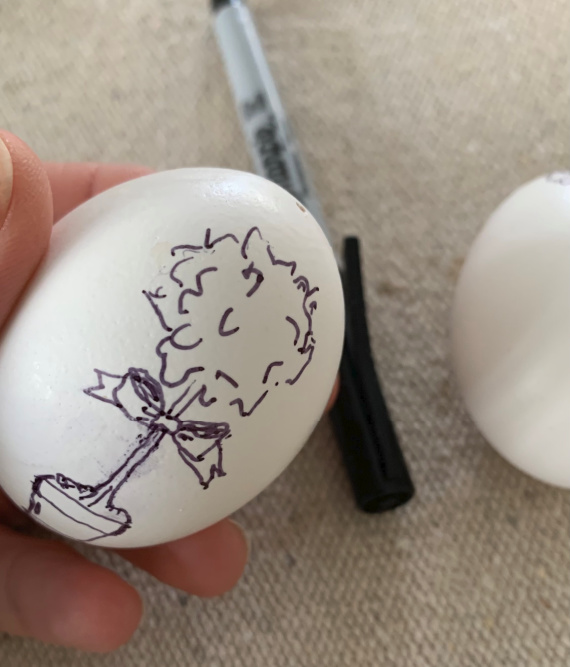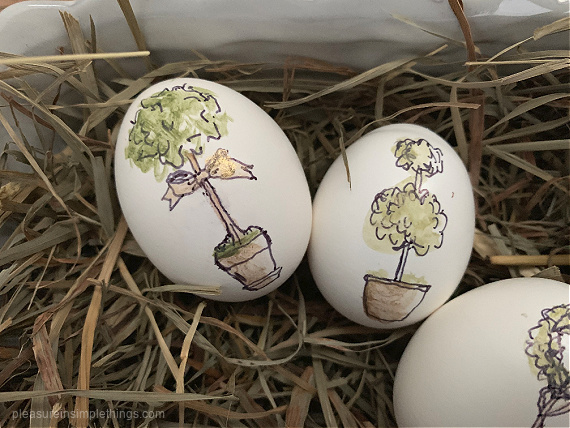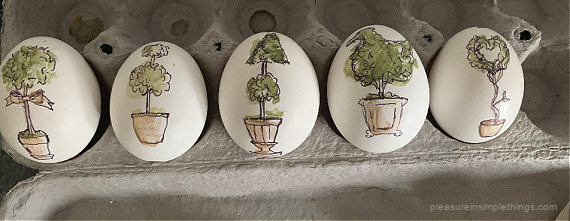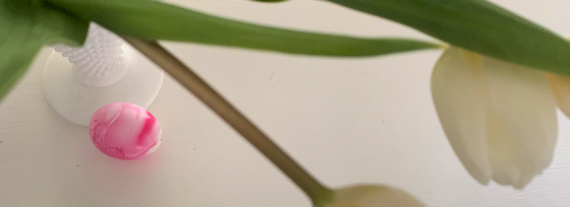
You have seen me marbleize little white baby boo pumpkins. The same technique can be used for marbleizing Easter eggs. It is super simple! All you need is a container of water and some nail polish!
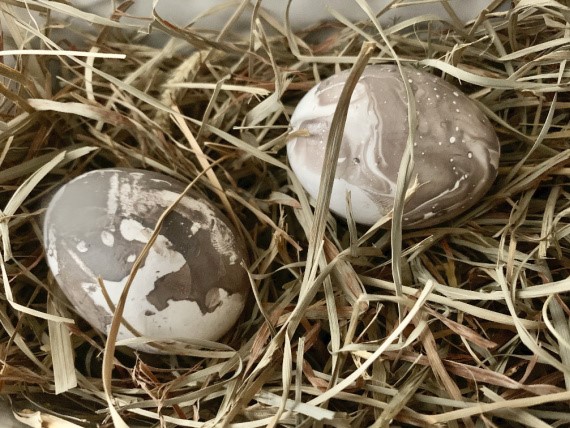
I always blow out my eggs before I decorate them so I can keep the ones I like indefinitely. That is up to you. Either use a hard-boiled egg or a hollowed-out egg for the basis of your creation. You can start with a plain, white egg or with an egg you have previously dyed.
Find a shallow disposable container that will fit an egg. I cut down a plastic container to size so I can just throw it in the trash when I am done.
Choose the nail polish you will use. You won’t need very much. Don’t buy some just for this project unless you get it at a bargain store. Nail polish is expensive! I know Marshalls sells mini bottles in a variety pack for under $5. But, if you can, best to just choose a nail polish you already own.
Add water to your chosen container – enough that you can dunk the egg under the surface. I use my fingers to do the egg dipping since the nail polish comes off easily with nail polish remover, but you can use a traditional metal egg dying tool (or make one from floral wire). I prefer using my fingers so I have total control over the movement of the egg.
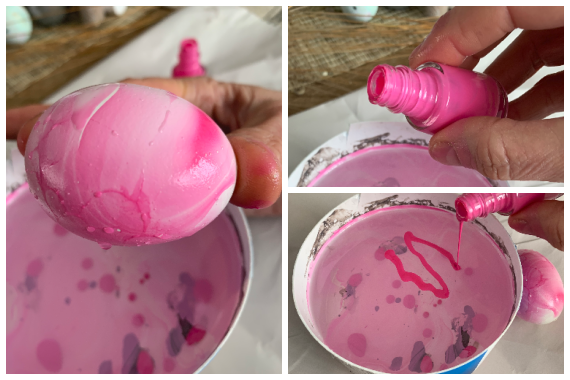
After the water is in the container, you are going to suspend the nail polish onto the surface of the water by gently pouring a thin random stream over the water. Next, you will dip the egg under the surface of the water. This will be fast – you don’t want to leave it for any time period – just pass it through and twist it as you go. You really need to try it once to get the hang of it.
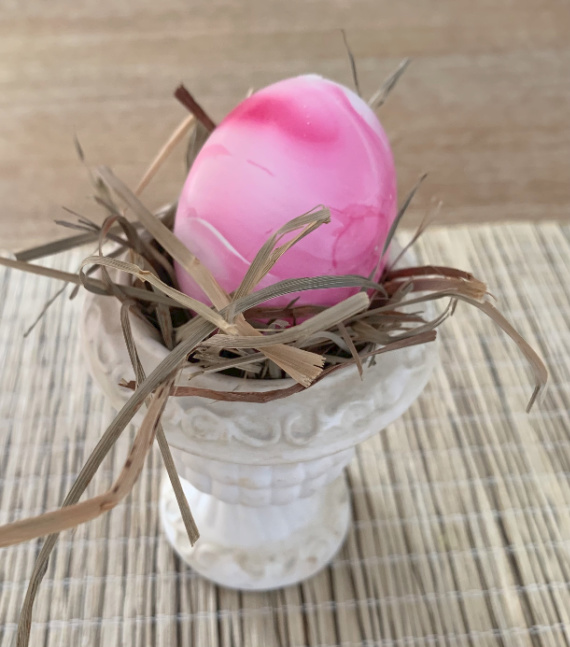
That’s it! So easy! The nail polish will dry hard pretty quickly. For those who asked when I did the nail polish marbleized pumpkin – no, it doesn’t smell! Just like your nails don’t smell when they have dried polish on them! I’ll put some video on my Instagram stories.
After the nail polish is dry, you can repeat the process with a different/2nd color nail polish.
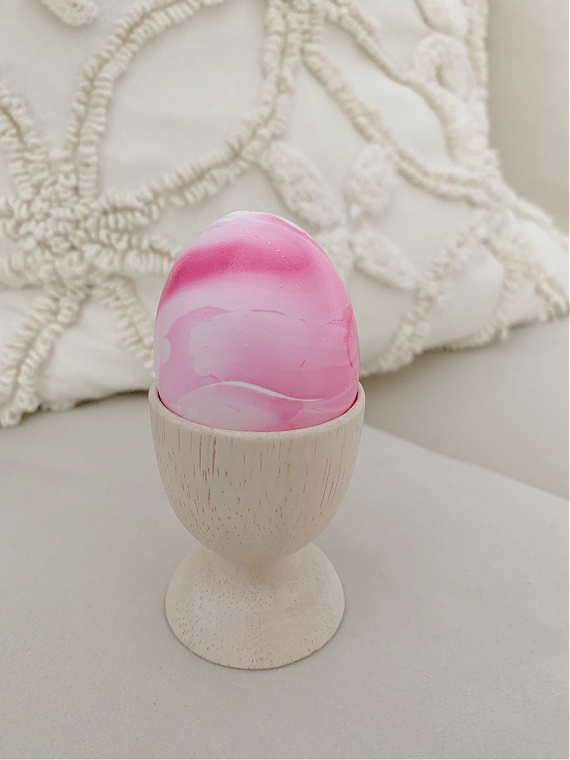
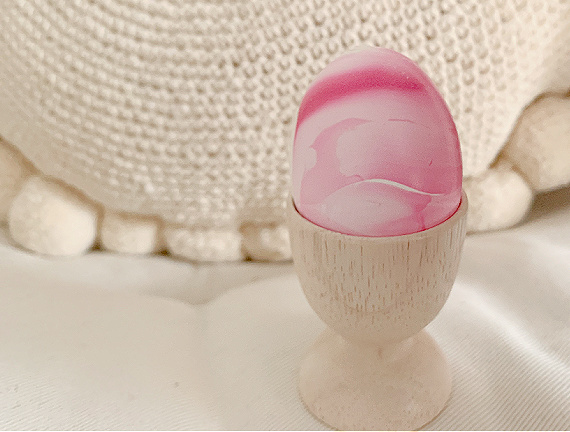
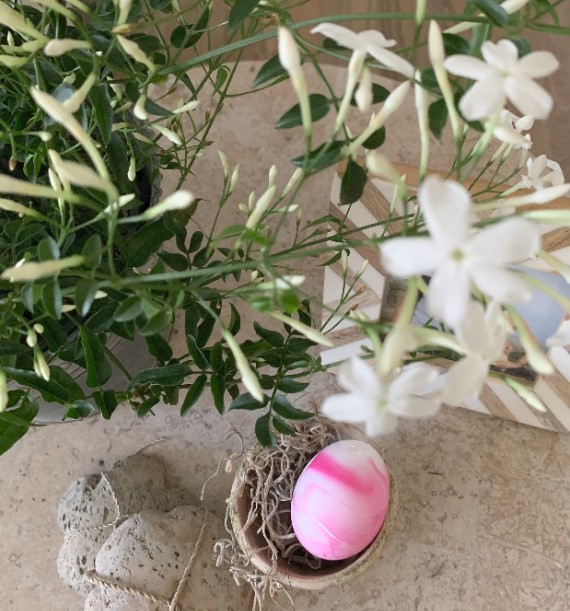
Finished egg displayed in a wooden egg cup purchased at Target.
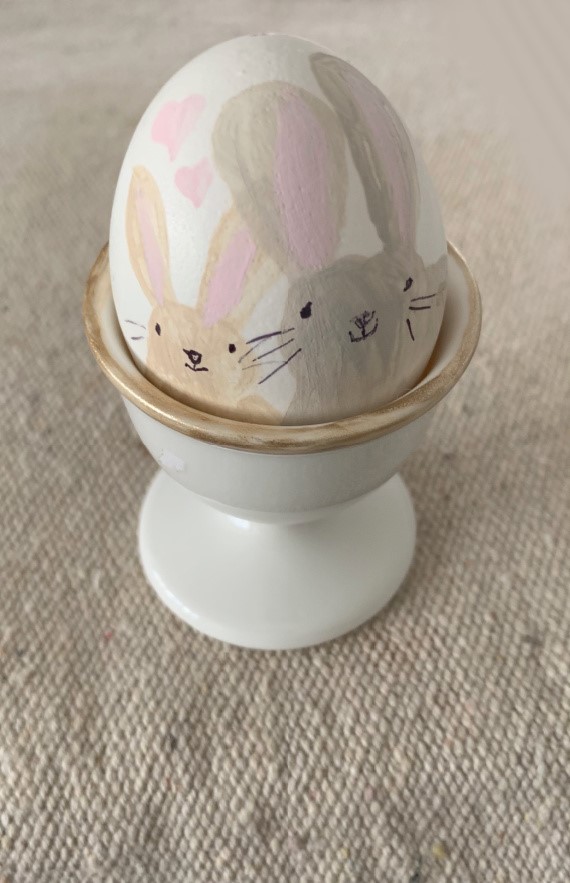
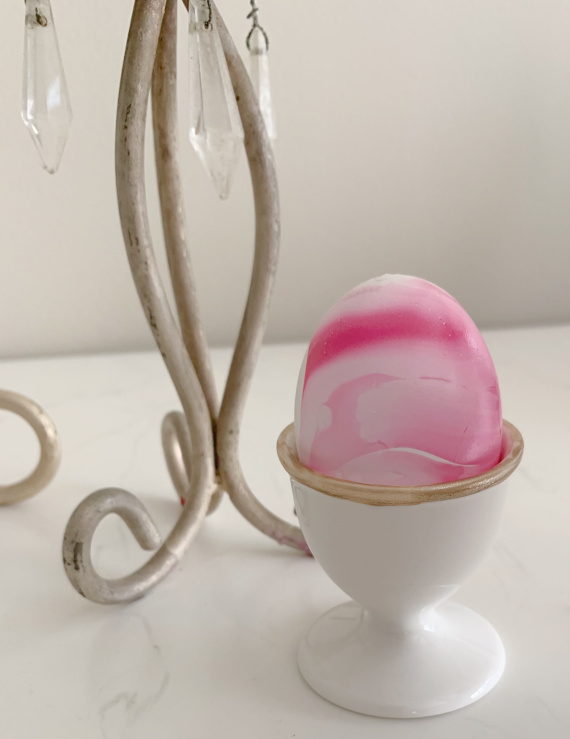
Display your creations any way you’d like. Target has some great inexpensive wooden egg cups. Or, white ones are only 97 cents at Christmas Tree Shops! I bought a few of the white ones and painted them with a gold rim. An easy embellishment!
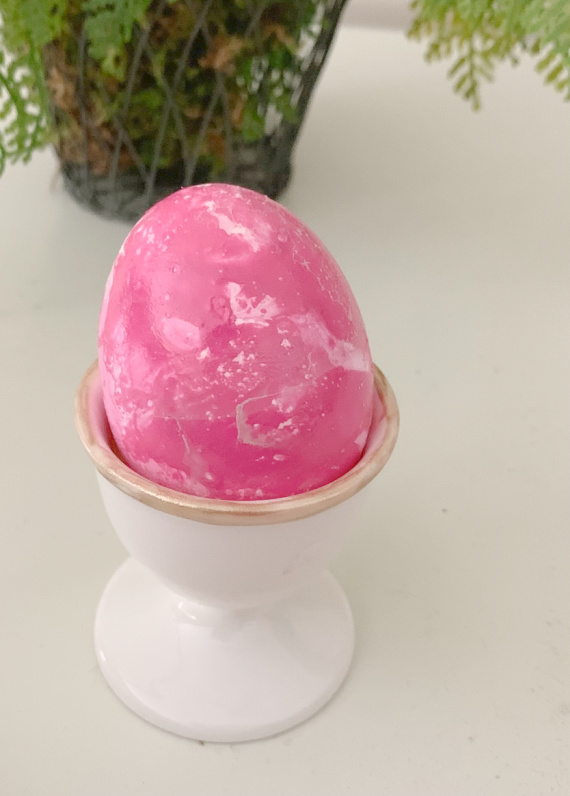
A finished egg displayed in an egg cup purchased at Christmas Tree Shops for 97 cents. I added a hand-painted gold rim.
I hope you will try creating a marbleized Easter egg with nail polish.
I still have some egg decorating ideas to share. (You can also find some good ideas in the archives by using the search bar.)
Thanks so much for stopping by!
Remember to take pleasure in simple things, Jackie

