Subscribe to Pleasure in Simple Things via RSS ReaderFollow Pleasure in Simple Things on InstagramFollow @InSimpleThings on TwitterLike Pleasure In Simple Things on FacebookFollow Pleasure In Simple Things on PinterestEmail Jackie

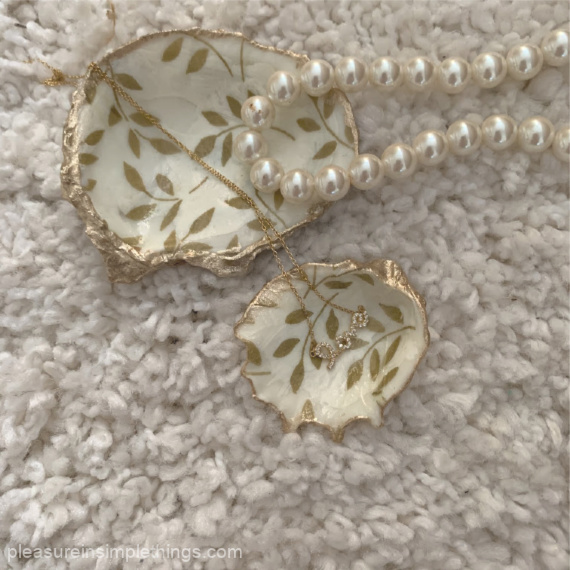
full instructions for decoupaged oyster shell trinket dishes

April 28, 2020

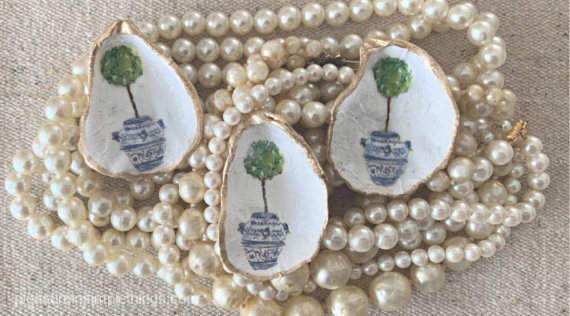
topiaries decoupage oyster shells

I usually don’t have a lot of patience for decoupaging, especially on a small surface like a shell since I could just as easily paint a pattern with a brush!  But, the challenge of finding an interesting pattern/color to use on the shell makes it a fun project for me – similar to picking out yarn combinations for knitted scarves!  Although, the current quarantine situation has strictly limited my choice of materials since I have to make do with what I currently have on hand.

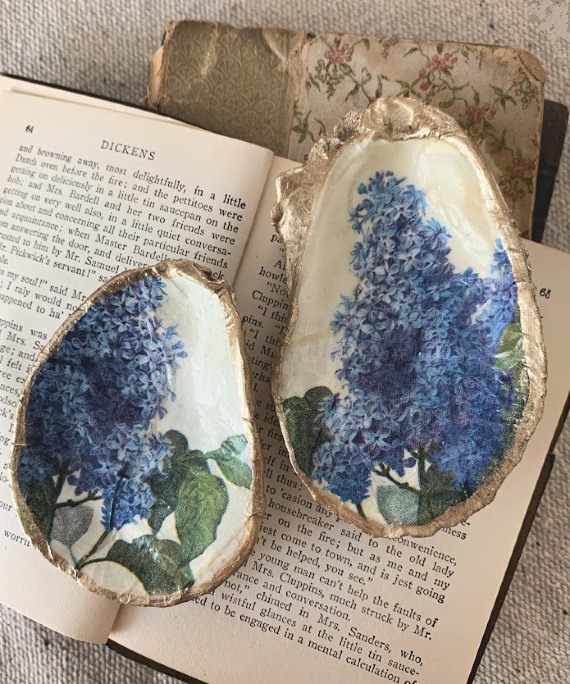
lilac decoupaged oyster shells

Decoupaging is pretty easy.  A decoupage material is used to attach paper to a surface and is brushed on top of the paper as well to provide a protective surface.  Decoupaging shells is a little trickier because the surface you are applying the paper to is irregular.  This is the reason why using tissue paper or a napkin is a much better choice for this application over a heavier paper – it won’t show wrinkles as much when applied.  To get the best possible result when decoupaging a shell, use a paper napkin – removing the back layer and just using the top, thin layer with the imprinted design.

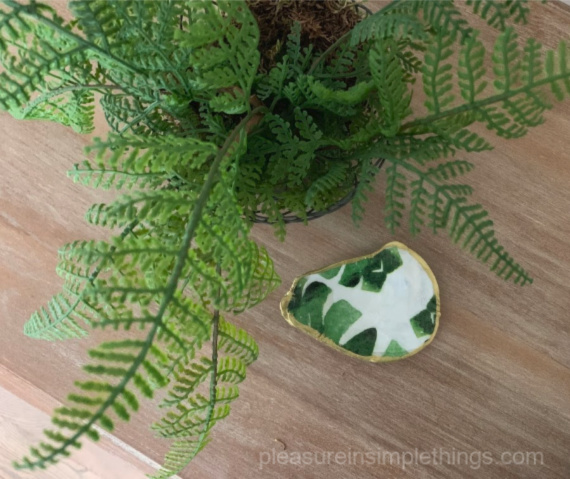
fern dish decoupage shell

Decoupage material is widely available at a craft store or Target – it is basically just a white glue mixed with enough water to make a thick, spreadable consistency.  When I was a kid, I would make it myself using the large container of white glue my dad kept in the garage.

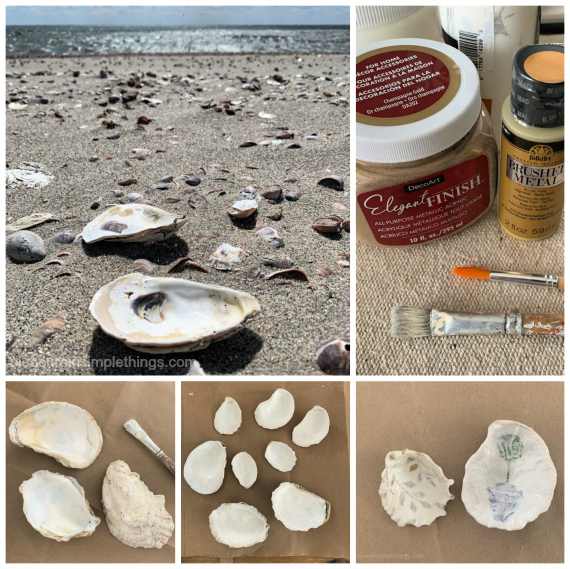
oyster shell decoupage materials

To make decoupaged oyster shell trinket dishes you will need:

  • decoupage material (Mod Podge is a popular one)
  • 2 paint brushes – one with soft bristles (1/2” wide) and a smaller, detail brush
  • paper cocktail napkins in designs of your choice (separating them so you are only using the top layer of designed paper)
  • white acrylic paint
  • gold metallic acrylic paint (or gold leaf – but acrylic paint is less expensive) I prefer a more subtle gold color like antique gold or champagne gold rather than a bright gold.
  • oyster shells (or shells of your choosing) – any size but in general, the larger the pattern on the paper used, the larger the shell

The decoupage process can get a little messy, so be sure to cover your work area.  The shells should be clean.  If you plan on using light colored napkins, be sure to use some white acrylic paint as your first step – to cover the dark spots on the inside of the shells so they will not show through the napkin material after decoupaged.  It is probably easiest just to paint the inside of all the shells white to start with nice, clean canvases.

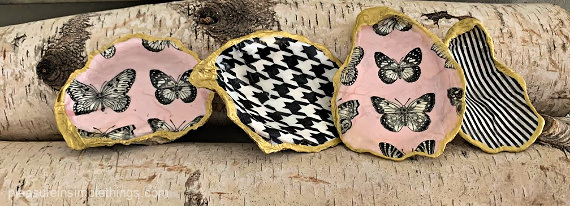
butterfly decoupage oyster shells

After the white paint is dry, use the soft bristled paint brush to cover the entire inside surface of the shell with the decoupage material.  Then, take the desired napkin (top layer only) that has been cut to a manageable size and press it onto the inside of the shell (pattern side up), being careful not to move it (to prevent tearing).  Once it is in place, you can use your finger or the end of the paintbrush to gently push out any obvious wrinkles in the paper.  Next, use the paint brush to very gently brush a thick coat of the decoupage material onto the entire surface of the napkin you have just attached to the inside of the shell.

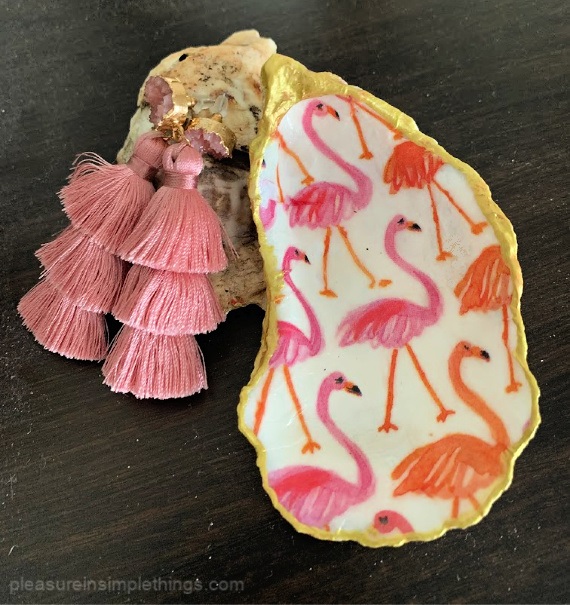
flamingo trinket dish

Once it is completely covered, you are going to carefully tear the excess paper away from the shell.  This is accomplished by gently using a pulling down motion while tearing.  The sharp edge of the shell makes it pretty easy to tear the thin paper.  The surface will look very milky – that is how it should look.  At this point, let your shell(s) sit overnight.  You will be pleasantly surprised to see how great the dry shell looks when you return the next day!

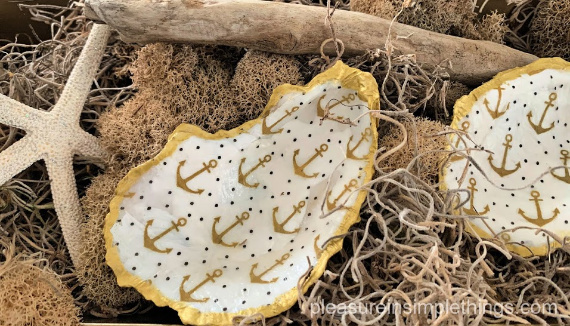
decoupaged shells with anchors

Clean your brush using very hot water – remember the decoupage material is basically glue!  (For the same reason, you may have to put the top of the decoupage material container under hot running water to loosen the glue when you next reopen it.)

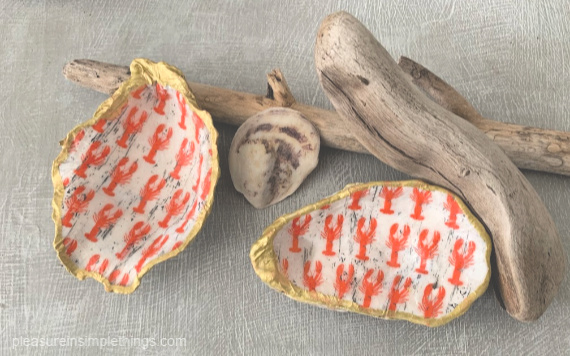
lobster design on oyster shells

For the finishing touch, when your shells are completely dry, you can add a thin gold edge by brushing the gold paint along the edges of the shell with the detail brush.  A thin border of gold accentuates the beautiful organic shape of the shell – each one unique!

And that, my friends, is how to make a decoupaged oyster shell trinket dish!  As you can see, I did my best to explore different colors – using most all the cocktails napkins I happened to have on hand!  (I think most of the napkins I used came from Home Goods or Christmas Tree Shops.  I know the one with the rope motif came from Ikea.)

trinket dish gold and white shell

Thanks for stopping by!  Remember to take pleasure in simple things, Jackie

P.S.  Please note that a Dremel can be used to add holes to the shells if you would rather use them as ornaments and/or hang them.  I plan on using some to make necklaces.  If you are interested in other shell DIYs:  for another oyster shell project, click here.  For shell candles, click here.  For a monogrammed shell tie-on, click here.

1 comment

beach walk

April 24, 2020

clouds at beach

With the virus causing so many places to be shut down here in Fairfield County, I feel lucky that our town beaches have remained open for residents.  A walk on the beach can sure make a bad day seem a whole lot better!

My beach walk today is to do a little scavenging for my next craft project.  Can you guess what it is?

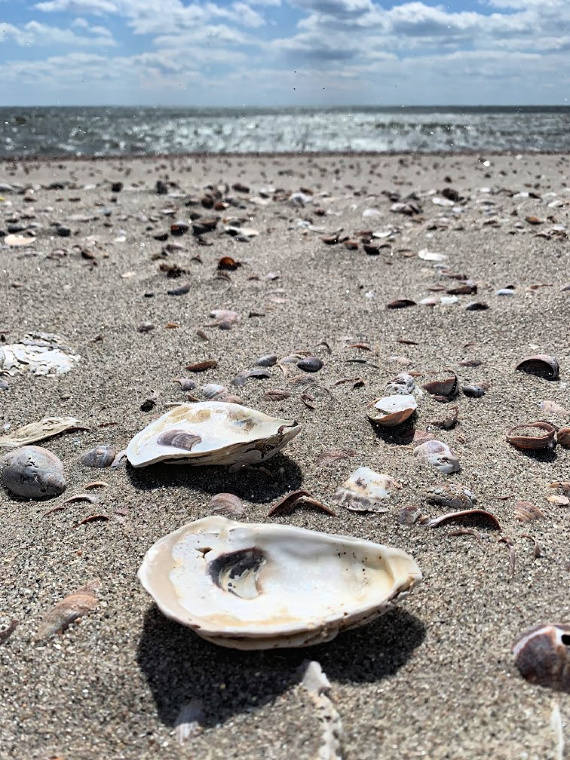
2 shells on beach

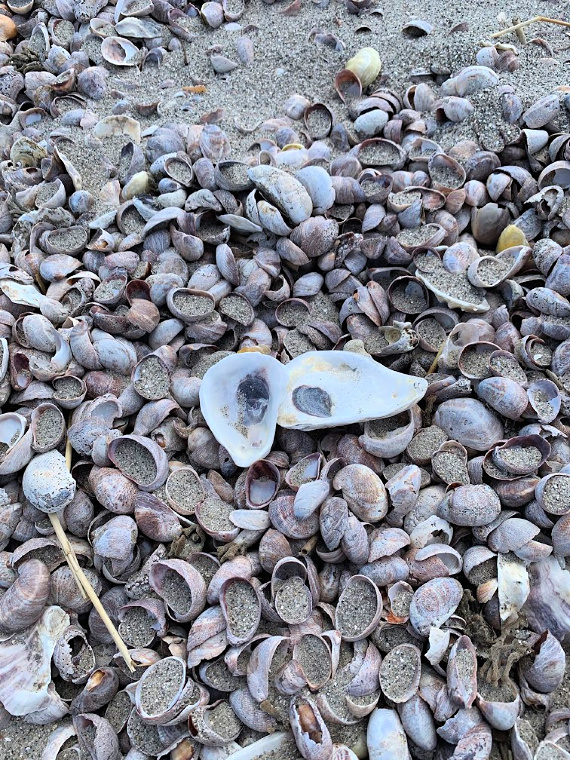
Did you guess what it was I was collecting?  If you guessed shells, you were correct!  The type of shell, specifically?  Oyster!   Although I did find some small ones, I didn’t find any of the really large ones I had hoped for!

Luckily, one of my friends is very close with a family in Connecticut who have been oystermen since the 1940s (fourth generation) and operate one of the last standing traditional oyster farms in the United States.  Because of this, I was able to score some really choice, large oyster shells that are perfect for my project!

Maybe you didn’t realize Connecticut was a big oyster state?  The Connecticut shoreline actually has more tributary rivers per linear mile of coastline than any other region in the country and this unique geographical characteristic creates the most ideal environment for oysters to thrive.

shells and sky

I haven’t made anything from oyster shells for a while.  You may remember the oyster shell place cards I posted a while back?  Click here to see.

There is a current craze to decoupage oyster shells in blue and white chinoiserie.  Everything I’ve seen has been blue and white.  So, I am totally motivated to create some decoupaged oyster shells in some different color palettes.  So, since I have had enough of making Christmas ornaments in April, I am moving on to decoupaged oyster shells!  Of course, I could easily convert these oyster shell pieces into Christmas ornaments! ;)

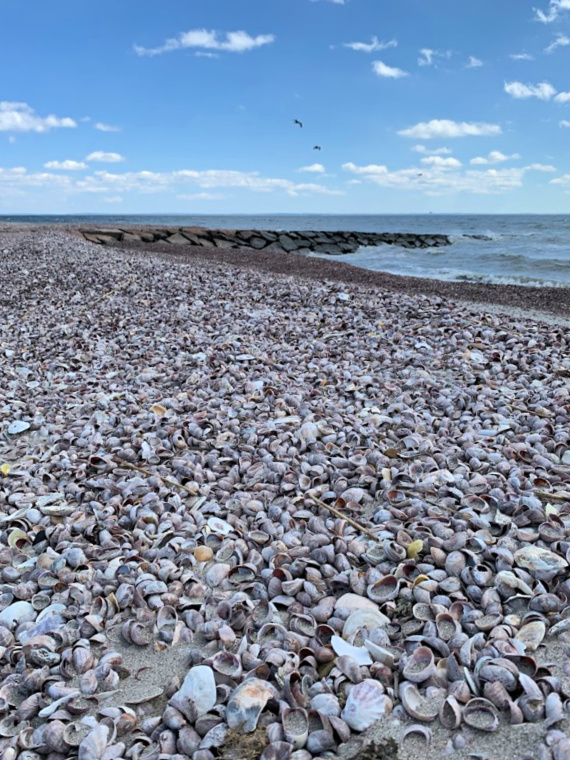
many shells

Stop back next week to see my creations and get full instructions to make your own!

I hope these photos may have inspired you to take a walk somewhere picturesque near you!

Thanks for stopping by!

Take pleasure in simple things and stay healthy, Jackie

no comments

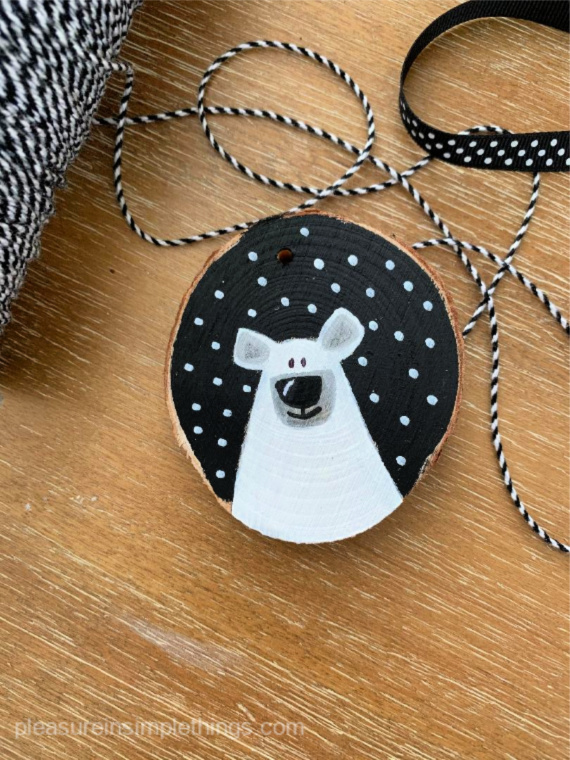
polar bear ornament

April 21, 2020

polar bear

I have been working on Christmas ornaments for a while now.  Mostly because I had all the supplies to do so.  With the recent snow in Connecticut, it actually seemed appropriate to be working on Christmas ornaments this past week!

But I think it is time I mixed things up!  So, this will be the last post on ornaments until Christmas is actually approaching!

I worked on two more designs since my last post.  First, I did a bunch of initial ornaments – they are always fun to attach to packages or stockings and second, I completed a celebration of polar bears!

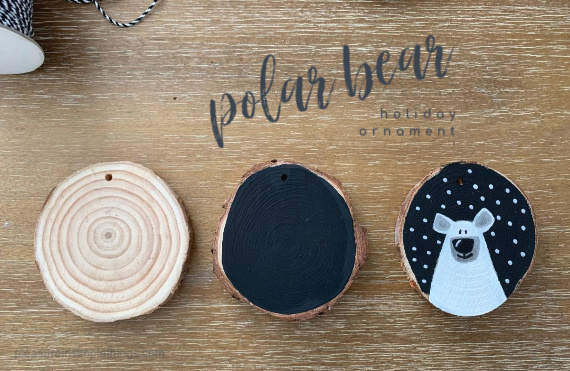
3 step polar bear

Yes, a celebration is what you call a group of polar bears!

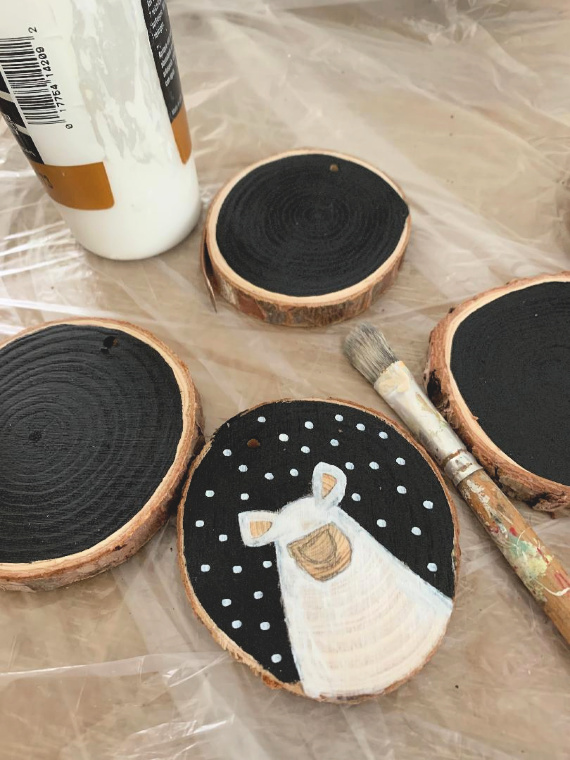
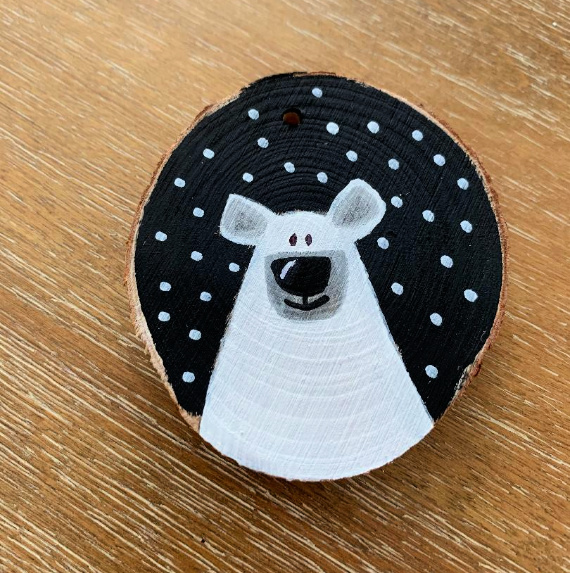
Since I was using black and white paint, I decided either a penguin or a polar bear would work best for a Christmas animal ornament.  I like polar bears better than penguins!   (You may remember I had crafted a polar bear Easter egg in a past post.)  And, a polar bear provides a great graphic – using only a few simple shapes!

starting a painted polar bear ornament

That’s it for ornaments for a while!

My next project will be a little more appropriate to the season!

polar bear tree ornament

Thanks for stopping by!

Take pleasure in simple things and stay healthy, Jackie

2 comments

diy couple ornament

April 17, 2020

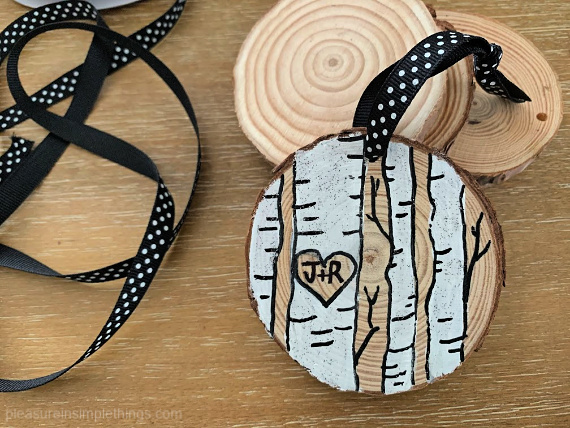
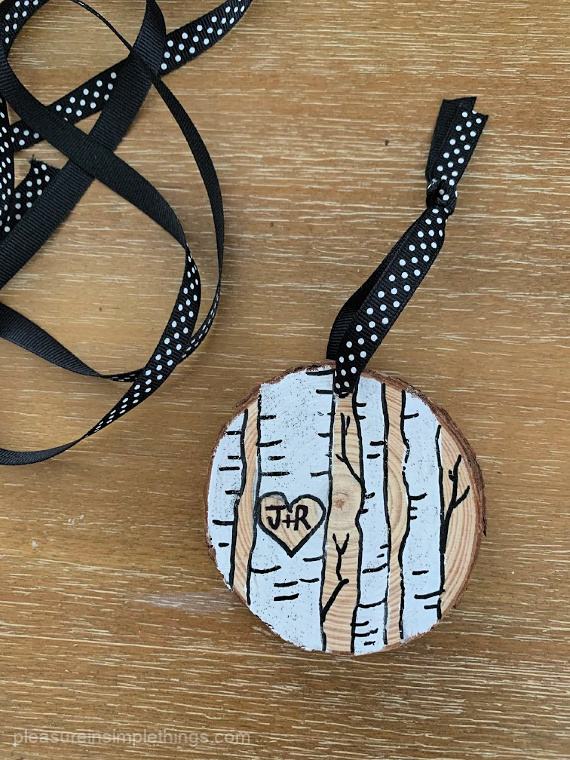
heart in birches ornament

The severity of the virus isn’t enough – we also have to endure all the residual disappointments – cancellations of 30th birthday parties, bridal and baby showers, weddings, graduations.  As ‘change the date’ cards start to flood mailboxes, I can’t help but feel sad for the many wonderful celebrations that were so lovingly planned only to be crushed by the virus.

With the months – often years – involved in planning, I really can’t imagine having to reschedule a full-blown wedding!  Can you?

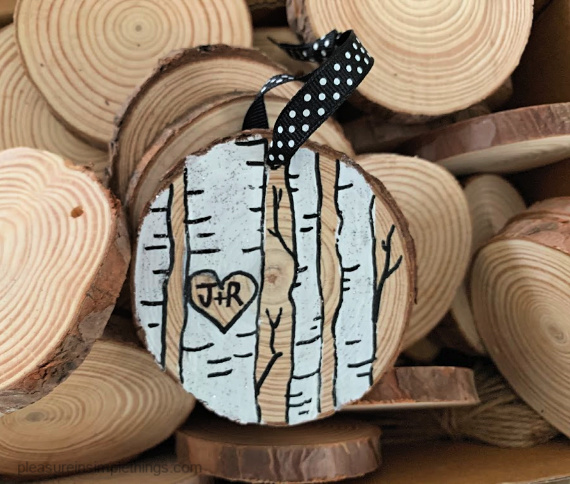
field of birches xmas ornament

I’ve been thinking a lot about the people I know with upcoming weddings and that is what inspired the second ornament design in my current black and white collection.  Why black and white?  I grabbed the black and white paint for my first ornament designs (the Schitt’s Creek series in my last post) and just decided to keep those two colors in play.

I love white birch trees and have used them in a lot of different ways in décor – both in store displays and at home.  Maybe it is a tribute to my many years of tent camping!  Using a white birch design on a wood slice seems a natural fit – don’t you think?  It is an easy, graphic design.  Thinking of all the brides I know to be married this year, I made up a bunch of these ornaments, just adding the appropriate initials to each.  They can be boxed up as a gift or tied onto an engagement gift package!

lovers xmas ornament

I hope this inspires you to honor the upcoming brides you know who may be affected by the virus.

Thanks for stopping by!

Take pleasure in simple things and stay healthy, Jackie

no comments

diy schitt’s creek ornaments

April 14, 2020

tree ornaments schitts creek

We are all changing the way we live in light of this crazy virus.  For me, many of my holiday traditions were bypassed this year as I tried to be safe and ‘flatten the curve’ best I could.  Because of it, I haven’t been to a grocery store in over a month and many of my pre-Easter traditions that revolved around food were eliminated for 2020.

Some for the better…I really never needed to eat my body weight in Cadbury eggs – let’s be real!  But, I definitely missed my egg dyeing!  If you follow the blog, you know I come up with a theme each year for my Easter eggs.  You may remember the constellation theme, succulent theme, or picnic theme…to name a few.  If I had the opportunity to purchase some eggs this year, I know I would have done a Schitt’s Creek theme for my decorated eggs, especially since the show just aired its finale episode.  I could have made an egg for each of the characters on this fabulous television show – with their name on it.  I could have decorated one with crows…made one with the motel sign…one with a rose…etc., etc.

schitts creek ornament

The other day, feeling down about missing a year of egg decorating, I ended up finding something else to decorate.  I started in on Christmas tree ornaments!  I know, I know…April is kind of early for Christmas thoughts!  But, crazier things are happening all around me!

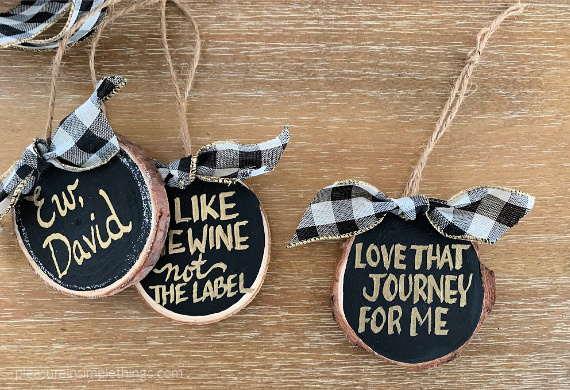
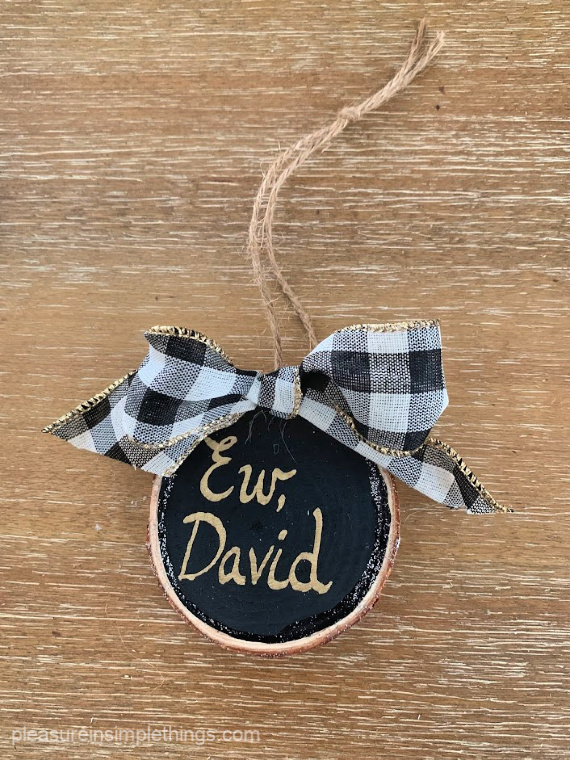
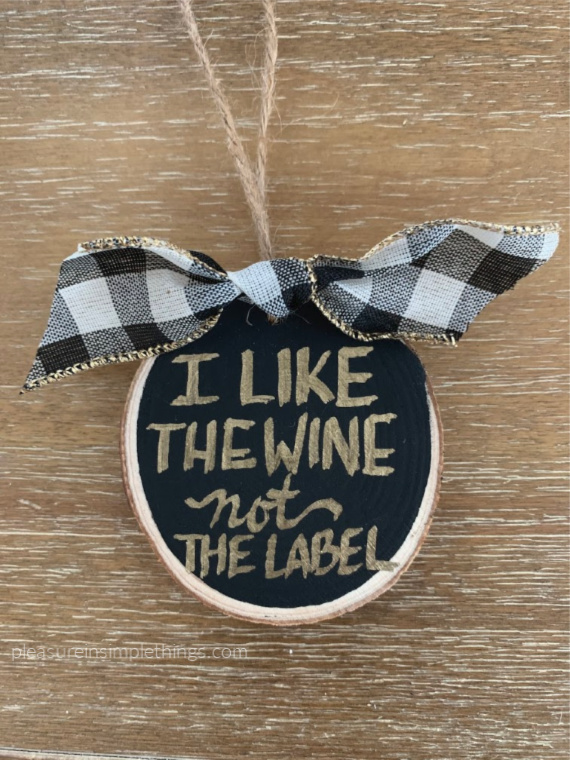
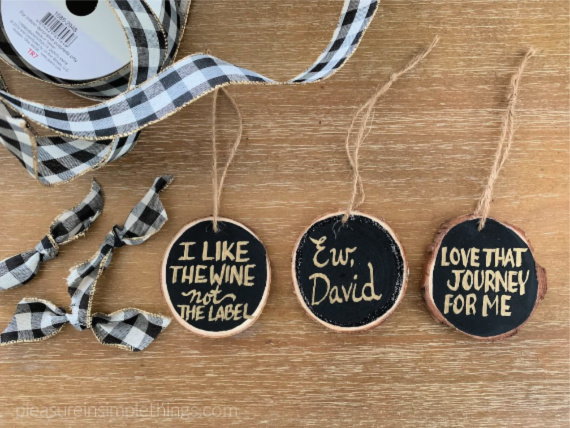
I started my ornament creations with a Schitt’s Creek theme – using three of my favorite quotes from the show.  This is a super easy DIY project!  For my ornaments, I used wood slices.  I simply sanded them smooth and painted one side black.  I lettered a phrase on each ornament with a permanent oil-based gold paint pen and added a coordinating ribbon.

i like the wine ornament

My Schitt’s Creek ornament collection is complete!  A tribute to a wonderful show!  I plan on continuing with a black and white theme and create a few more collections of ornaments!

schitts creek ornaments

Thanks for stopping by!  Stop back and see what the next collection of ornaments may be!

Remember to take pleasure in simple things, Jackie

P.S. If you haven’t yet had a chance to check out this show, now may be the perfect opportunity!  Enjoy!

no comments

in family we trust

April 10, 2020

bunny pillow happy easter

It is strange to be isolated on Easter.  It certainly is disappointing not to get together with family I don’t often see – especially the newest members of the family.  But it is a time to reflect on the many blessings I have in my family.

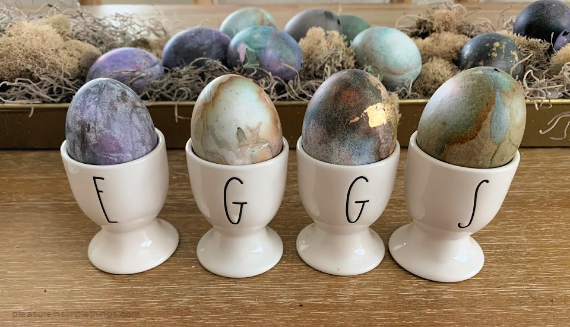
egg cups

When times are tough, people show their character.  The virus isolation has taught me a lot about people – some surprising revelations about the true character of people I thought I knew.  But through distancing and some other recent challenges, I’ve found comfort in knowing my family is a constant – something to count on in times of extreme distress.

PicMonkey ImageSo, although my family may not all be sitting around the same table on Sunday as we usually do  – we are all truly together.

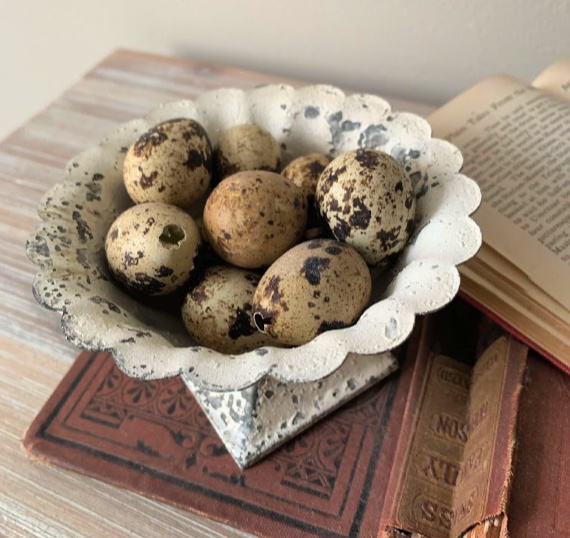
egg decor

Wishing you and your family a blessed Easter!

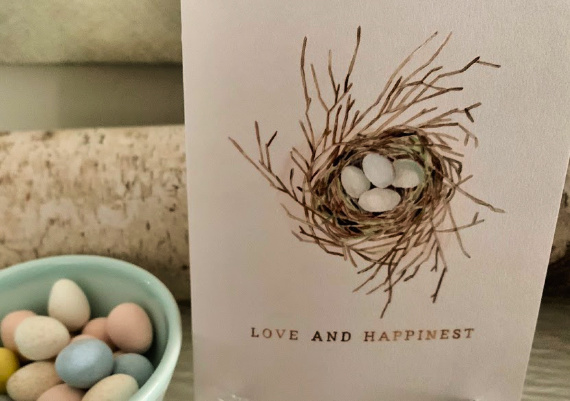
happinest

Remember to take pleasure in simple things, Jackie

chalkboard sign

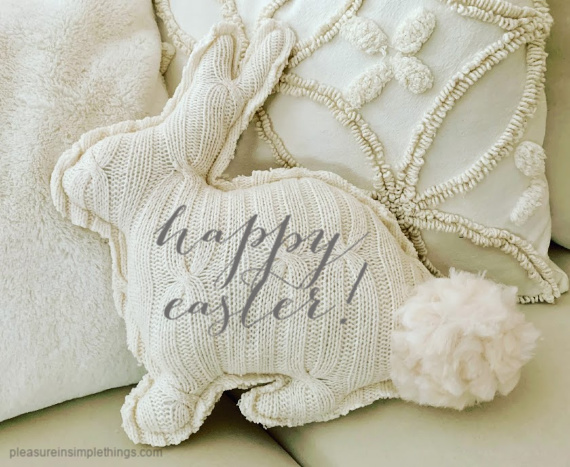
P.S.  The photos included here represent the limited Easter décor I put out this year.  If you follow my blog, you probably find it hard to believe I didn’t dye any eggs this year since I normally come up with a new theme each year!  Fairfield Country, where I live in CT, has been hard hit by the virus and I have been doing my part by not going out.  So, I haven’t been to a grocery store to purchase eggs!

cadbury eggs

no comments

welcome sign redo

April 7, 2020

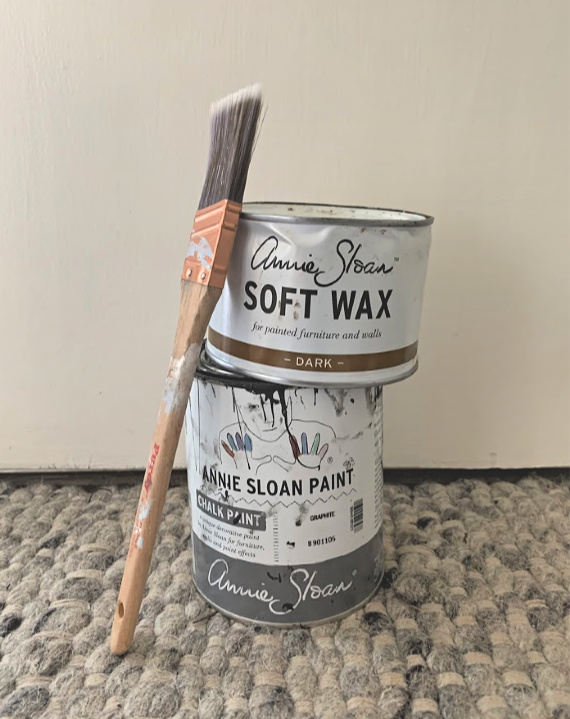
Painting supplies for sign

On my first project list of things to accomplish during extra time at home, I included ‘painting a sign for a friend.’  That was a great project because my friend really wanted it done and I loved helping her out.  Plus, I love painting!

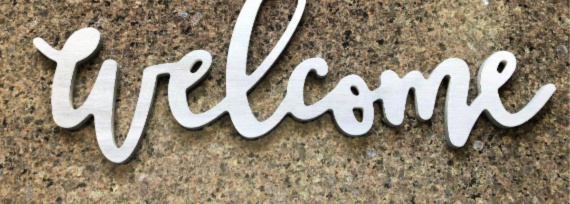
The sign was a wooden one that spelled out the word ‘Welcome.’

welcome sign before

Welcome sign ‘before’ photo.

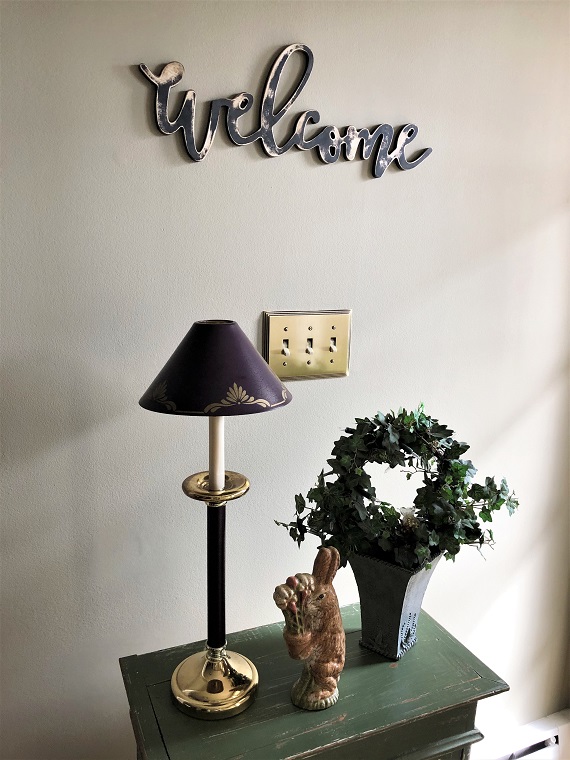
Looking through my Annie Sloan paint collection, I decided on the color graphite to use for the project.  I love this color – a deep gray.  I thought the dark color would be a nice contrast against the wall where my friend planned on hanging the completed sign in her home.

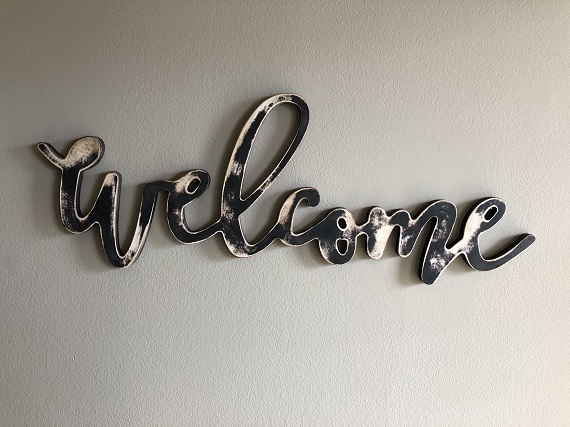
Because the paint color was so dark, no base or primer was needed.  I just painted two coats of Annie Sloan Chalk Paint in graphite directly onto the wood.  Next, I added a thin coat of dark wax.  I did this just to keep the paint in place for the next step – distressing.  I used a very fine sandpaper and sandpaper block to distress the sign.  Obviously, the distressing is a matter of personal taste and I went heavy to accommodate my friend’s taste.  After the distressing was accomplished to my satisfaction, I completed the project by adding a coat of dark wax.  I used the dark rather than the clear wax so that the wood showing through the paint would look aged and not bright white.  In addition, the dark wax deepens the gray color of the graphite paint very nicely.

welcome sign after.jpg

Welcome sign ‘after’ photo.

So, that was the only project left to check off on my first project list.  That list is completed…as well as several more!

hall sign.jpg

The completed sign in its home!

I hope I inspired you to update something in your home with paint!  Thanks for stopping by!

Remember to take pleasure in simple things, Jackie

no comments