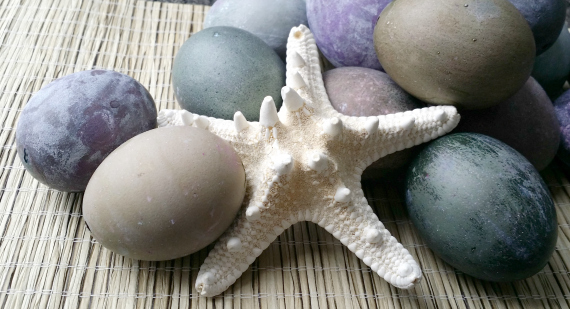
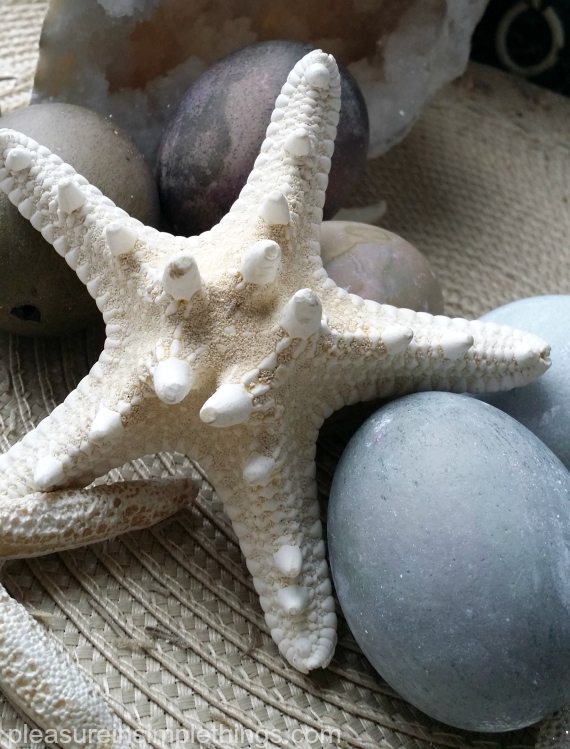
Easter eggs don’t have to be in bright rainbow colors! This year, I have a gray theme going on. I think I picked gray because I really want to redo a bathroom in gray and gold, but don’t have the funds needed to do a great job! So, for now, my Easter eggs will have to satisfy my bathroom vision!
I started by prepping the eggs. I remove the insides first. This way, if I want to keep the eggs, they are good for as long as I want them!
I use a pin to put a hole in each side – starting with the smaller side of the egg. After I get one pin prick, I add a few more to make the hole a tad bigger. It helps to hold the needle with a dish cloth to get a good grip on it. Gripping the needle near the end and moving slowly, I pierce the egg using a controlled motion.
After both holes are made, I use an opened paper clip to pierce the insides of the egg. Pushing the paper clip in, out, and around many times…the more the insides are broken up, the easier it flows out!

On some of the eggs I added gold with gold metallic paint – sometimes using a toothbrush to splatter the paint onto the egg.
Then, I gently blow on the smaller of the 2 holes to completely remove the inside of the egg. This is a good project during television watching! (Not during This Is Us though – no distractions needed during that show!)
For the coloring part, I make my own dye using food coloring. I simply mix 1 tablespoon white vinegar, 1 cup hot water, and food coloring in a cup – one for each color – making sure the container can fit an egg. I use paste food dye because the colors are more intense, but the drops that most people have in their kitchen work as well. The liquid food coloring requires at least 20 drops to the mixture to make a good egg color.
Now for the fun part…decorating!
I hope I have inspired you to create some dyed eggs of your own. If you need some decorating ideas, click here to see a few of my egg decorating ideas from the past, or click here for picnic themed Easter eggs.
Thanks for stopping by and checking out some of this year’s egg creations. Remember to take pleasure in simple things…like dyeing an Easter egg! xo Jackie


