Today I have another easy DIY Target bargain bin Easter project!
You may remember this squirrel topped jar project (click here). Well, today I have an Easter version using bunnies! The bunnies are ceramic and I found them in the Target bargain bin. When I saw them, I knew instantly I wanted to use them on jar tops so I went straight to the Easter candy section to decide what I would use to fill the jars.
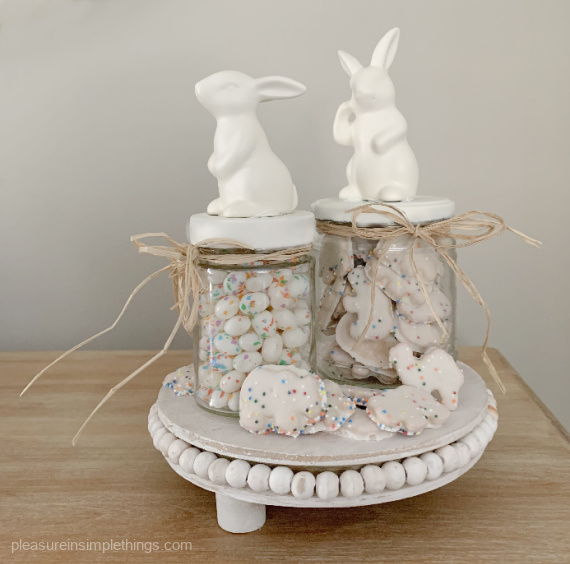
Inspired by walking through all the seasonal aisles, I thought a ‘funfetti’ theme would be cool! Target had some ‘funfetti’ jellybeans. I picked those up and then I went over to the cookie aisle and found some iced circus cookies that would also be great with my theme!
I would get the jars I needed for my project from my recycling bin.
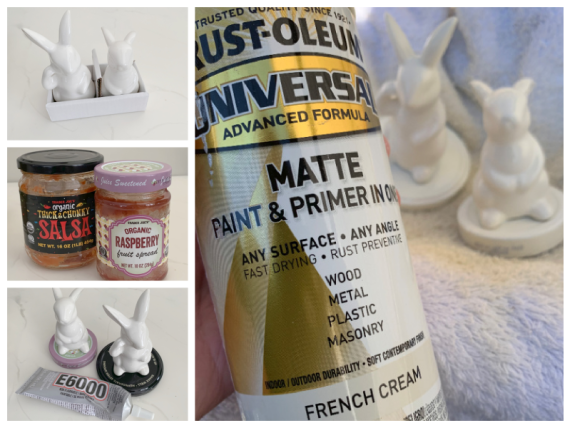
The first step of the project is to prepare the jars. Usually, labels come off easily after being soaked in hot water. Any stubborn adhesive usually comes off with acetone (or nail polish remover). After the jars are delabeled and washed, I prepare the bunnies. This just requires a little sand paper (or emery board) to roughen up the bottom surface of each bunny. This makes for a better adhesion to the jar tops.

I use a really strong adhesive called E6000 because I happen to have it on hand, but I am sure a glue gun would work as well. I am very careful to follow the directions on the E6000 label because there are a lot of warnings associated with this product!
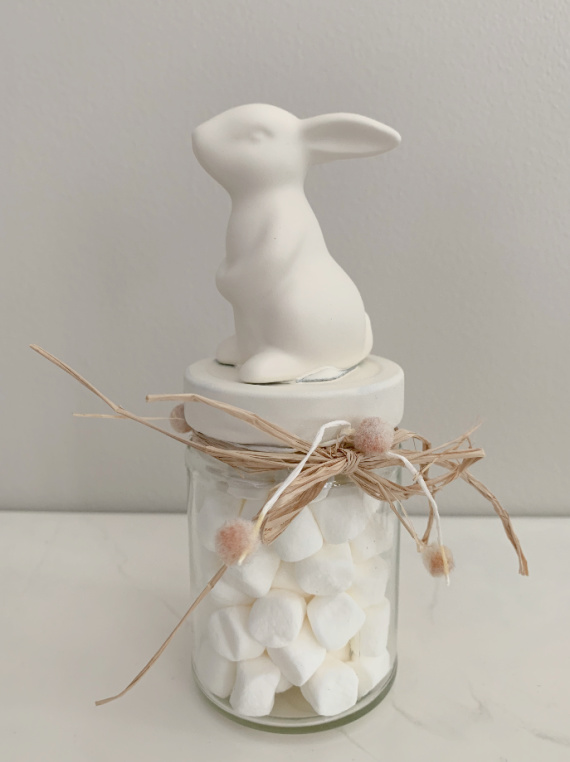
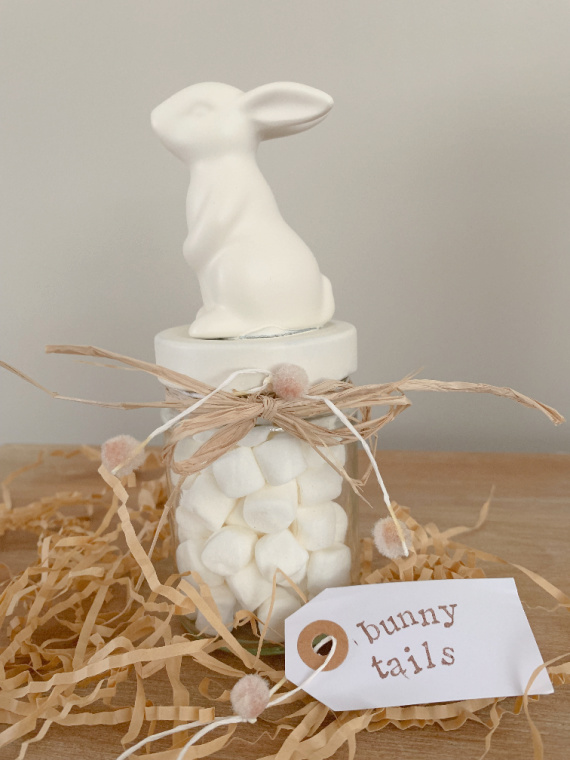
After the adhesive is totally dry, the bunny-clad jar tops can be spray painted the color of choice. I chose my favorite off-white color since I think it goes best with the theme I chose. And, even though the original bunnies have a shiny surface, I prefer a matte finish.

An easy project, right? And there are so many variations possible based on favorite candy, color, theme, etc.! I made a couple variations to show you some possibilities – but, they really are endless!
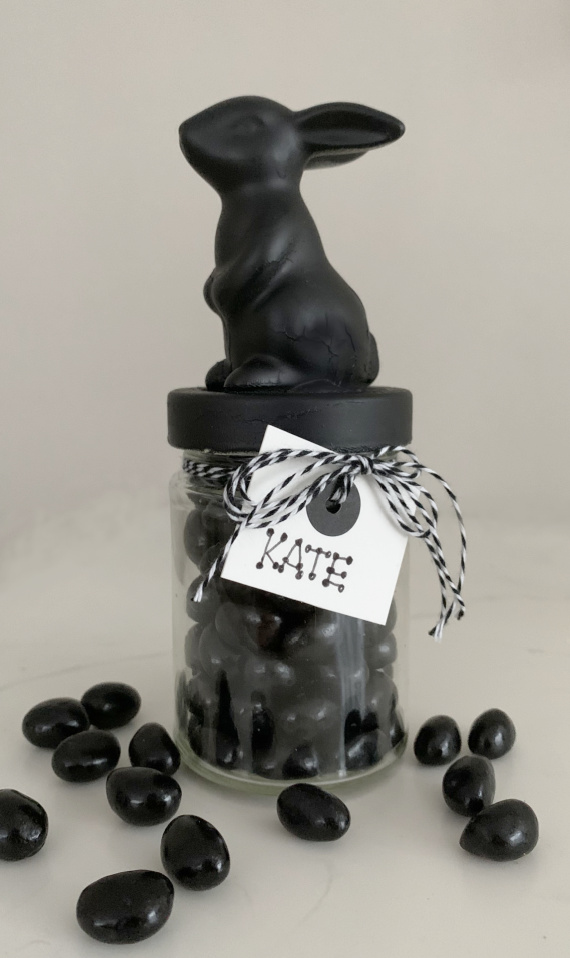
Isn’t there always one that loves black jelly beans? I used leftover chalkboard paint for this one.
Use spray paint left from other projects like I did or purchase some from a building supply or craft store.
Certainly, the jars don’t need to be filled with sugary snacks – these contain carrot and celery sticks! (These bunnies are painted in a glossy finish.) Or, how about using raisins as ‘bunny poop’?

In my family on Easter, we always have a guess at how many candies are in a candy-filled jar and the winner gets the jar of candy! You may want to incorporate the same idea into your holiday traditions and make a cute jar to go with it!
I hope you are inspired to create your own bunny jars!
Thanks for stopping by!
Remember to take pleasure in simple things, Jackie